
While researching information on the Caponord ETV, I came across the Caponord ETV1000 section of the incredibly helpful AF1 owners club.
Experienced members were very quick to offer advice on the vulnerabilities of the Caponord and preventative maintenance the should be carried out to ensure a reliable motorbike and prevent a breakdown or worse, this;

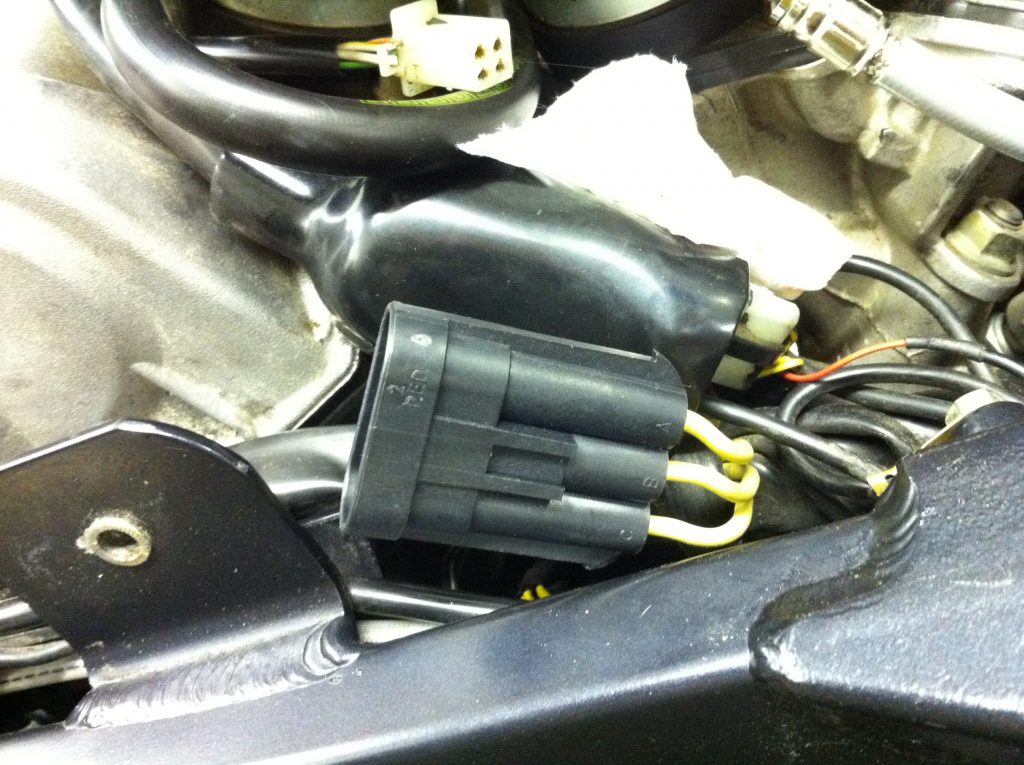
Essentially there were three main acknowledged Achilles heels. As with many Italian bikes, the original shunt type rectifier/regulator is not fit for purpose for a reliable long distance tourer. This coupled with the non waterproof brown connectors (of which there are two) connecting the stator to the regulator. These have a tendency to corrode causing the connection to go high resistance with some disastrous results. Burnt down bikes have been seen. Of course this isn’t helped by the next problem, the original quick release fuel connectors are made from plastic, these embrittle with age. Combine dodgy electrical connectors, situated below fuel connectors which are brittle and there’s a lovely cocktail waiting to ruin your day.
Fortunately, these foibles are easily remedied. The rectifier can be replaced with a Shindengen MOSFET version FH008EE as used on some CBR600/1000 I believe around the MY07-MY10 models.
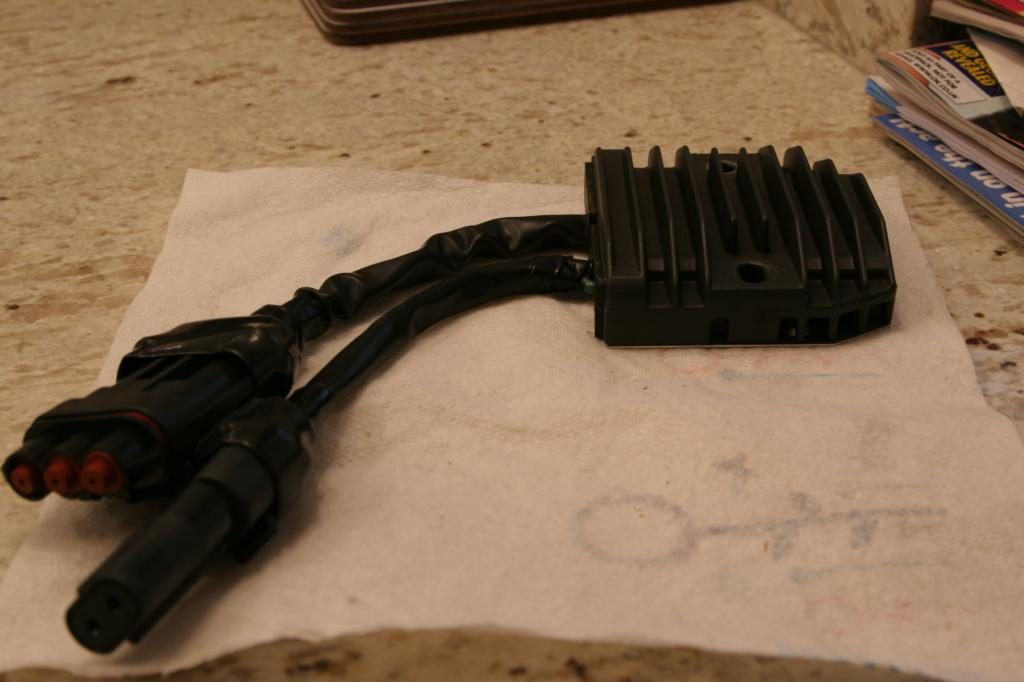
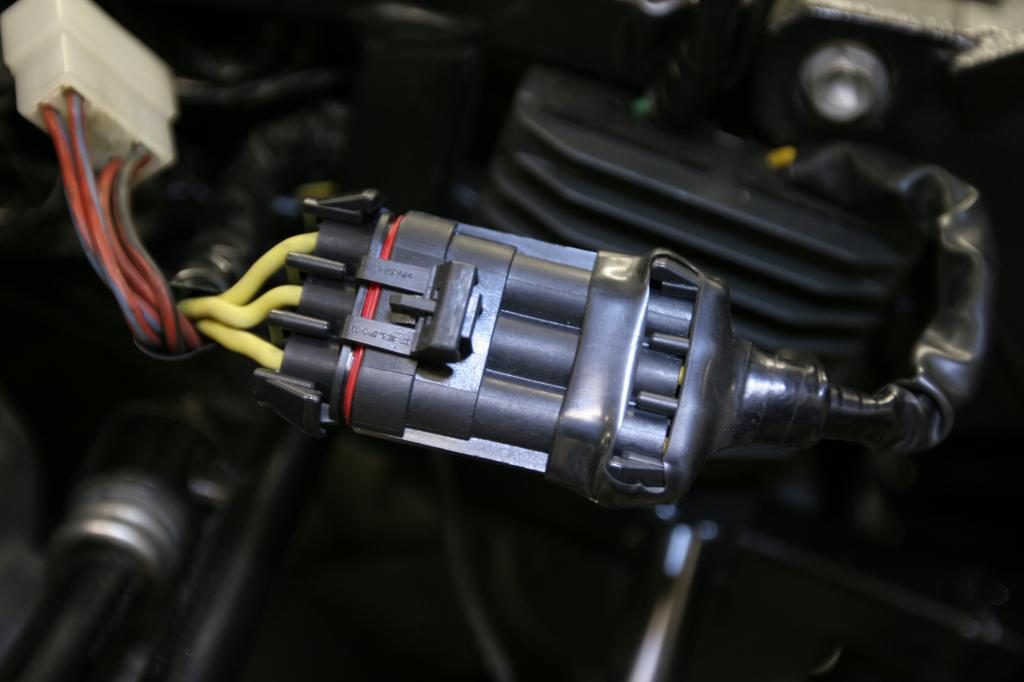
This is a direct fit to the chassis in place of the OEM and merely requires fitting with a suitable connector since the Honda block connector doesn’t fit the Aprilia loom. Since one of the connectors is one of the dreaded and notorious (aptly coloured) ‘Brown connector’ this gets replaced with an infinitely more robust waterproof Delphi Metripack 630 connector with soldered terminals.
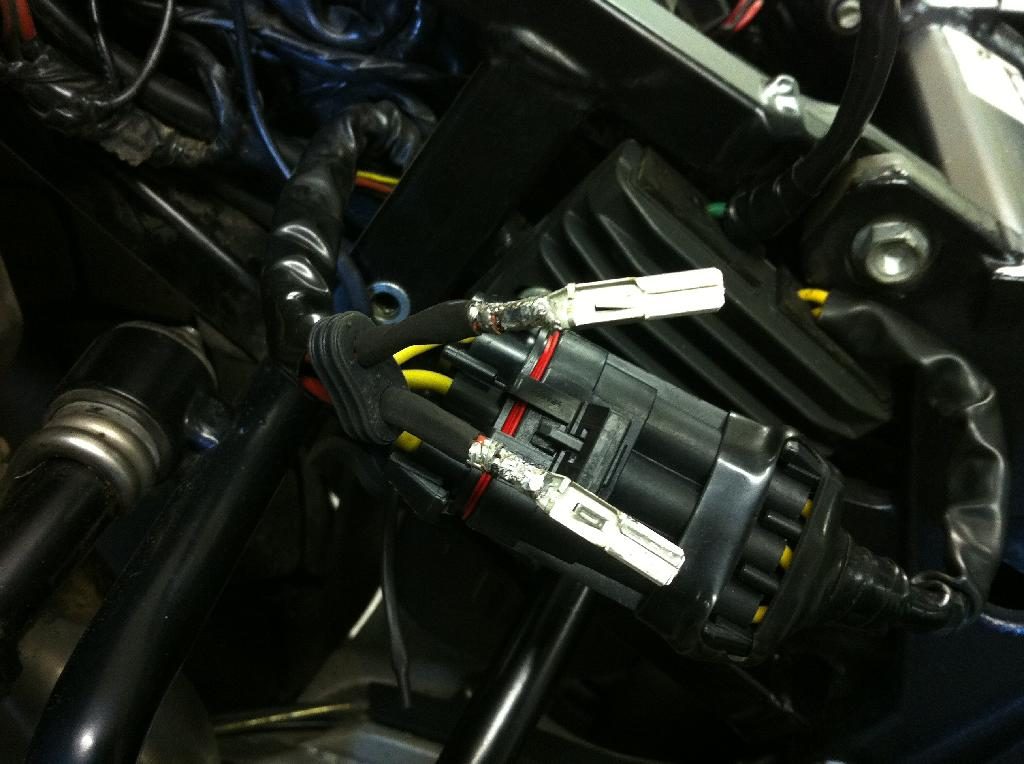
The same goes for the two pin plug from the rectifier to the main fuse
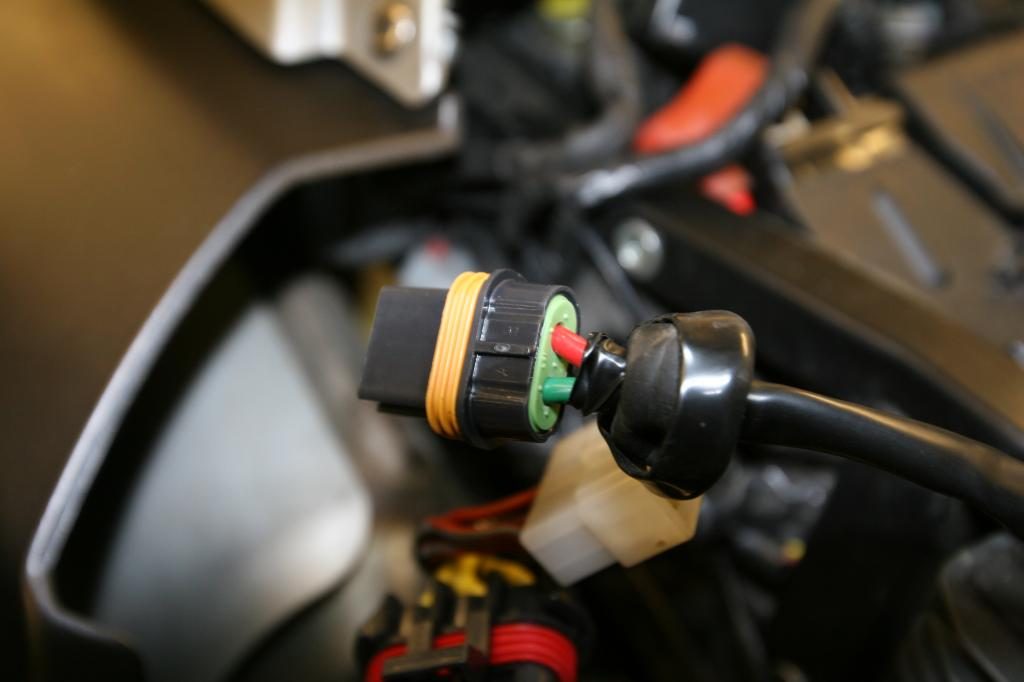
along with the lower brown connector from the stator.
The plastic fuel quick release connectors are replaced with metal along with Viton seals. For the high pressure delivery line, Aprilia offer a superseded fuel line aprilia part number AP851959 featuring the metal disconnect.
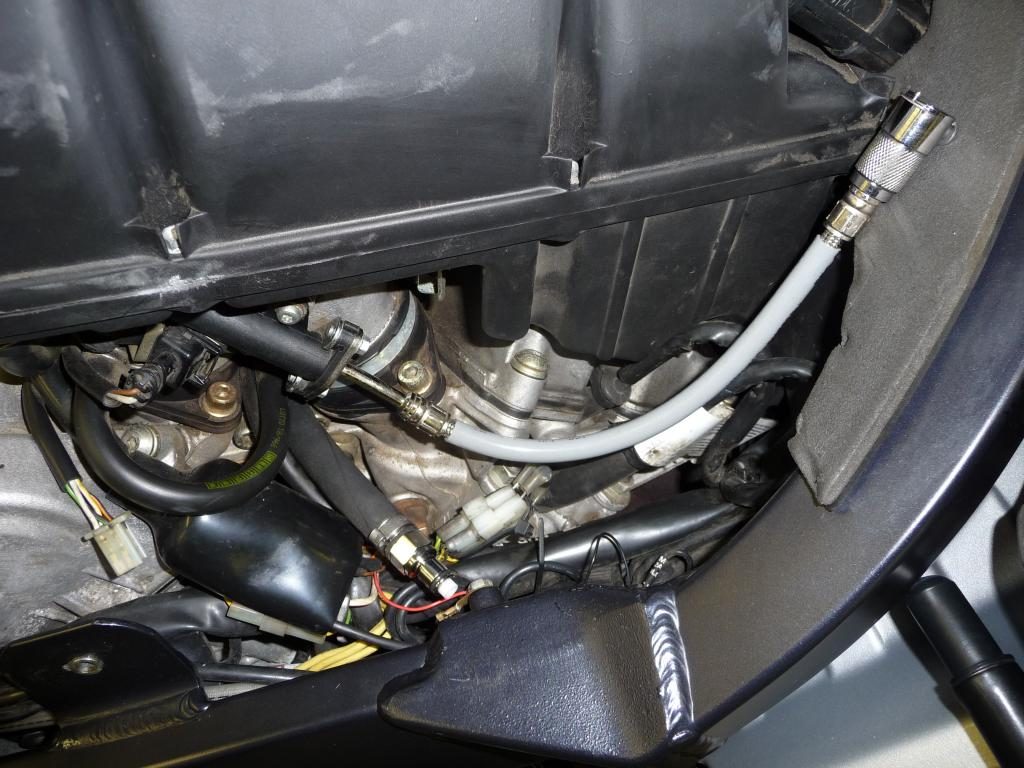
For the low pressure line, a metal CPC connector replaces the CPC plastic ones.
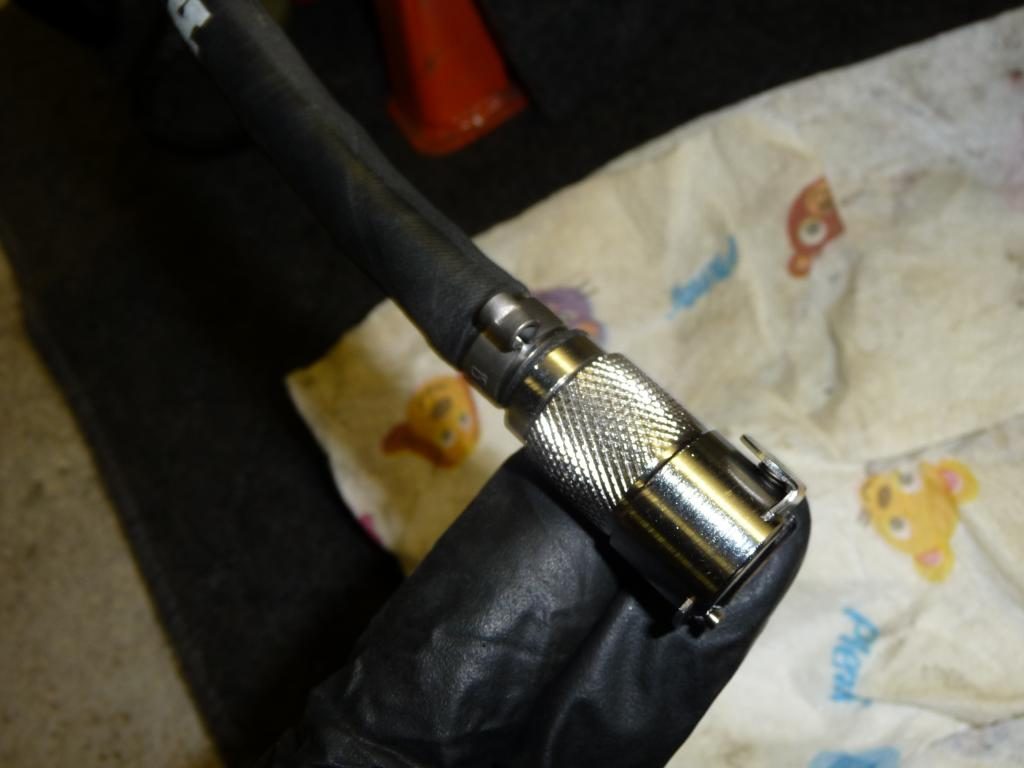
CPC quick release connectors and Viton seals are available from many hydraulic fluid shops. Mine came from Tom Parker in the UK, part numbers below;
CPC Part numbers for return line as follows (I bought mine here) https://www.tom-parker.co.uk/ ;
CLCD170-04V quick release (fuel tank side) connector with Viton seal £23.22ea 1Nr
Then either
CLCD220-06 quick release (TB return side) this is a valved version so it’s dry break £13.75 ea 1Nr (I went valved)
or
as above but unvalved which replicates original design and will leak a little on disconnect
CLC220-06 £6.40 ea (unvalved) 1nr
The above either/or fittings do not have Viton seals. So I bought 10 spare Viton seals as I have two bikes, I swapped the seals they come with over for the Viton ones for peace of mind. The seals are the same as on the other fittings (oe aprilia tank valve) so worth having spares and keeping a couple in your bike toolkit.
Part number C731104 Viton Seals @ 0.84p ea (I bought 10Nr)
Oetiker Clamps, I used two different sizes. I believe I thought the first was a little tight so used the larger one, or it may have been the other way around, either way, 14-15mm clamps is what I used. Part numbers;
OET14RER They are brilliant these clamps.
OET15RER (as above) Average around 0.50p per clip.
This takes care of the immediate must do modifications and these are indeed the very first modifications I carried out on mine.
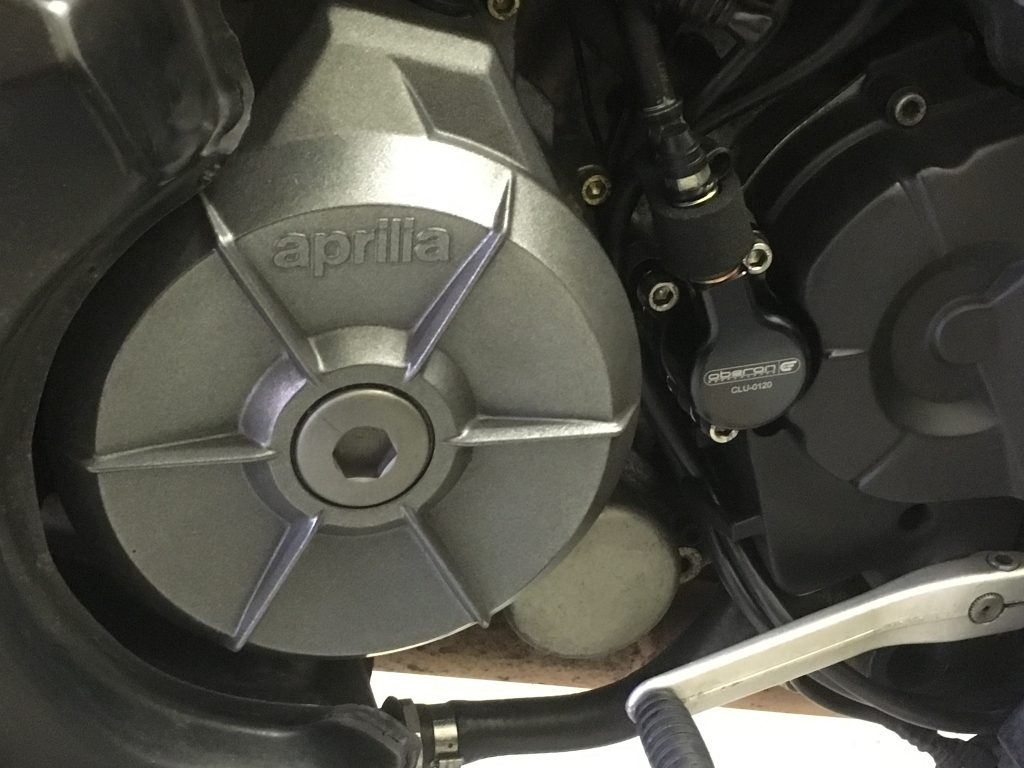
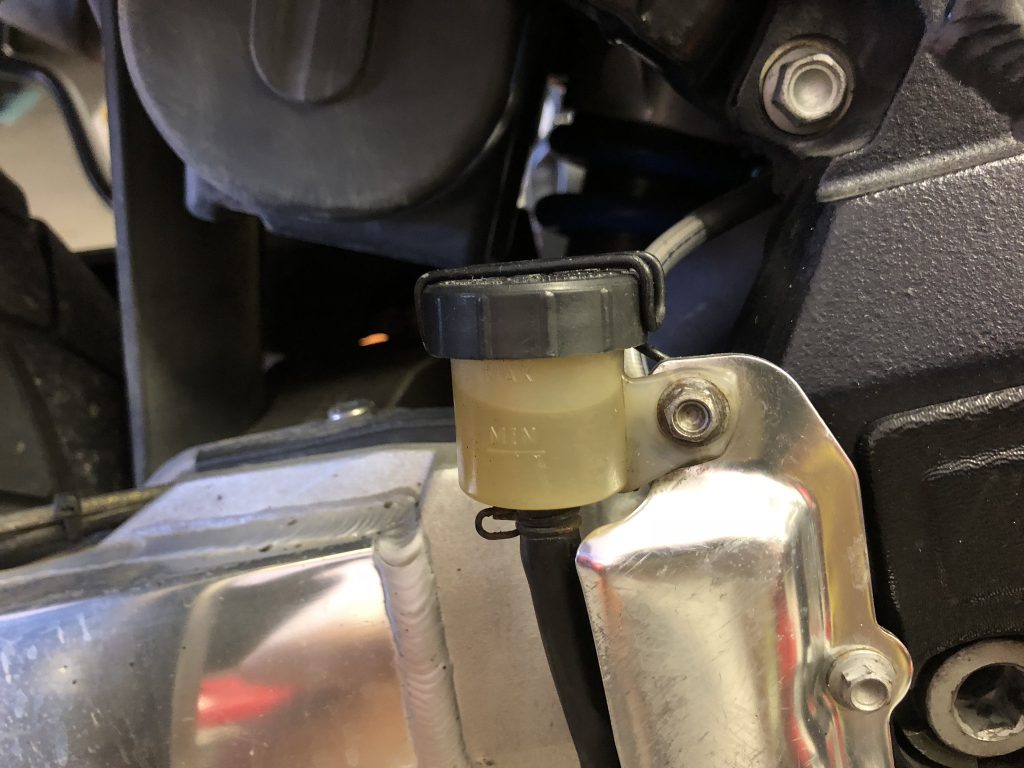
The next item that many owners experience failures with, is the clutch slave cylinder. The seal tends to breakdown and fail resulting in an inability to disengage the clutch. Some simply replace the seal, however many have experienced subsequent failures and put this down to the design of the original and the effect of heat on it. The preferred fit and forget solution, is to replace the oem item with an Oberon clutch slave cylinder. I put this on the back burner as mine was operating perfectly and mine had relatively low mileage. As it turns out, I should have heeded the advice from the experienced ownership since mine randomly failed with no warning. Fortunately I was near home when it occured and nursed it back. As I pulled up to my drive I had to shut off the engine as I couldn’t disengage the clutch!! A nice stealthy black Oberon was fitted to round off the fourth of what should be deemed the essential mods.
This is my long distance tourer bike so it was important that I am able to have maximum confidence in her ability to get me home. Every component replaced gives me more confidence in her.
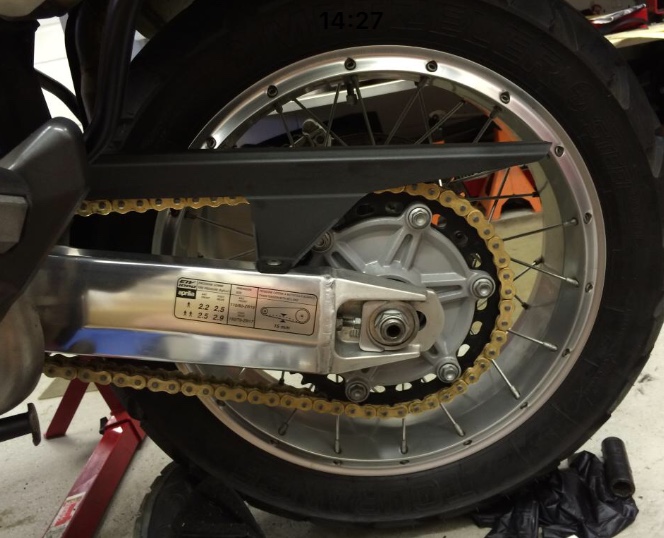
The original chain and front sprocket were looking pretty worn and sorry for themselves, originals for some 17,000 miles. These were replaced with a heavy duty DID ZVM-X chain and new oem front and rear sprockets.
Next an Oil change was carried out. Realising that the supplying dealer had used the wrong (shorter) earlier oil filter in the later (longer) housing body. Effectively the bike had not been correctly filtering oil for a few thousand miles. Fortunately there were no particles in the oil but another reminder of why I always prefer to carry out maintenance myself and trust no one.

The filter was replaced with the correct one and fresh Silkolene Pro 4 oil introduced.

All the brakes were bled prior to a jaunt down to Wales and back for a few days.
Next up will be fitment of some new EBC HH sintered pads and new tyres!! Both have been hanging on a little while. I’ve been keeping an eye on them, they’re low but they still have a little more life left.
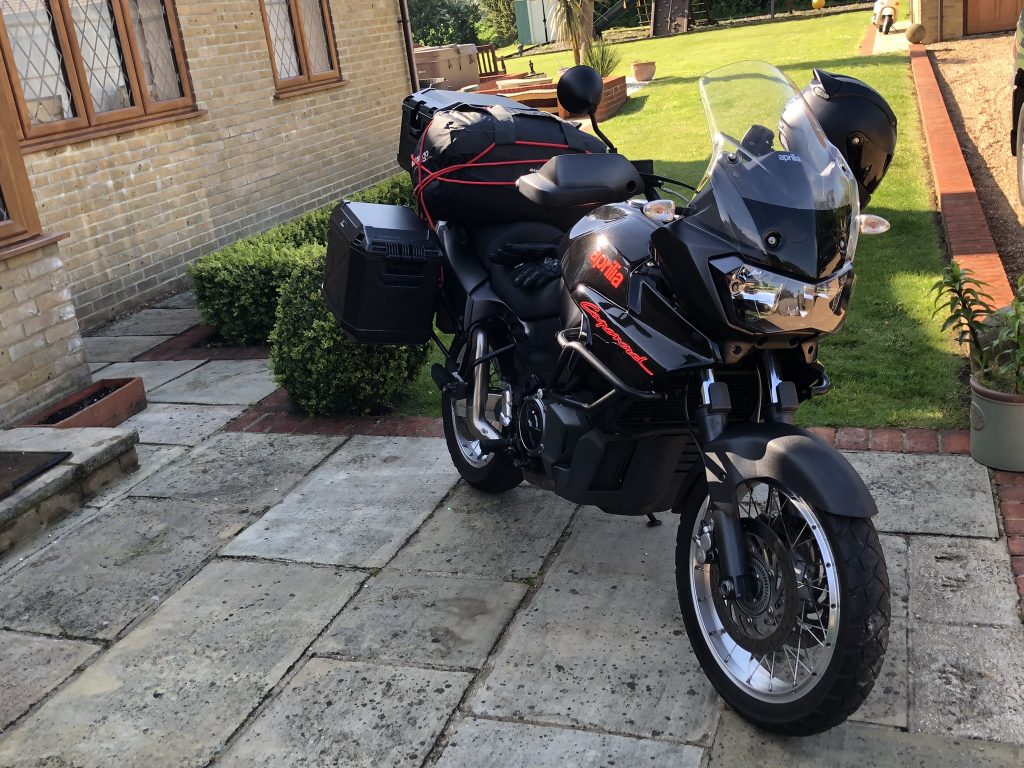
All packed up and ready to rock for its annual trip to Llandovery 🙂
Great site I followed it from the af1 site I’m capt barb.
The fuel connections people mention I’ve four rotax Aprilias all with these like your tuono and have never had a problem with them leaking is it a different type or make on the capo.
Thank you Patrick,
They are the same manufacturer, the fittings may vary in shape from bike to bike. CPC manufacture the fittings in plastic and metal. Most manufacturers specify the fuel lines should be changed at a certain frequency, every 3 years I believe. The plastic can embrittle with age and when standing in corrosive fuels. They have been known to break, sometimes on disassembly or re assembly or in use, spraying fuel over a hot engine and there are examples and photos across Italian brands of bikes going up in flames. I also have plastic connectors on my Tuono and although I have purchased metal ones I’ve yet to swap them over and will update the blog when I do. I’ve just carried out the same procedure on an MV Agusta F4. For peace of mind, it’s safer to switch to metal and eradicate any issues of the plastic breaking up. Age and use all play a part in how long the plastic ones will last. Aprilia actually did a recall on the Caponord to replace the plastic CPC outlet in the base plate of the fuel tank (check – yours should be metal already) and their updated fuel line also features the metal fitting.
Beautiful bike. Great advice. I’m very grateful you shared. Those are nice looking panniers. Would you mind sharing the info on those as well?
Cheers
Hi there,
The full Capo Blog is here, however for the direct link to the pannier post, please see here.
https://nitosport.com/blog/2014/02/22/full-metal-jacket/
Kind regards