MV Agusta F4 1078 RR 312

Oh my! This is exciting. I have been hankering after one of these since seeing the first pictures appeared in MCN in 1997 featuring the EICMA Milan Motorcycle show when the F4 750 Oro was first unveiled. I can actually remember exactly where I was when I first clapped eyes on the picture, driving up a hill in my birthtown with my girlfriend (now wife) in a Red Subaru Impreza while she was page turning the latest edition of MCN.

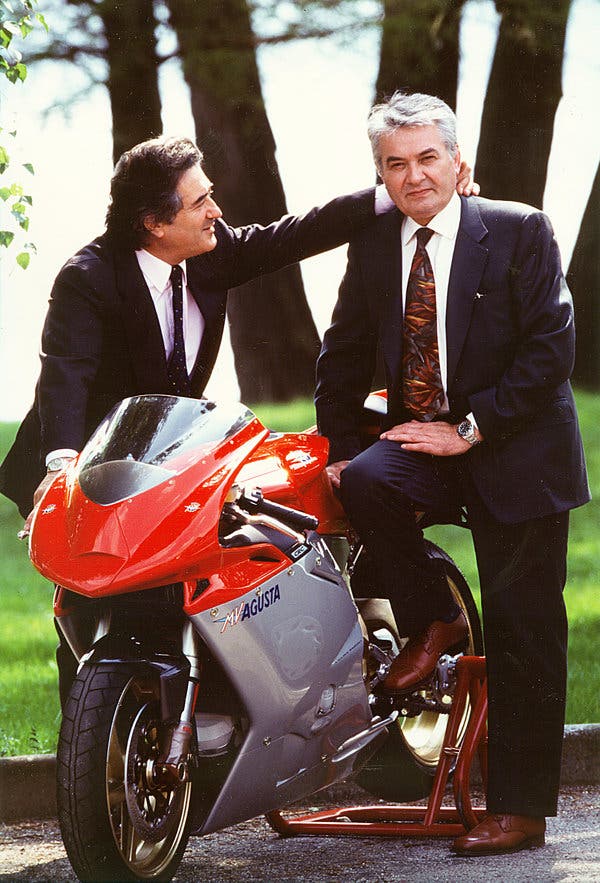
Designed by the late great Massimo Tamburini, for me this was his ultimate creation and arguably the most beautiful production motorcycle ever. Executed under Claudio Castiglioni’s tenure of MV Agusta, these two Titans of the motorcycle world are responsible for many of my favourite motorcycles.

The 916 Ducati was just the warm up act for what was to be his greatest masterpiece.

It wasn’t until around 2001 that I actually sat on one at a dealer in Jersey while holidaying there. This is the last bike on my primary list of essential bikes, saving the best until last, this is likely the last bike I will buy for some time, the garage is full and what better way to top it off.

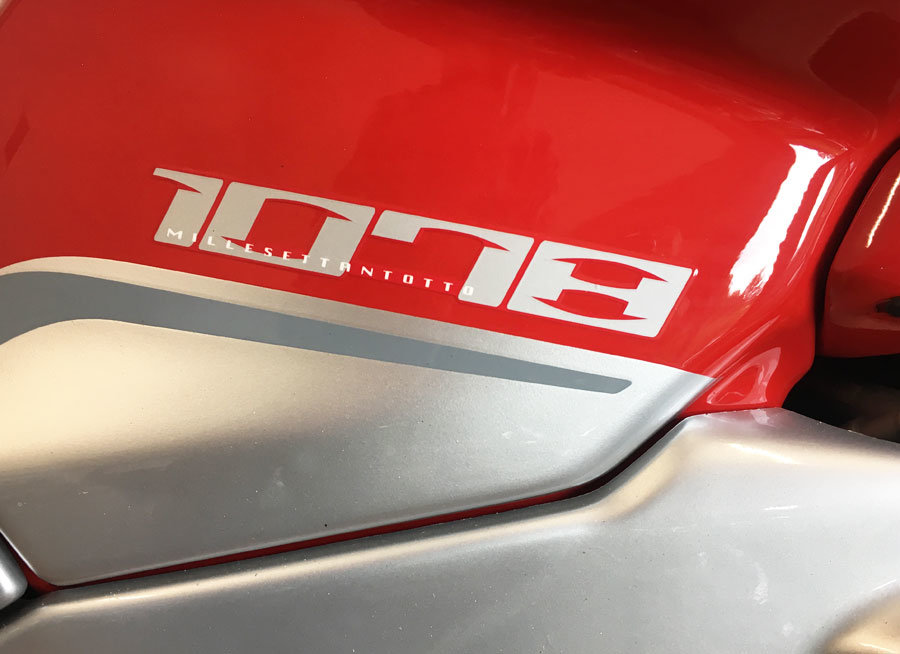
I had been on the hunt on and off for at least 2-3 years, before this particular bike came on my radar. The initial brief was that it had to be a first generation bike (the pure Tamburini design) and a monoposto. I was in fact originally looking at the special edition F4’s, however the more I researched, the more it became apparent that the 1078 as the swansong of the gen1 F4 was the ultimate incarnation, only trumped by one other bike, which was the Eur 80,00, 2007 1078 CC (Claudio Castiglioni) which incorporated the MV Agusta TSS (Torque Shift System) on top of the already enlarged capacity. The CC was a run of only 100 units fully draped in carbon fibre and magnesium. The 1078 RR 312 followed a year later, made from 2008-2009 and presumably used up the run of engines that made the CC viable and was the closest F4 in specification to the widely acclaimed CC.

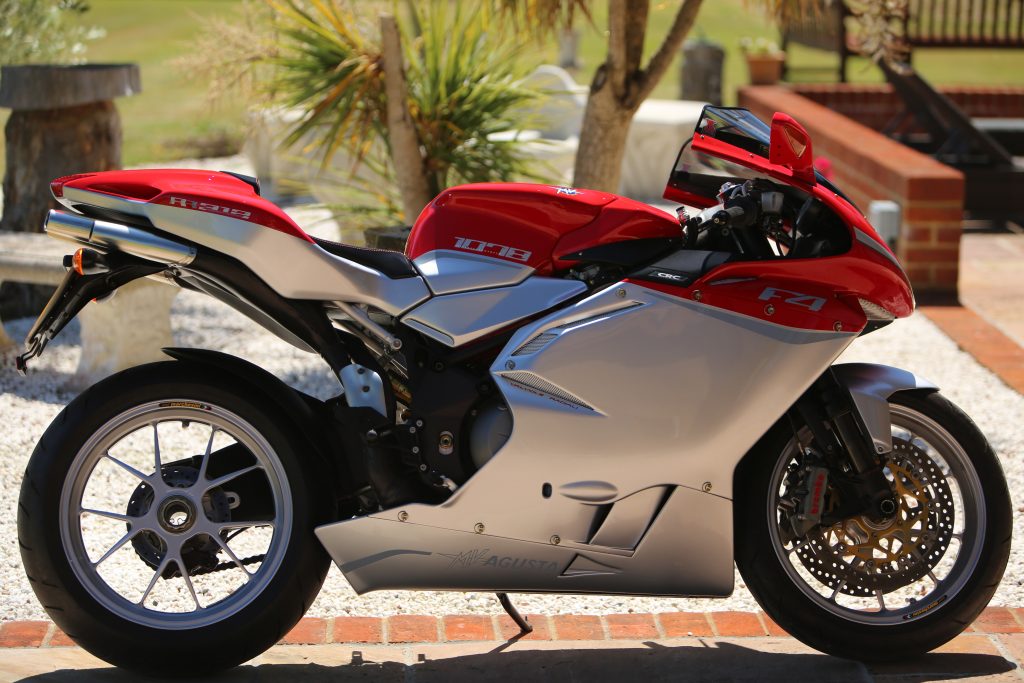
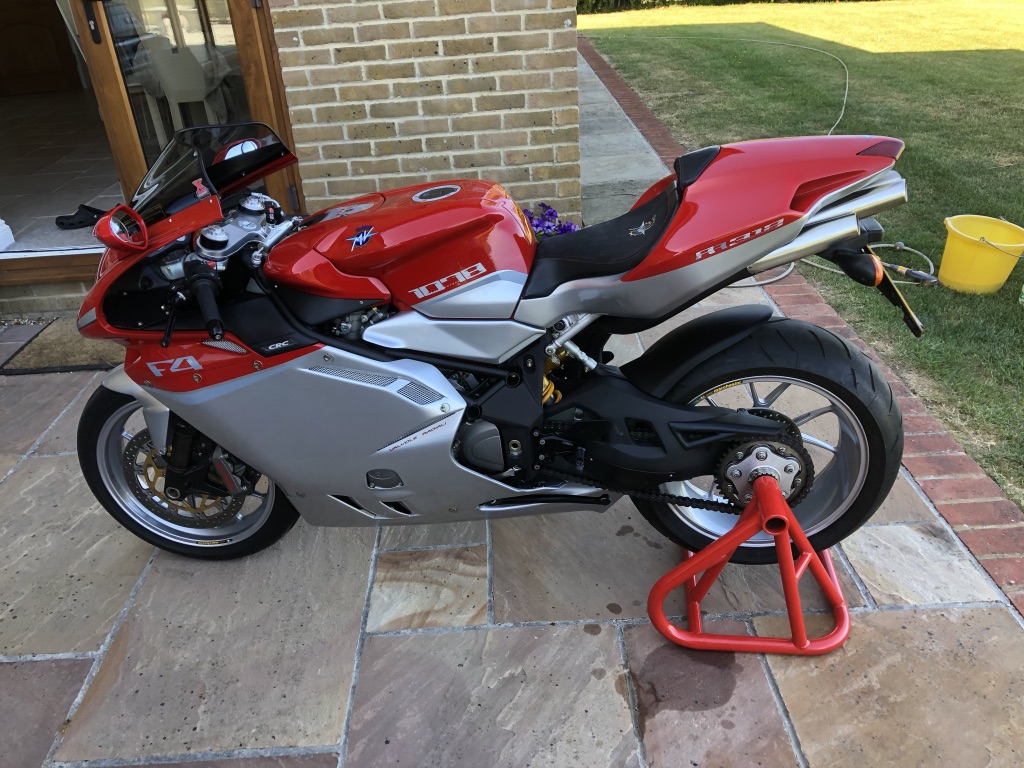
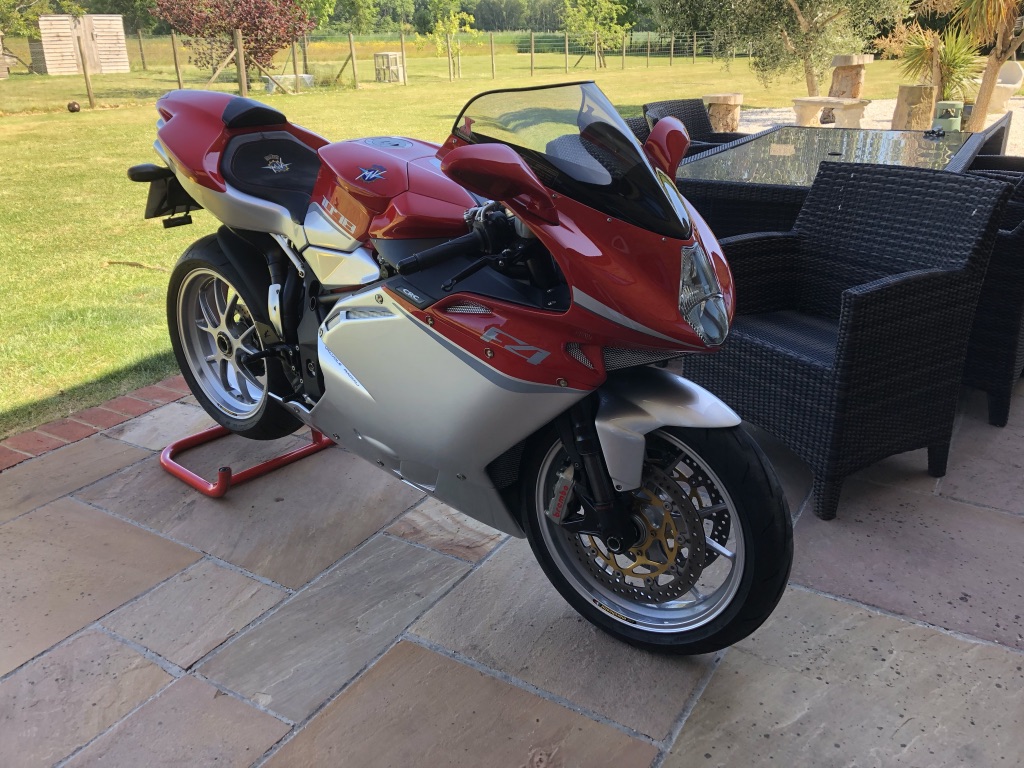
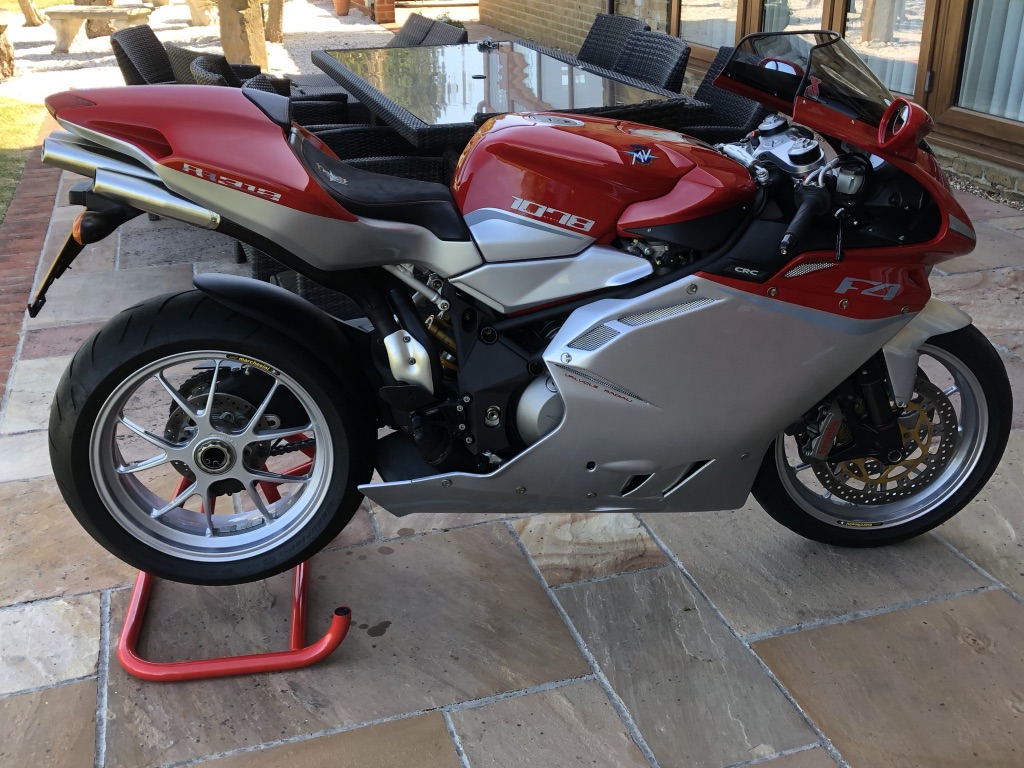
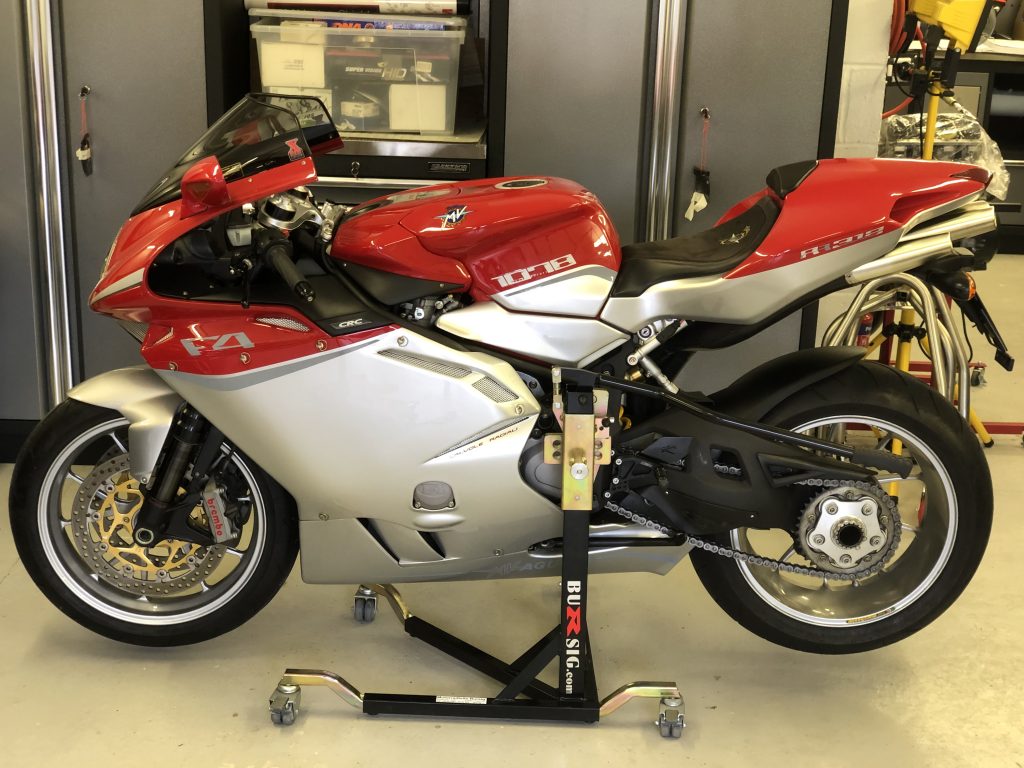
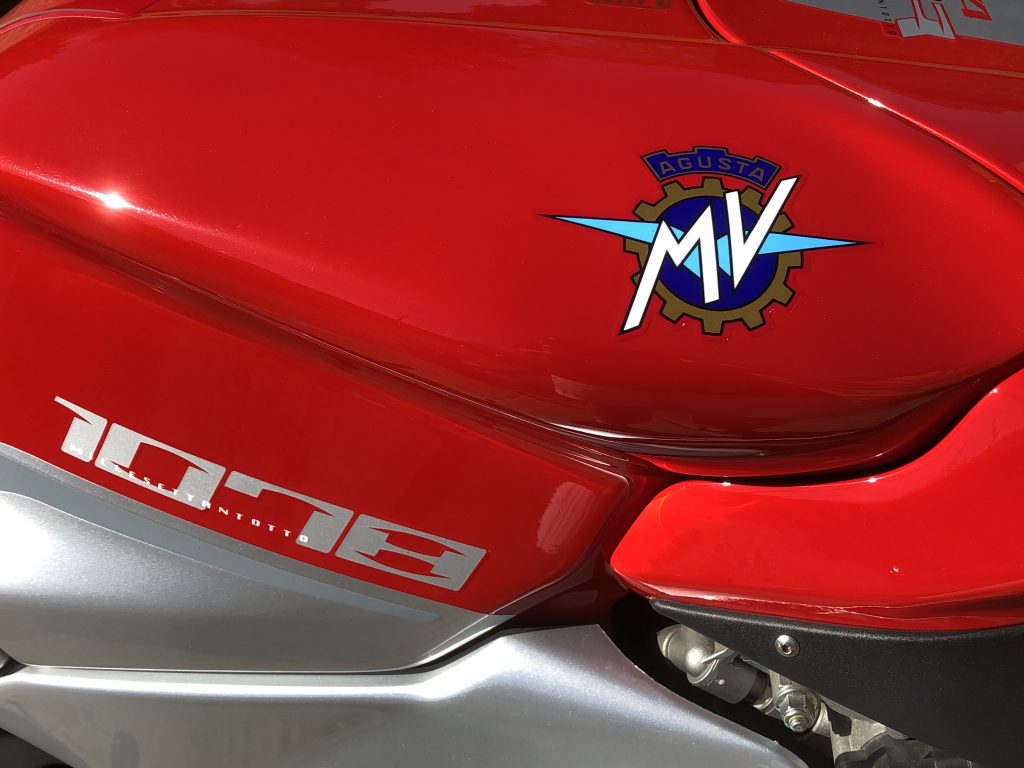
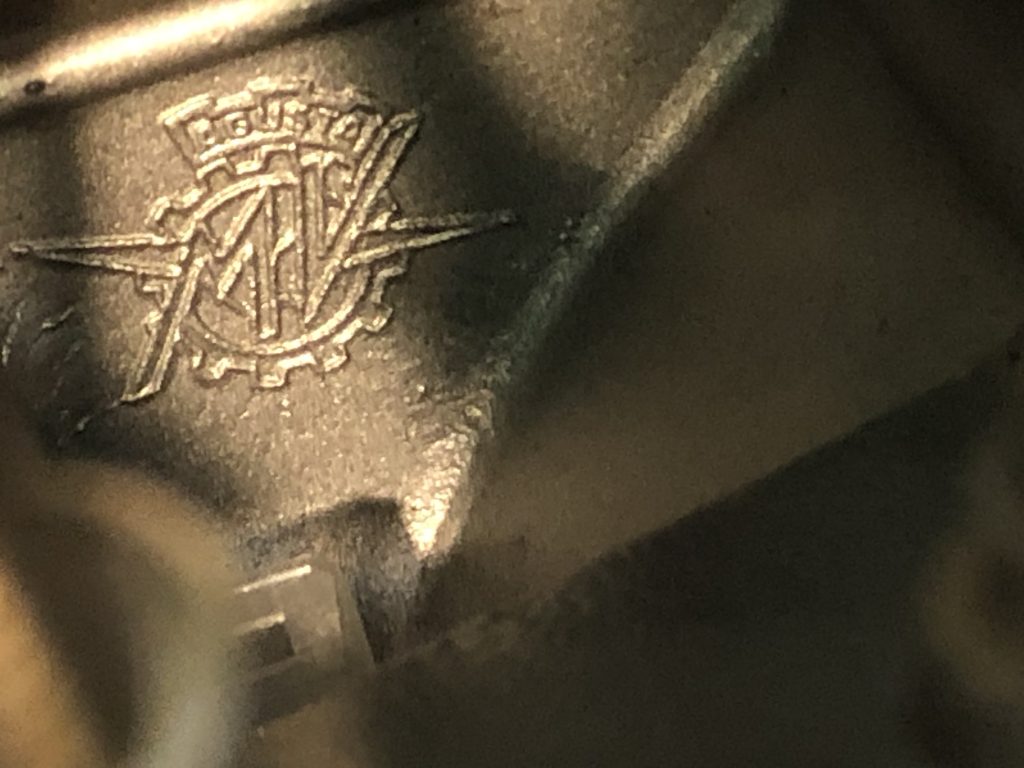
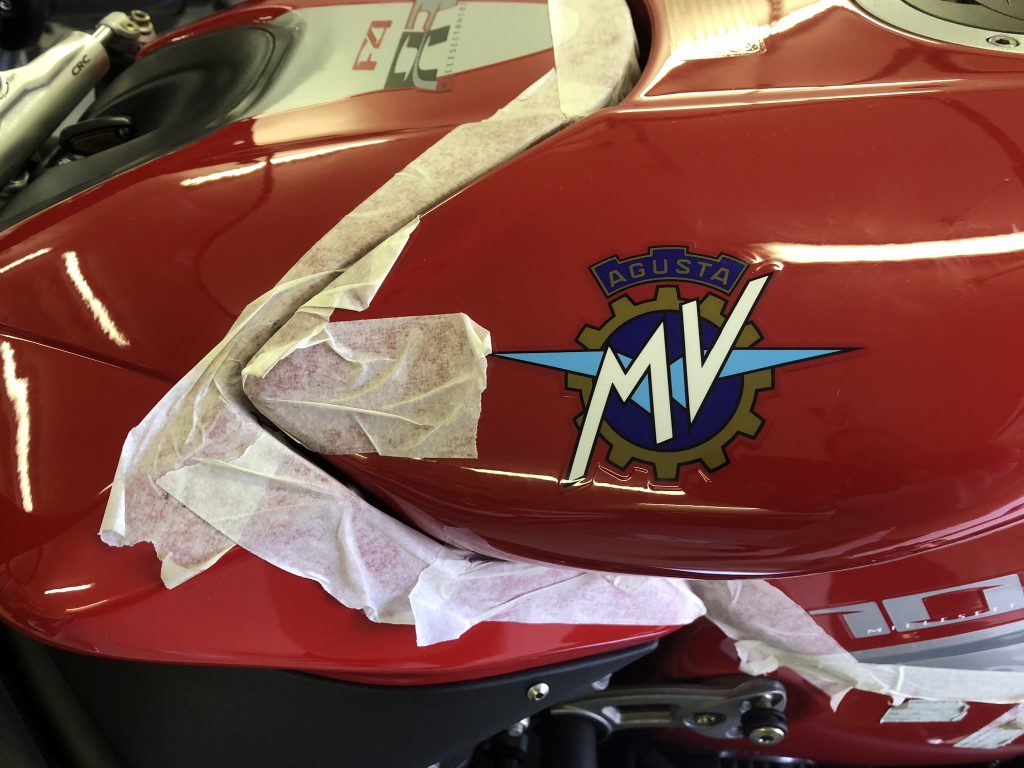
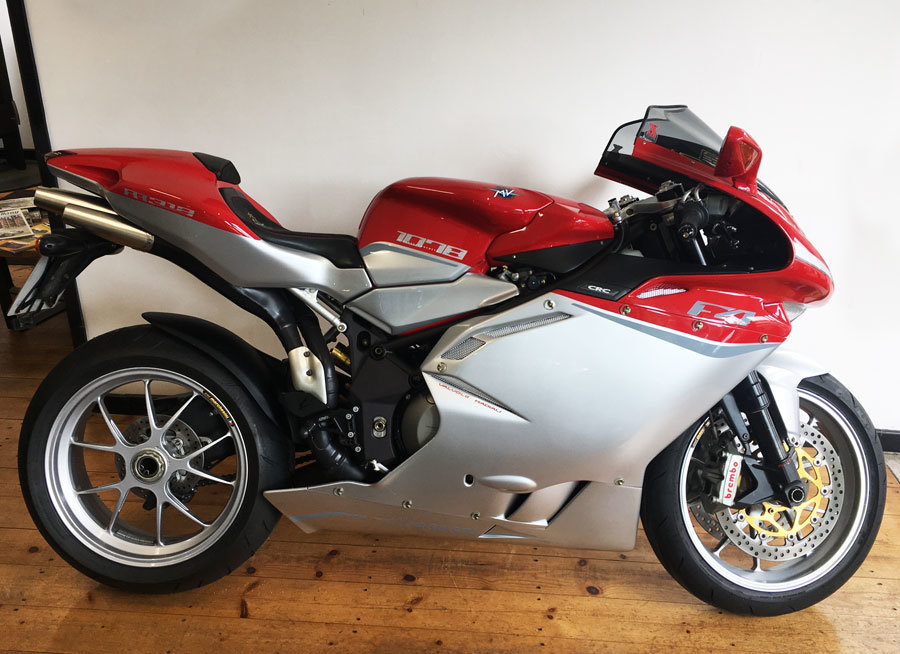
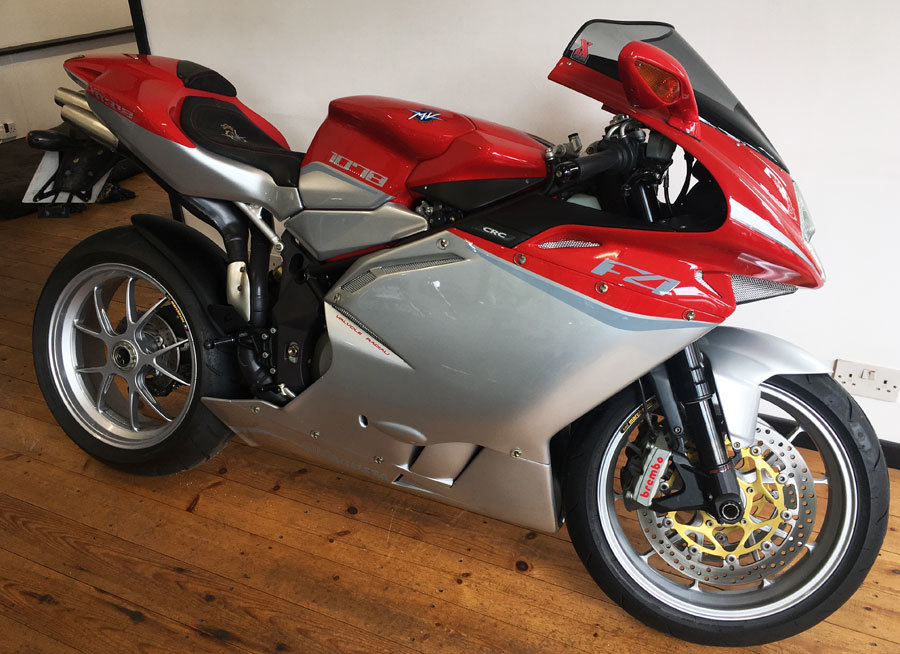
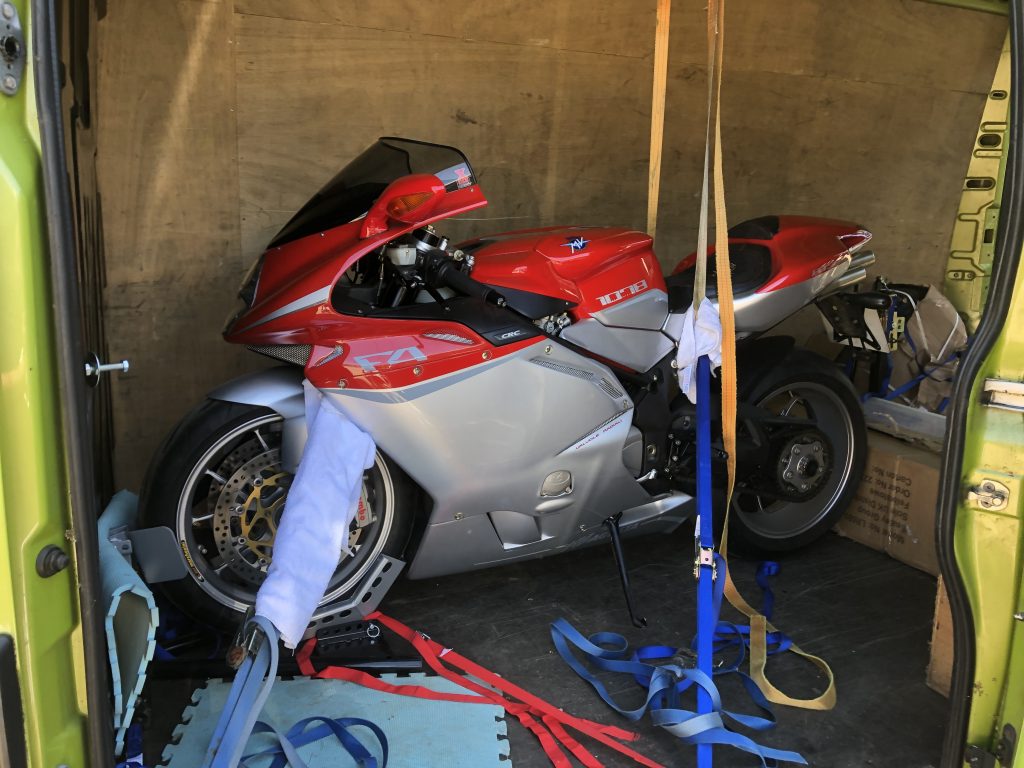
This particular example is finished in the traditional Red/Silver MV Agusta racing colours as per the Oro original launch bikes and celebrate the last of the Generation 1 F4’s designed solely by Tamburini. (The later Generation 2 bikes were restyled by Adrian Morton).

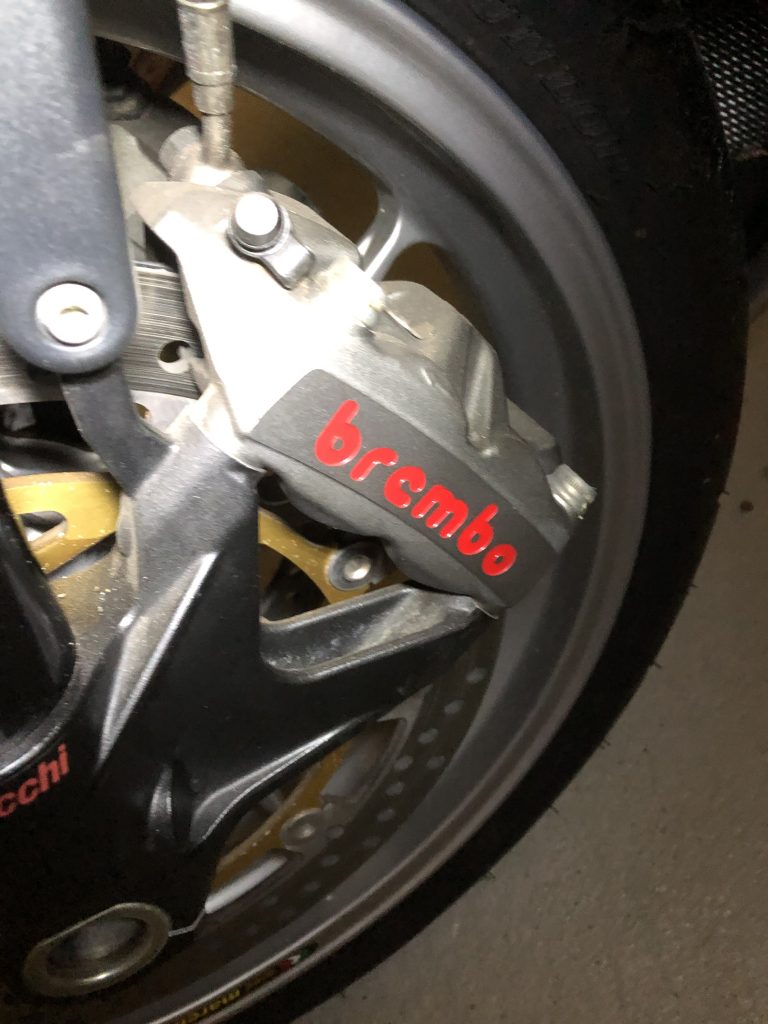
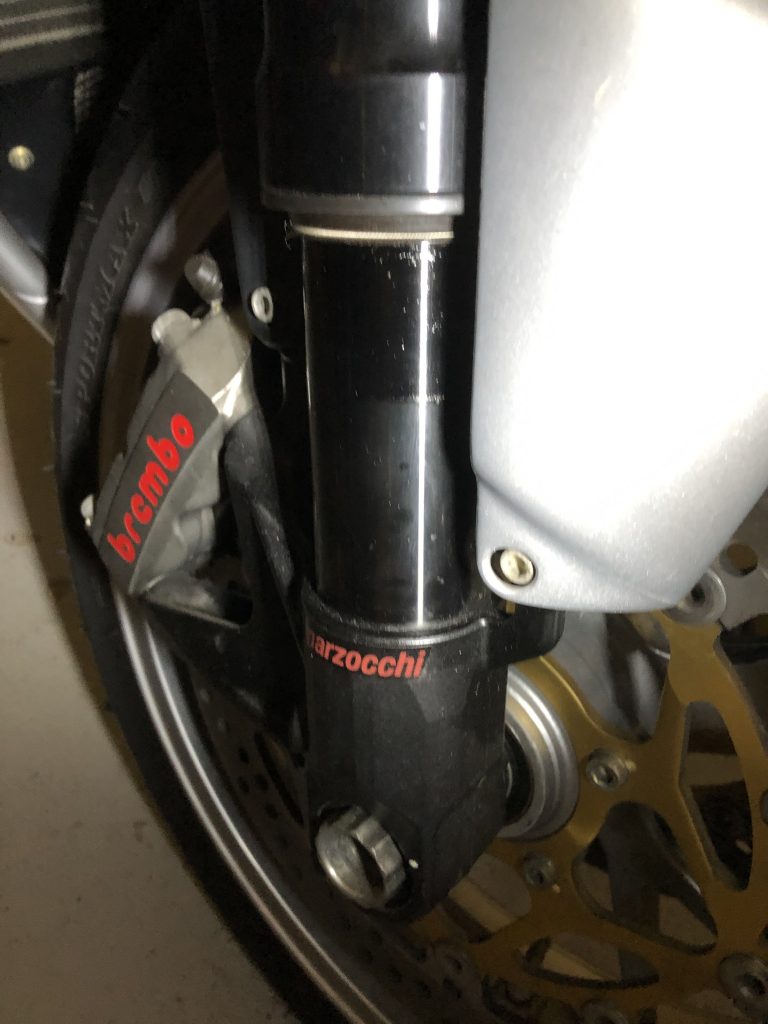
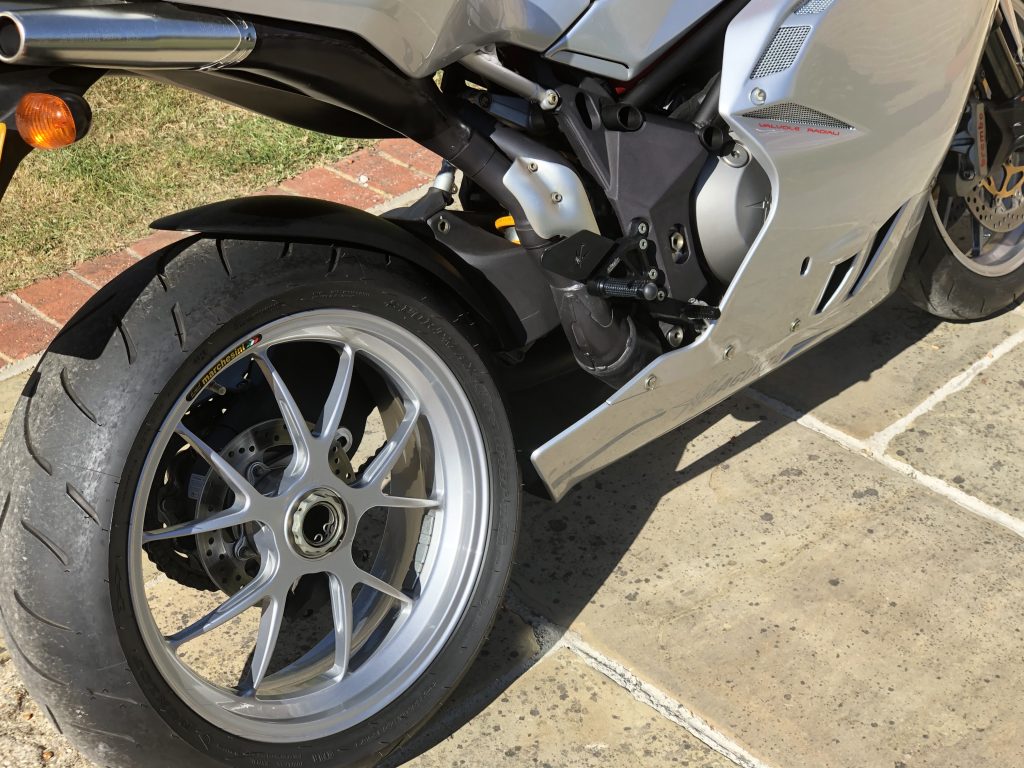
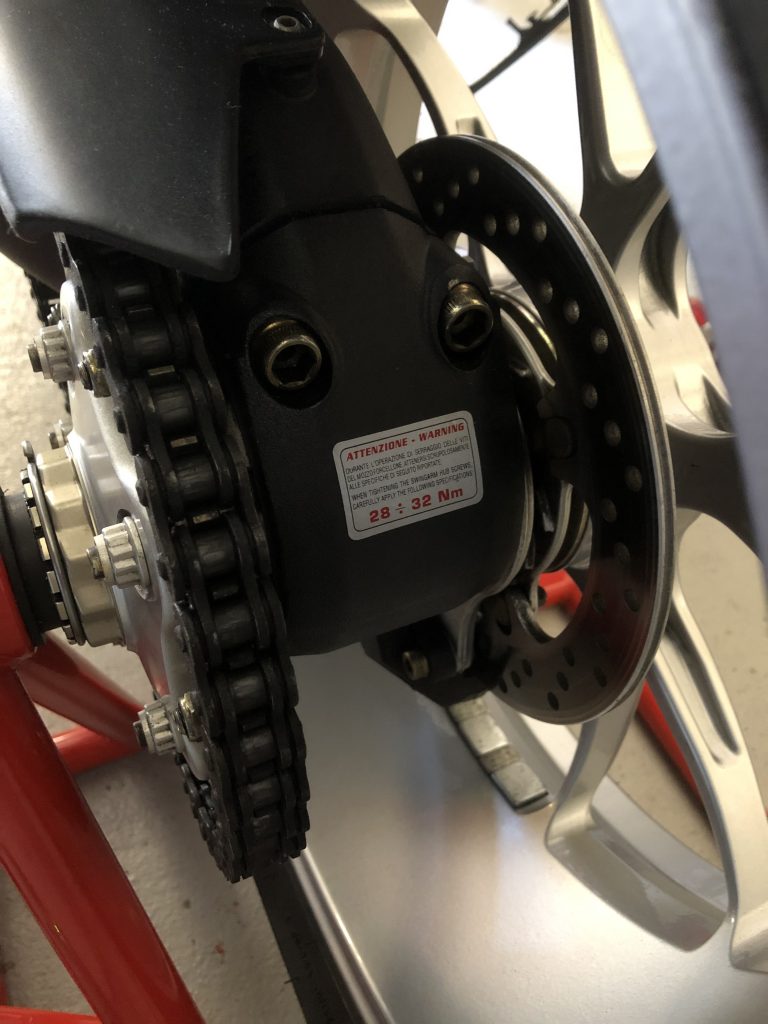
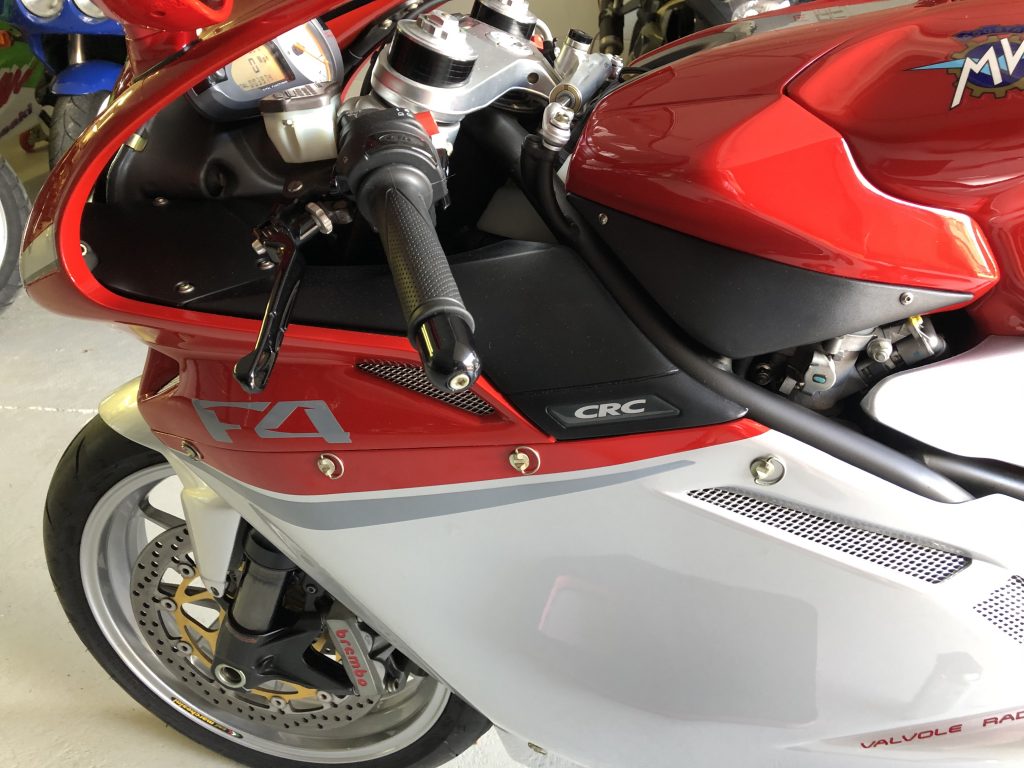
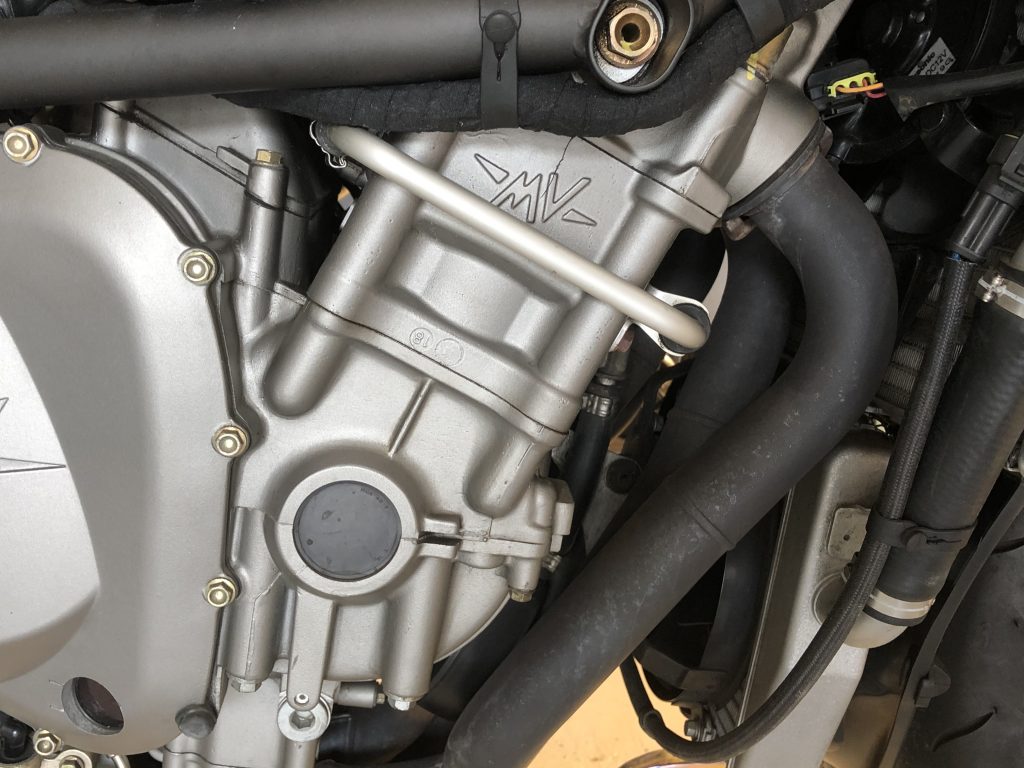
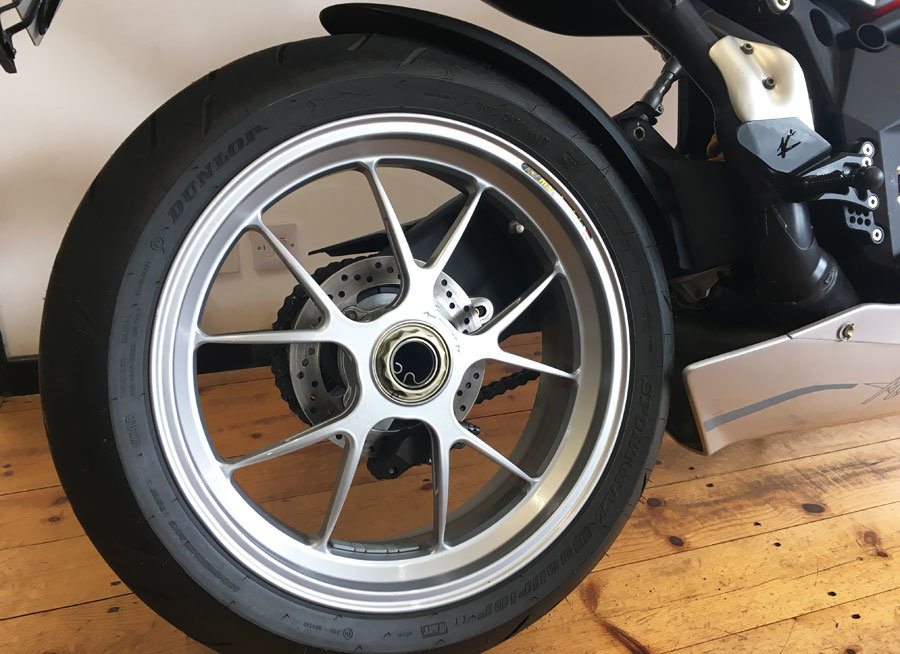
Sporting 190hp in standard form and a top speed of 312km/h (hence the name), the RR 312 was the last of the pure breed Hyper-bikes, no abs, no traction control and no rider modes to tame this power. It made do without the carbon fibre add on’s and colour schemes of the special editions, however it made up for this with 78cc more capacity (3mm increase in bore), slipper clutch, longer 1-3rd gearing while sporting lightweight Marchesini’s, Brembo brakes, fully adjustable Marzocchi forks and a Sachs rear shock.

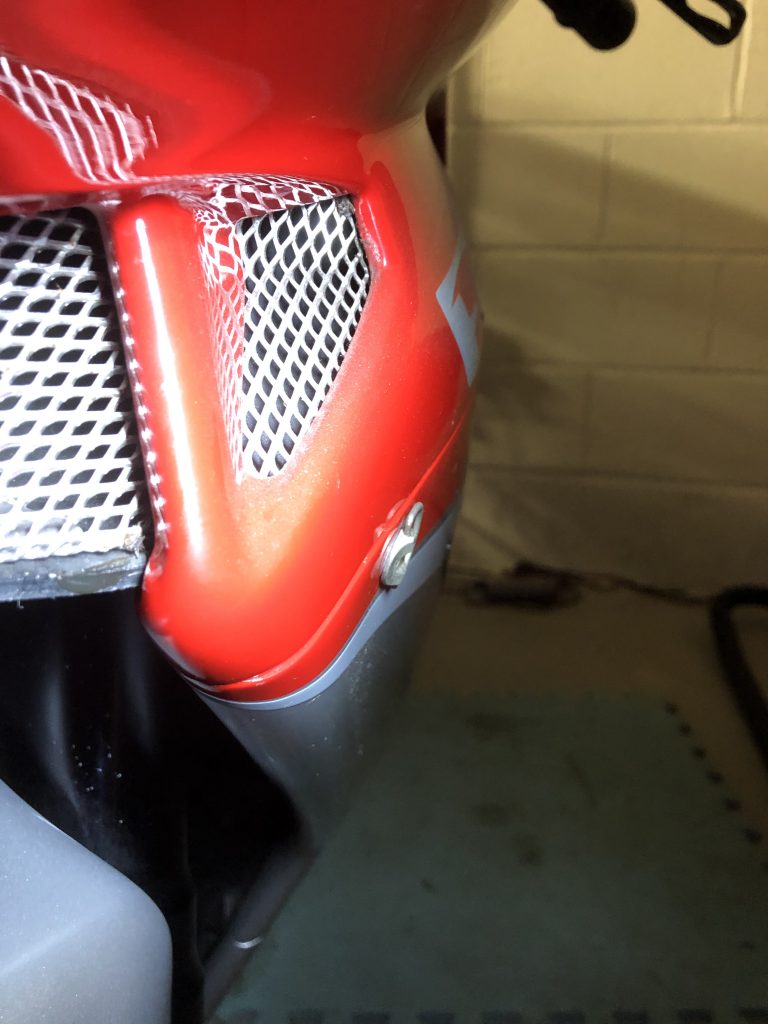
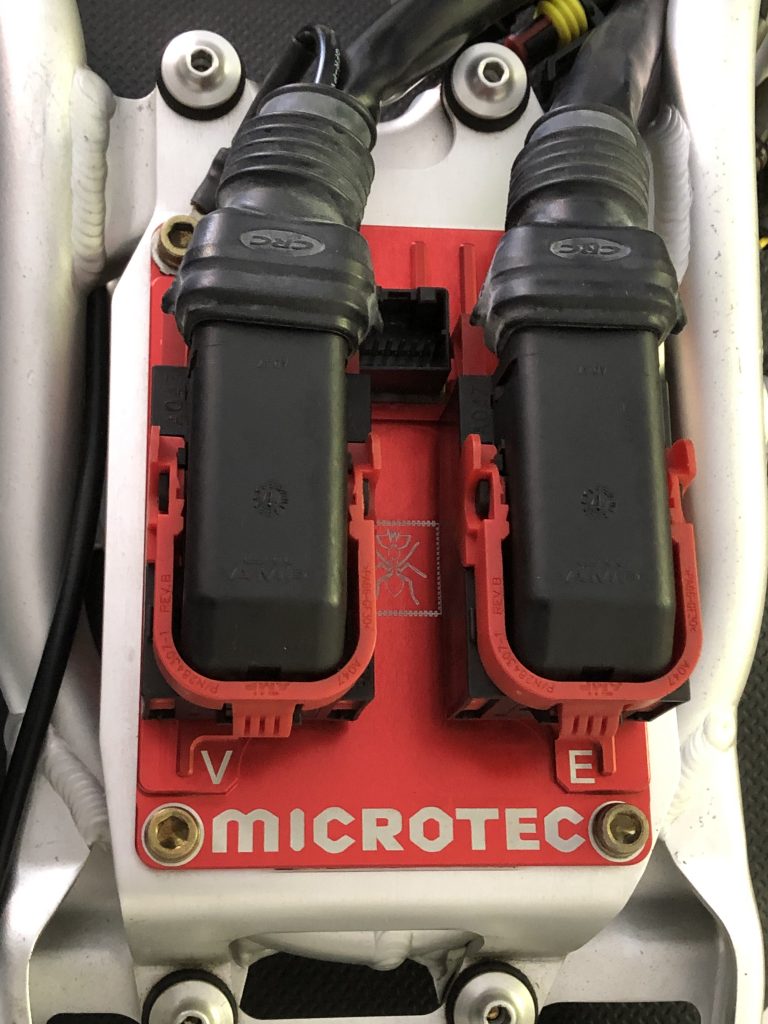
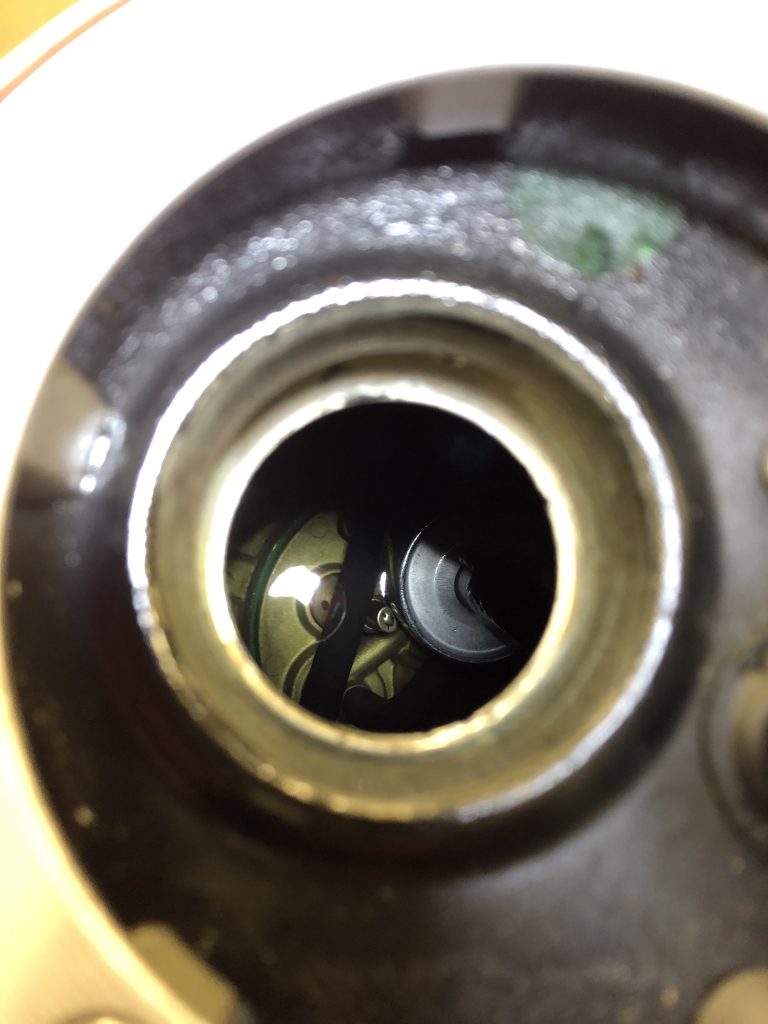
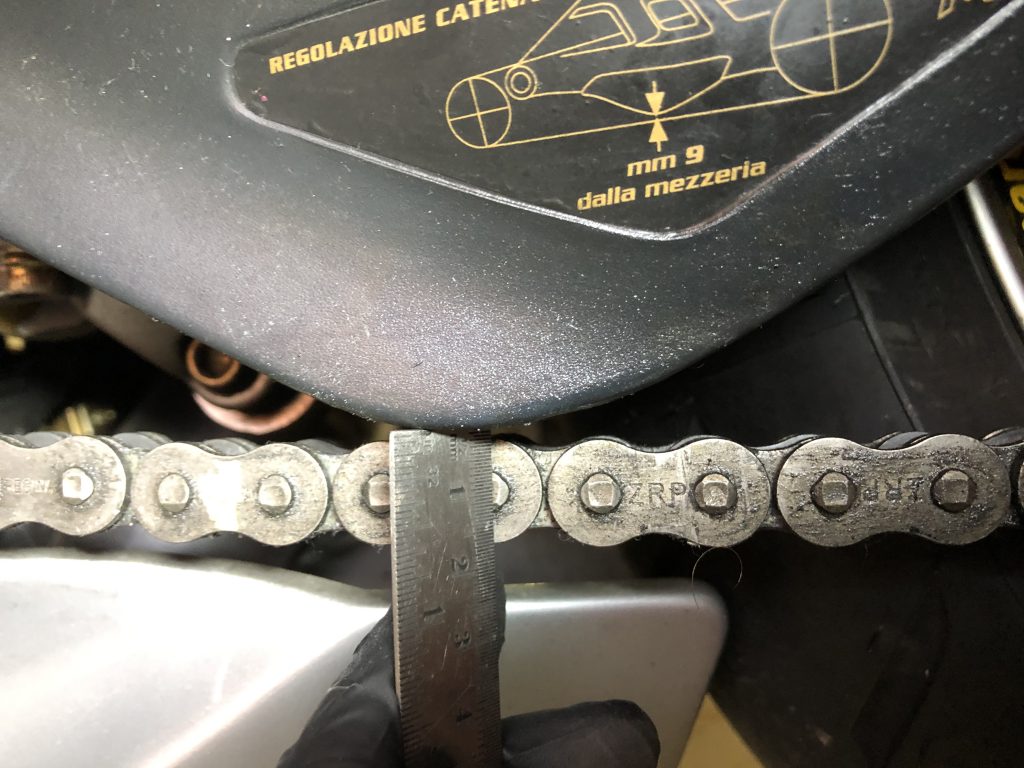
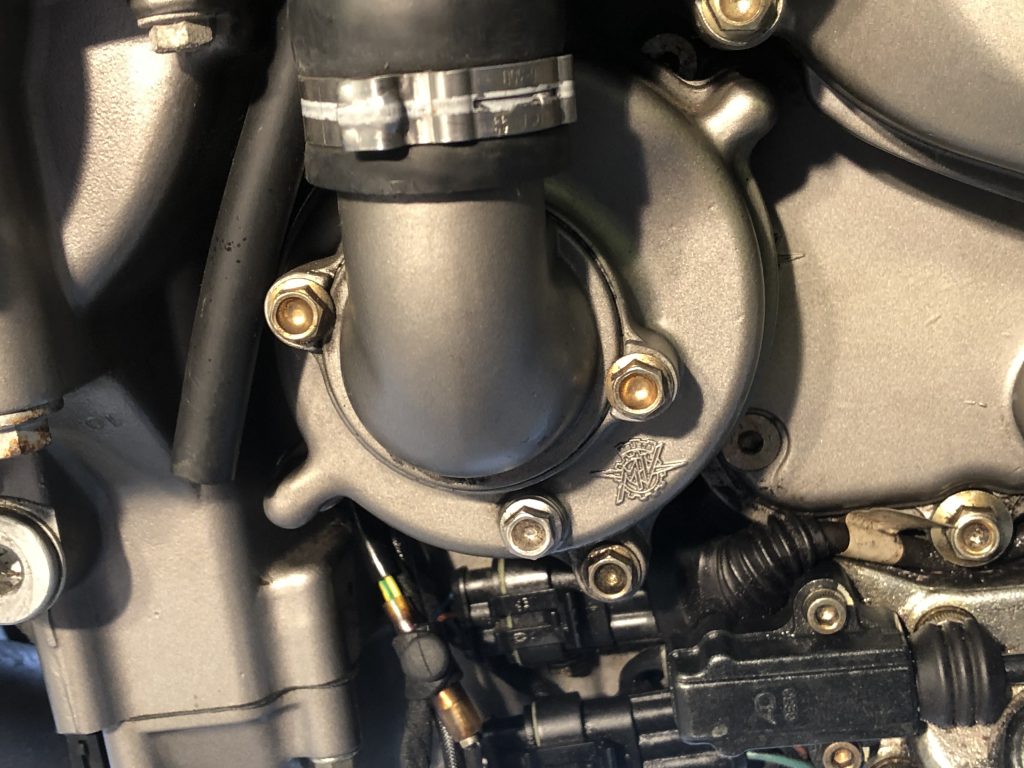
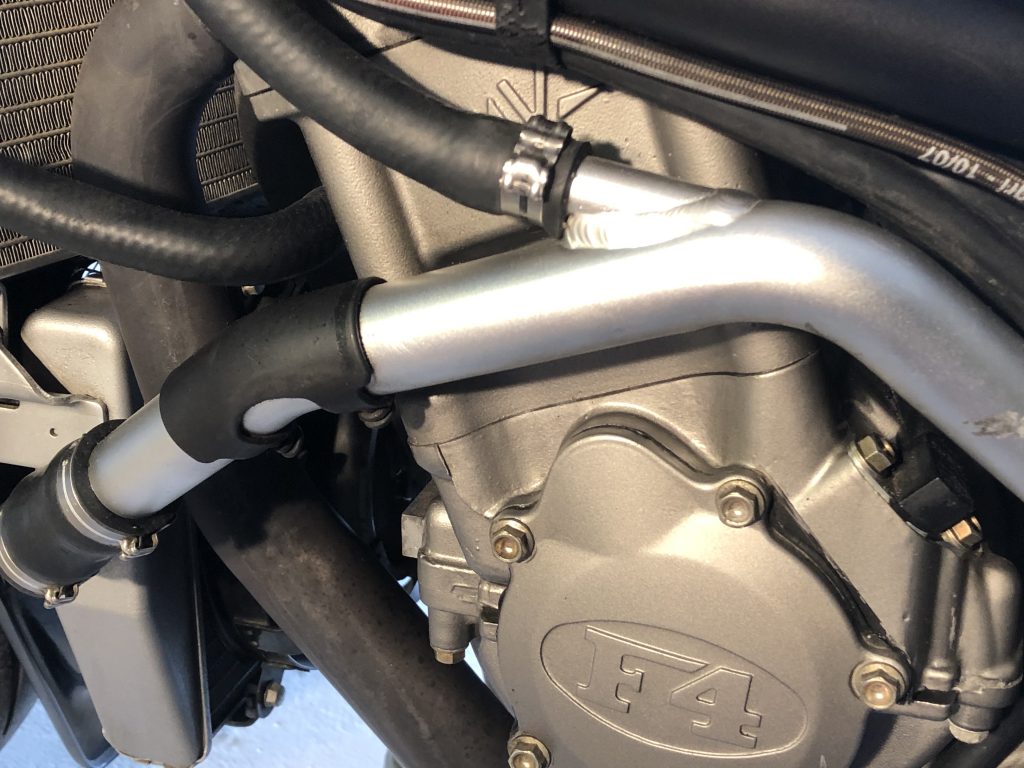
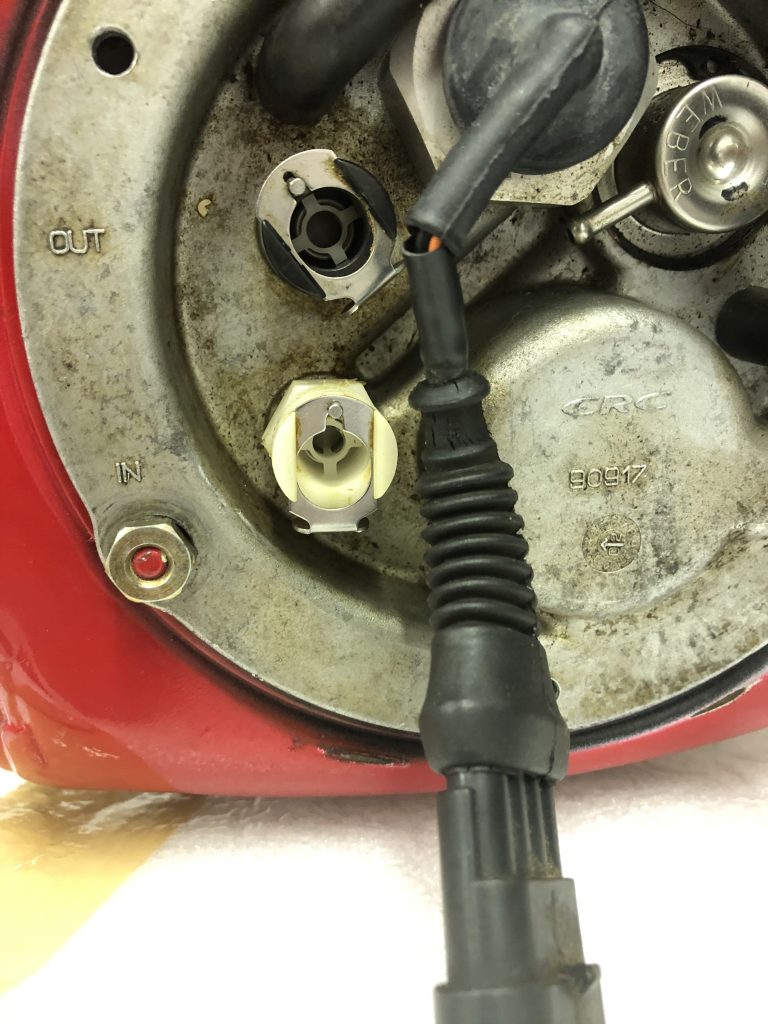
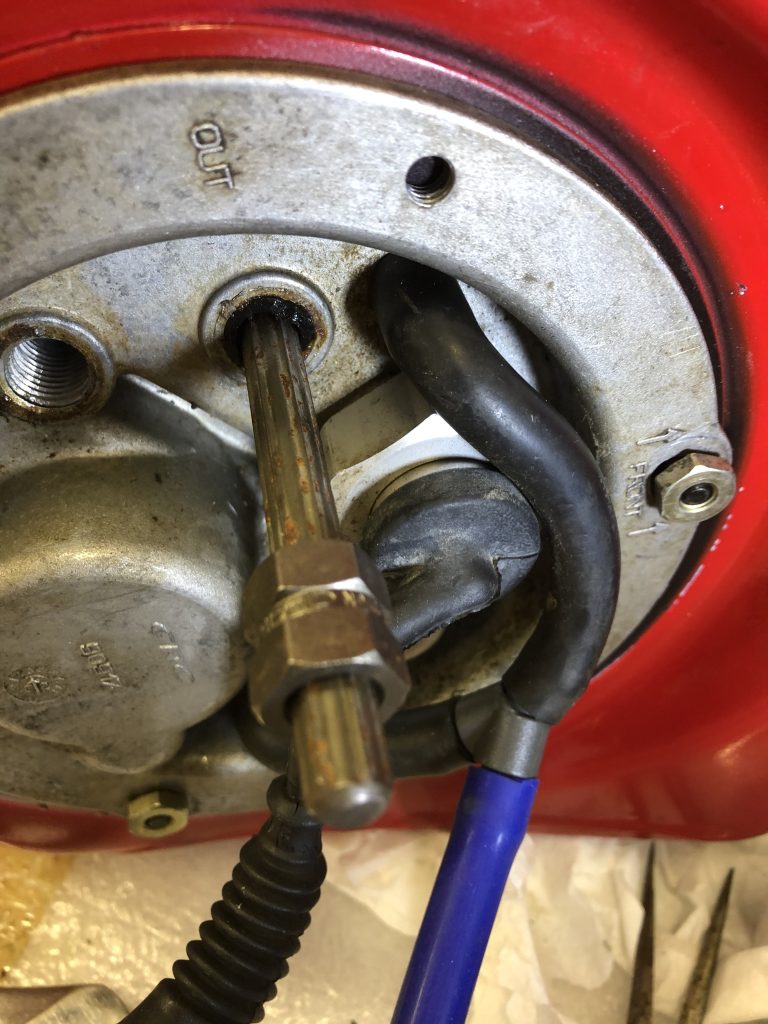
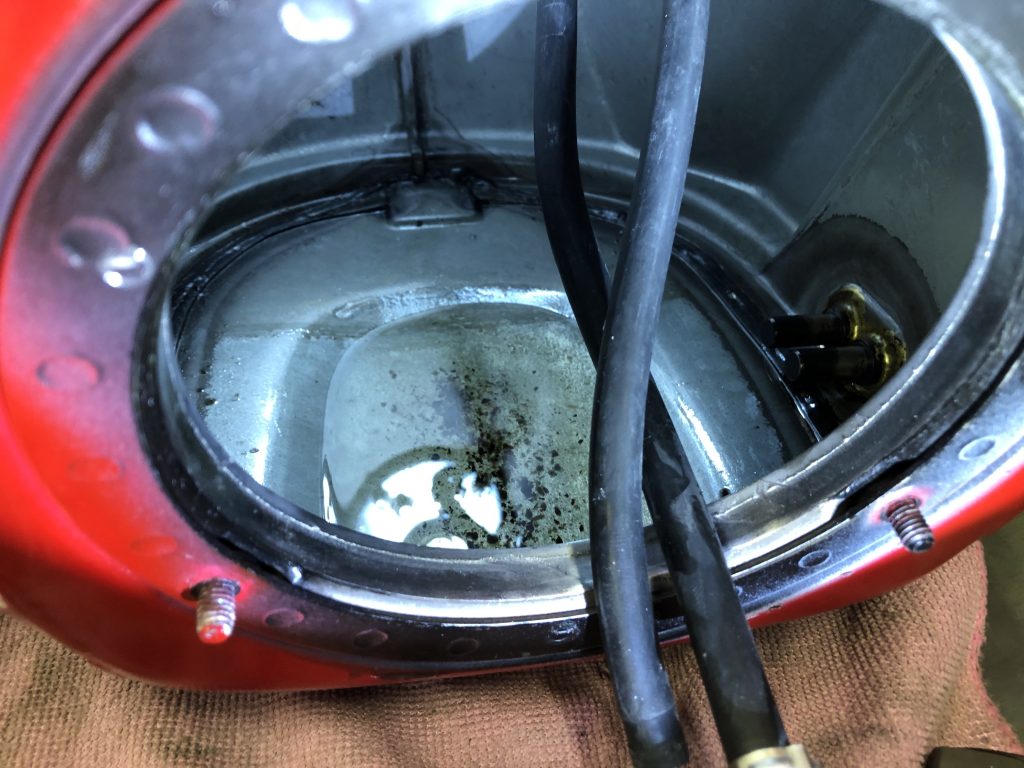
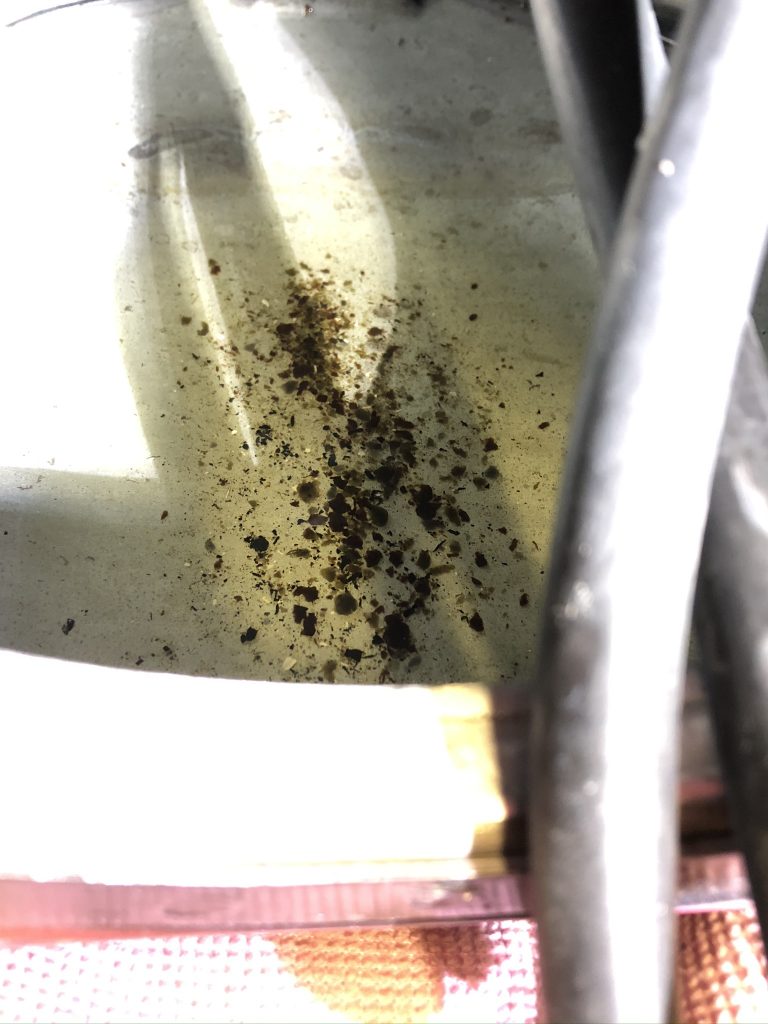
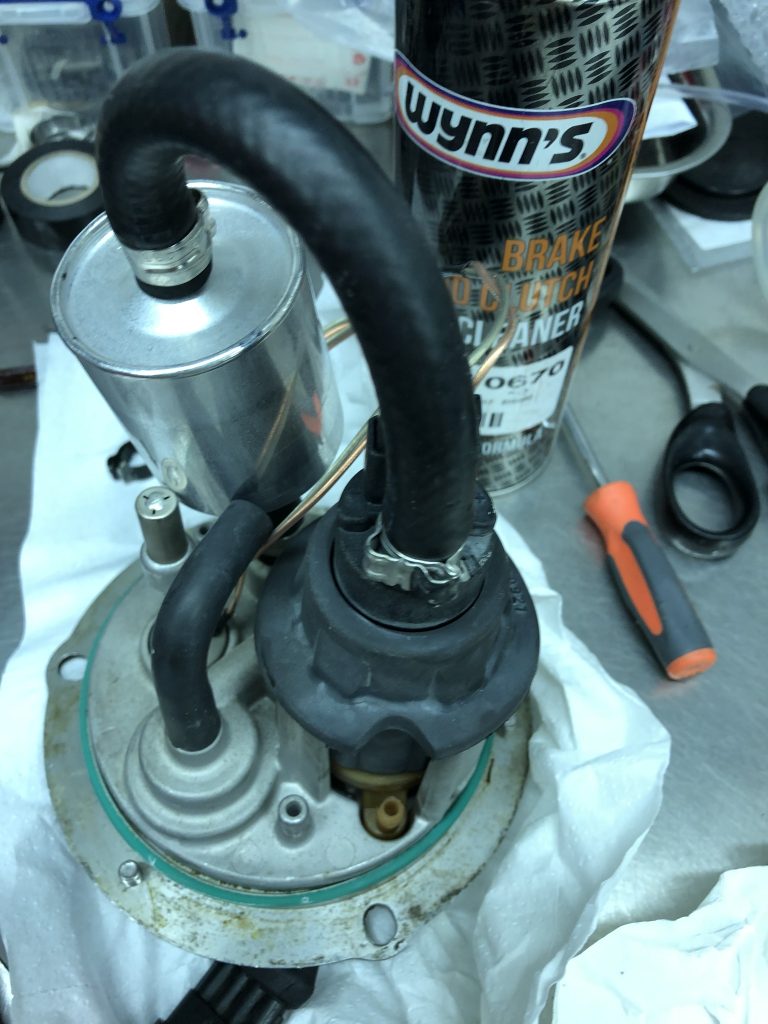
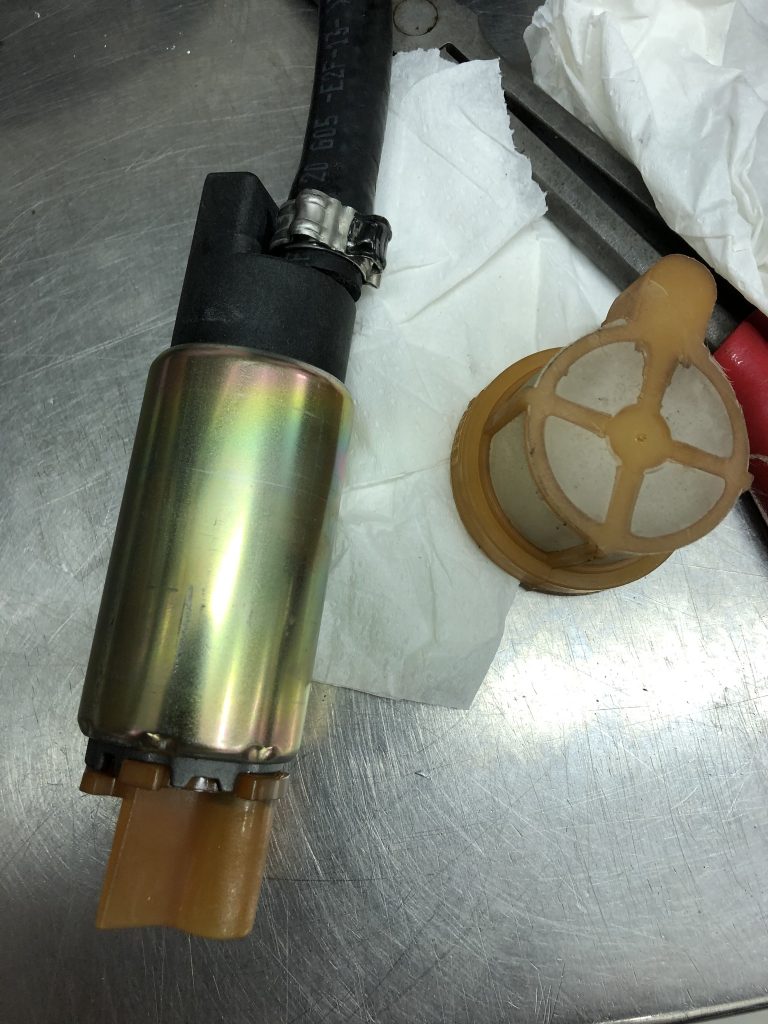
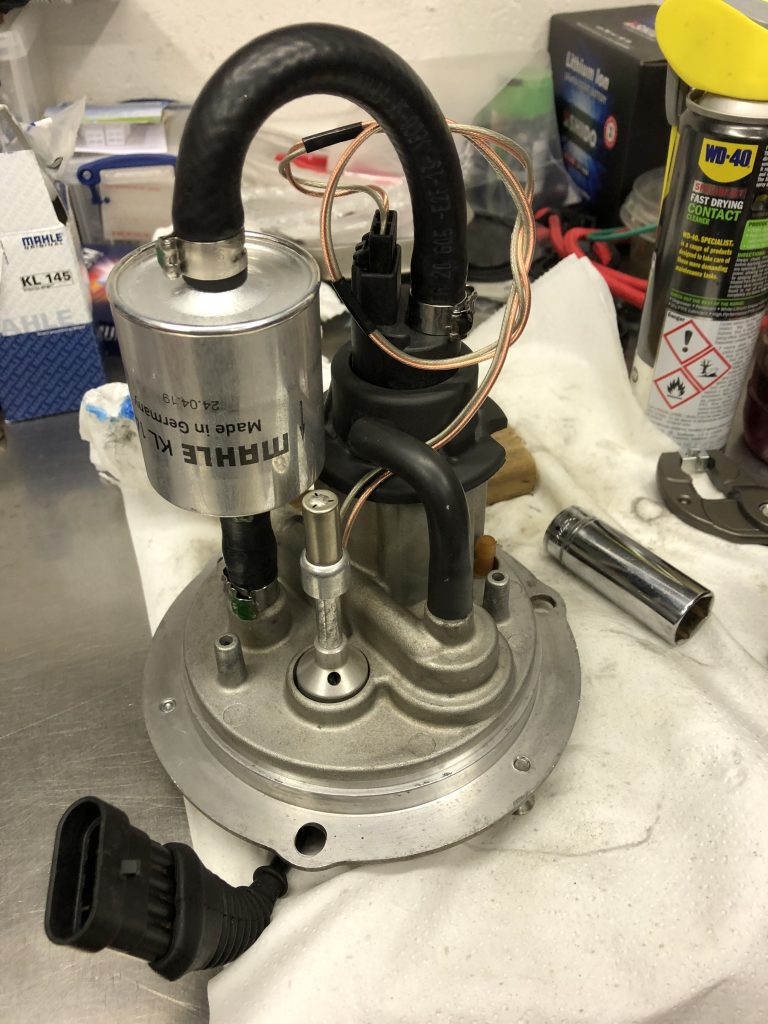
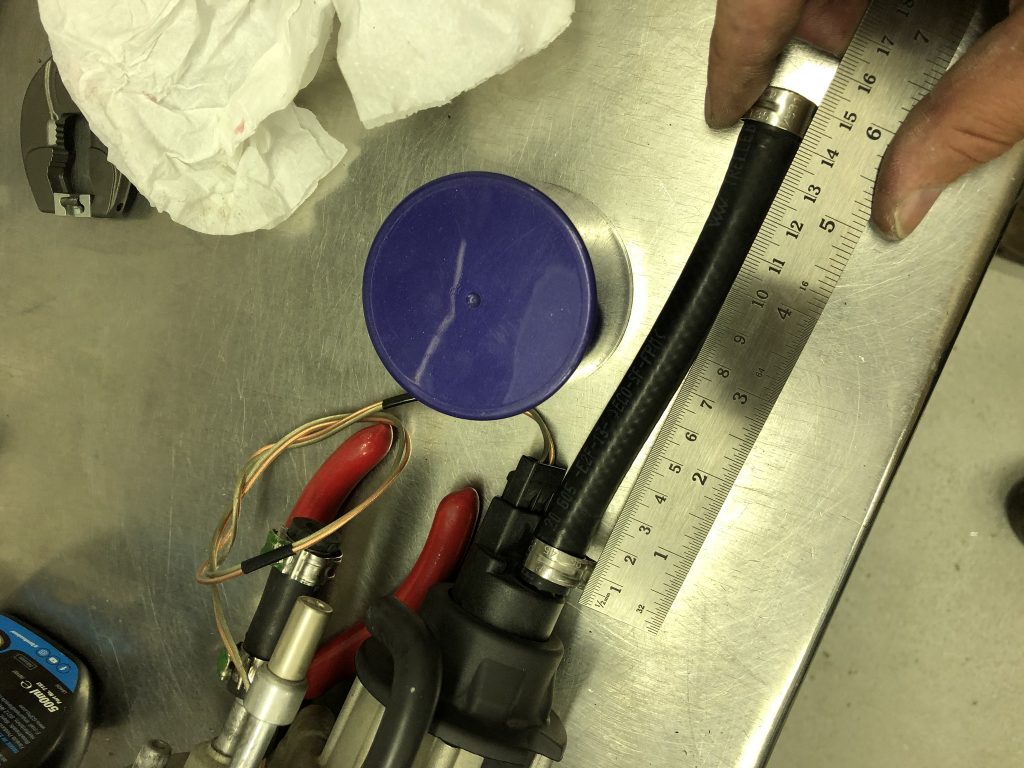
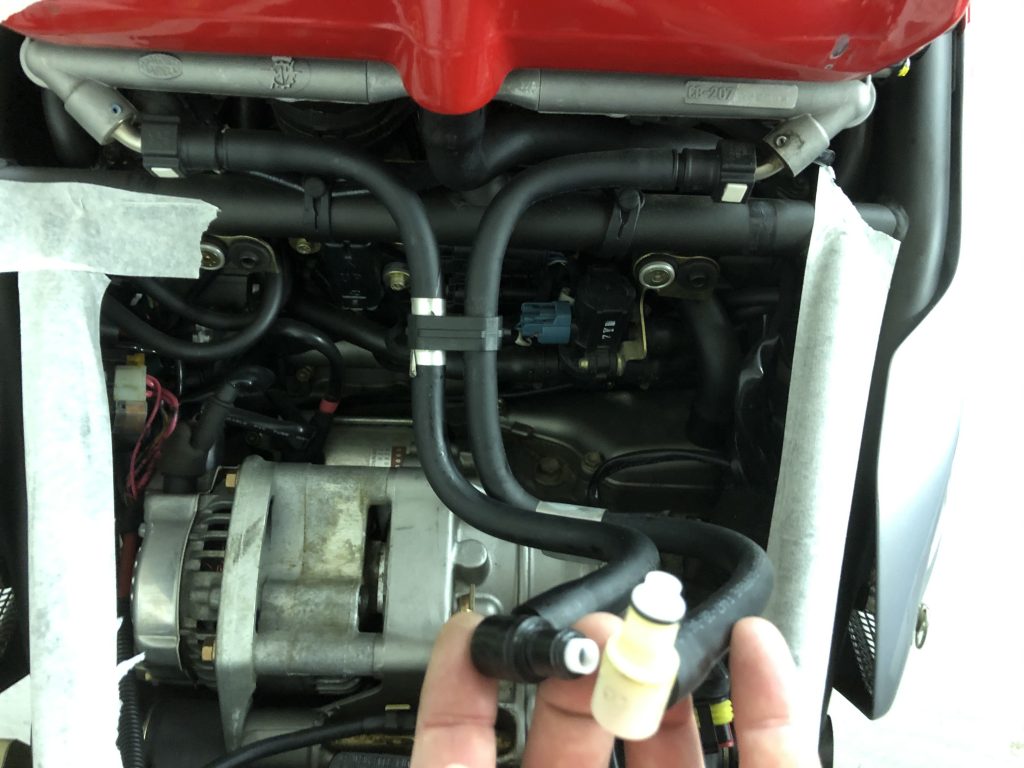
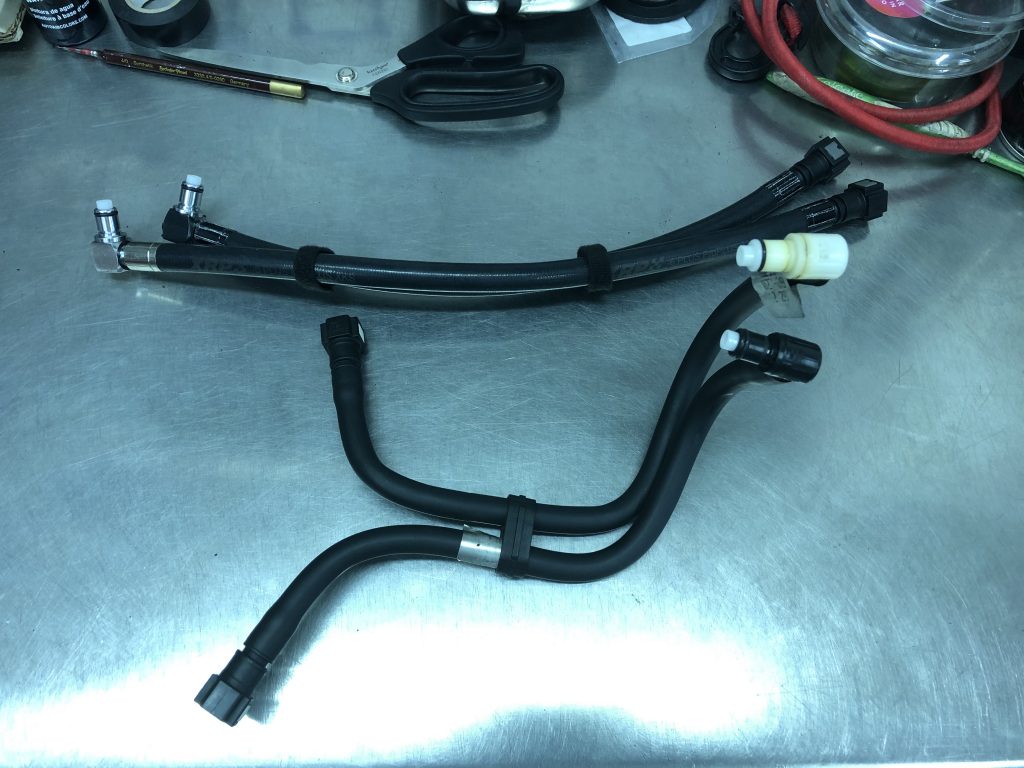
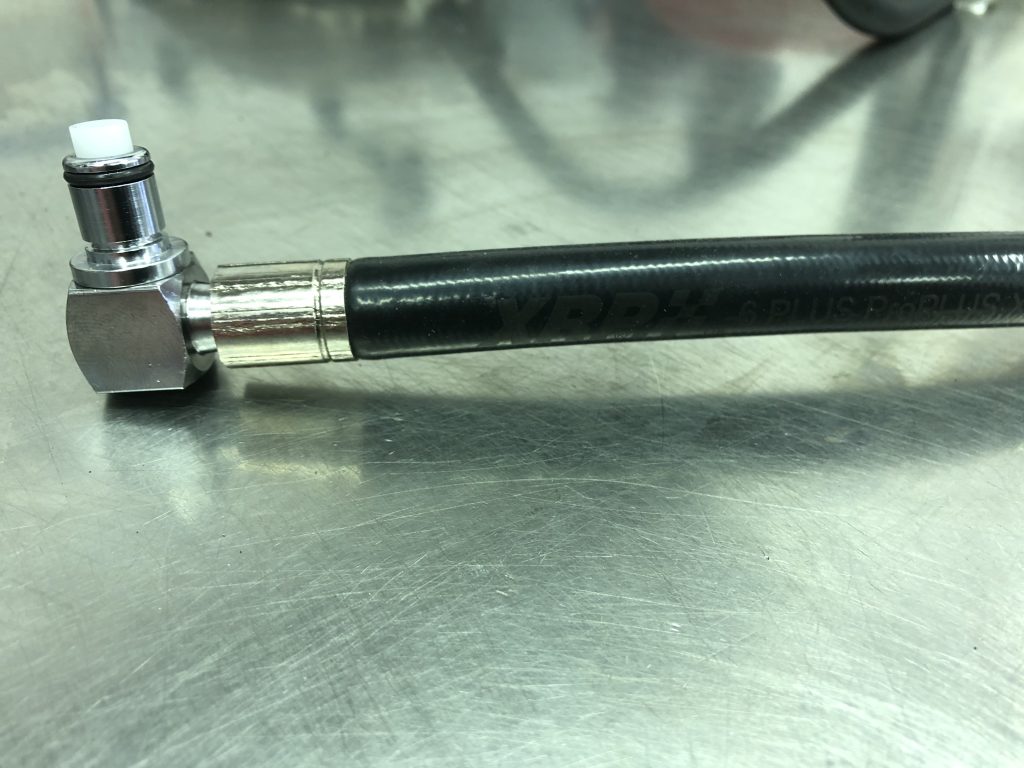
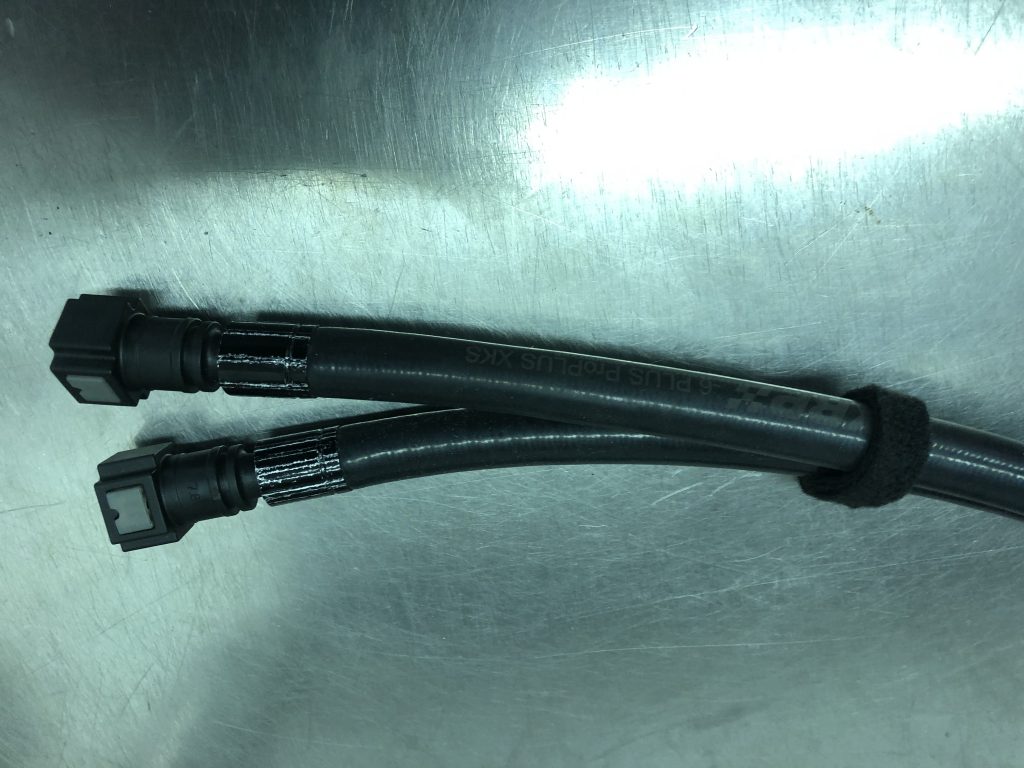
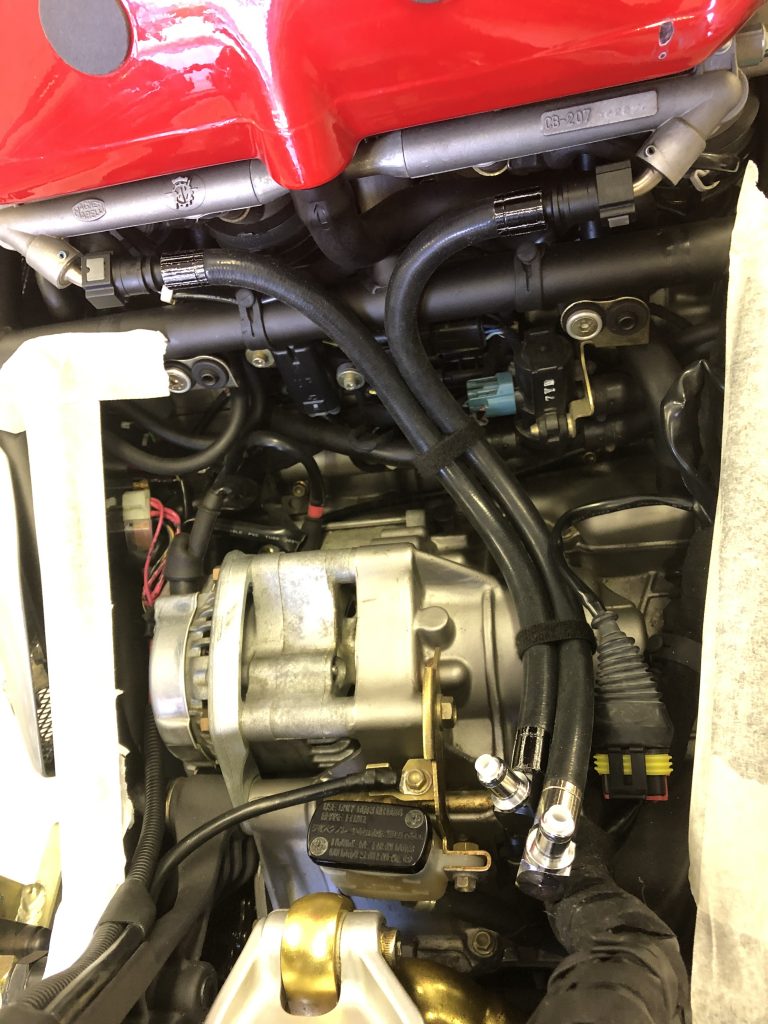
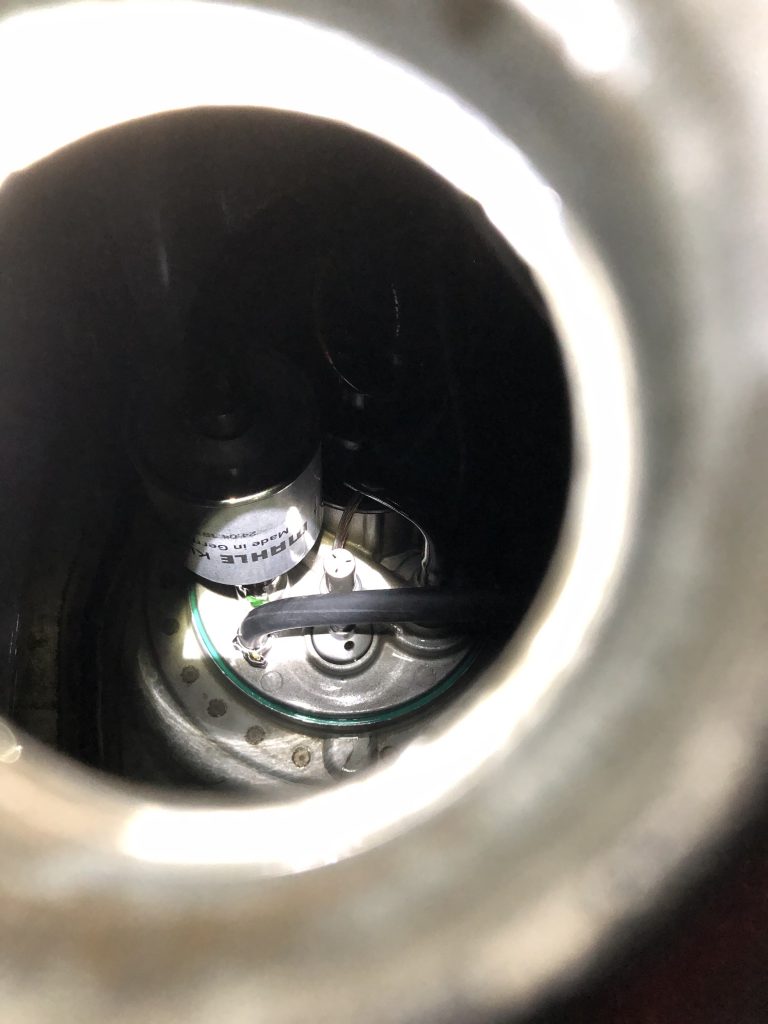
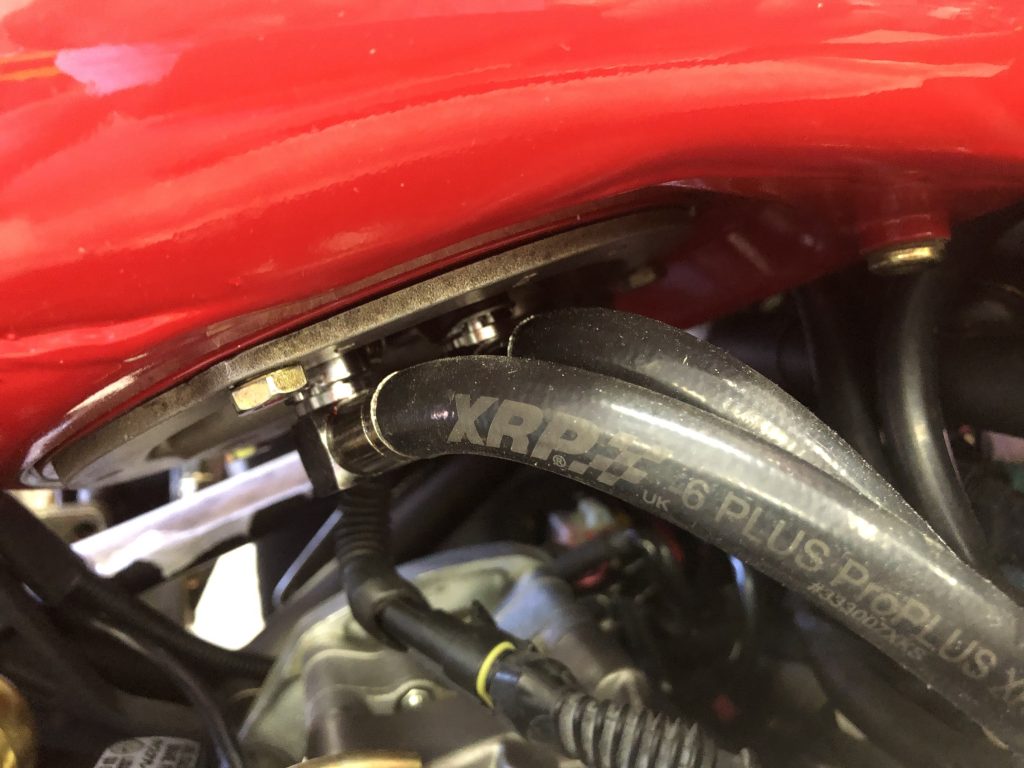
This particular bike has been further improved from stock by X-bikes who also tuned the official UK importer Moto GB’s bikes. The 1078 was known to have some snatchy fuelling issues and overheating problems. These were easily remedied, the consensus is to install a re-mappable ecu, in this instance a Microtec M226 mapped by X-bikes delivering better low range power delivery, increased hp and bringing the cooling fans on sooner at 90 degrees centigrade.

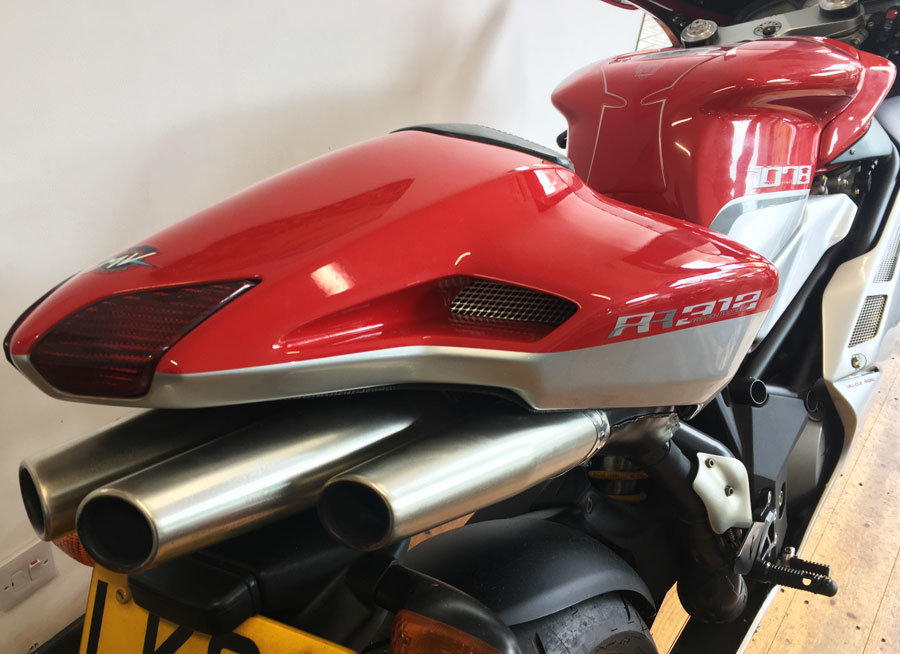
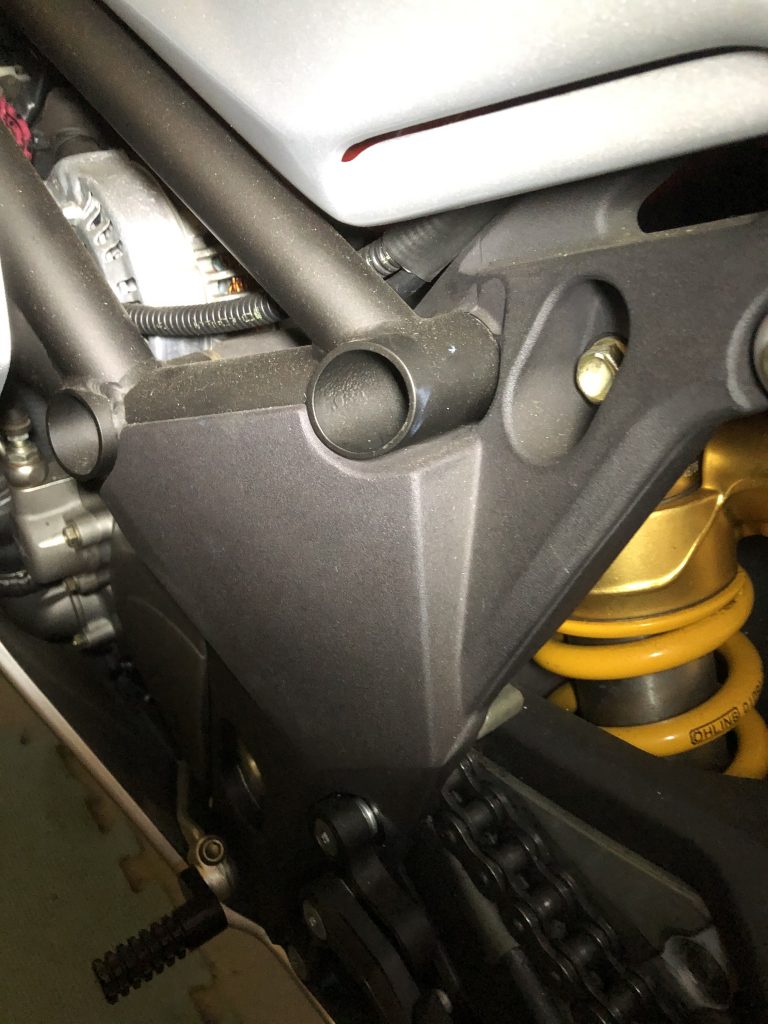
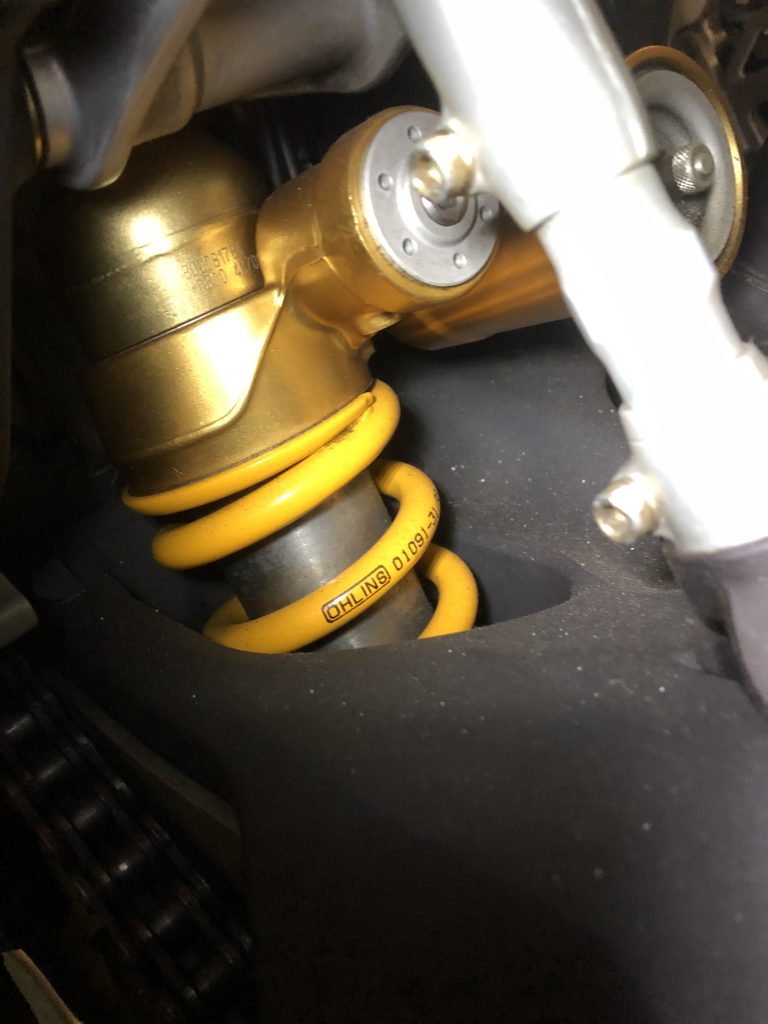
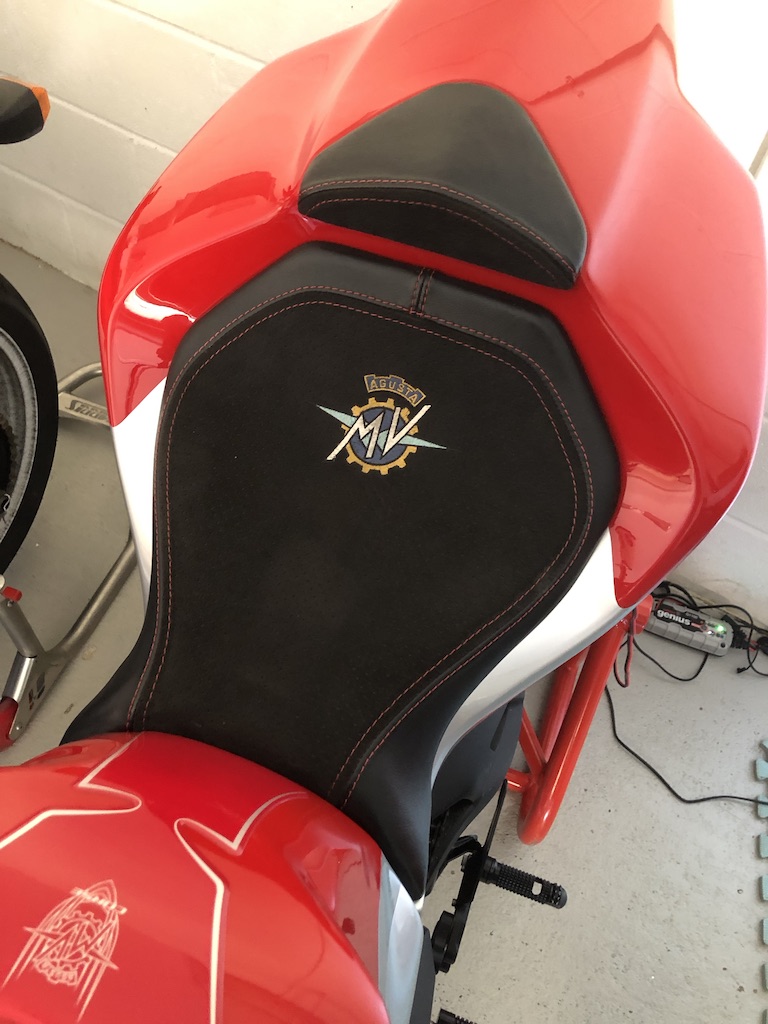
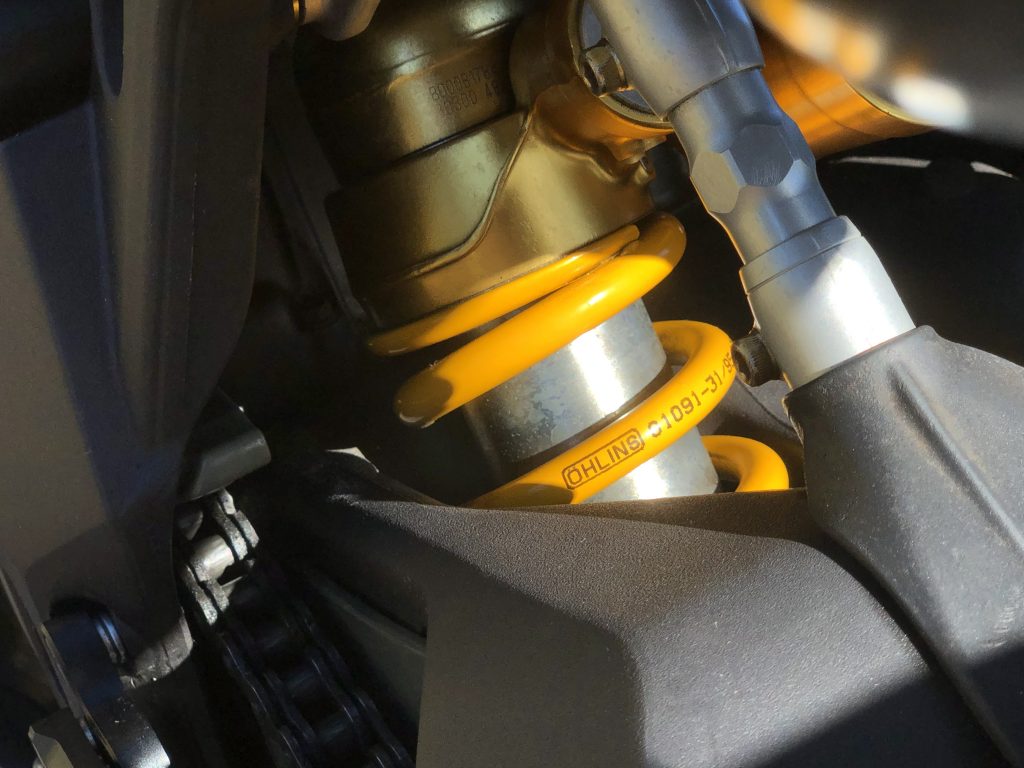
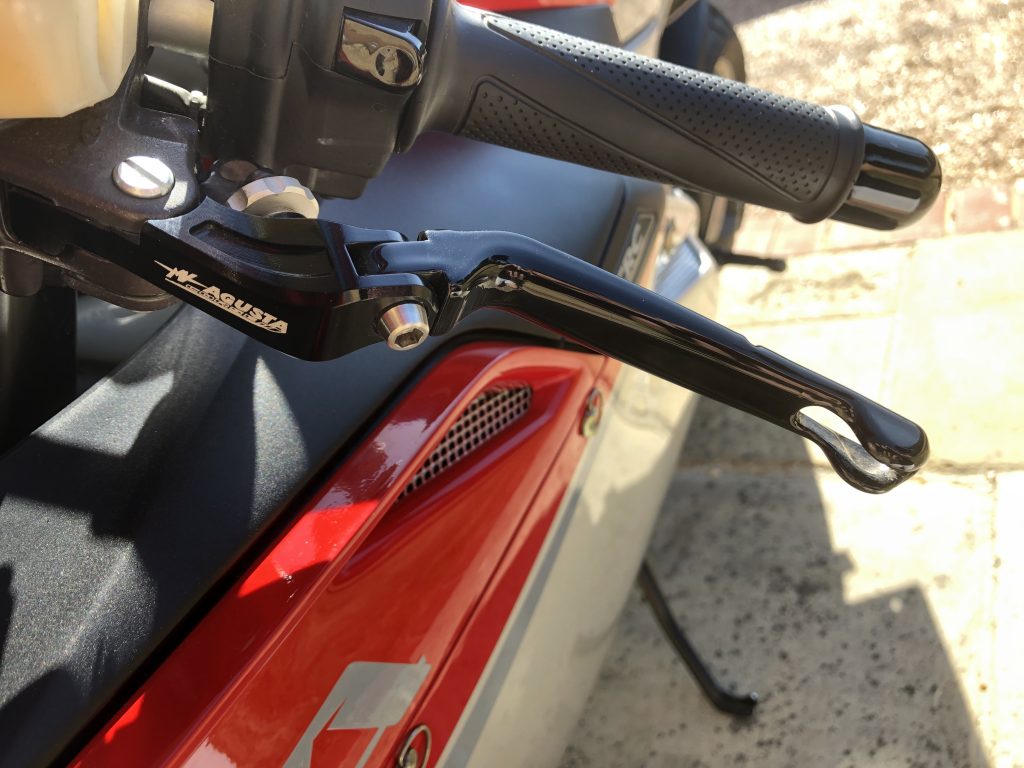
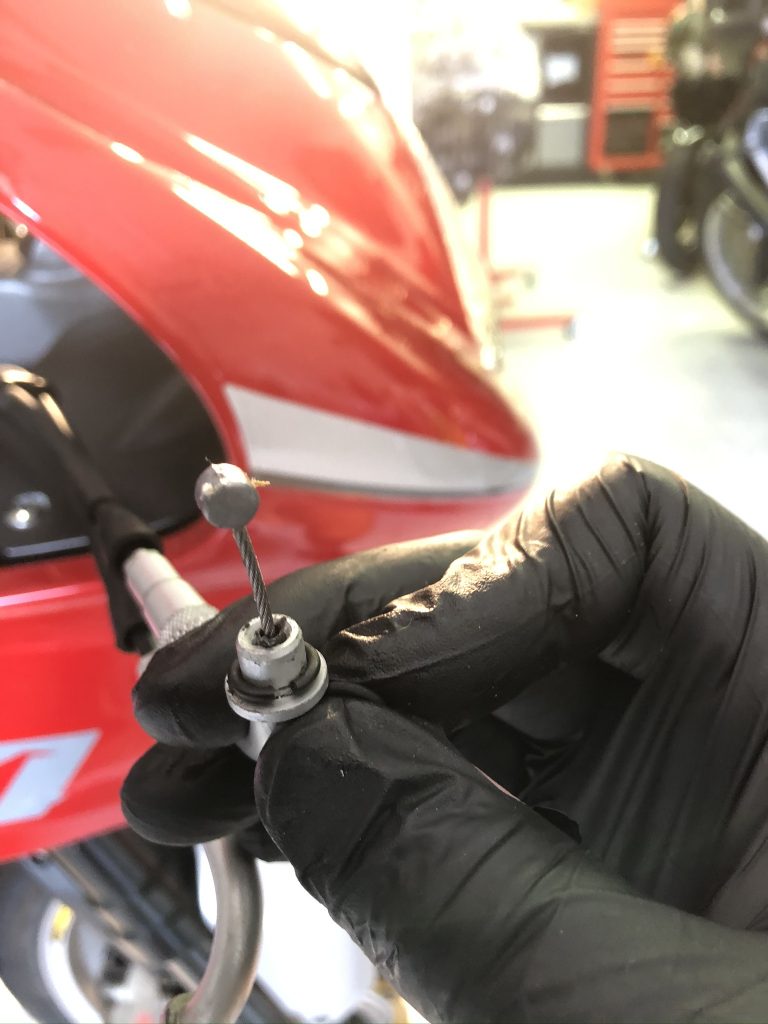
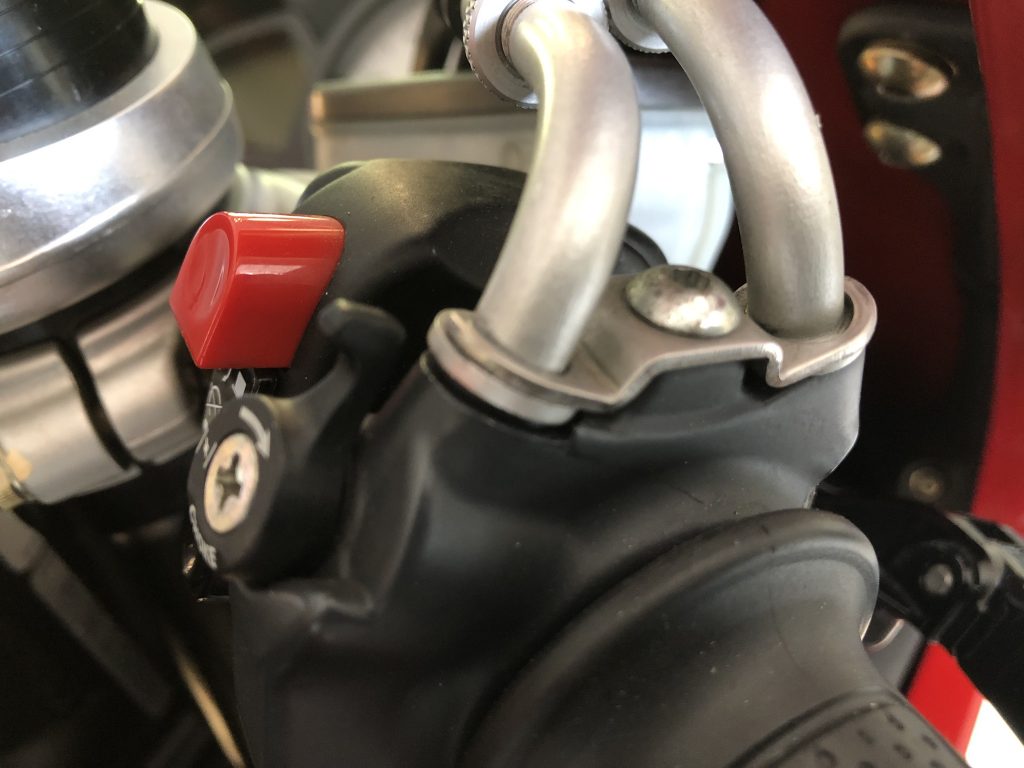
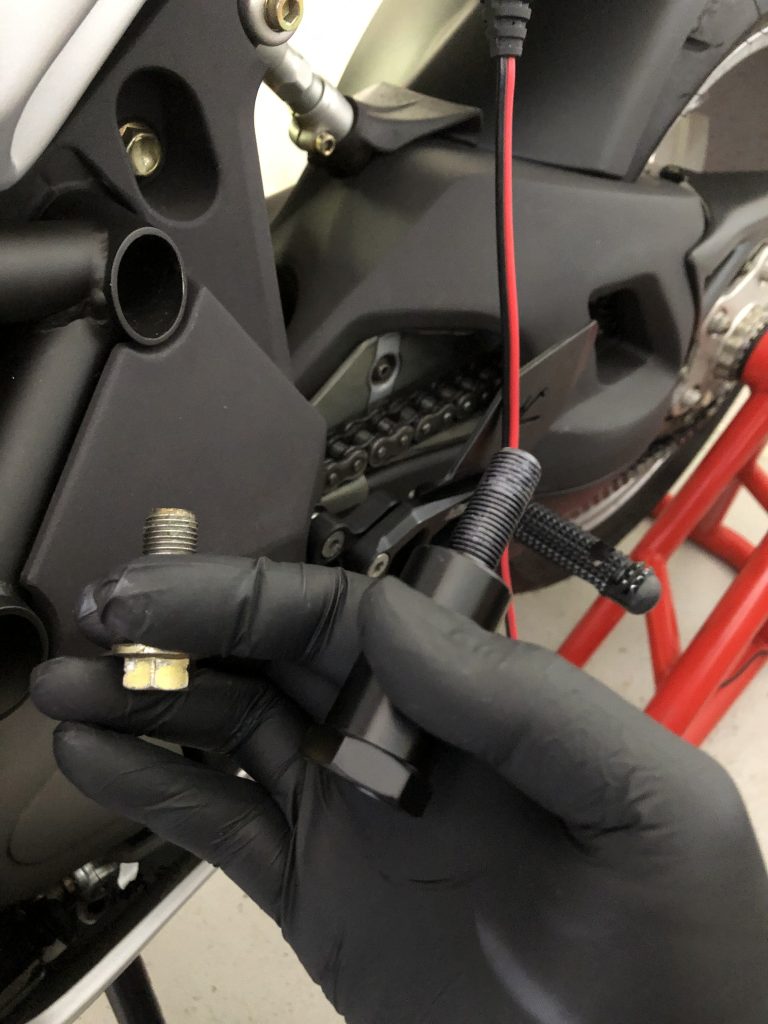
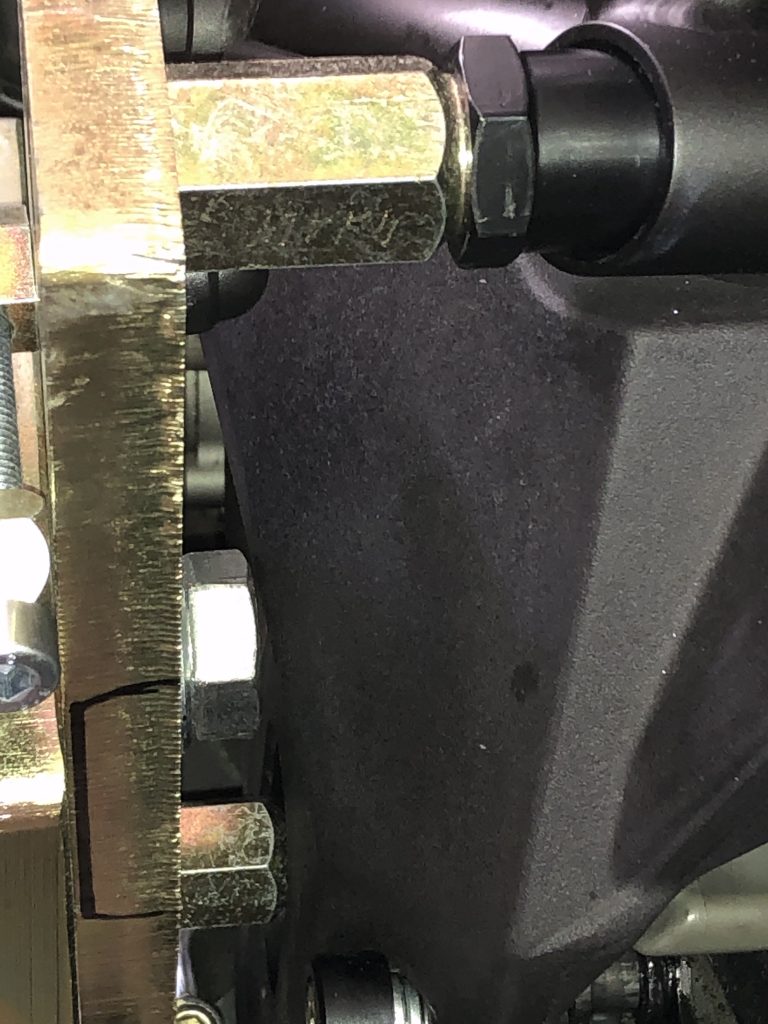
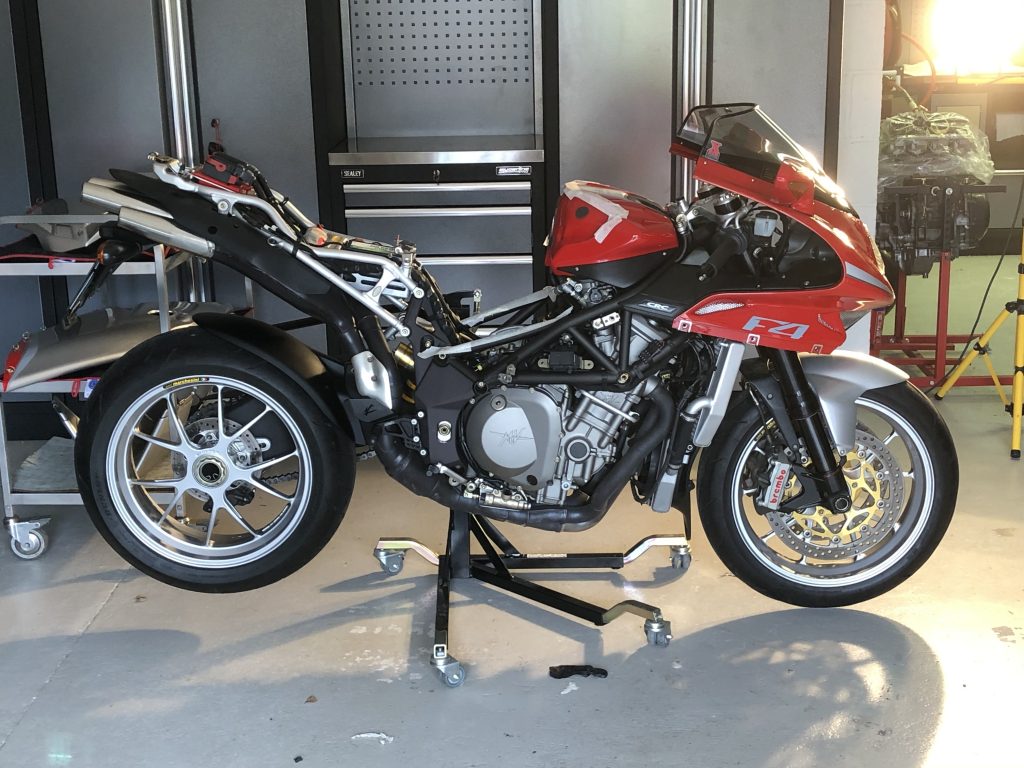
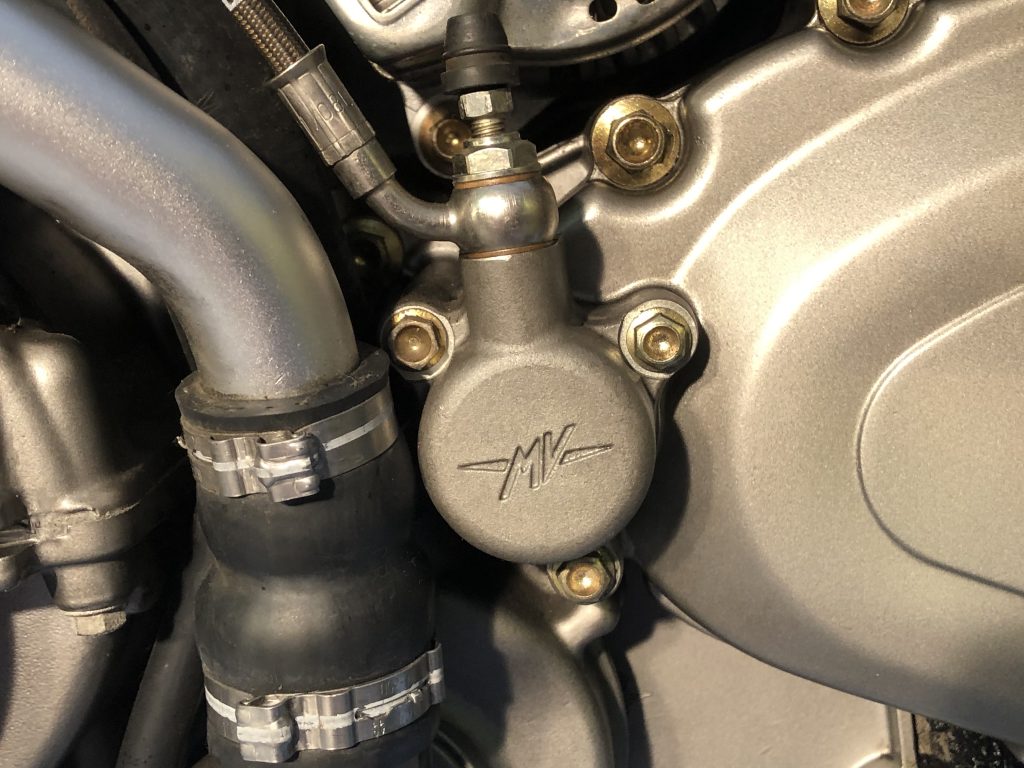
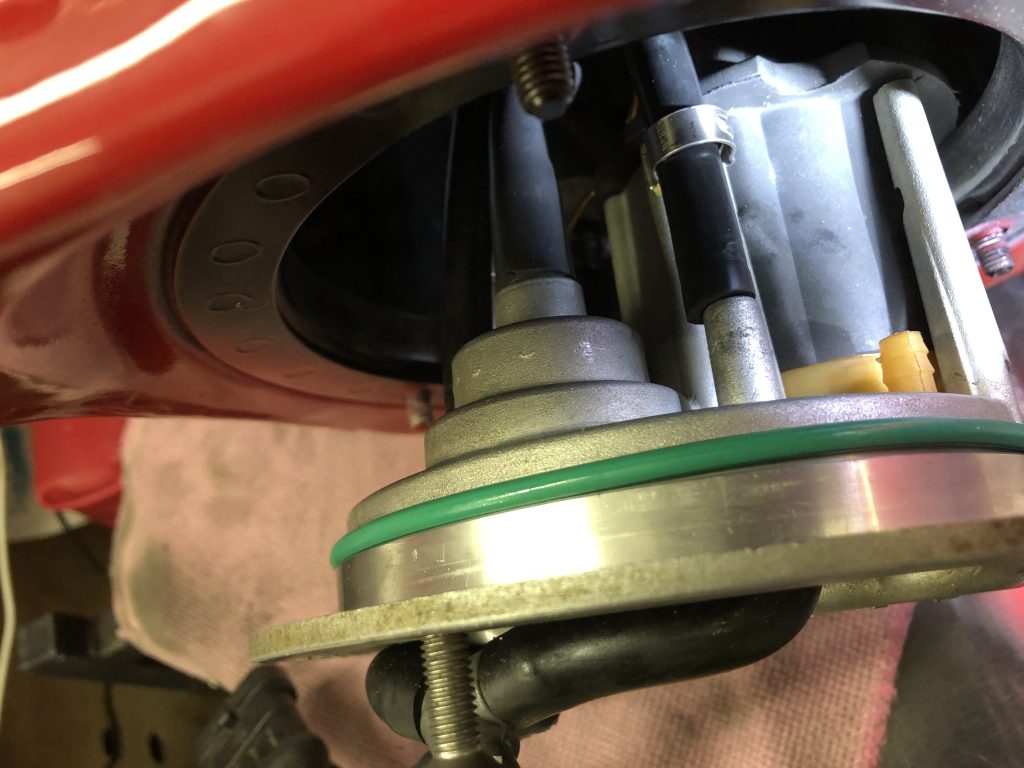
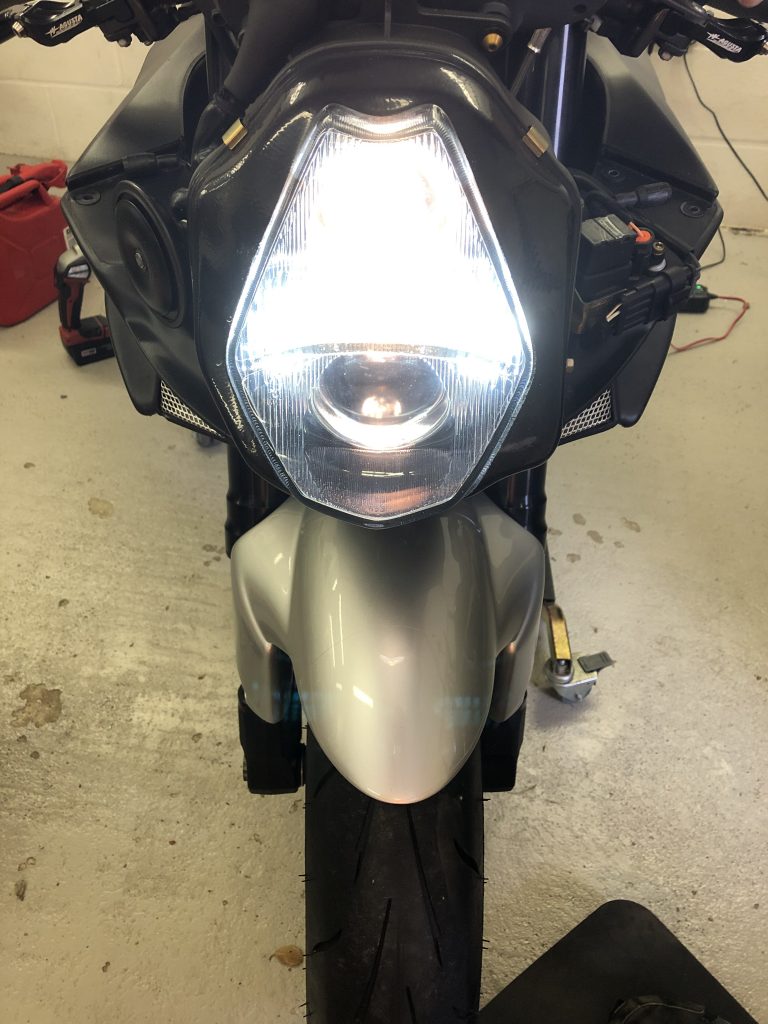
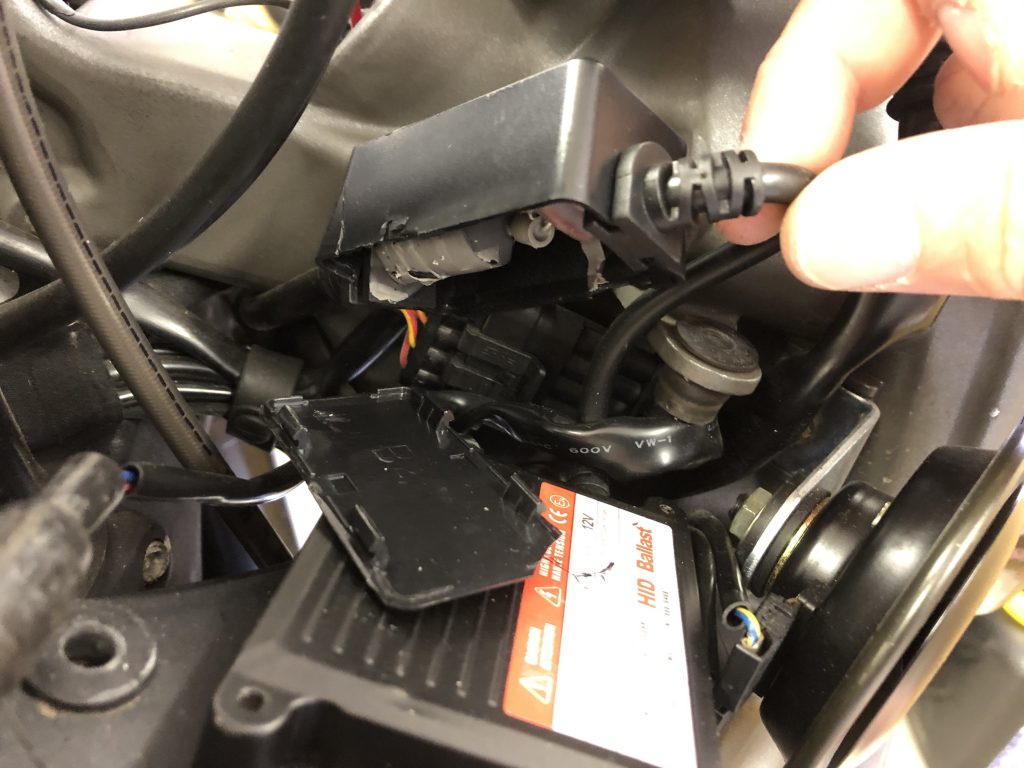
This has been combined with an upgraded water pump impeller and a re-cored exhaust pipe (akin to the MV Corse RG3 pipes) with additional black ceramic coating. The chassis has been treated to a lighter 9.5kg Ohlins rear spring and +3mm swingarm pivot plates to soften the rear for our roads while simultaneously increasing anti-squat. Further changes from factory include MV Corse folding levers, Waltermoto adjustable rearsets as well as a HID low beam, CC style alcantara/leather seat and Silver powder coated wheels.

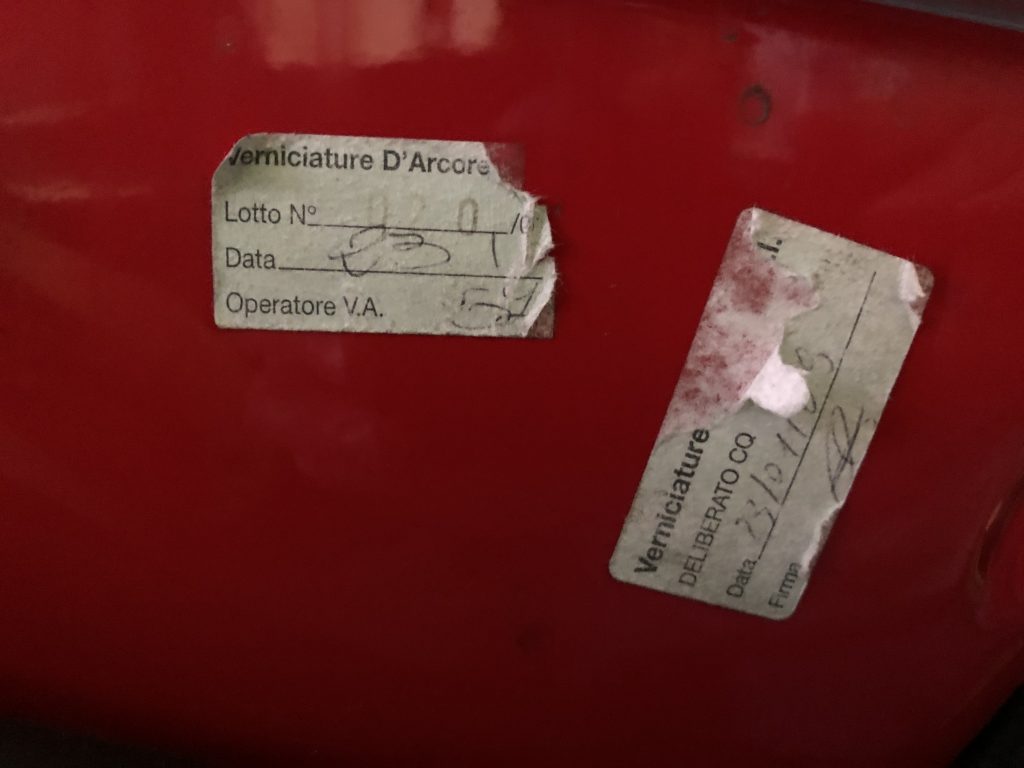
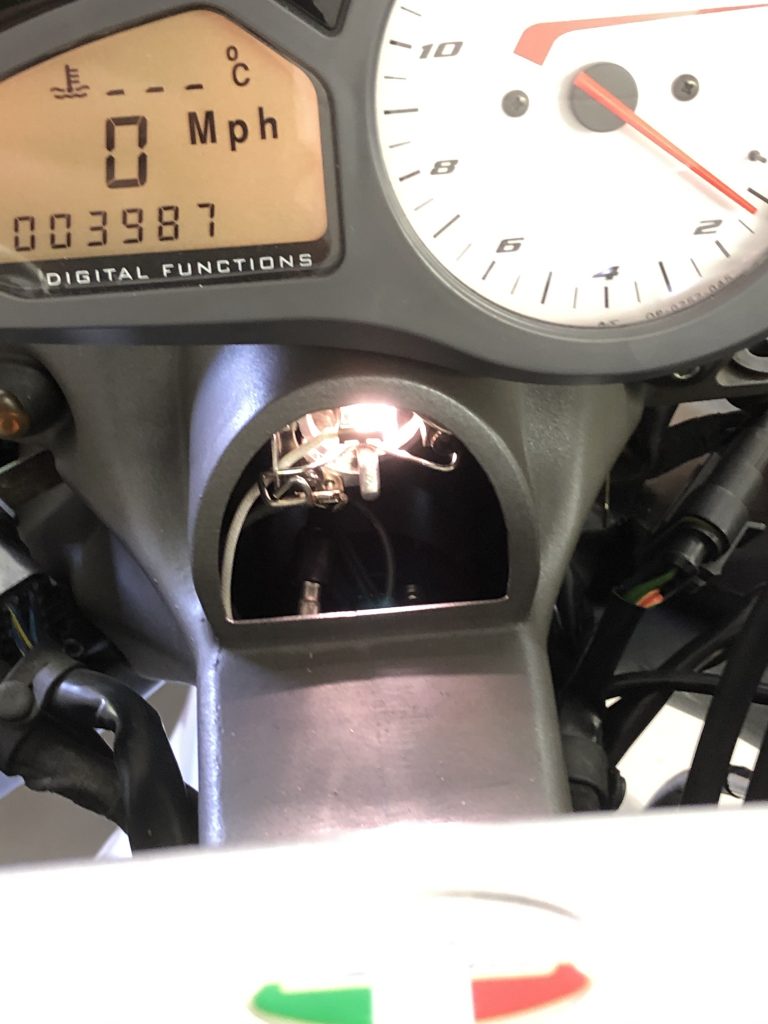
This particular example was previously enjoyed prior to myself by 2 owners. The first one purchased her from a London dealer and had her shipped directly to X-bikes to carry out the work and run her in on the dyno. He sold the bike at 880 miles a year later. The second owner had her for 9 years before selling to me at 3973 miles.

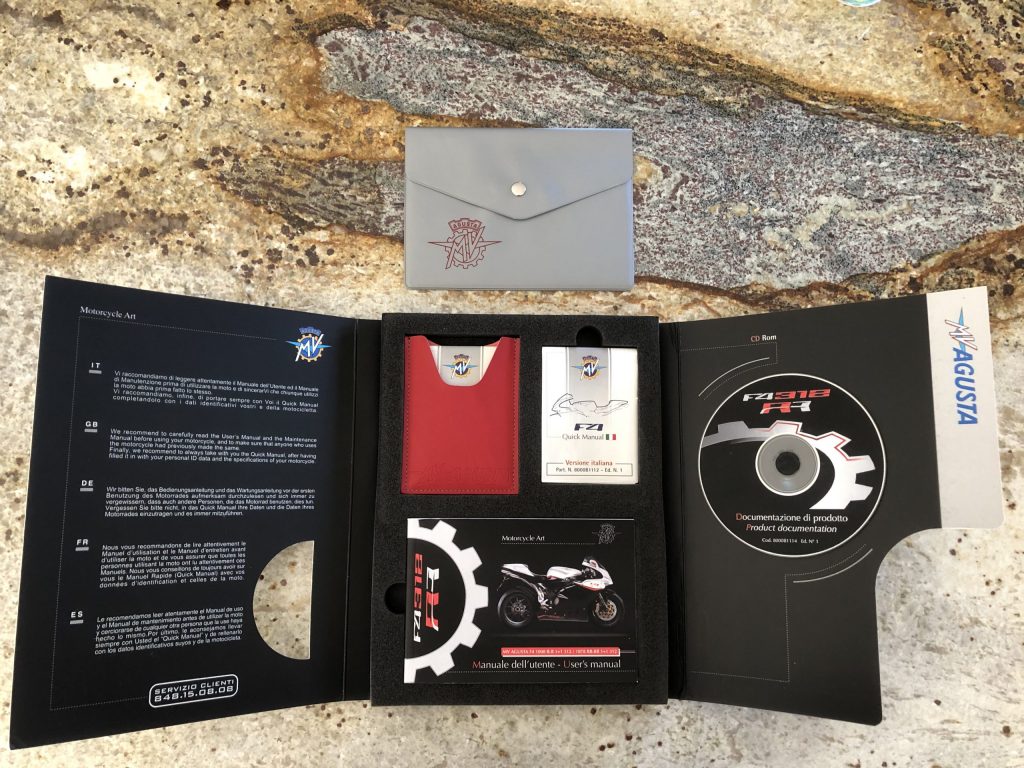
All the servicing thus far has been carried out by X-bikes and the bike comes complete with all it’s original documentation.

The bike was offered for sale by the owners friend who owns a garage in Perranwell, Truro which is where the bike was being stored who kindly put me in direct contact with the owner. A few phonecalls, emails and whatsapps later and an offer was made and accepted. The bike was located at the opposite coast to me, a 12 hour round trip as it turned out and a rather apt 666 miles exactly to collect this jaw droppingly Devilish temptress!

All loaded up for her homebound journey…

I have been very fortunate in my travels in that every motorcycle that I have purchased directly from the owners, they have all transpired to be nothing other than true gentlemen. This purchase was no exception and it speaks volumes of the unspoken camaraderie of fellow bikers that they generally behave in such an honourable manner. The deal was sealed and I gave my word that she was going to a very good home and would be well taken care of! I am absolutely delighted and very much looking forward to the first ride…

Meanwhile back at the Batcave…

Now with the MV sitting safely in the garage, it’s time to see what we have!

Having sat in a showroom for the last few months she’s looking a little unloved…so it’s time for a deep clean first of all to get rid of all the accumulated dust in all the nooks and crannies…

These stick on peripheral mirrors will be coming off!

Out with a bucket and sponge on a nice summer’s day has her looking her true self in no time….

The seat is custom made, a nod to the Claudio Castiglioni 1078 with the black leather/suede and red stitching but with the further addition of the MV logo…

The Ohlins 9.5kg spring fitted by Xbikes…

Along with +3mm swingarm anti squat pivot plates, Waltermoto adjustable rearsets….

Powdercoated silver finish rims…

MV Agusta F4 Folding levers…

An X-bikes re-cored exhaust mimics the RG3 setup, with the addition of ceramic coating for better thermal management…

DNA Air filter element…

and a fully mappable Microtec M226 ECU mapped by X-Bikes.

With her all cleaned up it’s time to look for any obvious problems…

First up, the battery positive connector was mounted diagonally instead of horizontally meaning the lovely CRC red rubber fitting was ill fitting. This gets remedied and a new charge lead is fitted so that I can charge the battery back up to full health.

Next up, she’s rather unwilling to start…the fuel it turns out has been in there for about 19 months…so this gets siphoned out and replaced with SUL. With fresh fuel she fires straight off on the button…

The throttle cables have rubber seals underneath them to keep the pivots tensioned, the seal has split under the retaining plate resulting in some movement…

The split seal is duly replaced…

The bike came to me with a Bursig stand, however it didn’t fit. It turns out that the stand was for a 1000cc bike not the 1078, I recall the owner telling me his previous F4 1000 was written off, clearly this stand was off that and therefore the fitting must have been attached to that bike. No matter, some correspondence with Bursig in Germany who were extremely helpful and pointed me in the right direction meant I ordered the correct fitting but also a couple of minor modifications needed to be made to the stand as the fittings for the 1078 are ever so different. The top one was new specifically for the 1078 now and was ordered in black as pictured below. The new fitting replacing the oem bolt.

The lower fitting required a spacing washer fitting to it to prevent the stand from catching on the frame.

The Bursig allows both wheels to be lifted off the floor and the bike to be manoeuvred around while leaving the other side free from any fittings…

The chain tension is checked and found to be ok…just needs a full clean and re-lubing…

A rattling side panel was tracked down to a rubber cushion missing on the inside of the under tank removeable panels. With a new one fitted the panel is solid once again…

A birthday present from the wife who managed to track down an original genuine F4 cover in perfect condition tops it all off!!

Beauty is more than skin deep

As part of the deep clean down, I marvel at the way this bike comes apart. The design Genius creator that was Massimo Tamburini has a unique style which is evident in all his motorcycles. My 907ie also designed by him has so many design similarities and little elements of intricate attention to detail that cannot help but leave you shaking your head in admiration and wonder.

The bodywork features quick release Dzus fasteners allowing the side fairings to be removed in seconds…

The rear tail fairing hinges forward and removal of two pins and the loom connector allows the entire tail to lift off. The fuel tank lifts off after removing two side locating brackets and one centre bolt along with unclipping the two quick release fuel connectors and loom connector. The whole bike takes minutes to strip down to its beautiful chassis.

Stunning details everywhere include MV monograms all over,

Lest we forget…

Other neat touches such as this rubber elbow on the water pipe so it doesn’t rub on the fairing…

Or these rubber bracelets around the wiring loom…

And these remote vacuum ports for synching throttle bodies…

The quick release front nose cone is another revelation featuring spring loaded electrical contacts for the front indicators housed in the mirrors…

Prima Donna…

In true Italian motorcycle style, they let you know when they’re not happy and require continuous pampering. After draining the old fuel out and filling with fresh SUL, a month later she’s grumpy to start again. I take the opportunity to order a new fuel filter (even though this was done 20 months prior and not even a full tank ago).

Masking the tank and airbox up to protect the paintwork…

A thing of beauty, the more you delve in the more you discover. From the intelligent way it all comes apart easily to the quirky design touches that you just don’t see on mainstream bikes. These are typical Tamburini traits, a design genius; combining the aesthetic beauty with mechanical thoughtfulness.

Like most Italian bikes, the MV is fitted with quick release CPC plastic fuel quick release connectors. These are known to embrittle with age where they can break and lead to an inferno as fuel sprays all over a hot engine.

With the tank off it’s time to swap these out for the more reliable metal bodied CPC units. The fuel hoses should also be replaced every three years according to the workshop manual, so once again, I’ll take the opportunity to upgrade. Plastic connectors below…

Typically, what should be a 5 minute job of unscrewing the plastic and replacing with metal turns into a mini marathon…one of the connectors snaps, albeit somewhat predictably…fortunately it came out cleanly enough with a splined extractor…

The offending plastic items…

Replacement metal bodied CPC connectors with Viton seals…

I take the opportunity to re-align the wiring to the correct orientation where they should exit towards the front of the pump housing to make tank wire routing and removal easier.

With the pump out, it’s time to clean out the debris from the inside of the fuel tank…

There’s a surprising amount of debris in there. It all cleans up easily enough though.

Fuel pump/filter assembly…I’ve checked all the internal tank lines that were renewed 20 months ago, I haven’t replaced them this time, but have ordered some new Cohline in tank hosing for next time. The fuel filter looks newish, but with the debris in the tank I decide to take it apart to check…

It actually looks in pretty good order…

Everything gets a thorough cleaning, including the pre filter

And re-assembled as per the workshop manual with a new fuel filter installed…

The gasket is smeared with silicone grease and the fuel pump base eased back in…note the breather hoses which don’t have much lenghth on them and require reconnecting in situ…

That takes care of the tank side for now. Next time in I’ll be replacing the internal tank hoses with this item…

I’ve taken reference dimensions while everything was out so I can cut it all down to length in readiness for next time!

On to the fuel rail and hoses. Once again, the hoses are fitted with plastic CPC connectors and one of the hoses has a surface nick in it.

I have some custom hoses made up. These are XRP Pro Plus XKS -6 Plus hoses. They are a 3/8 equivalent with -6 fittings at either end. The hose itself consists of an anti static PTFE smooth bore inner hose with external convolutions for tight bend flexibility with an Aramid fibre with silicone outer braid for easy cleaning.

These are mated to the corresponding valved metal CPC’s with dry breaks on the fuel pump plate and at the hose end.

At the fuel rail end are some plastic SAE J2044 quick connectors which replicate the originals.

Peace of mind!!

Once again she fires up on the button, but she seems to be quite finicky with fuel. Having eliminated the fuel, pump, filter, hoses, it’s time to look elsewhere at the fussy cold starts with anything other than fresh fuel.

Manufacturer labels on the fuel tank show it was painted in the 23rd January 2009, including the painters signature!!

Hoses in position and in place under the tank…no more fears of them snapping on disconnection!!

It’s Electrifying!

While trying to resolve the cold starting difficulties, I notice a sound coming from the front of the bike. It sounds like something short circuiting. The bike is fitted with an aftermarket HID conversion low beam which comes on with the ignition. After tracing this noise back to the low beam, I start dismantling the front nose cone. Unfortunately I forgot to take a photo of how cool the wing mirror wiring setup is!!

It’s a pity as the HID worked very well, however it has to go…

I’m fortunate that the starting problem has led to me finding this…

The plastic cases containing the high voltage components were crumbling away, cracked and broken…

Hmmm… 23,000 volts!!

The HID kit is stripped out in its entirety, the stock bulb that came with the bike goes back in its place. I don’t use this for night riding, if I find the stock lamp to be a problem I may look into an LED kit, for the time being I’m just pleased that disaster has been averted!!

Stock bulb back in place…note again how cool the bulb access point is…

An MV logo’d rubber cover piece inserts into this bulb access hatch 🙂