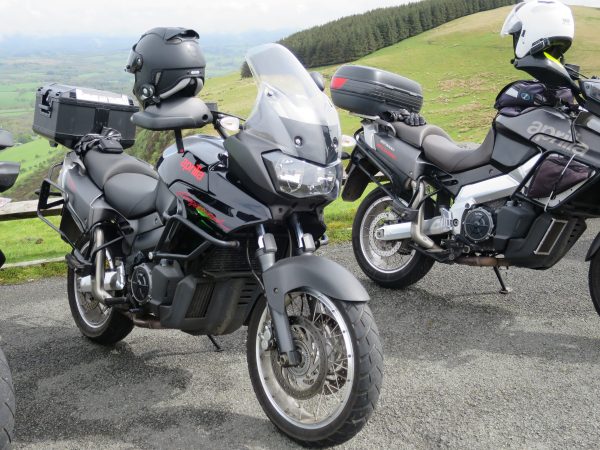
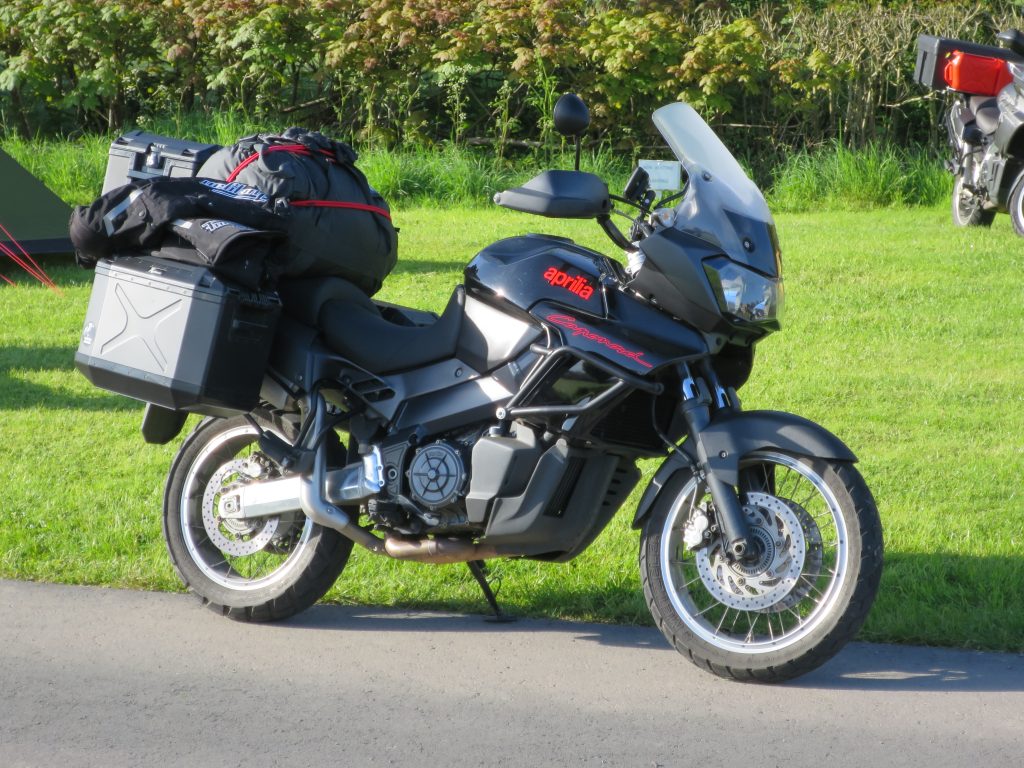
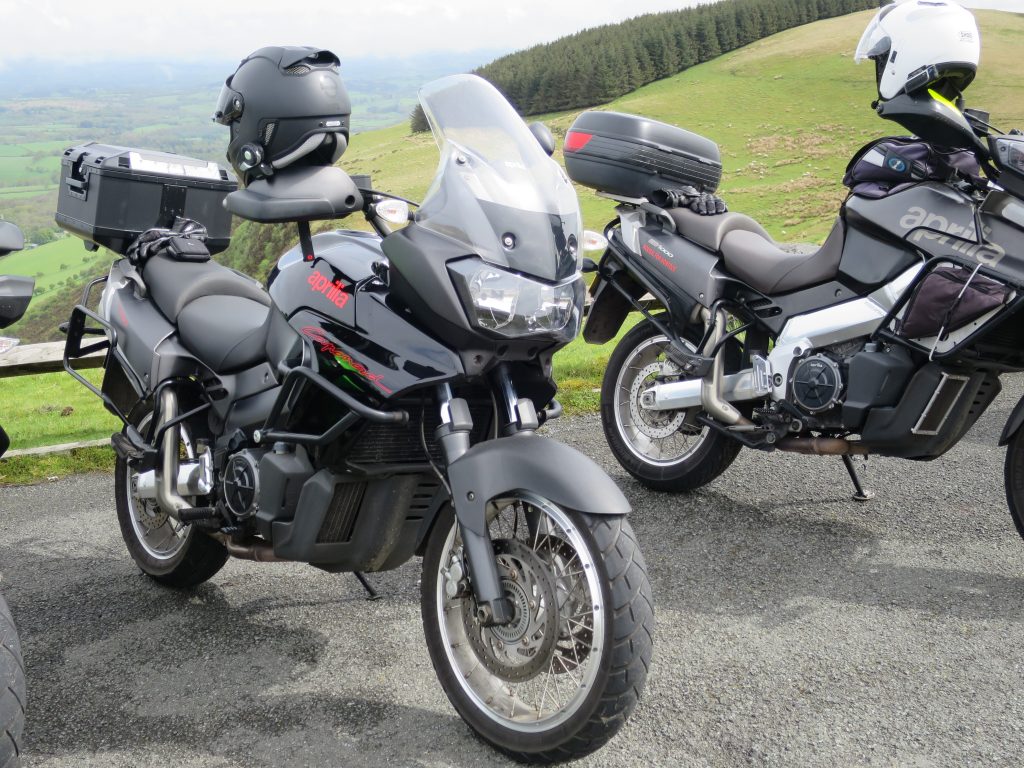
Earlier this year, I visited our local Aprilia showroom, after a 16 year absence from biking. Sat there was the new Caponord model. After sitting on it, I surprised myself as to how at home I felt on it. As a youngster I had a race rep and a trail bike for messing about on. I’ve always liked the adventure bike genre and so started looking at the earlier Caponord ETV. In all truth, I prefer the bulkier Paris Dakar styled look of it to the newer slender model.
After lots of research I ended up going for this one owner gem, complete with full supplying main dealer history and a few extras.
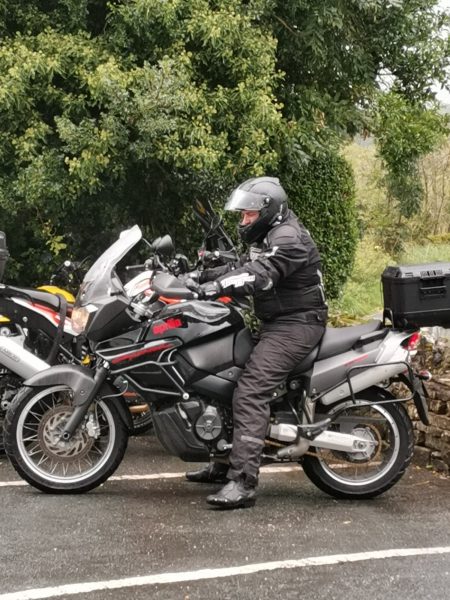
On the day of collection the weather couldn’t have been any worse. Howling winds, driving rain and flooded muddy roads. It was a baptism of fire for me having not ridden in these conditions since the age of 16. The Capo handled it perfectly, inspiring confidence from the outset with its stable and perfectly balanced chassis and smooth engine delivery, attributes which I have grown to appreciate all the more during my ownership.
This is the bike that seemingly does it all, long distance touring, country lane hacking, it’s sporty chassis and thumping low down torque combined with long travel suspension and smooth power delivery bestows it with a surprising turn of pace and agility, which in the real world makes for a highly competent and versatile steed, without much in the way of compromise.
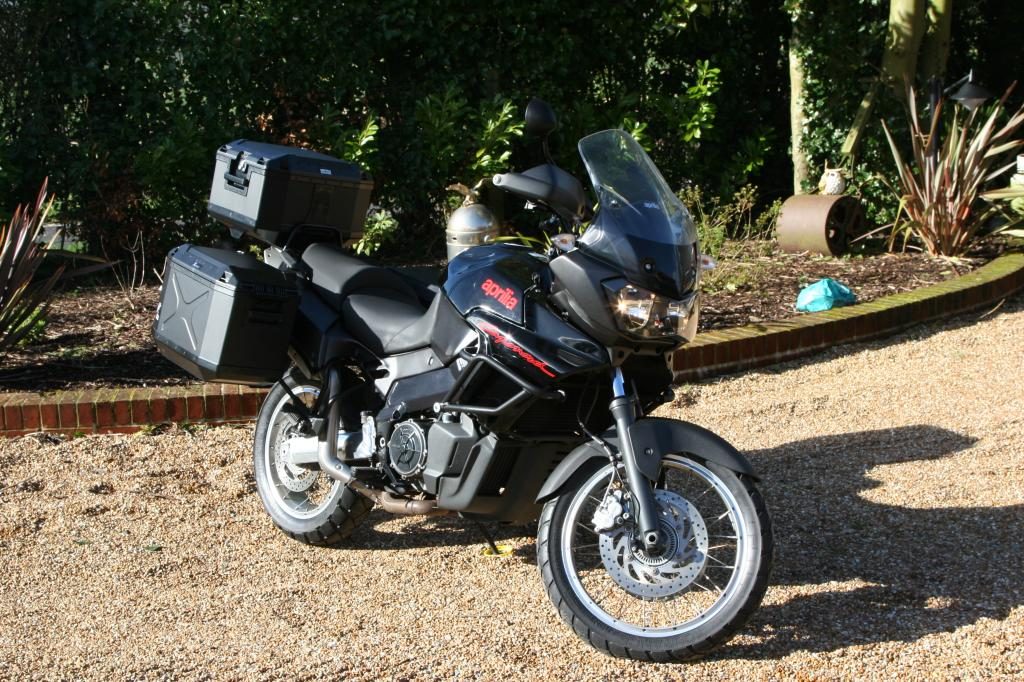
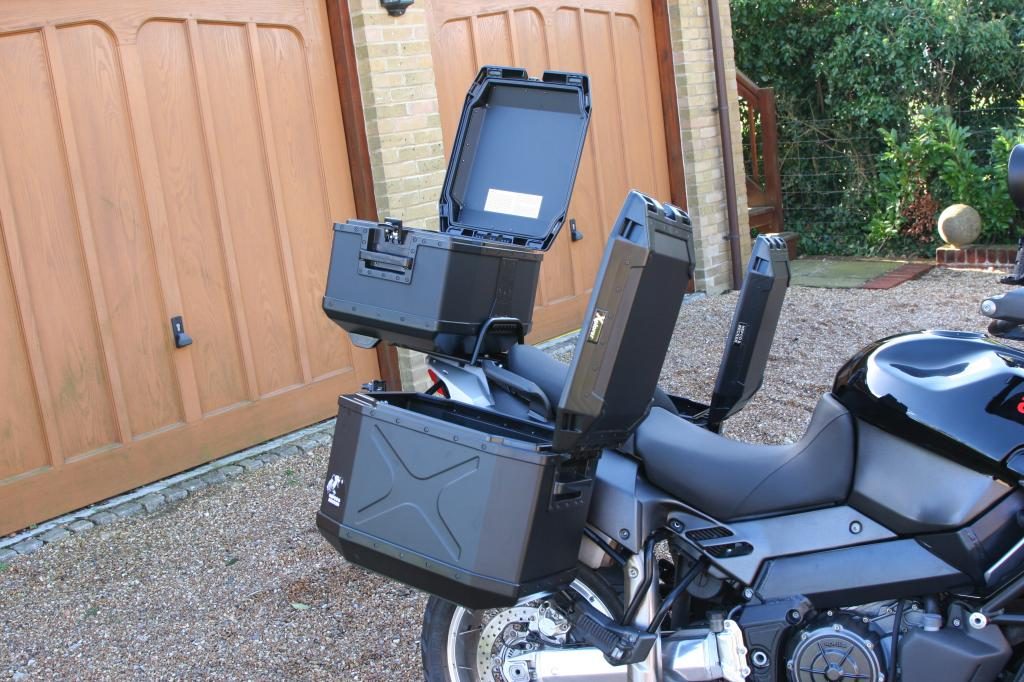
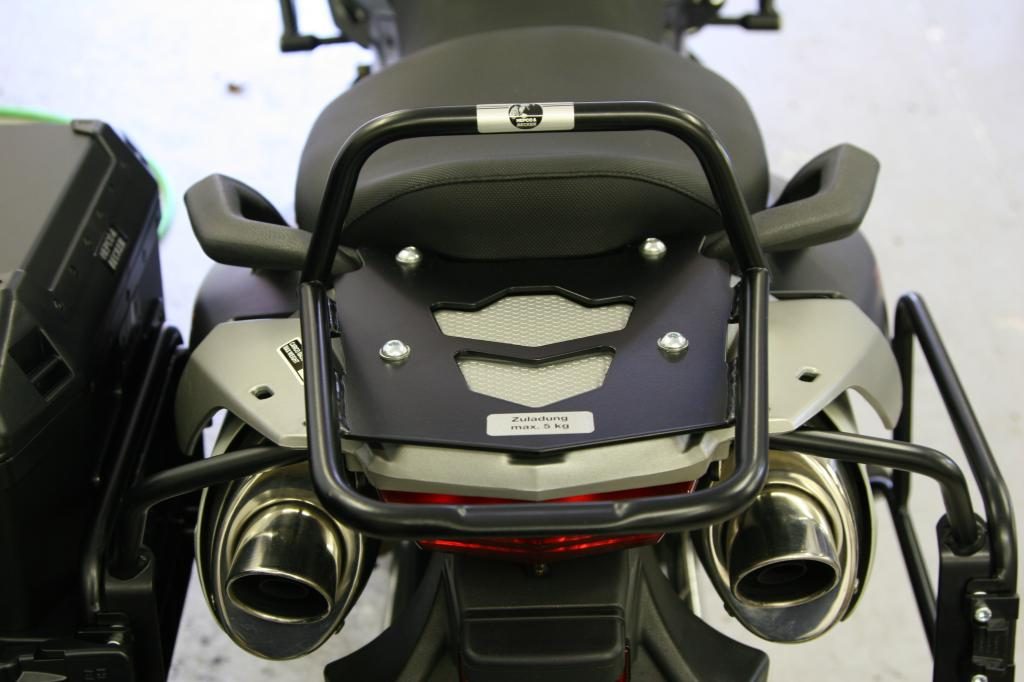
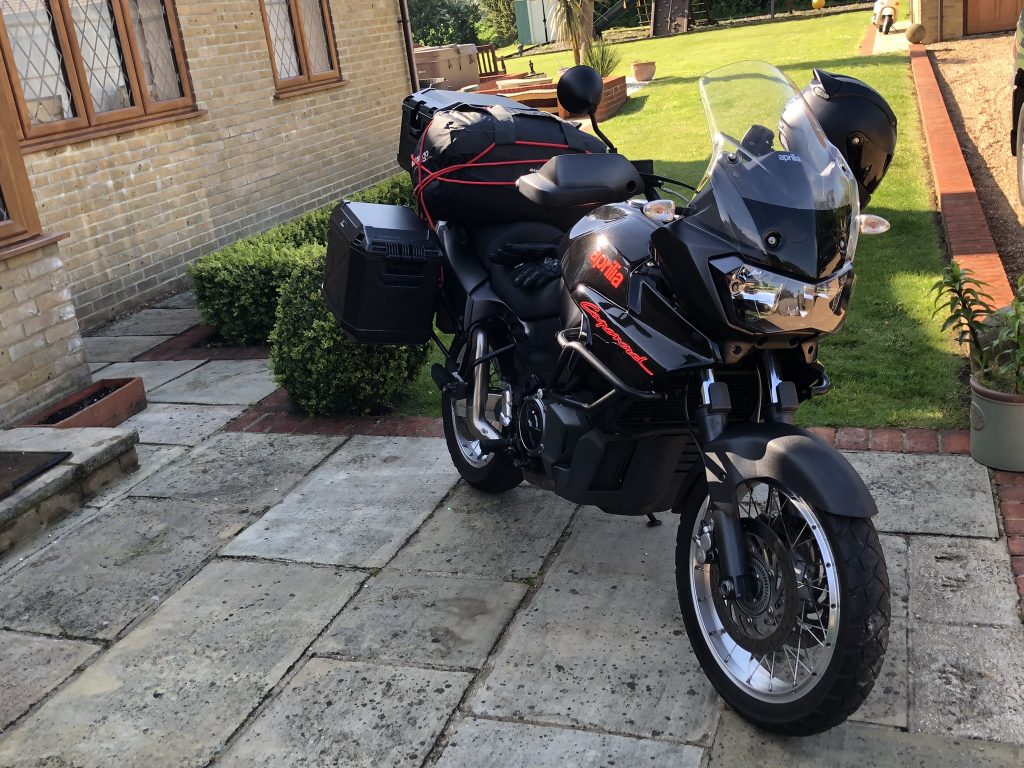
What’s any self respecting Adventure Bike without it’s battle armour? The mighty Capo gets it’s war cry on…along with a suite of new Hepco and Becker boxes.
After scouring the internet for pictures of a similar setup, I simply couldn’t find any photos of the latest Hepco Xplorer panniers fitted to a Caponord. I knew that I wanted metal top opening panniers and top box.
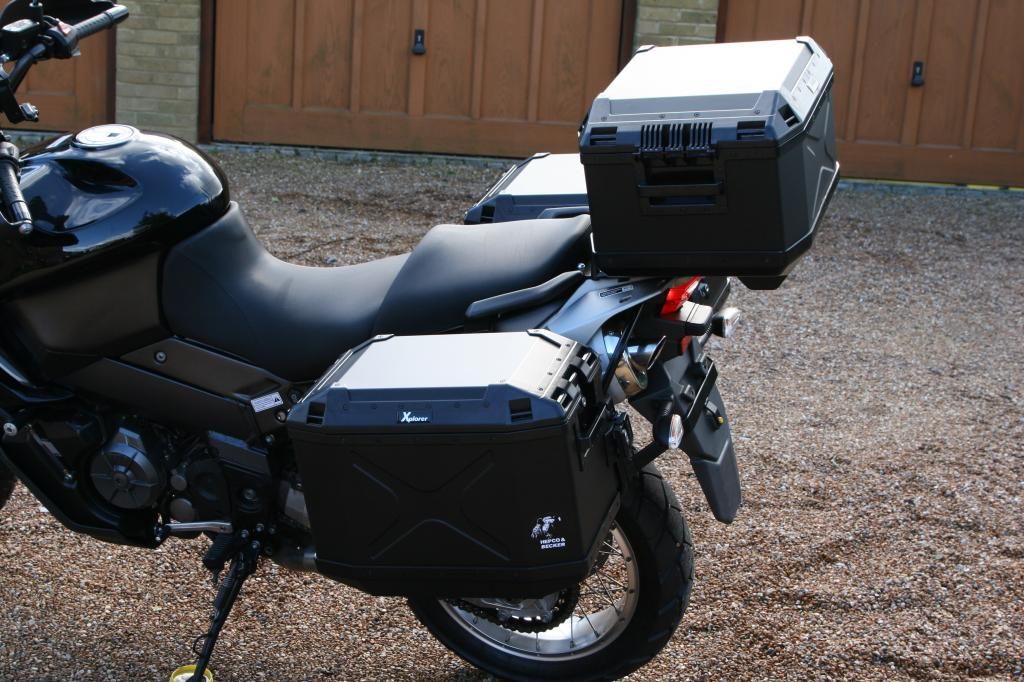
I was torn between 30 or 40 litre side panniers, the top box was an easy 45L unit. I opted for 40 litre panniers in the end, if a job’s worth doing…no half measures here. I don’t need to filter and ultimately I’d rather have the extra capacity when on tour.
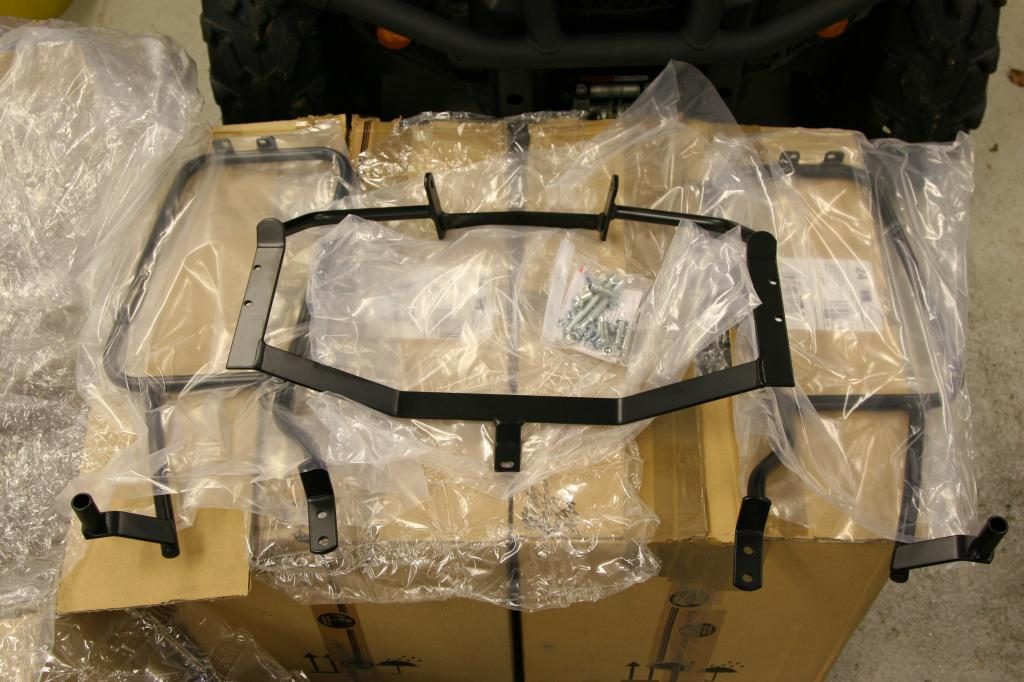
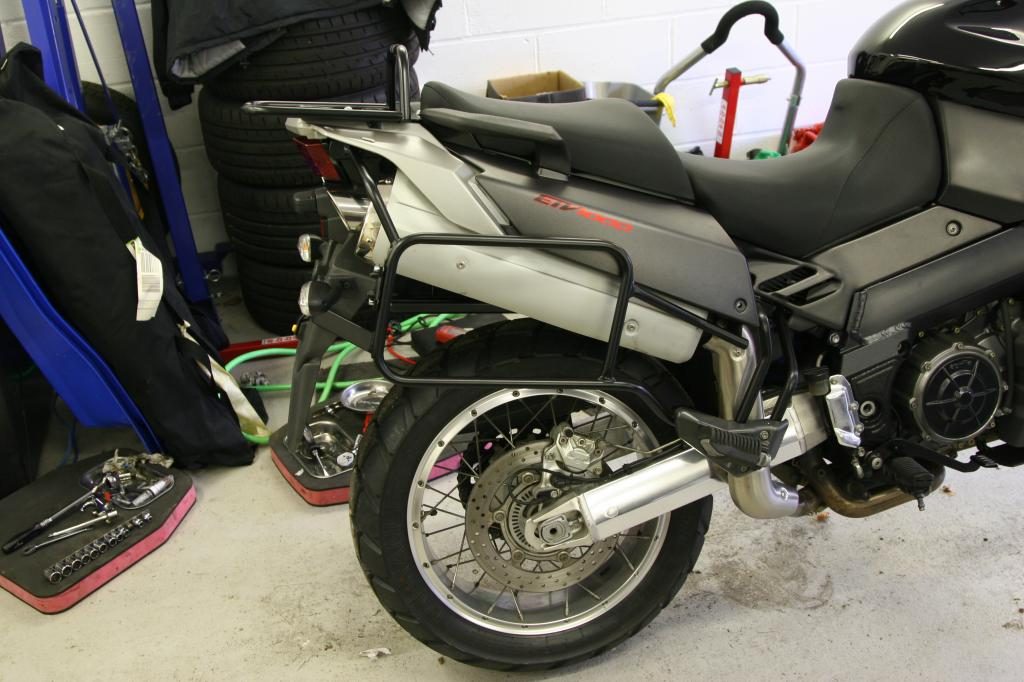
The Hepco frame is the perfect item for the Caponord, since Aprilia used this exact frame on their Rally Raid special edition.
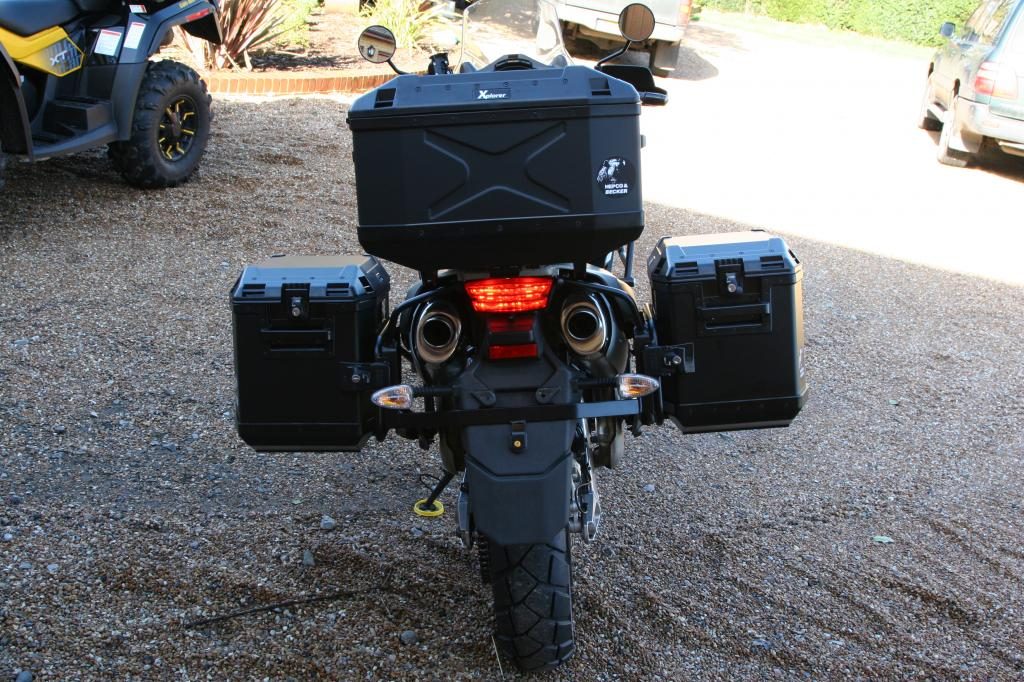
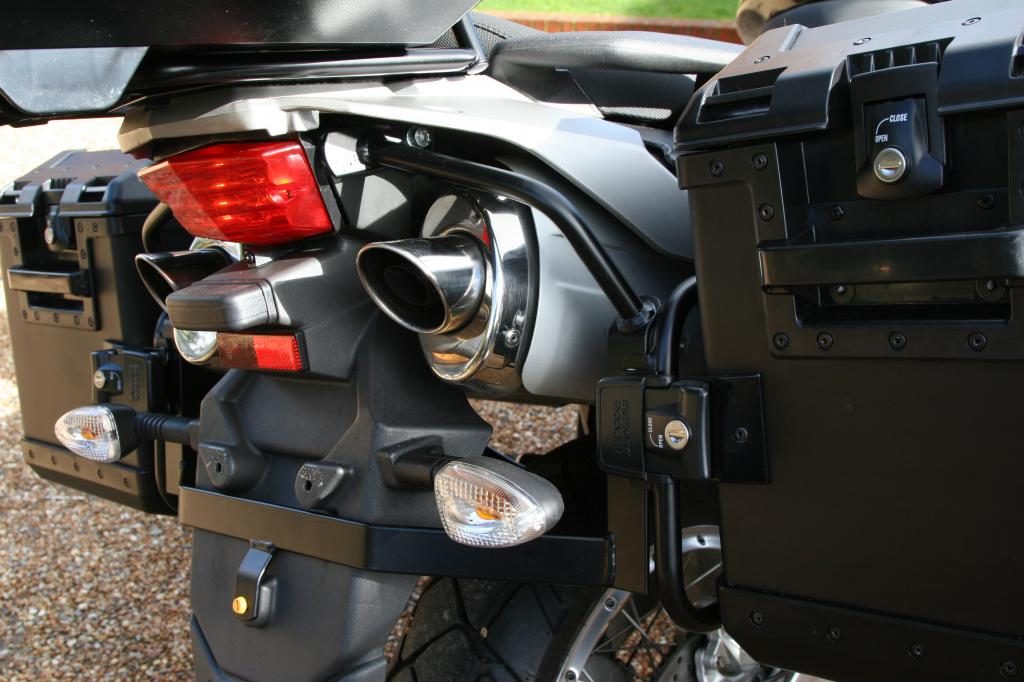
Fitment was spot on as one would imagine for what is in effect an oem piece. The boxes are stunning and the whole setup fits the Capo as though it were made exclusively for this bike. Equal size panniers left and right and a total capacity with the top box of 125 litres, this is before strapping any additional items on top of them if required.
My only gripe is that although the body is metal, the corners and bases are a hard plastic which makes me question their longevity. I would have preferred to have seen more metal however I’m not venturing off road so this should be fine.
All of the boxes are securely latched and locked onto the frames and easily removable in moments with the bright red key, one of which is conveniently suited to fit all three boxes.
I can report that they have been trialled at triple figure speeds and remain perfectly secure at up to 120-130 Leptons.
While researching information on the Caponord ETV, I came across the Caponord ETV1000 section of the incredibly helpful AF1 owners club.
Experienced members were very quick to offer advice on the vulnerabilities of the Caponord and preventative maintenance the should be carried out to ensure a reliable motorbike and prevent a breakdown or worse, this;
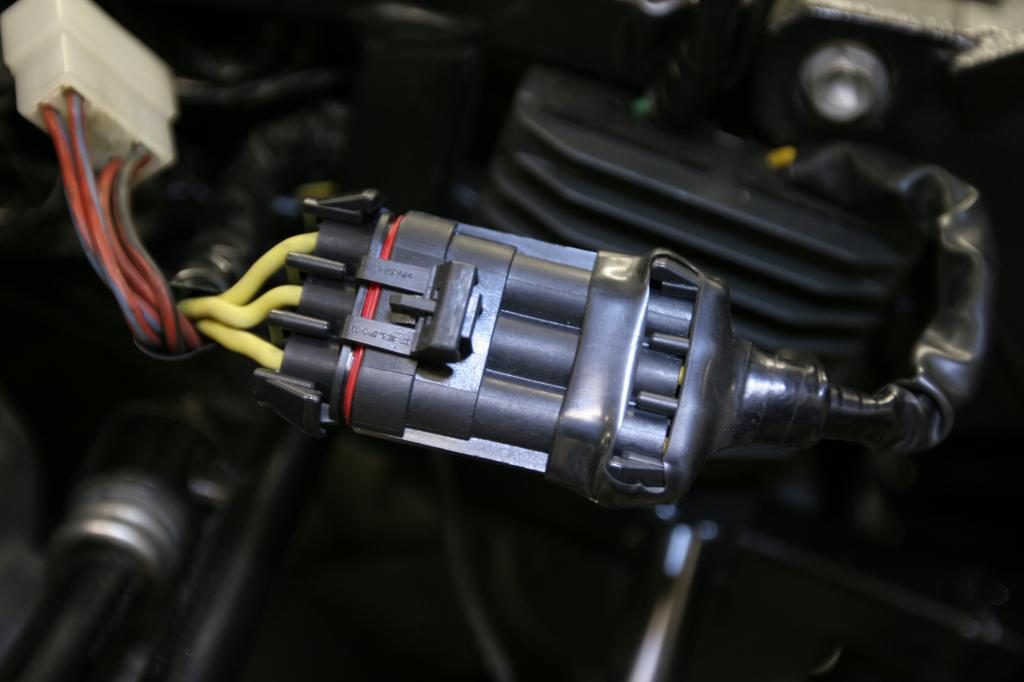
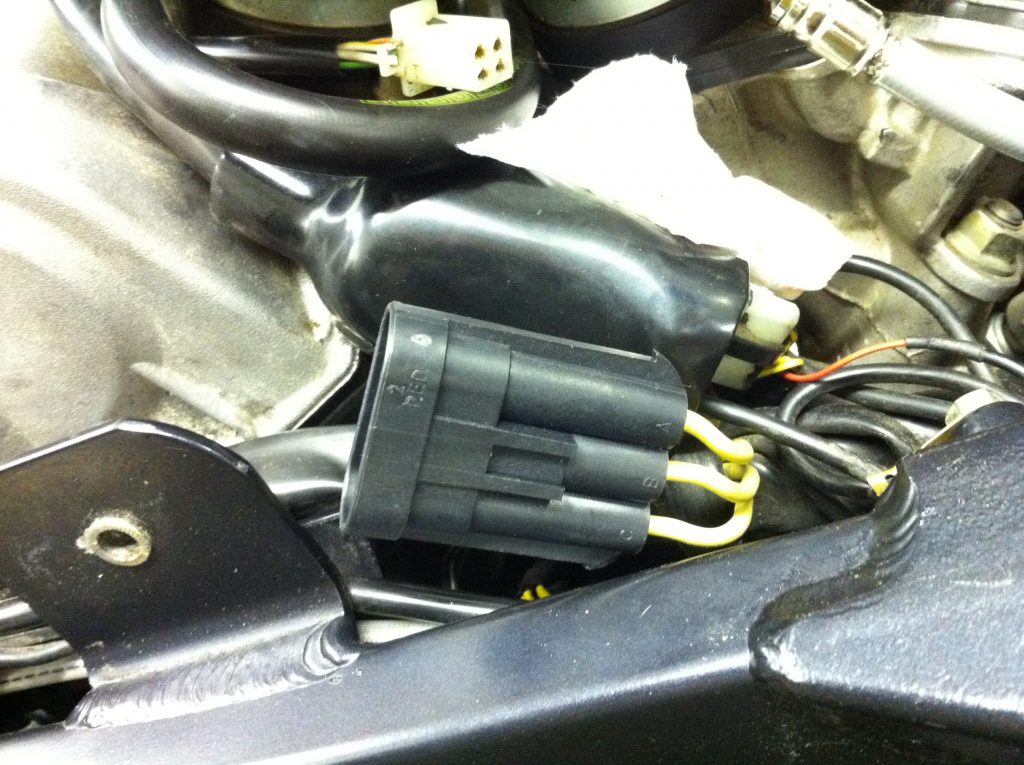
Essentially there were three main acknowledged Achilles heels. As with many Italian bikes, the original shunt type rectifier/regulator is not fit for purpose for a reliable long distance tourer. This coupled with the non waterproof brown connectors (of which there are two) connecting the stator to the regulator. These have a tendency to corrode causing the connection to go high resistance with some disastrous results. Burnt down bikes have been seen. Of course this isn’t helped by the next problem, the original quick release fuel connectors are made from plastic, these embrittle with age. Combine dodgy electrical connectors, situated below fuel connectors which are brittle and there’s a lovely cocktail waiting to ruin your day.
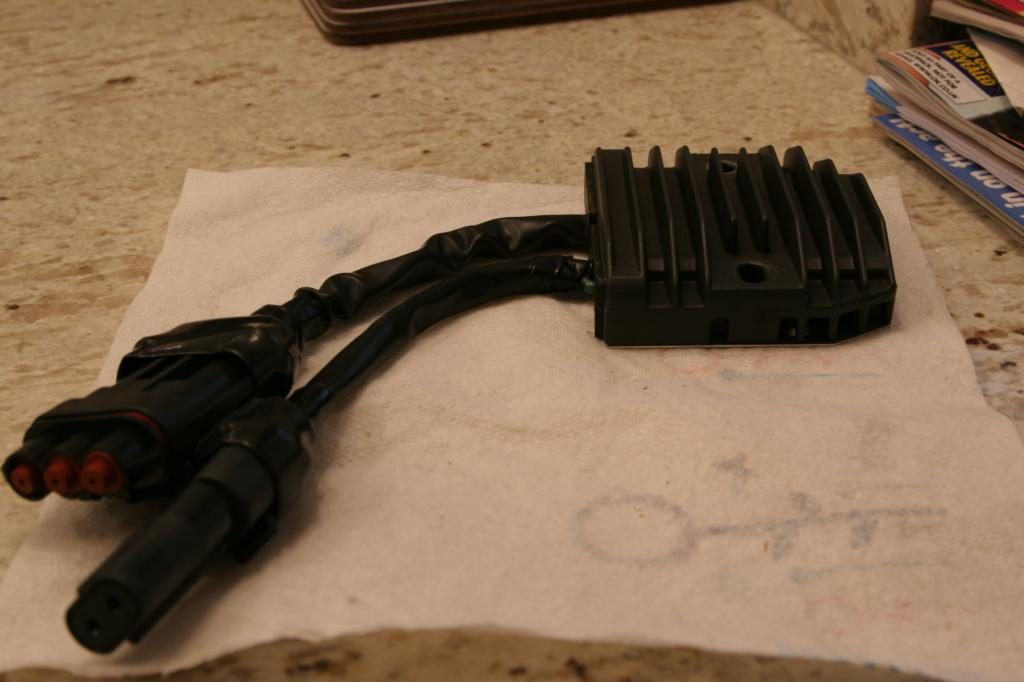
Fortunately, these foibles are easily remedied. The rectifier can be replaced with a Shindengen MOSFET version FH008EE as used on some CBR600/1000 I believe around the MY07-MY10 models.
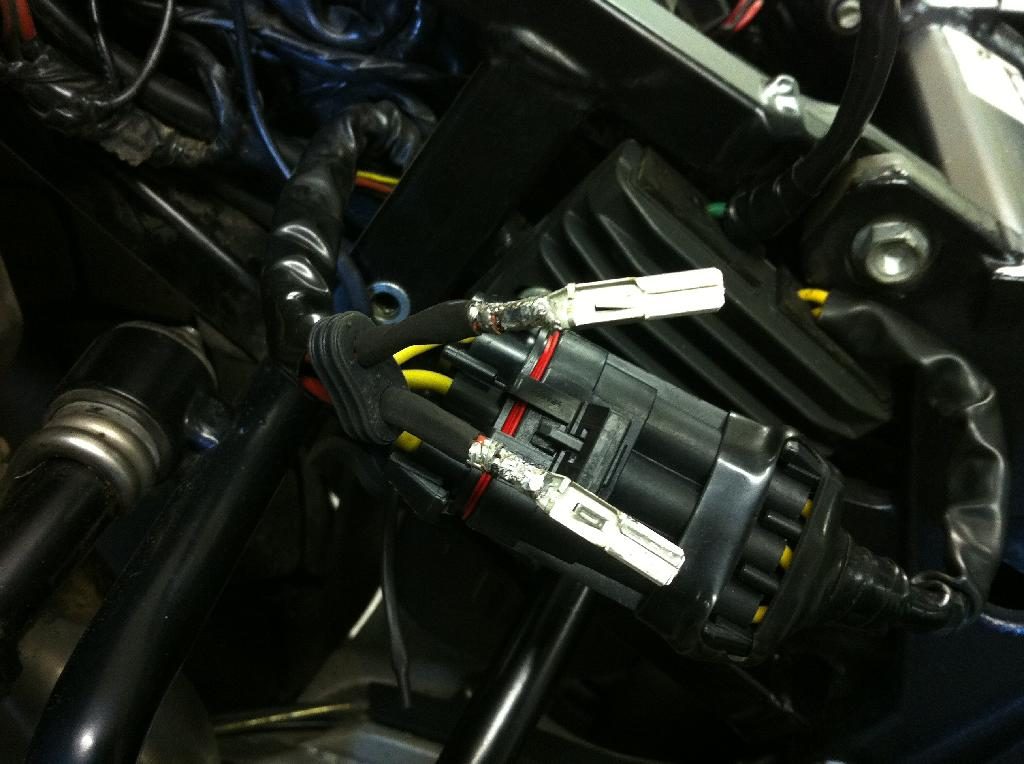
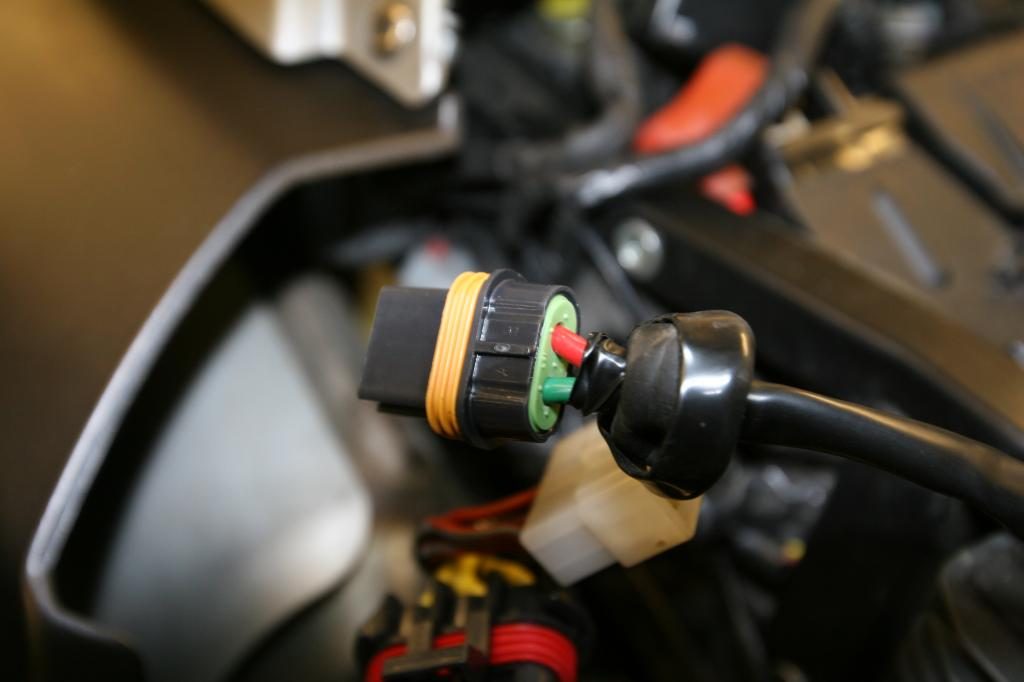
This is a direct fit to the chassis in place of the OEM and merely requires fitting with a suitable connector since the Honda block connector doesn’t fit the Aprilia loom. Since one of the connectors is one of the dreaded and notorious (aptly coloured) ‘Brown connector’ this gets replaced with an infinitely more robust waterproof Delphi Metripack 630 connector with soldered terminals.
The same goes for the two pin plug from the rectifier to the main fuse
along with the lower brown connector from the stator.
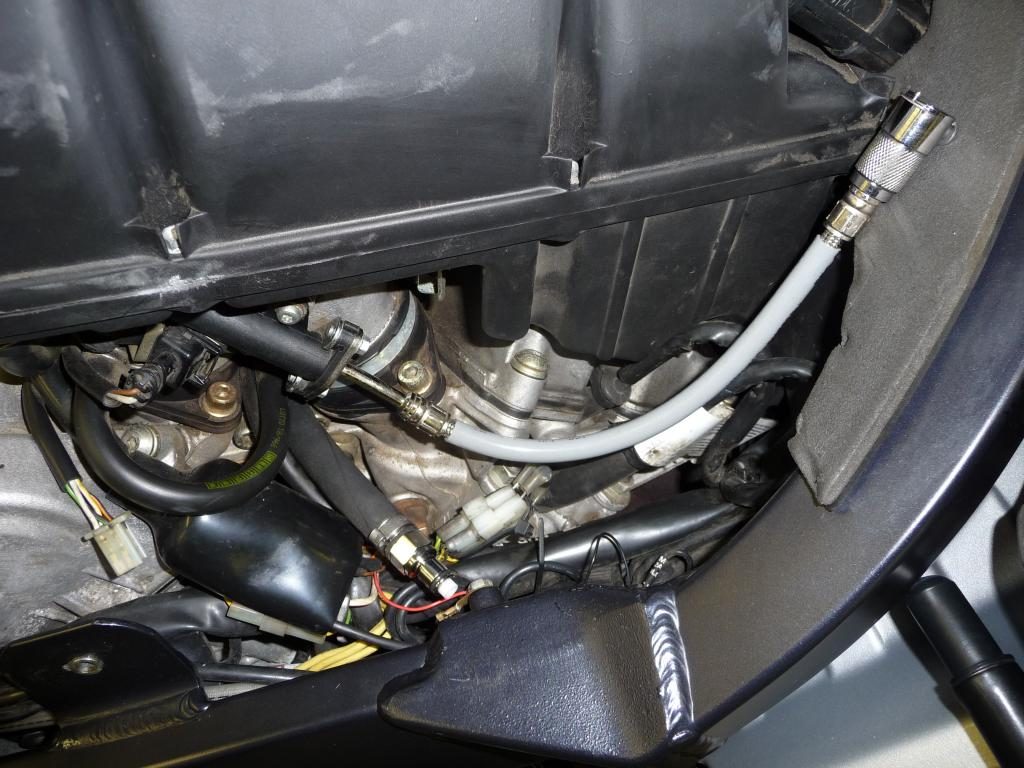
The plastic fuel quick release connectors are replaced with metal along with Viton seals. For the high pressure delivery line, Aprilia offer a superseded fuel line aprilia part number AP851959 featuring the metal disconnect.
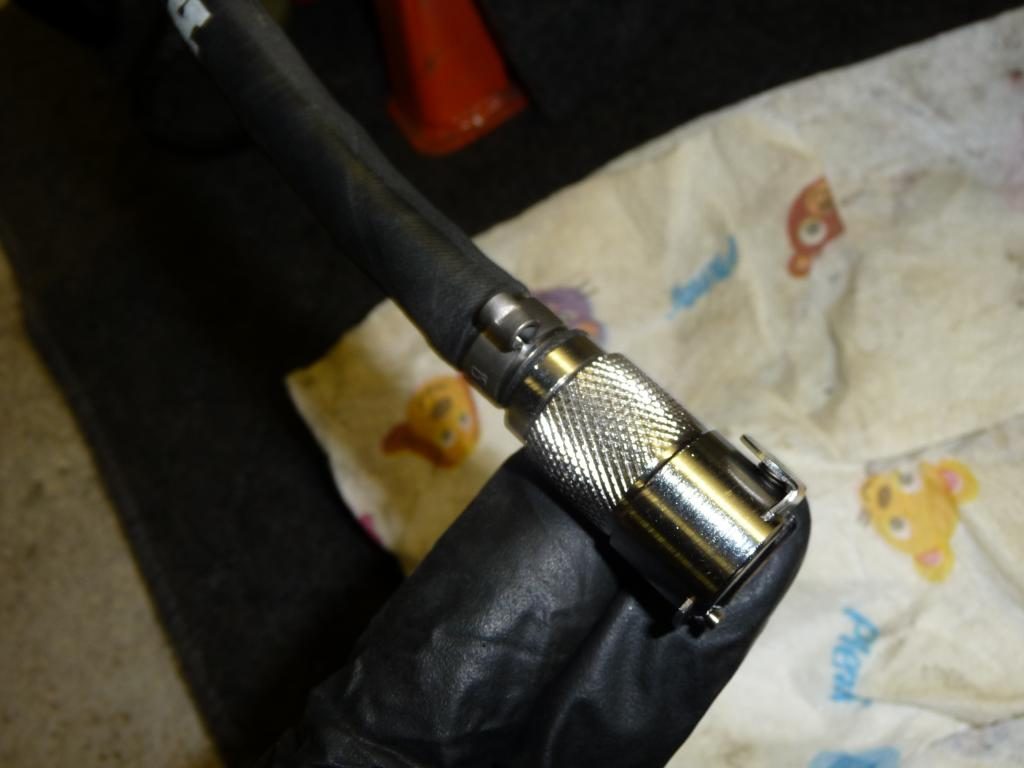
For the low pressure line, a metal CPC connector replaces the CPC plastic ones.
CPC quick release connectors and Viton seals are available from many hydraulic fluid shops. Mine came from Tom Parker in the UK, part numbers below;
CLCD170-04V quick release (fuel tank side) connector with Viton seal £23.22ea 1Nr
Then either
CLCD220-06 quick release (TB return side) this is a valved version so it’s dry break £13.75 ea 1Nr (I went valved)
or
as above but unvalved which replicates original design and will leak a little on disconnect
CLC220-06 £6.40 ea (unvalved) 1nr
The above either/or fittings do not have Viton seals. So I bought 10 spare Viton seals as I have two bikes, I swapped the seals they come with over for the Viton ones for peace of mind. The seals are the same as on the other fittings (oe aprilia tank valve) so worth having spares and keeping a couple in your bike toolkit.
Part number C731104 Viton Seals @ 0.84p ea (I bought 10Nr)
Oetiker Clamps, I used two different sizes. I believe I thought the first was a little tight so used the larger one, or it may have been the other way around, either way, 14-15mm clamps is what I used. Part numbers;
OET14RER They are brilliant these clamps.
OET15RER (as above) Average around 0.50p per clip.
This takes care of the immediate must do modifications and these are indeed the very first modifications I carried out on mine.
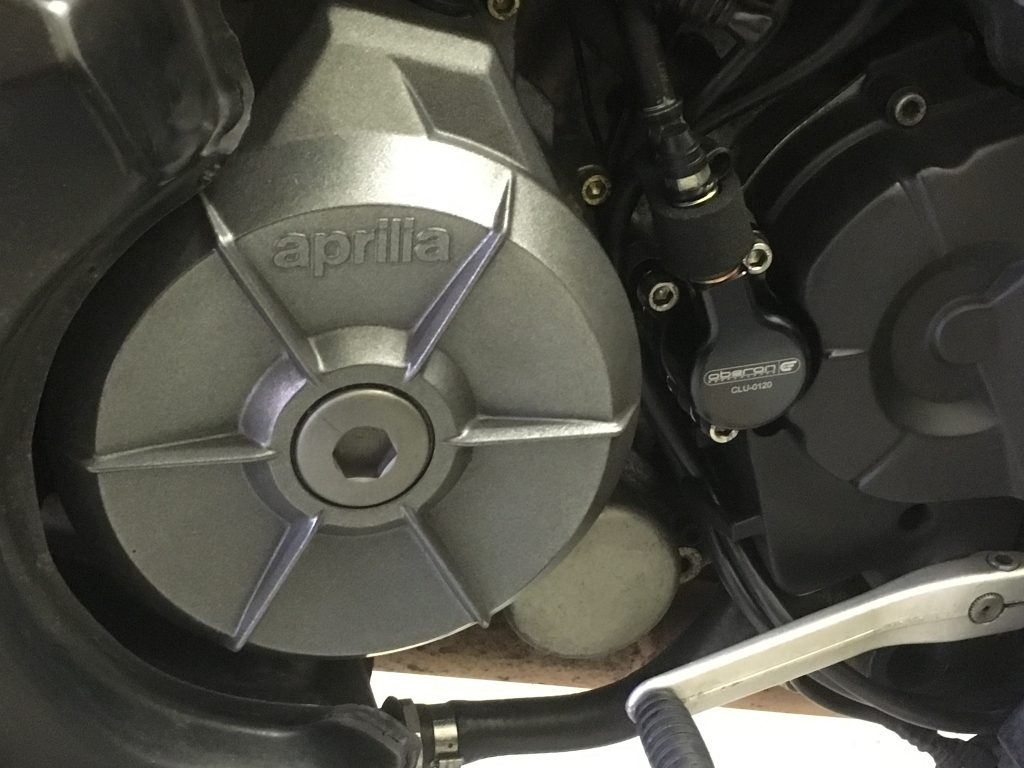
The next item that many owners experience failures with, is the clutch slave cylinder. The seal tends to breakdown and fail resulting in an inability to disengage the clutch. Some simply replace the seal, however many have experienced subsequent failures and put this down to the design of the original and the effect of heat on it. The preferred fit and forget solution, is to replace the oem item with an Oberon clutch slave cylinder. I put this on the back burner as mine was operating perfectly and mine had relatively low mileage. As it turns out, I should have heeded the advice from the experienced ownership since mine randomly failed with no warning. Fortunately I was near home when it occured and nursed it back. As I pulled up to my drive I had to shut off the engine as I couldn’t disengage the clutch!! A nice stealthy black Oberon was fitted to round off the fourth of what should be deemed the essential mods.
This is my long distance tourer bike so it was important that I am able to have maximum confidence in her ability to get me home. Every component replaced gives me more confidence in her.
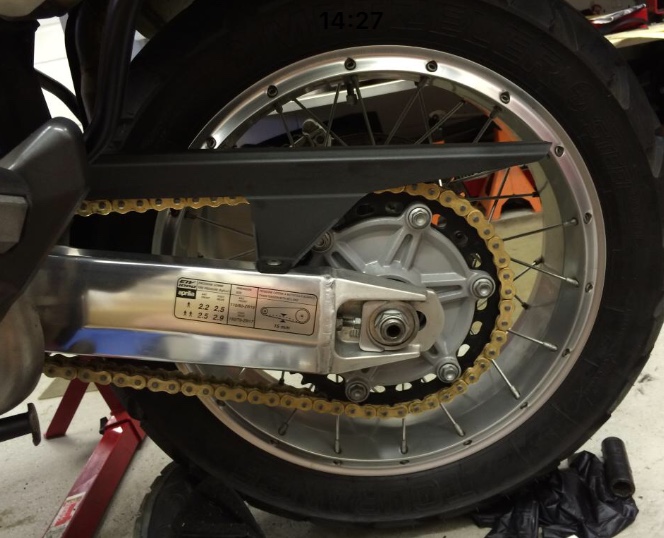
The original chain and front sprocket were looking pretty worn and sorry for themselves, originals for some 17,000 miles. These were replaced with a heavy duty DID ZVM-X chain and new oem front and rear sprockets.
Next an Oil change was carried out. Realising that the supplying dealer had used the wrong (shorter) earlier oil filter in the later (longer) housing body. Effectively the bike had not been correctly filtering oil for a few thousand miles. Fortunately there were no particles in the oil but another reminder of why I always prefer to carry out maintenance myself and trust no one.
The filter was replaced with the correct one and fresh Silkolene Pro 4 oil introduced.
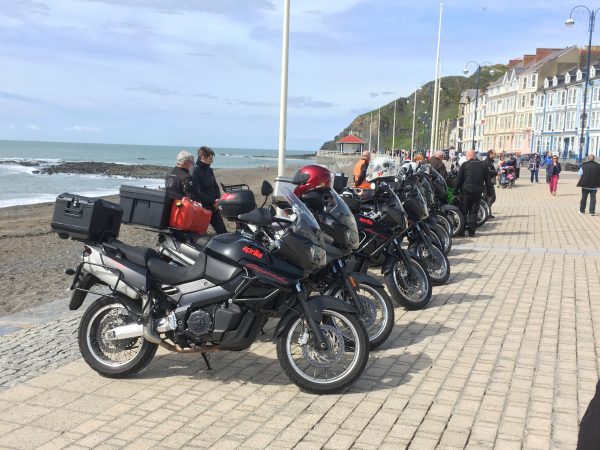
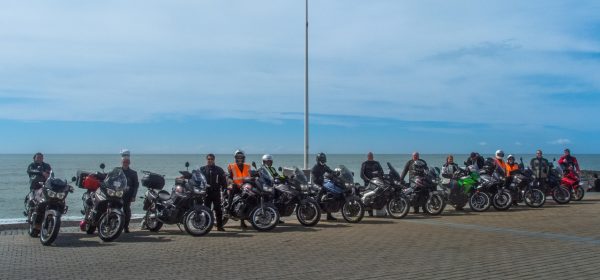
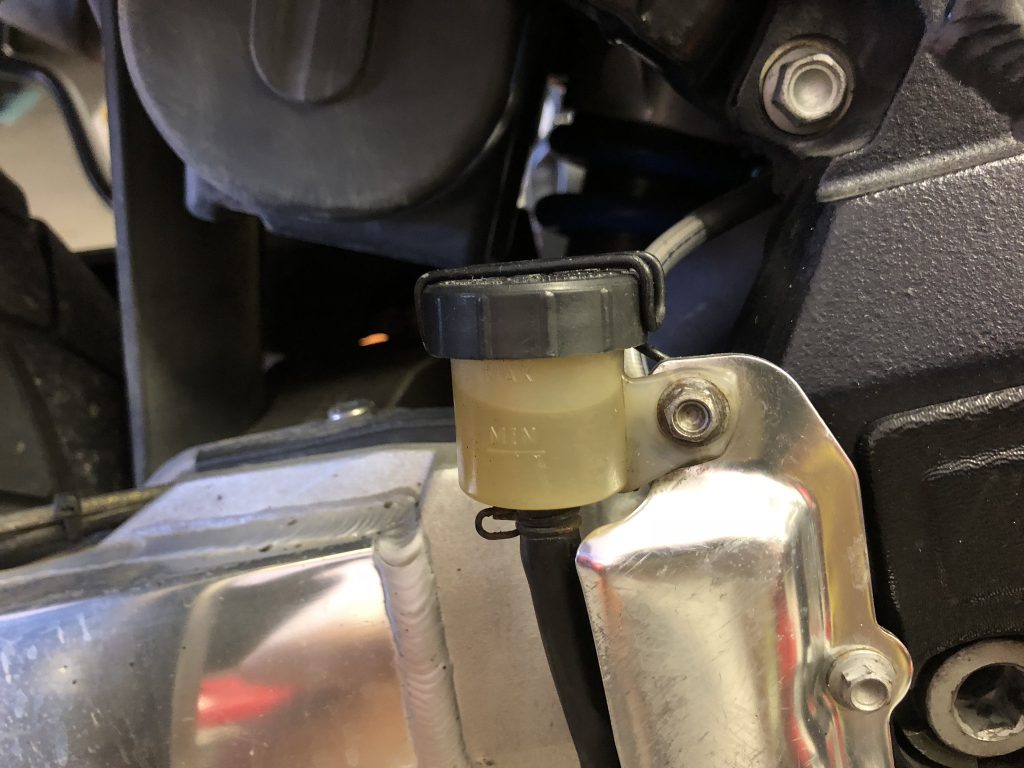
All the brakes were bled prior to a jaunt down to Wales and back for a few days.
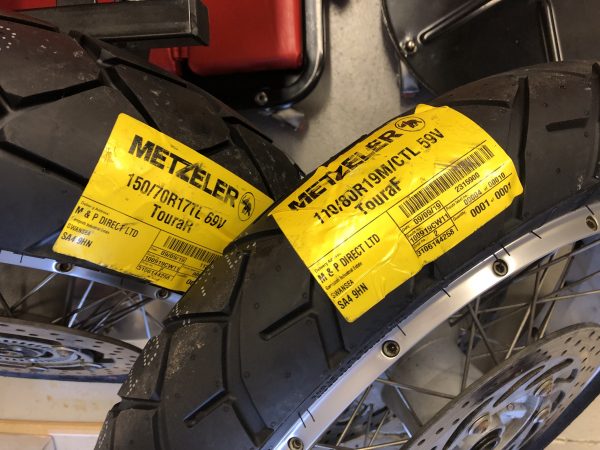
Next up will be fitment of some new EBC HH sintered pads and new tyres!! Both have been hanging on a little while. I’ve been keeping an eye on them, they’re low but they still have a little more life left.
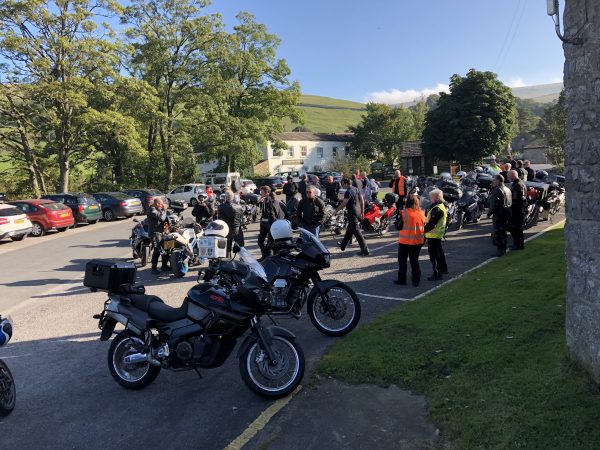
All packed up and ready to rock for its annual trip to Llandovery 🙂
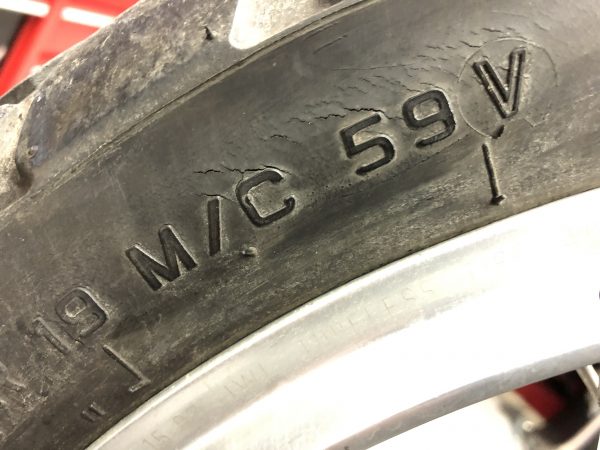
Following the last outing in Wales where I noticed before leaving that my tyres really were due replacing but it was too short notice to change them, the time has come to finally swap them out. Front tyre was made week 26 in 2009, some 10 years old and was showing cracking around the sidewall and in between the tread blocks despite the tread still being good.
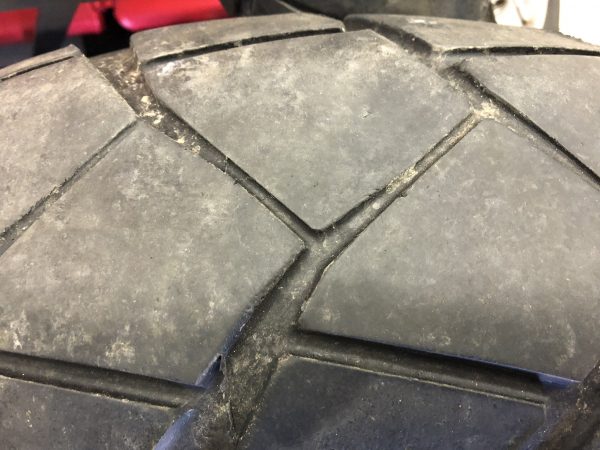
The rear tyre wasn’t cracked, but the tread was wearing, motorway jaunts to better riding roads had flattened the centre a little;
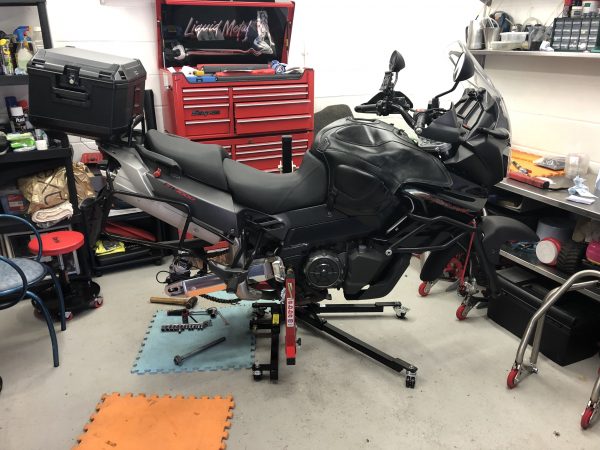
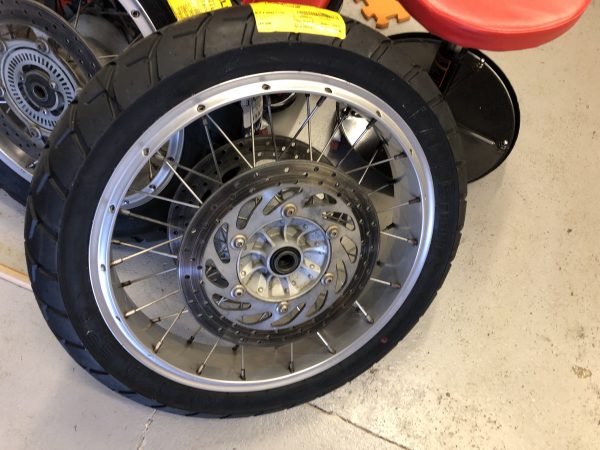
Ergo, she’d earned a new pair of boots…so up she goes on the ever so useful and versatile stand…
Wheels off…
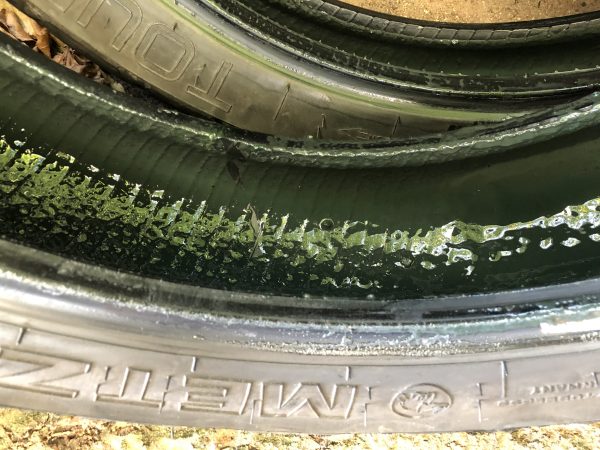
Previous owner had installed green sludge as a premptive tyre seal. Apparently these help seal punctures as the happen.
Glad I took them to the Motorcycle dealer to remove, they kindly cleaned all the gunk off before reinstalling the new tyres without scratching the rims…
That’s more like it…
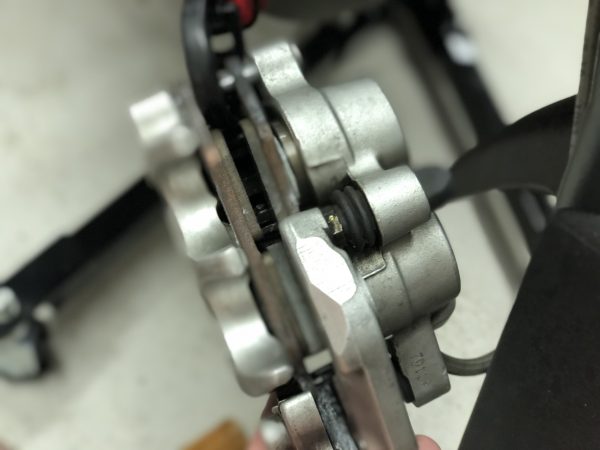
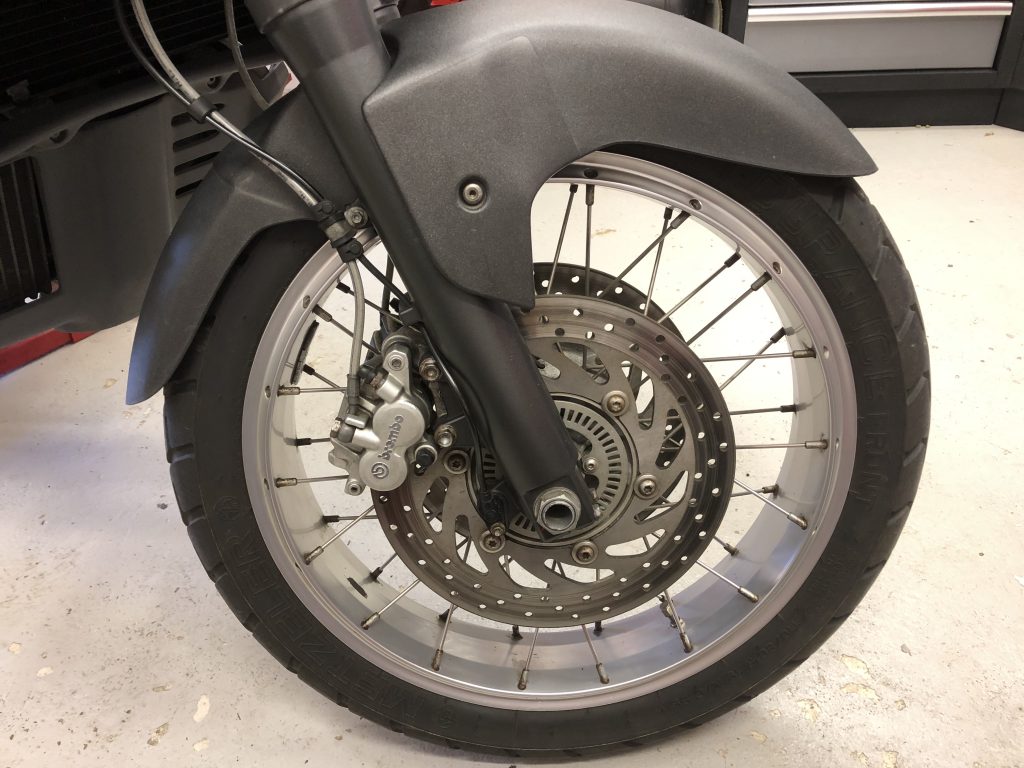
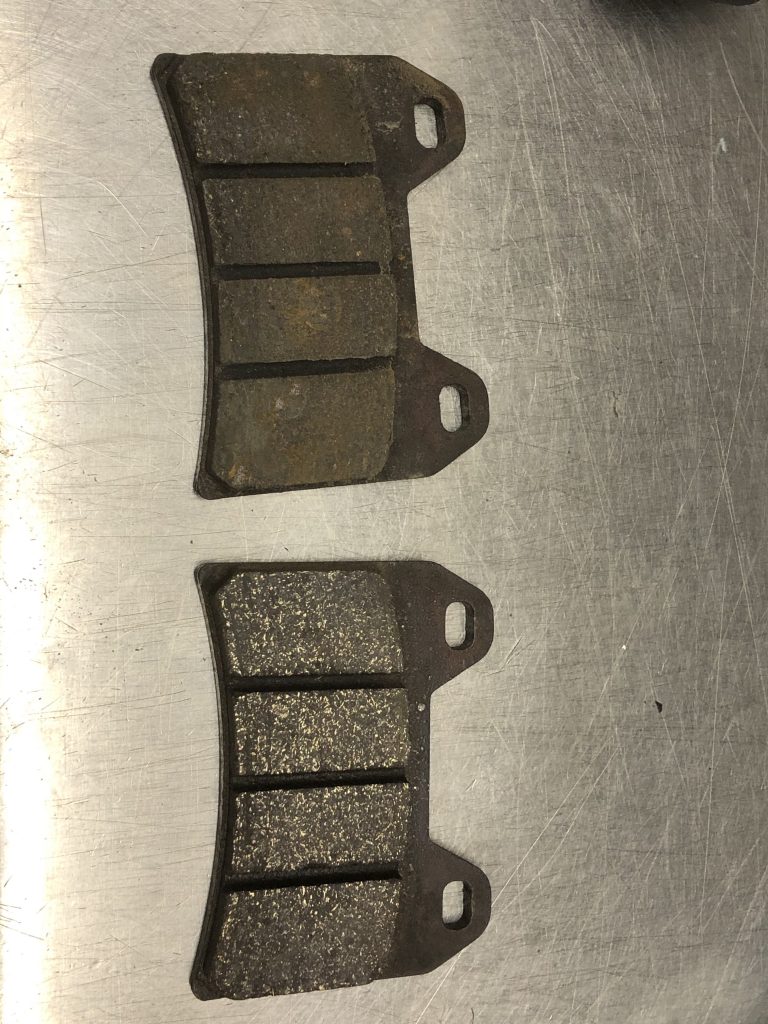
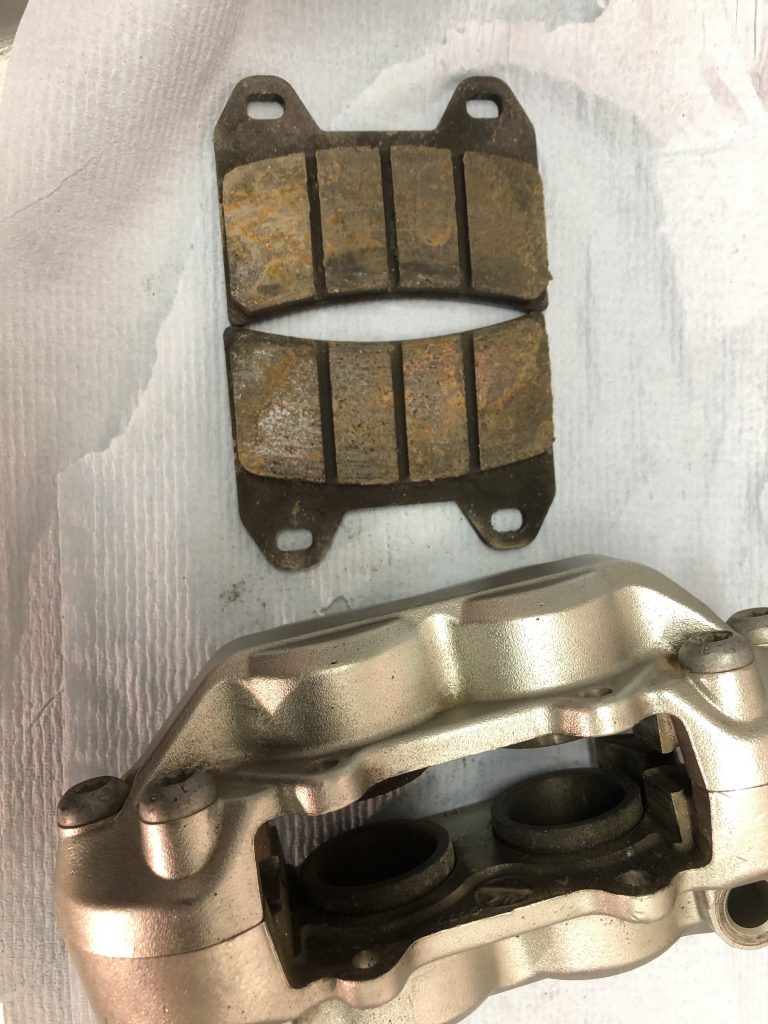
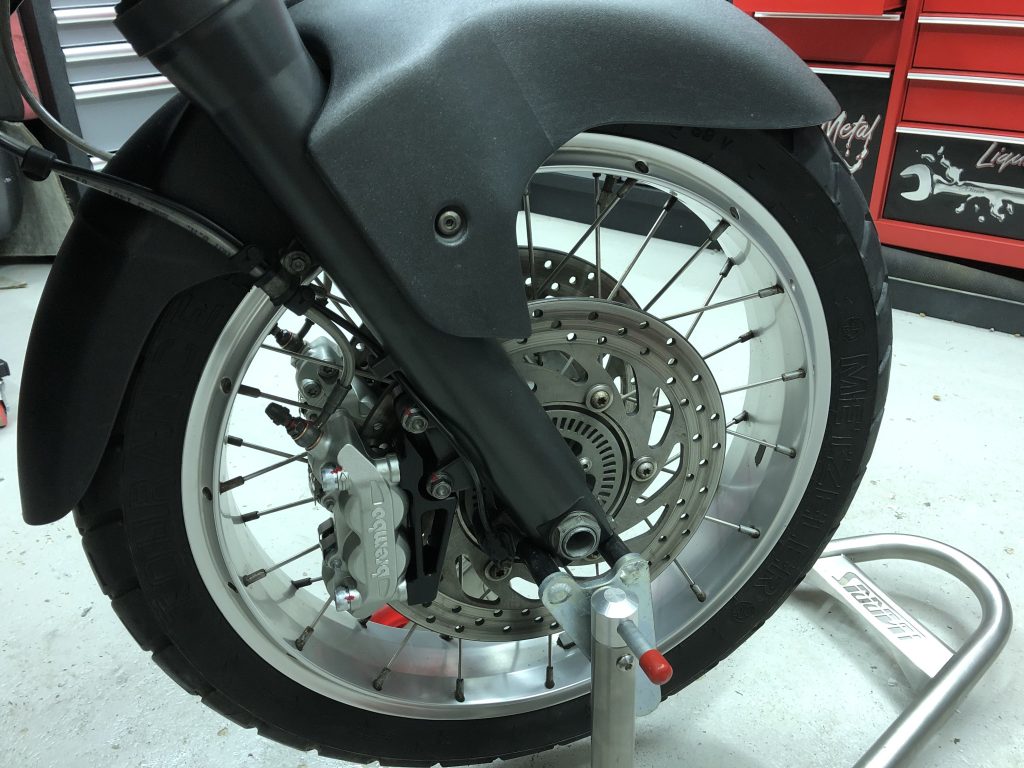
While off, I took the opportunity to clean the brake calipers and pistons and check them all over.
All cleaned up and ready to go…
Pads probably still have a few thousand miles left on them. I have a spare set ready to go on when the time comes. These are at 2.5mm-3mm. New is around 4mm.
All re-assembled and ready to hit the trail…
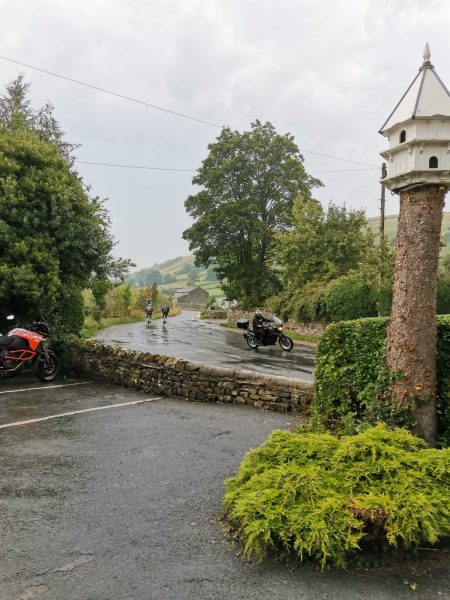
A run to Yorkshire this time…
The bike clocked up the 20k milestone somewhere in Yorkshire…
After 7 years of faithful service with me and on it’s 12th Birthday (18th April), it’s time to treat the Capo to some upgraded calipers.
On fitting the new tyres last year I took the opportunity to check the brake pads and give the calipers a clean. I had never really paid too much attention to them, it was when working on them that it came back to me how much I dislike the design of sliding calipers.
To be fair, they have always done their job, offered good brake feel and although its a heavy beast I can’t say I’ve recalled the sensation of them not being able to stop me ever, however they have always felt somewhat duller than most of my other bikes.
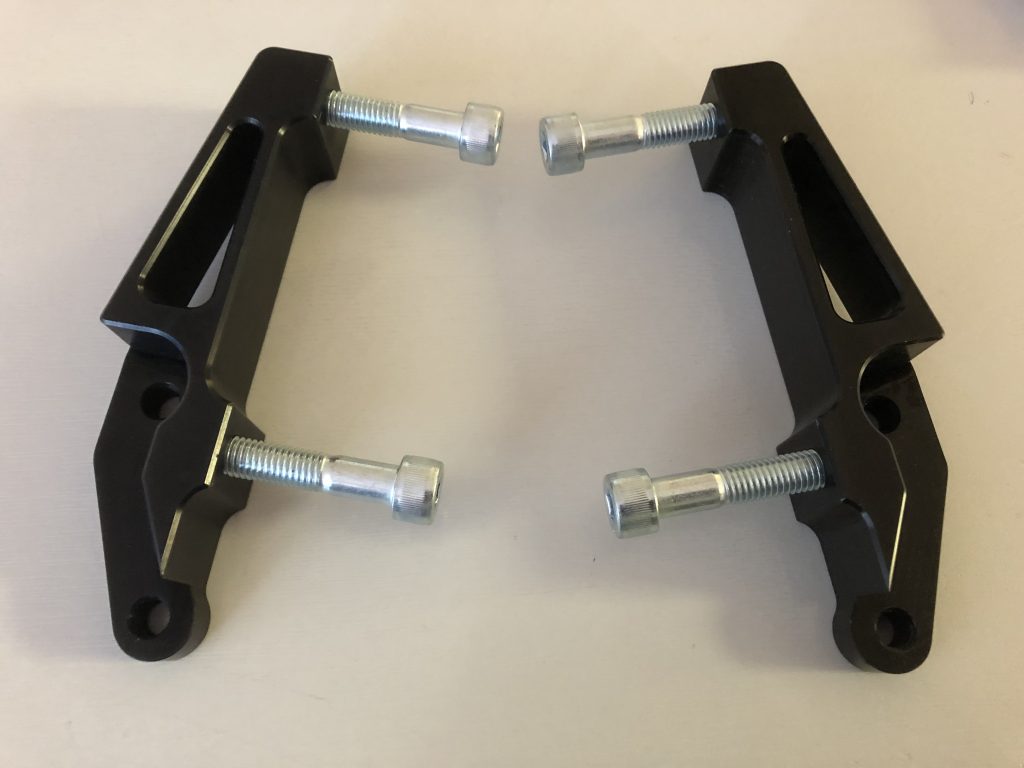
A chap called Ziskar was offering a group buy on custom caliper brackets on the AF1 forum, these were based on a previous design initiated by the AOTR club, which would allow the use of radial calipers in lieu of the axial stock ones. This opens up the choices to all sorts of lovely radial offerings.
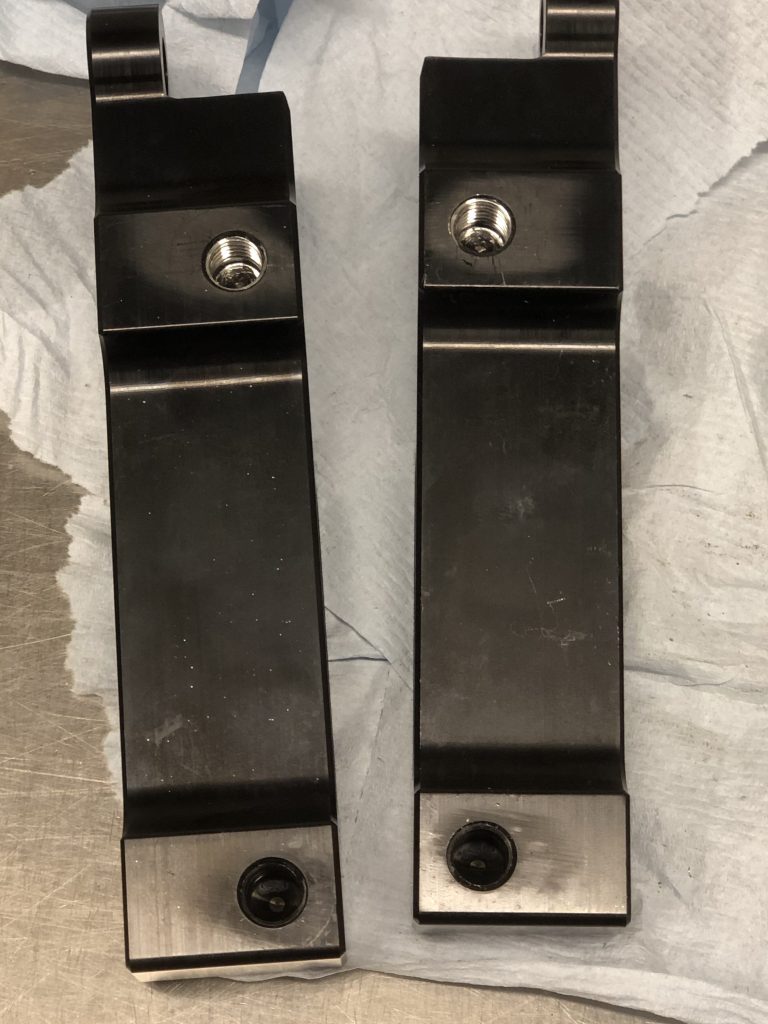
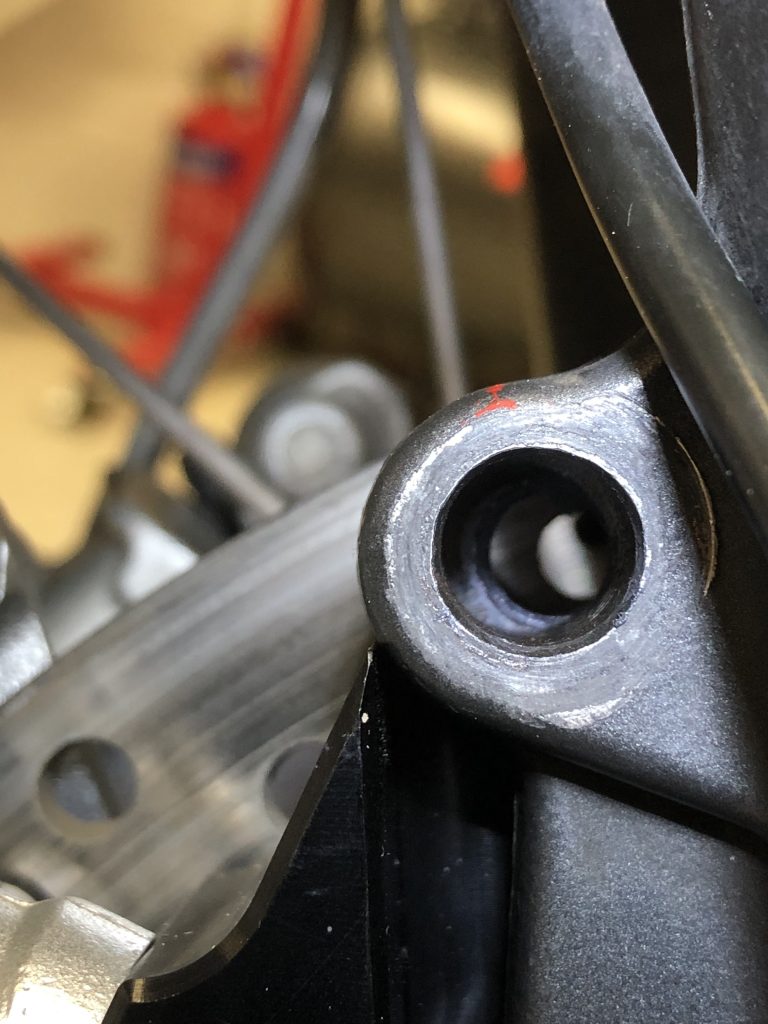
I have to offer a huge thanks out to Ziskar who did an amazing job of organising, informing, updating and driving this effort. A couple of months later these lovely brackets arrived, made from T6 7075 aluminium in black anodised finish. The original mounting bolts for the axial calipers use an M10x1.5mm pitch bolt, this has been replicated on this bracket so that it can be bolted to the forks using the original caliper mounting bolts with the same thread for the caliper mounting points. I managed to locate some M10 x 1.5mm pitch bolts from work, they are 8.8 strength BZP finish so should not give any issues with bi-metallic corrosion. The bolts pictured below are 50mm.
It became apparent on looking for bolts, that most Radial calipers use a 1.25mm pitch. This would have been better as not only would there have been a greater bolt offering but also the finer pitch would be stronger and more resistant to self loosening. It also transpires that the top caliper bolt would need to be shortened as there is less material on the bracket therefore it has not been drilled as deep. The upshot is that a 50mm bolt is fine for the lower fitting which will be under more stress anyway, which would have 11mm of engagement. The upper bolt needed trimming to just under 46.5mm offering just under 7.5mm of engagement. To get this also required me to run a tap down the thread as the original machining did not go all the way.
When it comes to caliper choice, there are many Brembo offerings. There are however a couple of considerations to take into account before purchasing a suitable caliper. Bolt centres on the radial caliper need to be 100mm for this kit. It is a common size so fortunately there are many to choose from. Piston size, pad cost, swept area, body width etc all play a factor in choosing the right caliper.
I looked at the master cylinder to piston ratios. The stock ratio is 26.7:1 . The Capo uses a 12mm master cylinder and the stock 2 piston sliding calliper runs one 32mm and one 30mm piston. The shortlist of calipers for me were;
Brembo P4.32 (32mmx piston) 28.44:1 ratio.
Brembo M50 (30mmx4 piston) 25:1 ratio.
The latter is a fancy mono block offering. The M50 in particular was the preferred choice but I worry that it may be too much for the Capo. The lower ratio would mean a sharper more powerful brake feel. The P4 would offer a slightly softer feel. Both ratio options were the same difference apart in ratio from the stock setup, 1.7 (M50) vs 1.74 only one jumps one way (sharper) and one the other (softer) from stock.
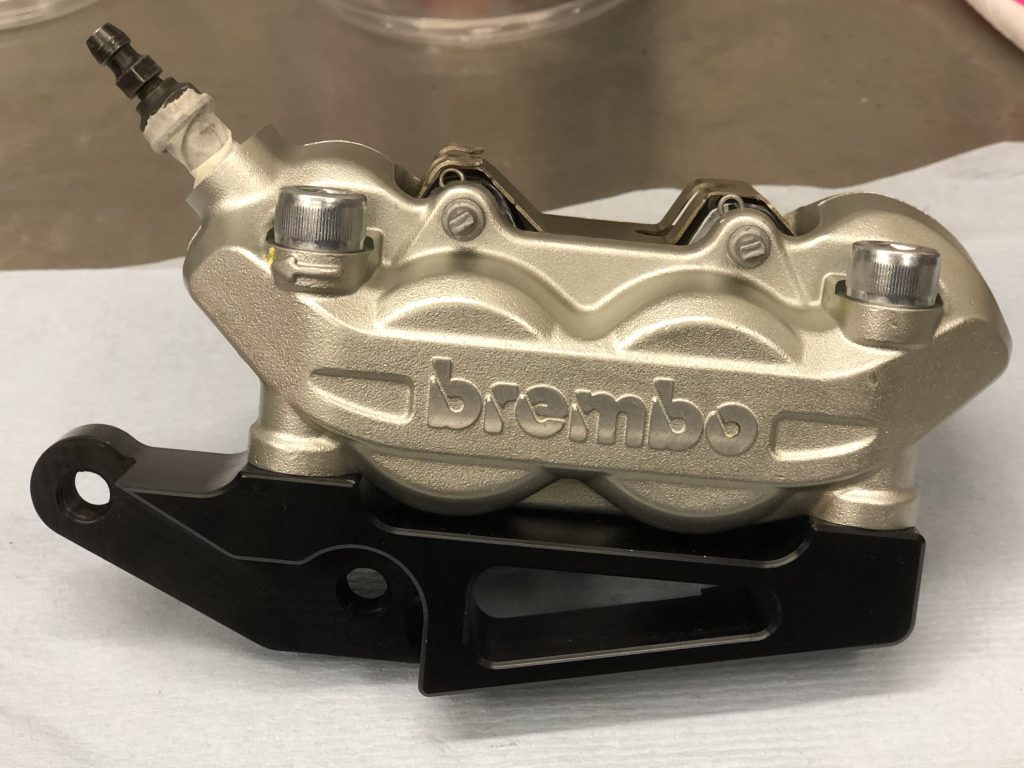
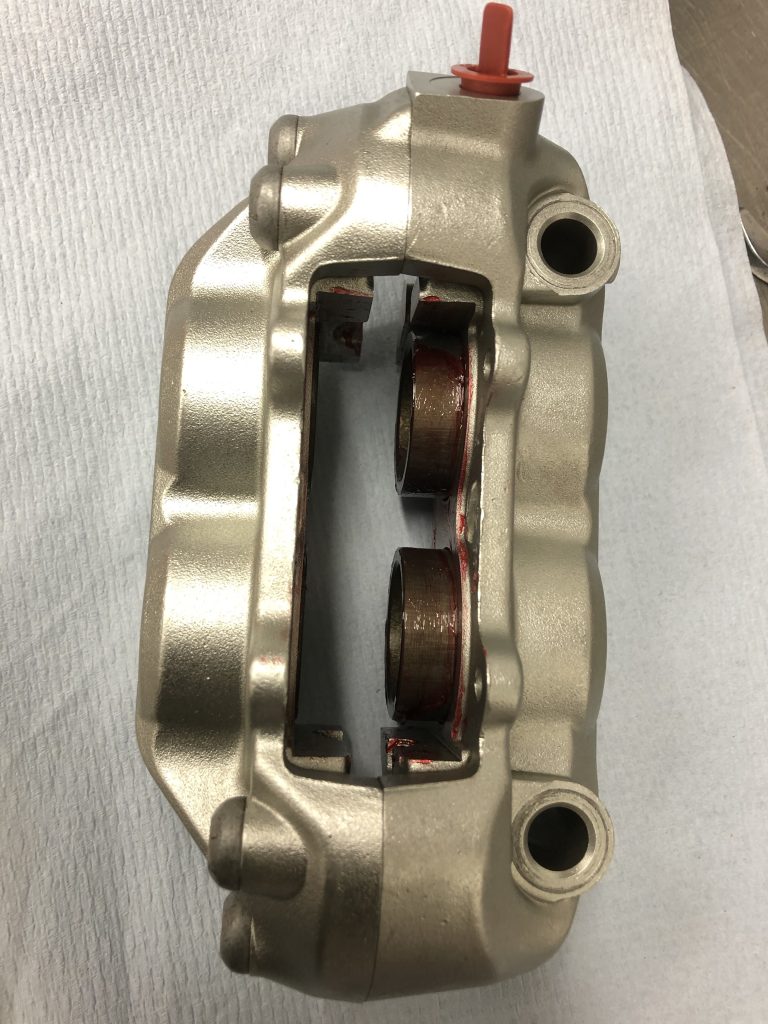
The M50 is an expensive caliper, and I did not have the body dimensions to compare. The mono block rigidity would also probably add further feel to the braking. All of these calipers are wider than the skinny sliding calipers fitted as standard. I opted in the end to go with a caliper that I new would offer decent spoke clearance and also match the stock look of the rear caliper and indeed the original ones. It would be a subtle upgrade and look very much factory. That would be the P4.32 as fitted to many Ducati’s including the Hypermotard which is what mine came from. Ebay turned up a nice example of 3,500 mile old calipers.
Upon arrival, the first thing I did was offer them to the brackets to see how the 50mm bolts would fare. As can be seen below, there is a gap on the top bolt of each bracket near the bleeder. This required the tap being run in deeper but also some length taken off the bolt. To tighten down correctly I had to take approx 2-2.5 threads off the bolt leaving me with a 46.5mm bolt.
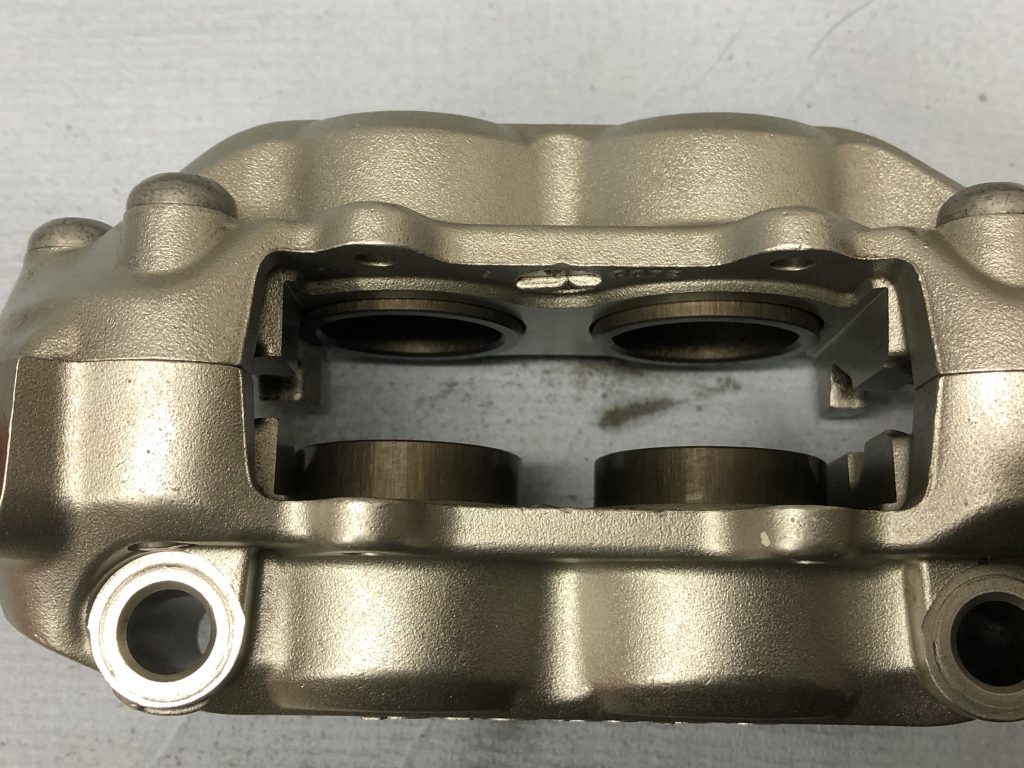
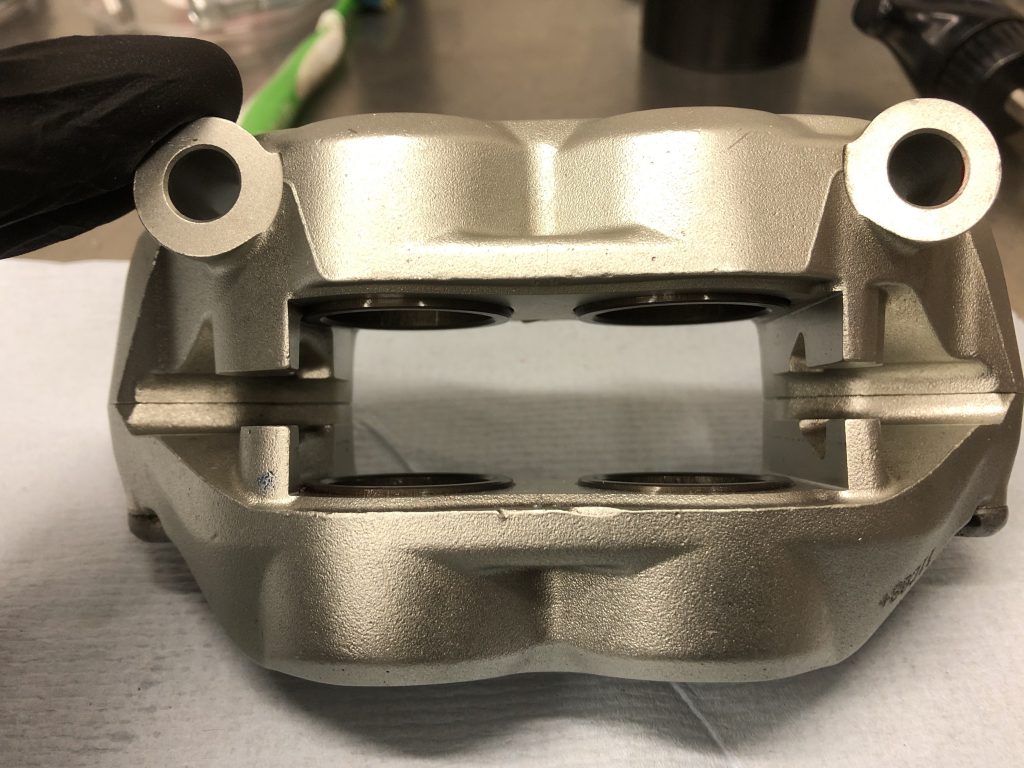
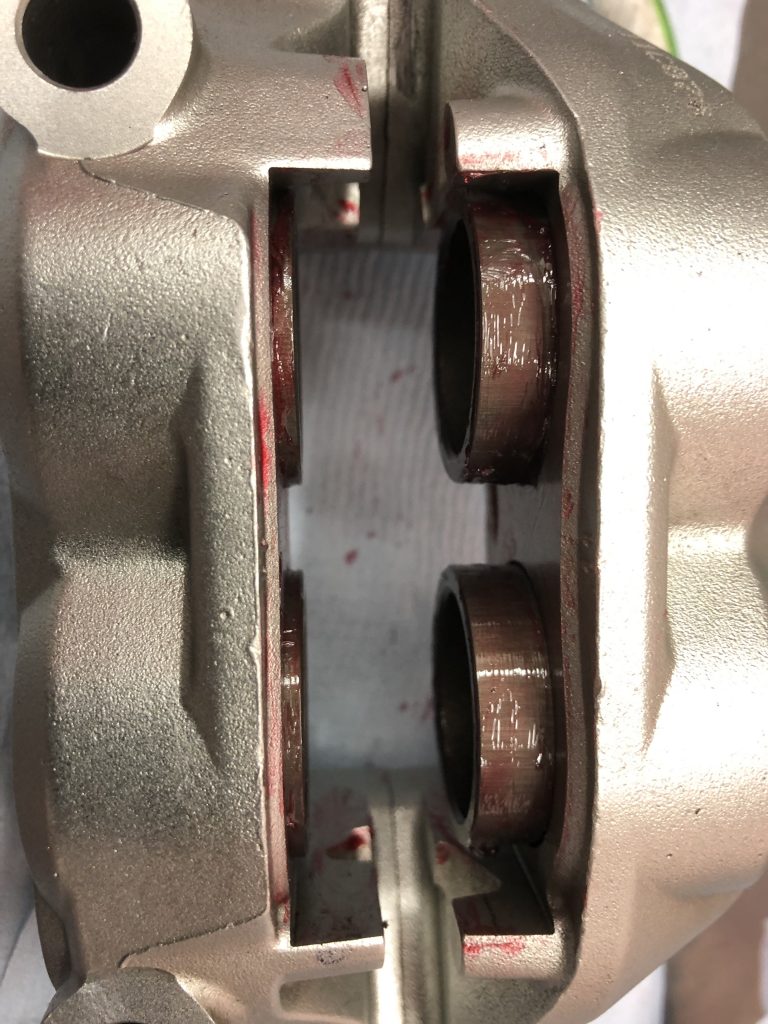
I then set about deep cleaning them. re-greasing the pistons, cleaning up the pads and retaining pins ready for service.
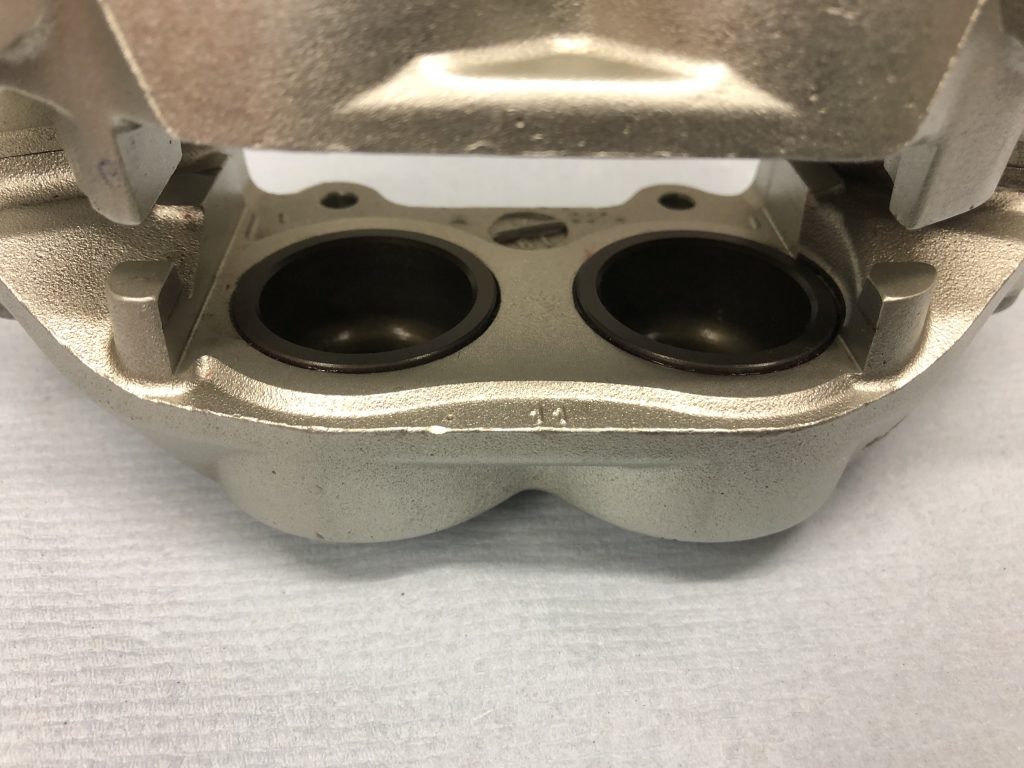
The pistons were extended using an air compressor blow line, they were in great order commensurate with the mileage so just needed a wipe clean.
The pads were sandpapered with 600 wet and dry and cleaned with some water/detergent spray and then a final wipe with some break cleaner.
The pistons were re-greased with some red rubber grease so that they would coat/protect the seals.
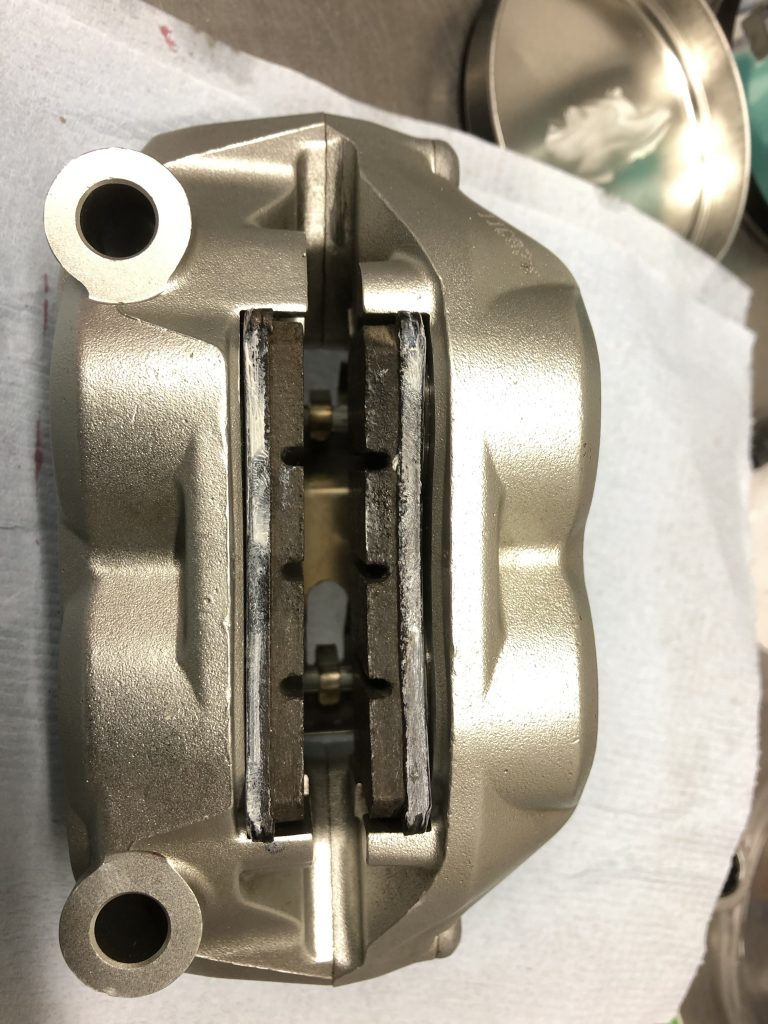
Then the pistons were reset, ready to take the freshly cleaned up pads.
The back of the brake pads, perimeter and retaining pins were cleaned and lightly coated with some ceramic grease.
All ready for bolting up…
The caliper bolts will have some molybdenum disulphide grease applied to them and torqued to 38Nm. The brackets will be torqued to a slightly lower 44Nm with the same grease (50Nm and oil in manual seems a bit high for this aluminium bracket). Banjo torque 20Nm, Bleed nipple 9Nm.
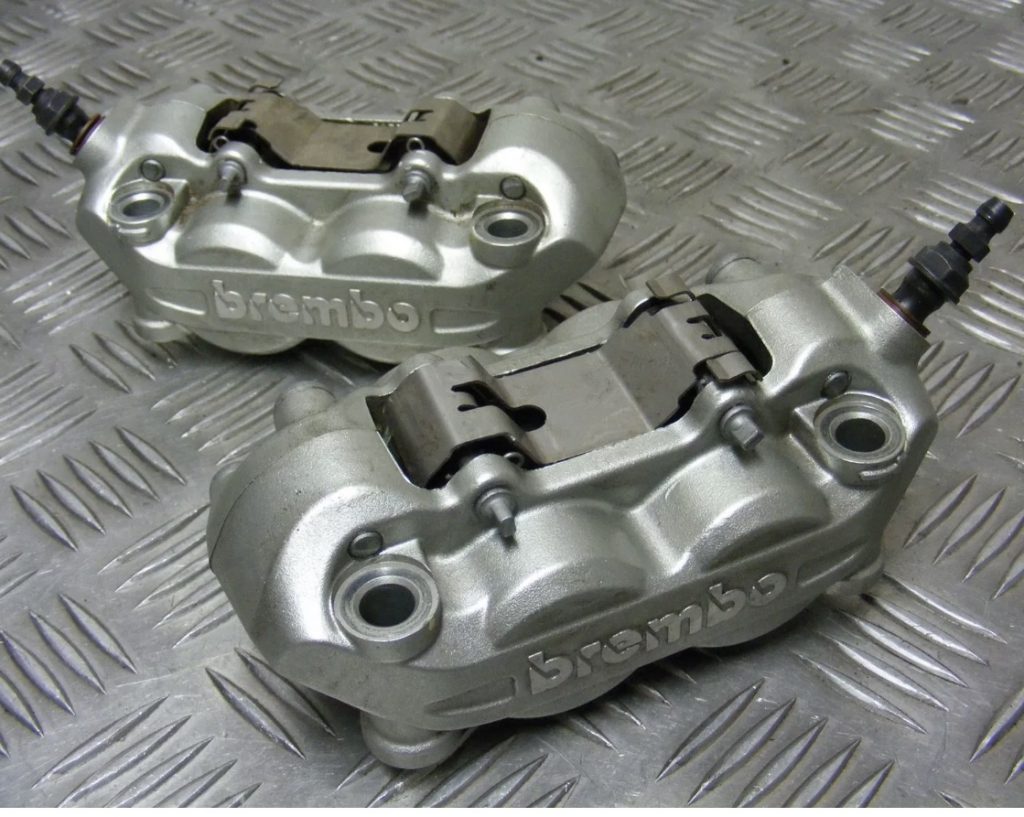
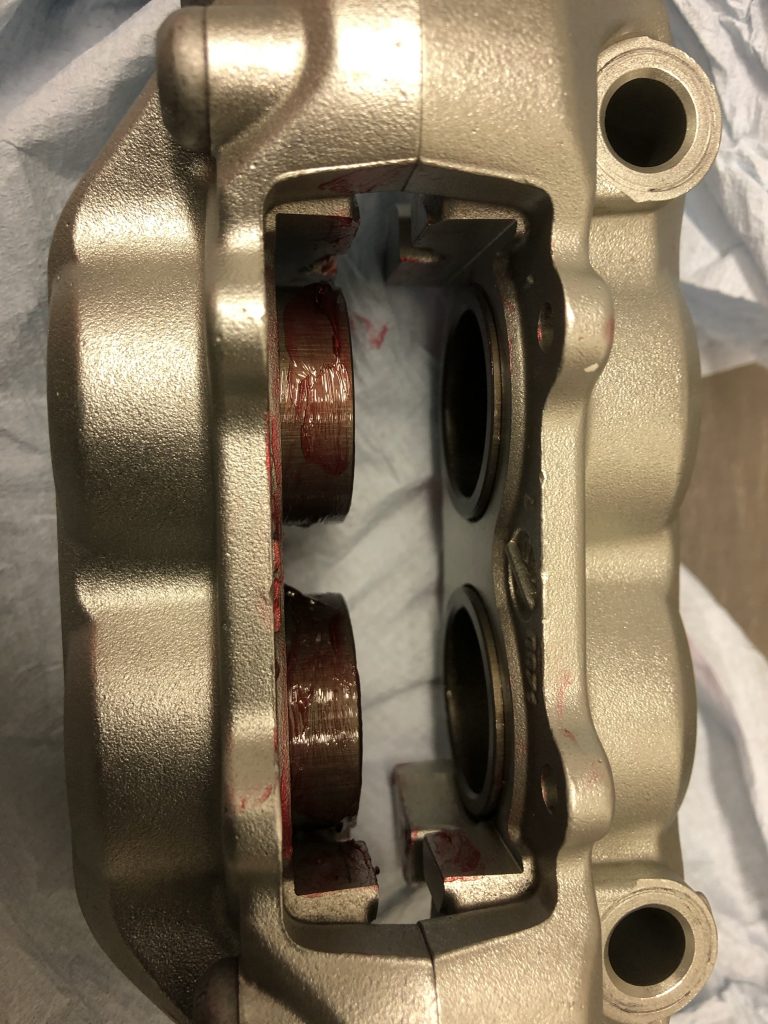
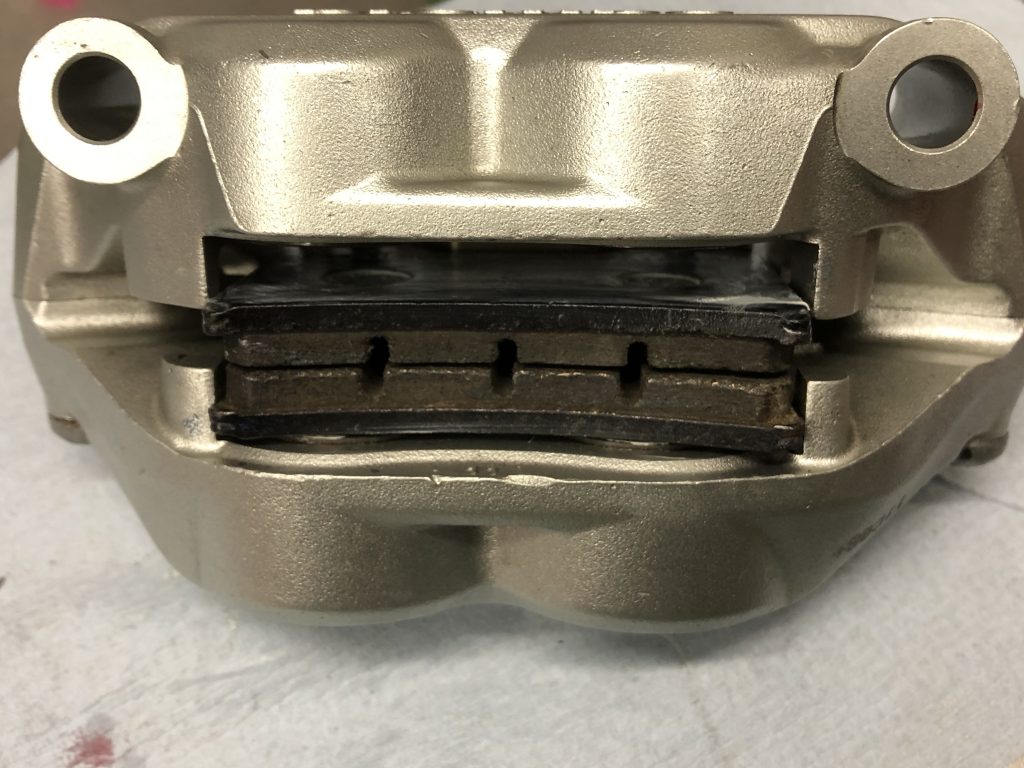
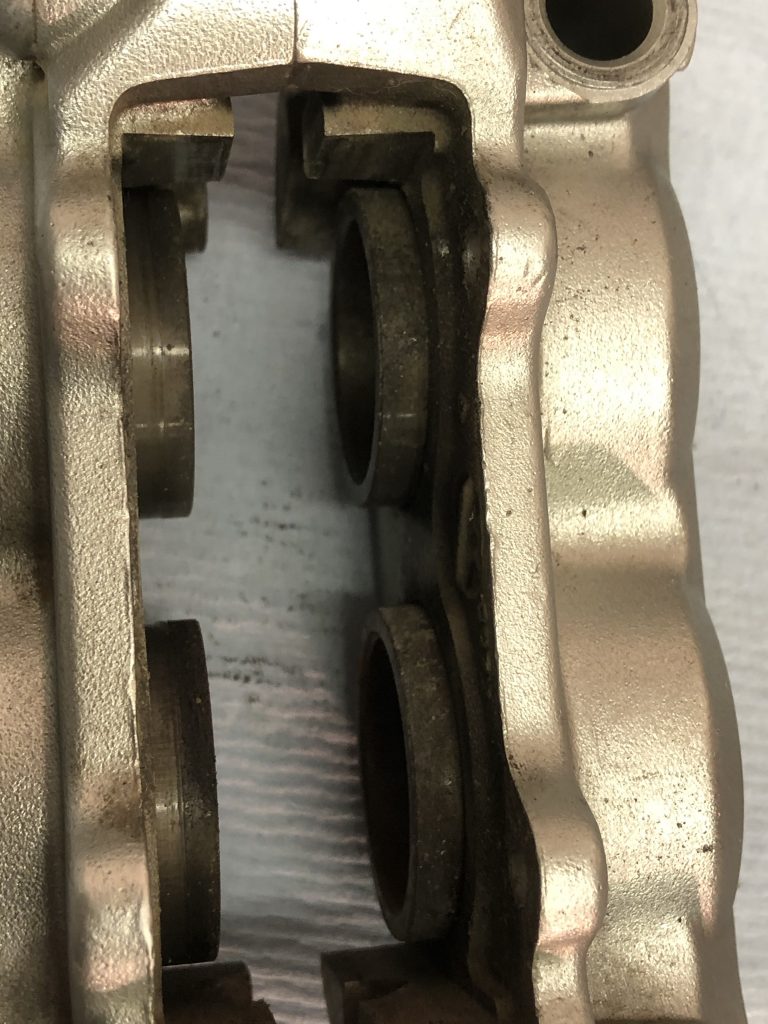
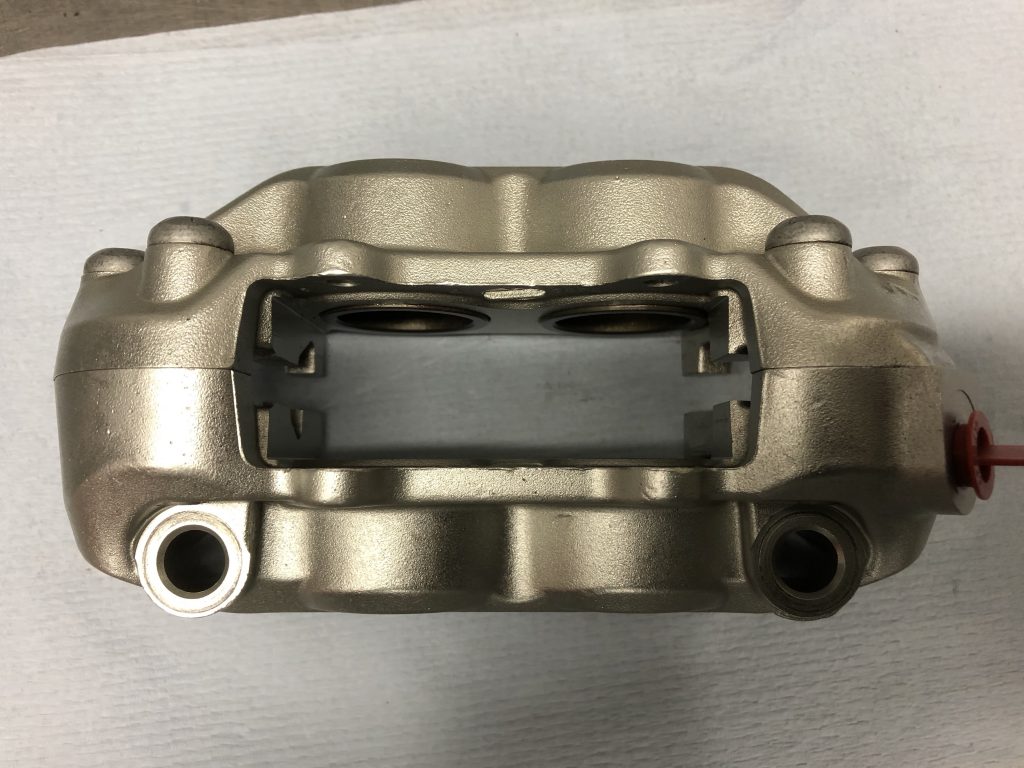
On to the second caliper. This is how the calipers arrived as they came off the bike, a little bit dirty but with a little time spent cleaning they come up as new.
First off the pads…
Next up, the body and pistons. The body is cleaned using some diesel and a toothbrush and wiped off with blue roll, finished off with compressed air to blow out all the hard to reach areas.
It’s very satisfying to see these come back like new with a relatively small amount of TLC…
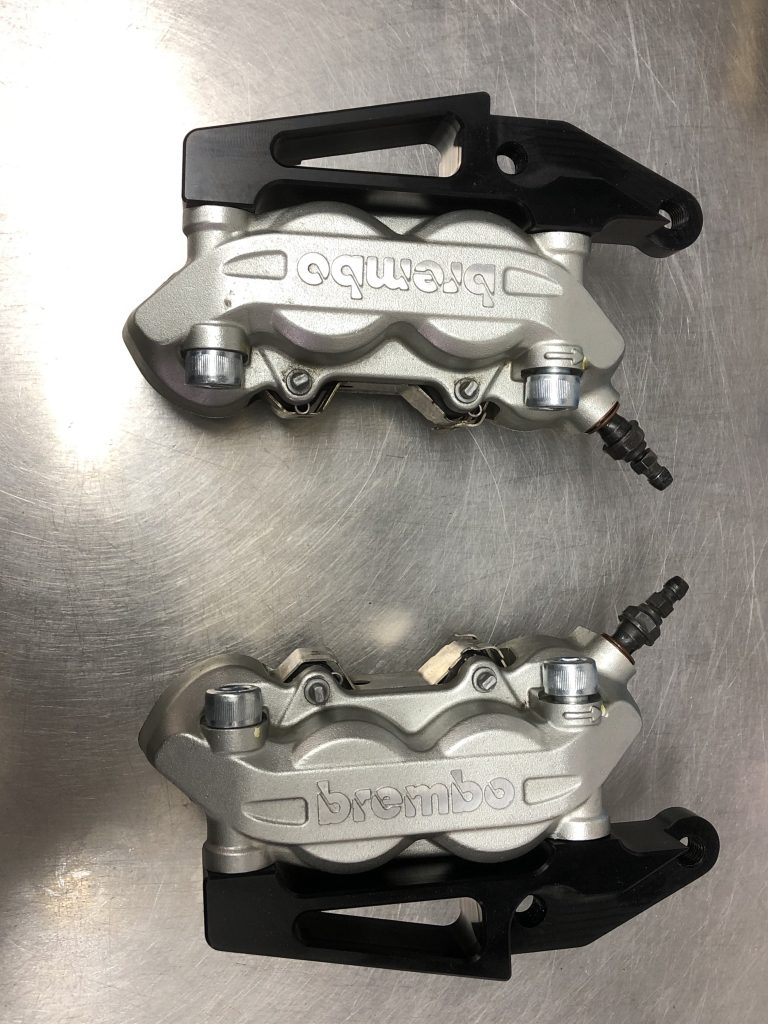
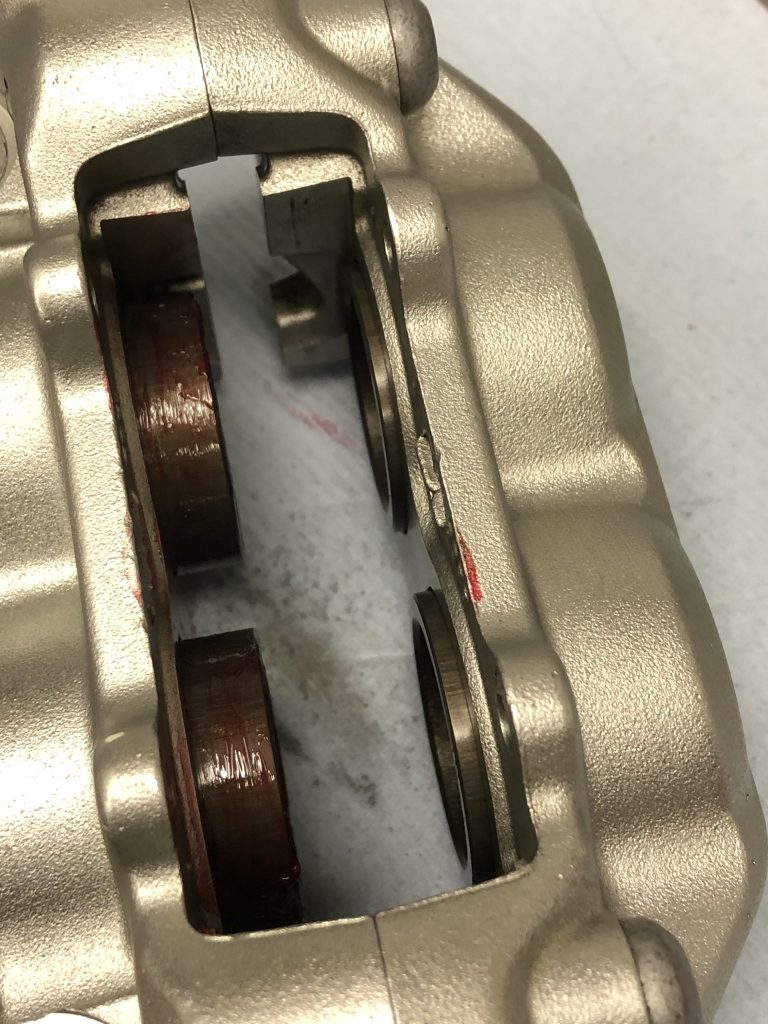
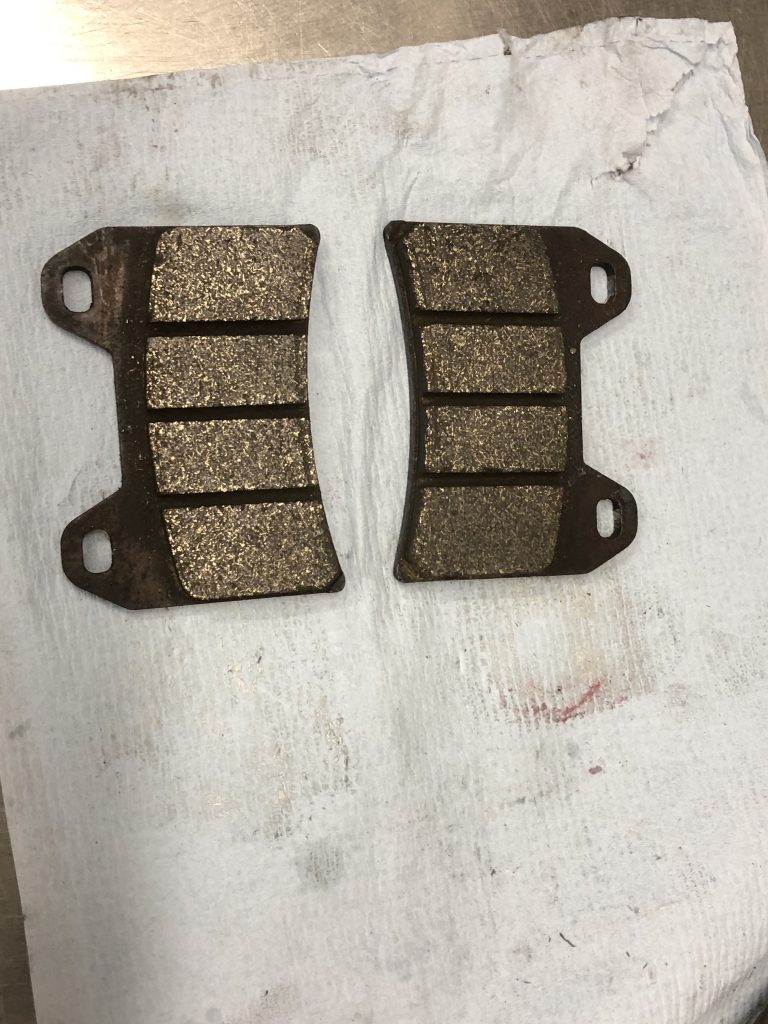
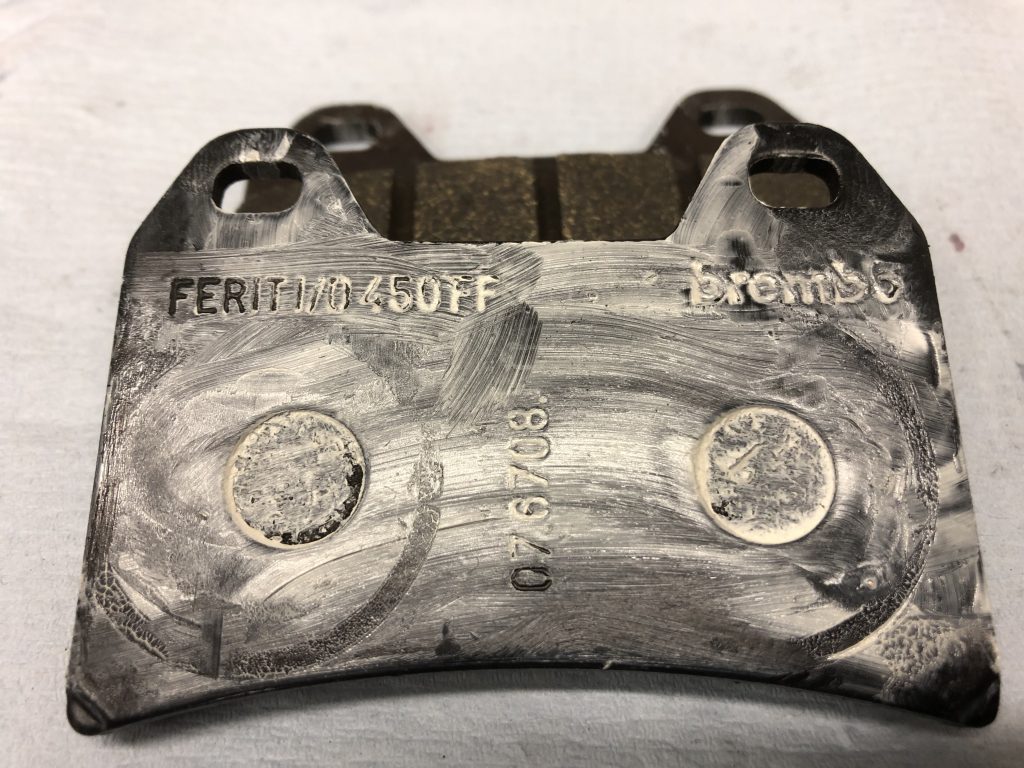
Original Brembo pads are installed with plenty of life left. Part number below for future reference.
Both calipers are now cleaned and ready to bolt on to the bike once the new copper crush washers arrive for the banjos.
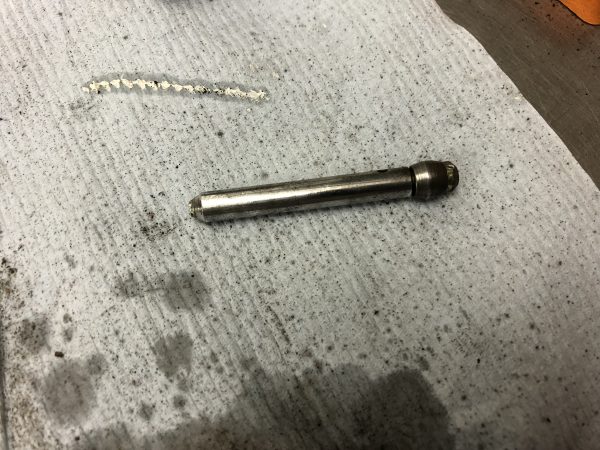
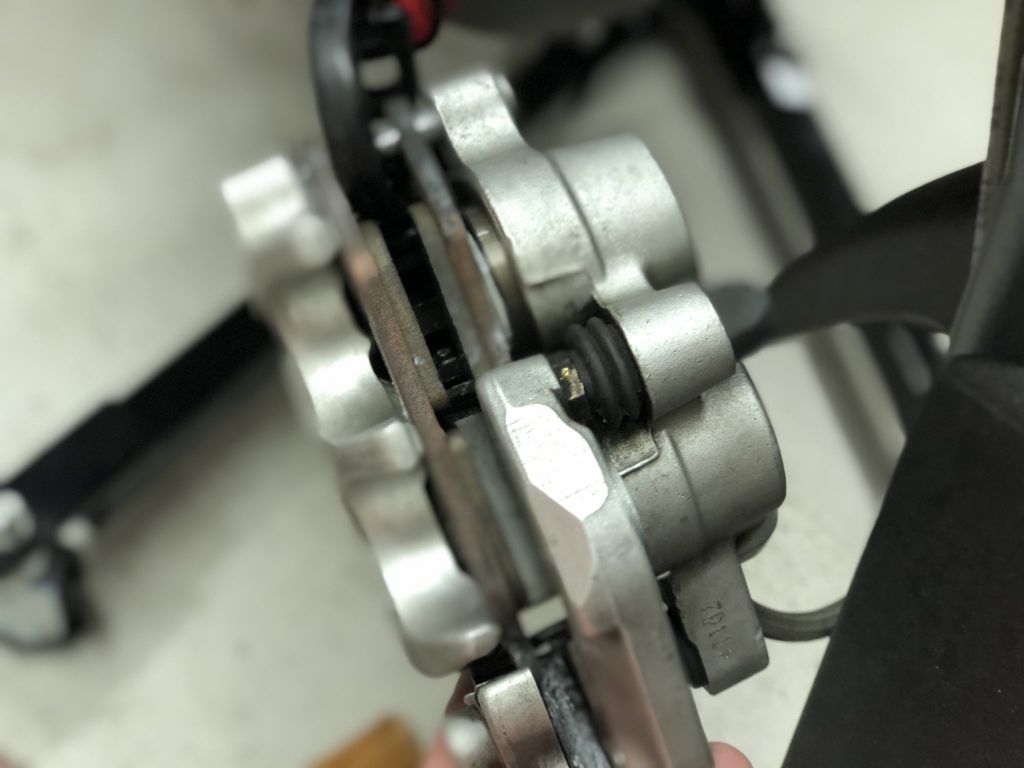
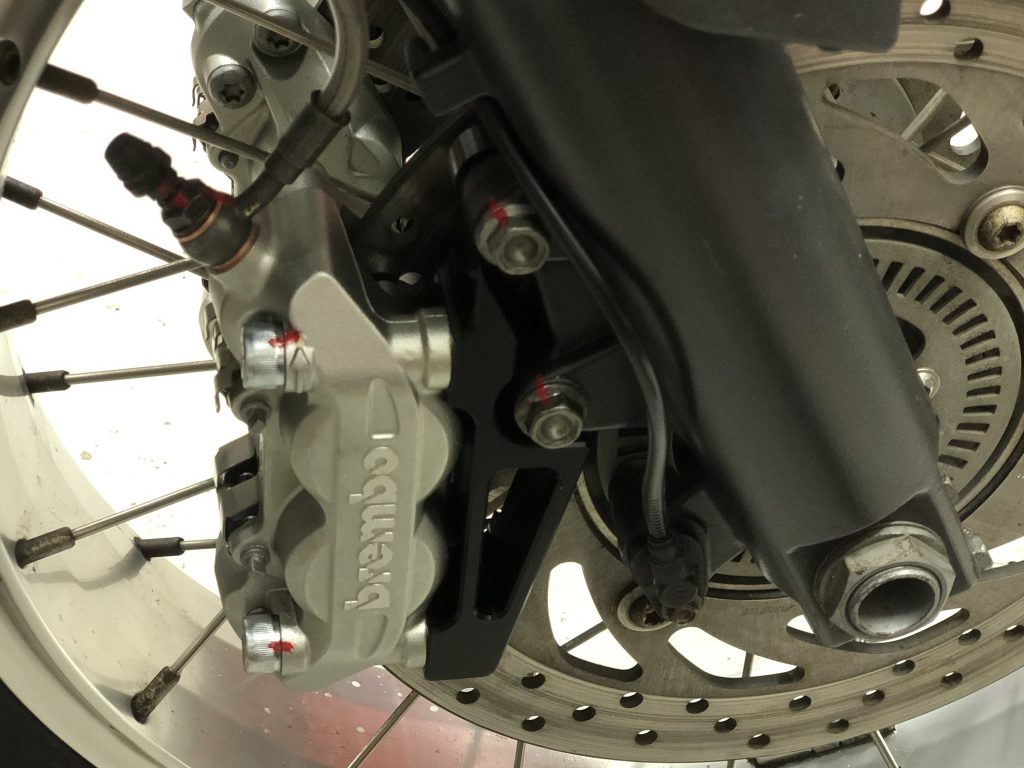
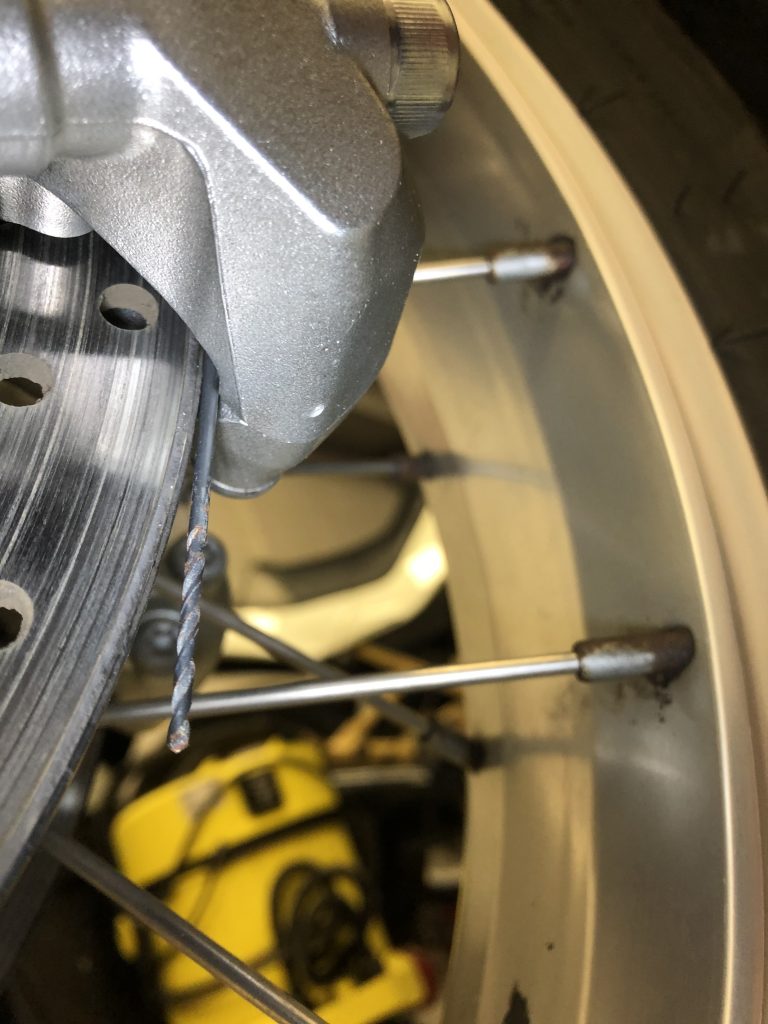
Fitting the brackets to the bike. The good news is it all bolts up and it appears that it will serve its function. There are some issues however. The caliper should clear the disc by a minimum of 2mm according to Brembo.
This 2mm drill bit shows that the minimum clearance has been achieved. This is at the base of the caliper, the clearance is higher at the top pf the caliper. This variance should not be more than 0.4mm however it is 4mm more, less the 0.4 allowance makes the variance 3.6mm out of tolerance.
Above shows a 6mm drill bit inserted to demonstrate the 6mm of clearance. If the bracket hole where drilled in a slightly different position as shown below, this potentially could have been corrected and the variance equalised;
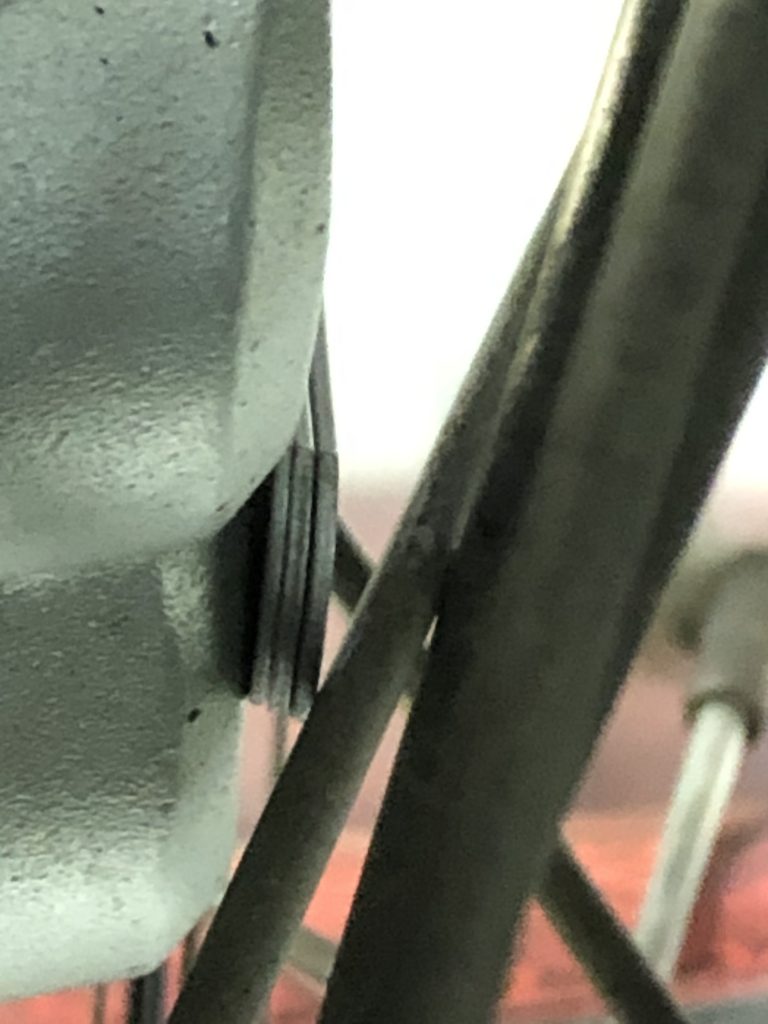
Measured using a feeler gauge, spoke clearance with these calipers at its tightest point is 2.8mm which is acceptable to me.
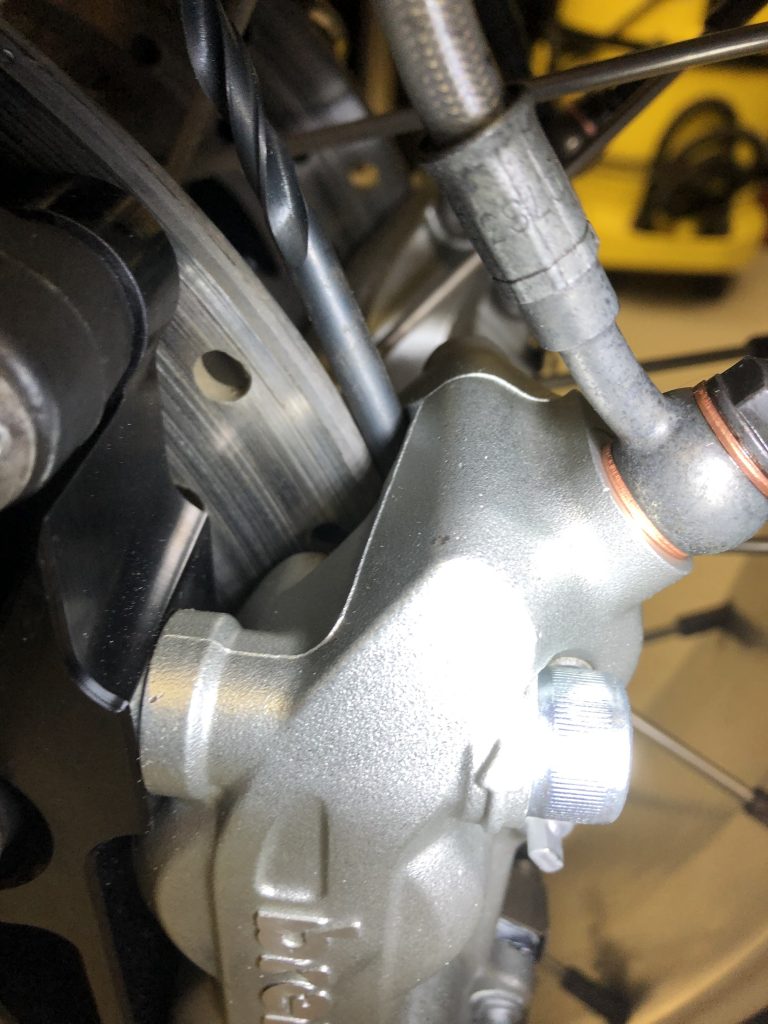
Finally the original brake hose angle is at quite a tight angle. I may consider replacing these in due course with a 30 degree angled head hose but for now these will stop. In the meantime, here is the finished article 🙂