
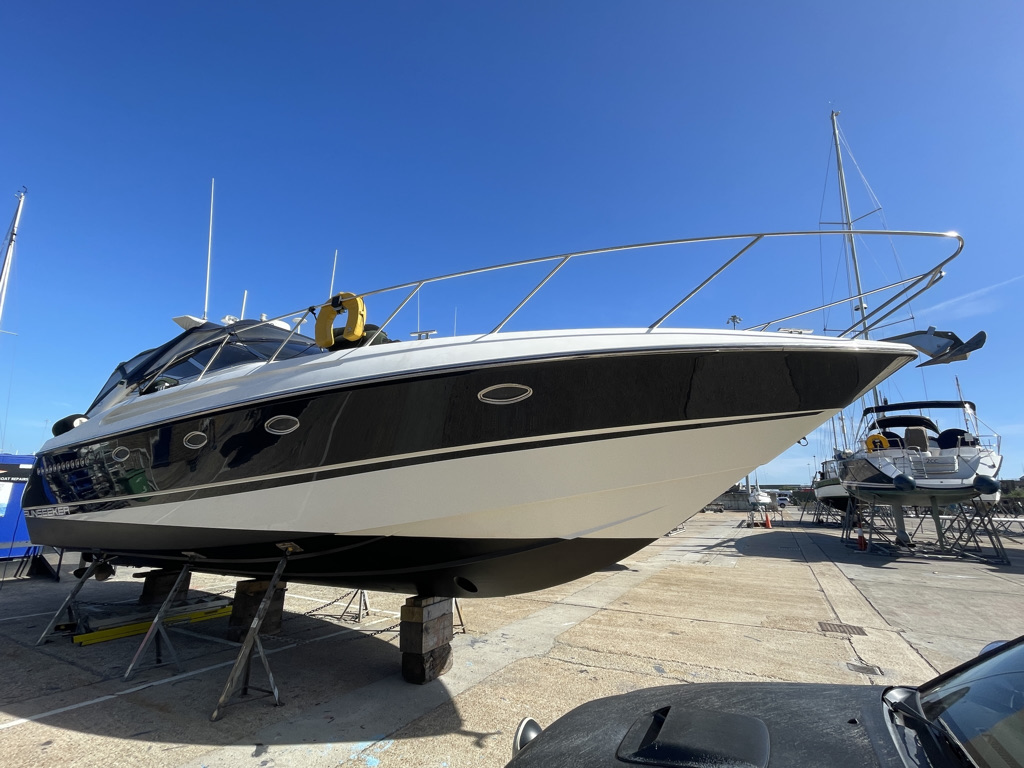
A year into ownership at the start of this post and where to begin? We bought the best boat we could afford, it was in wonderful condition, well looked after and had a clean survey (aside from a stbd cutlass bearing that would need some attention at the next haul out).
As our boat neighbour once said, the problem when you go looking for problems, is that you invariably find them. It’s not that I go deliberately looking for problems, but I’m a believer in preventative maintenance and catching things early.
It has been an eventful first year, I thought I was well prepared for the toll of owning a boat and always felt the first year would be the worst as we tended to all those little bits and made the boat our own.
There were however quite a few issues that have arisen that needed time and funding spent on them. I spent most of the winter months down in the bilges in fact and we have blown our estimated annual maintenance/upgrade budget well and truly. Off the top of my head, here’s the top 20…
- Water ingress through shaft seals – Poor installation/modification at time of fit.
- Snapped through alternator bracket. Could have sent it into orbit around the engine room, fortunately spotted early.
- Engine issue stbd not exceeding 1600rpm in certain scenarios.
- Dirty fuel filters.
- Stbd aftercooler running hot.
- Stbd shaft Seal running hot.
- Clogged transmission coolers.
- Heat exchanger end caps no continuity to anodes.
- Ceased sea cock to generator underwater exhaust
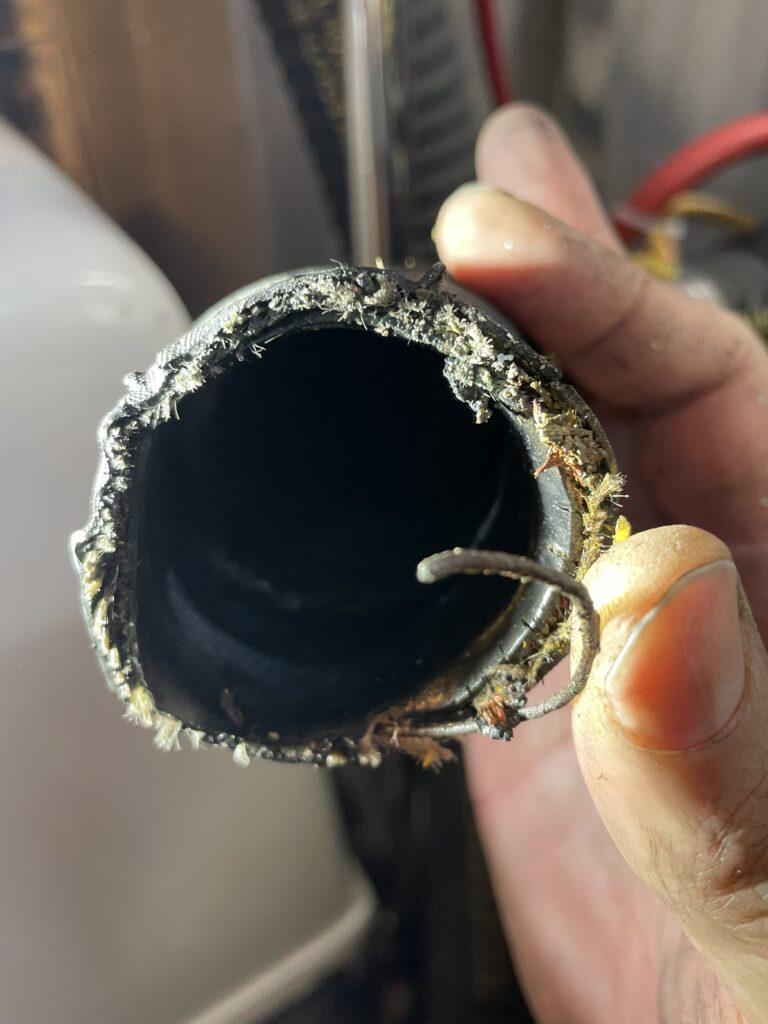
- Worn through wet exhaust stbd
- Port Exposed starter motor cables
- Port Starter cables touching exhaust manifold and burning protective casing
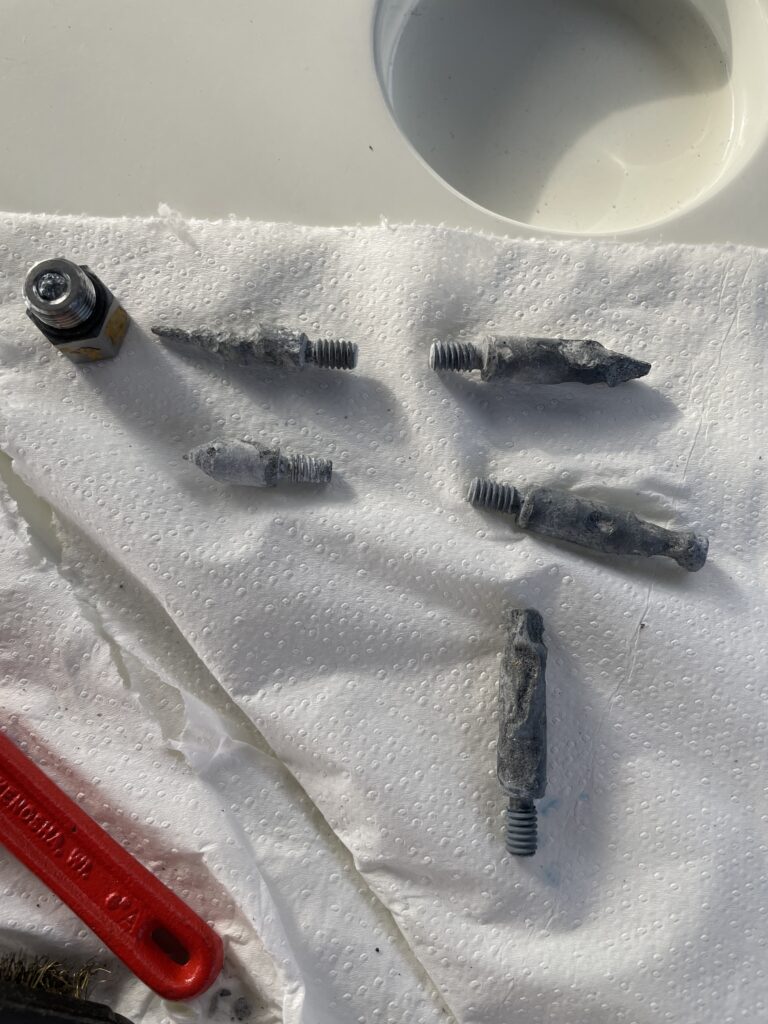
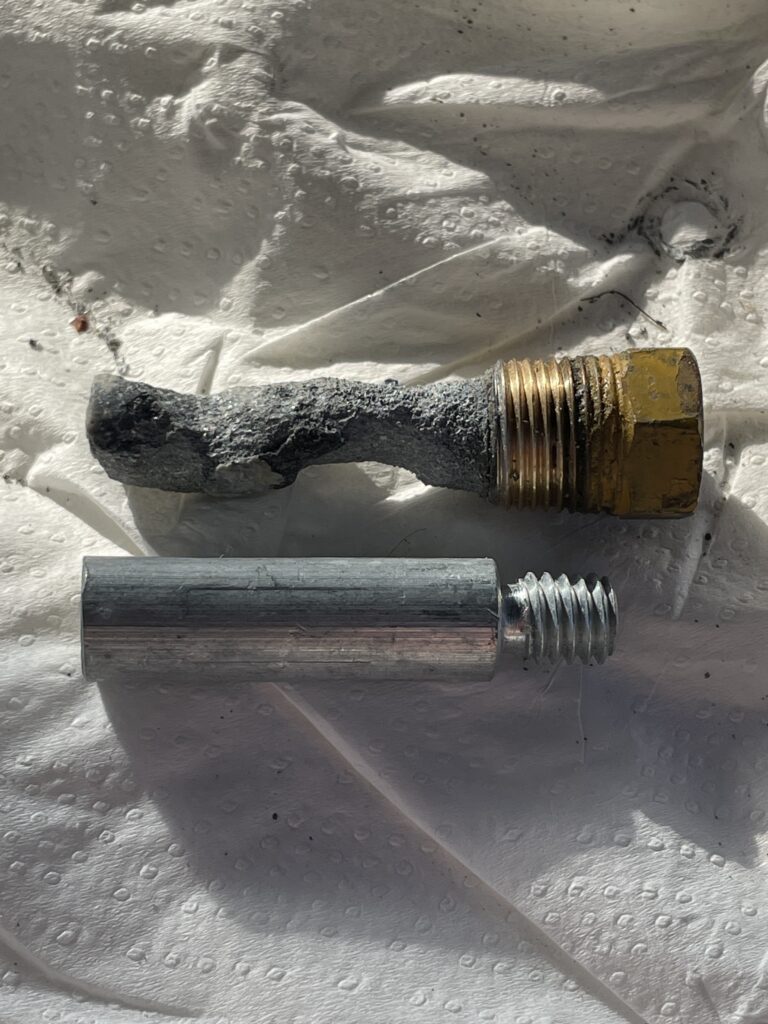
- All Engine anodes worn and fallen off.
- Failing seawater pump.
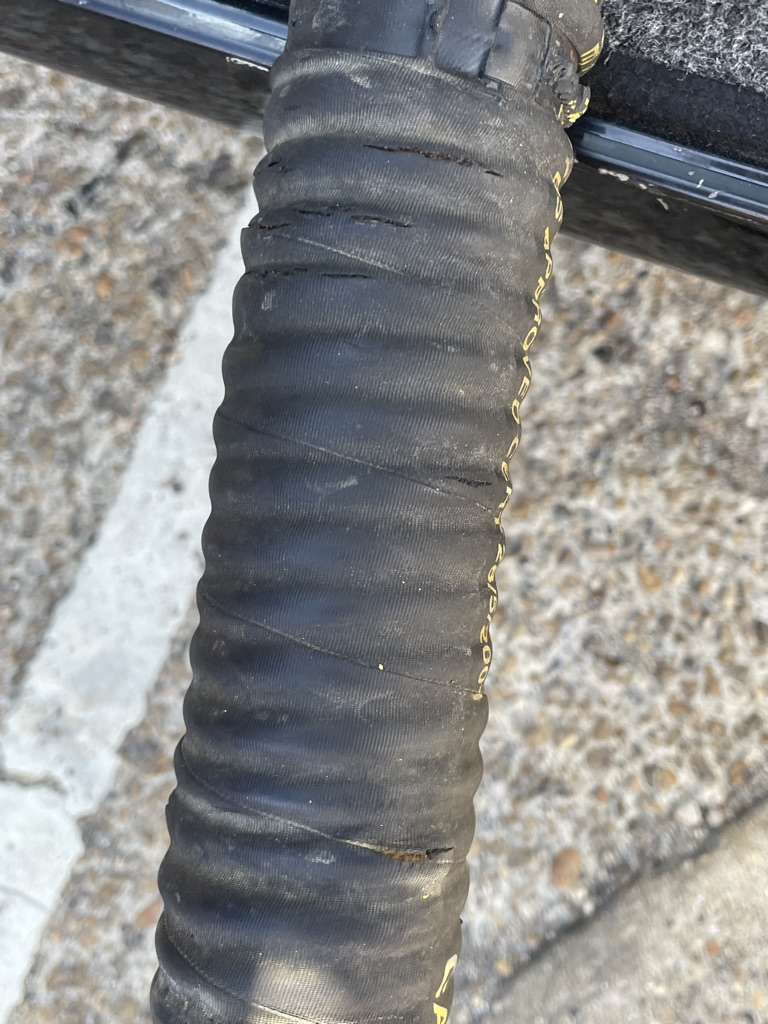
- Hoses below the water line with cracks etc.
- Mismatched propellers 23″ port vs 24″ stbd.
- VDO Sumlog Speedo and Nm odo not working
- GPS positioning orientation out of calibration
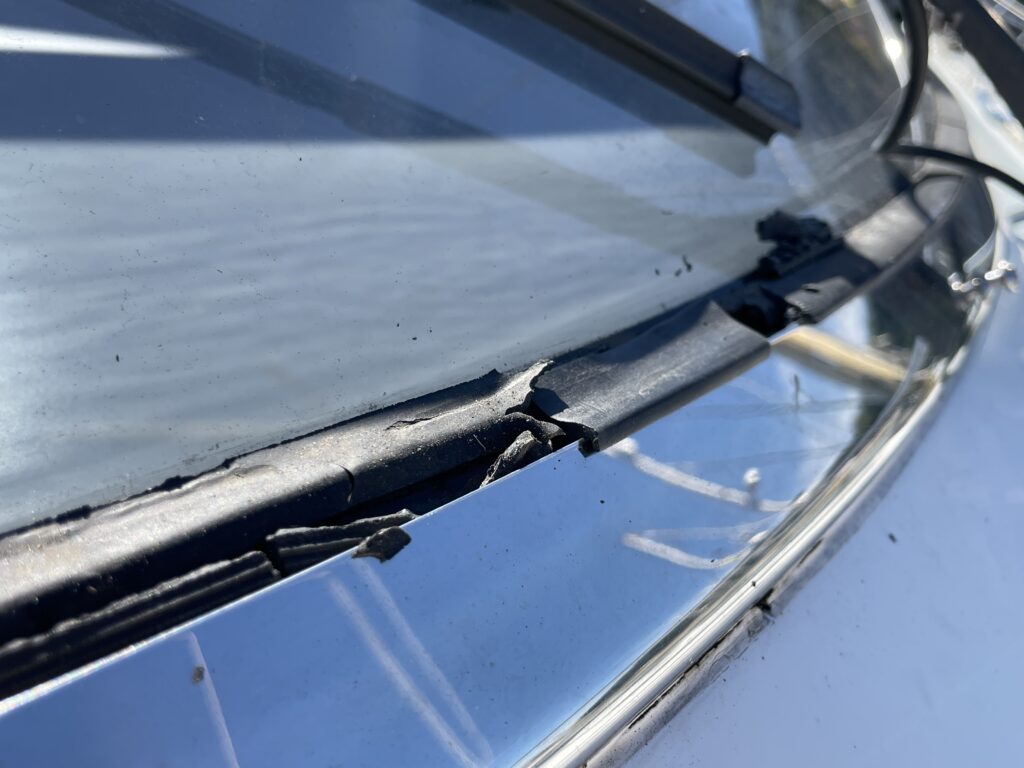
- Windscreen Trim falling apart
- Navigation lights big voltage drop
Improvements/Upgrades;
- Leather deep clean
- renewed press stud fittings
- Rubber bow thruster joystick
- Windshield trim
- Stainless Steel Radar arch brackets
- New pocket sprung mattresses throughout
- New engine bay hoses and S/S clamps throughout
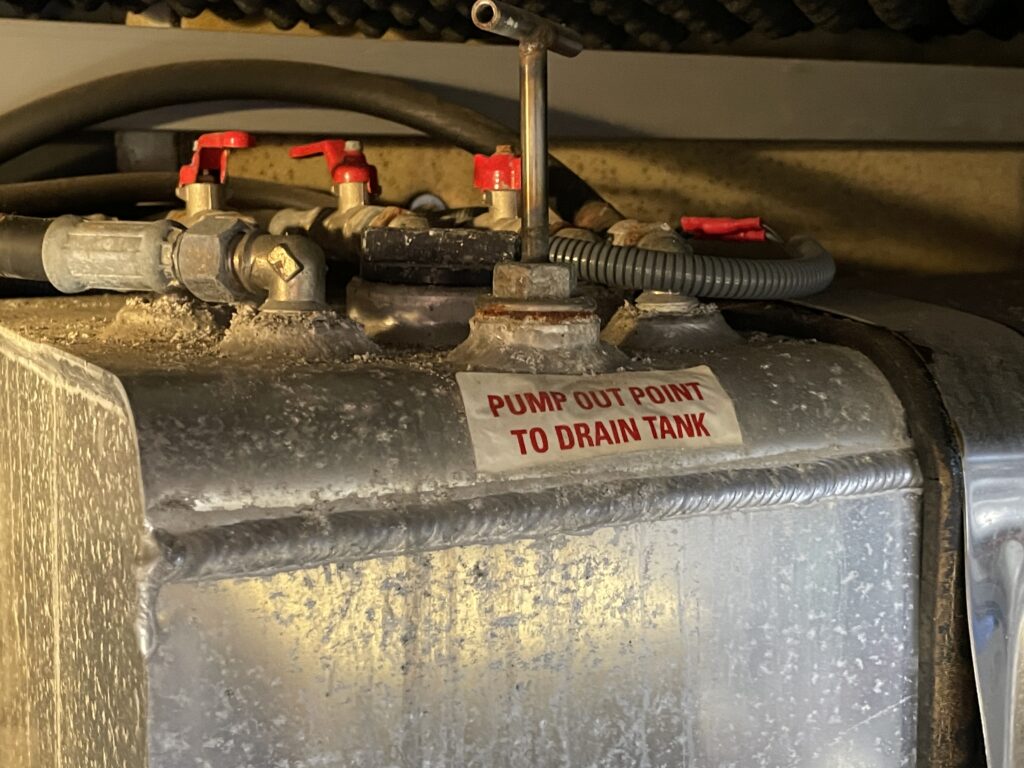
- Diesel Dipper system installed.
- Radar arch searchlight repaired
- New curtains
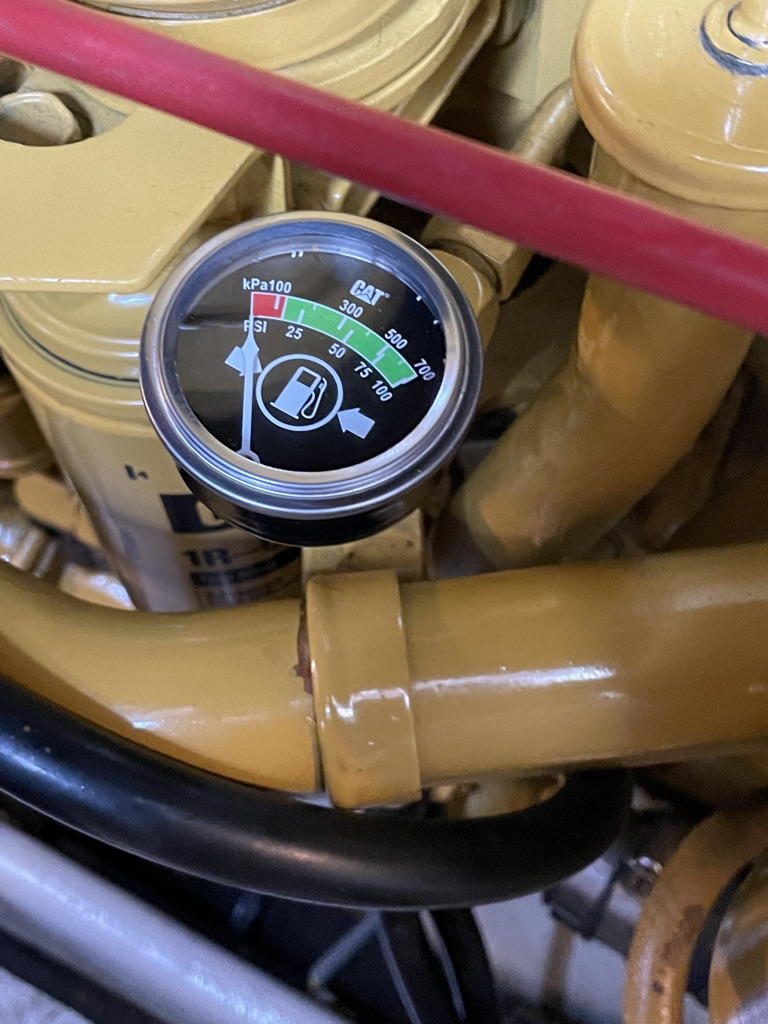
- Caterpillar Fuel pressure gauges
- Separ fuel primary filter vacuum gauge and lid installation
- Port 24″ Teignbridge propeller
- New Cutlass bearings port and starboard
- PSS Pro face seal upgrade bellows and retainer
- New Caterpillar Aftercooler stbd
- New Heat Exchanger end caps port & stbd
- New Caterpillar Updated Thermostats
- New Generator battery box
- New struts electrical cupboards
- New breather pipework
- New Alternator brackets port & starboard
- New Caterpillar Starboard sea water pump (port side pump renewed by previous owner)
- New Impeller portside water pump
- New Rule bilge level switch
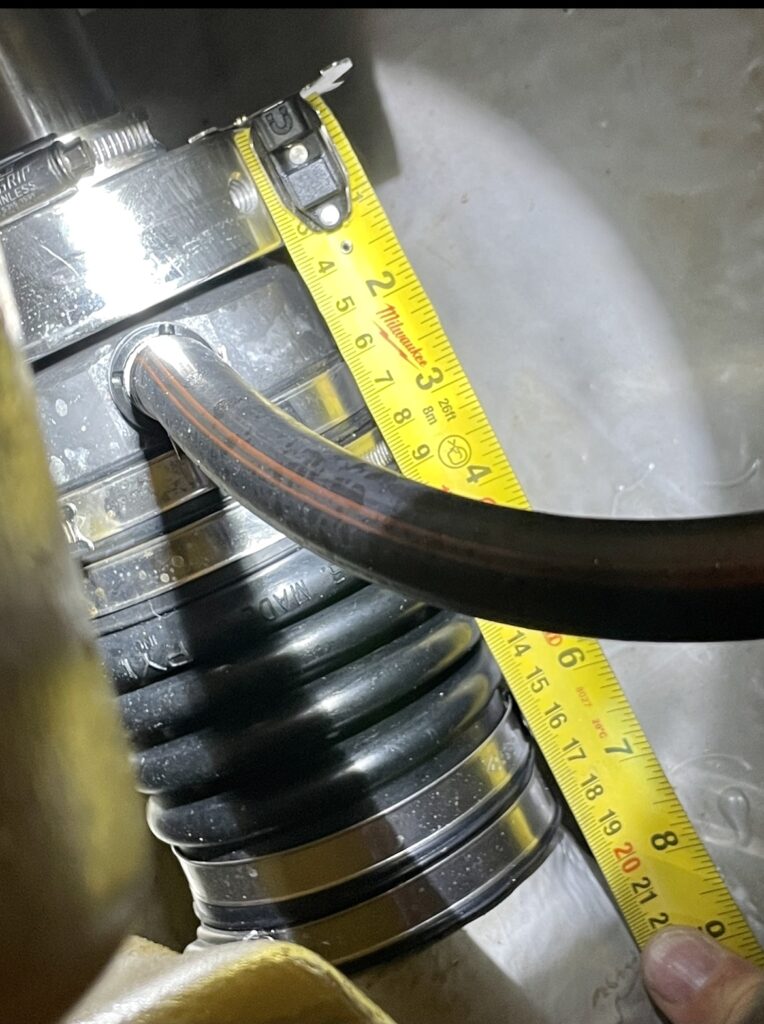
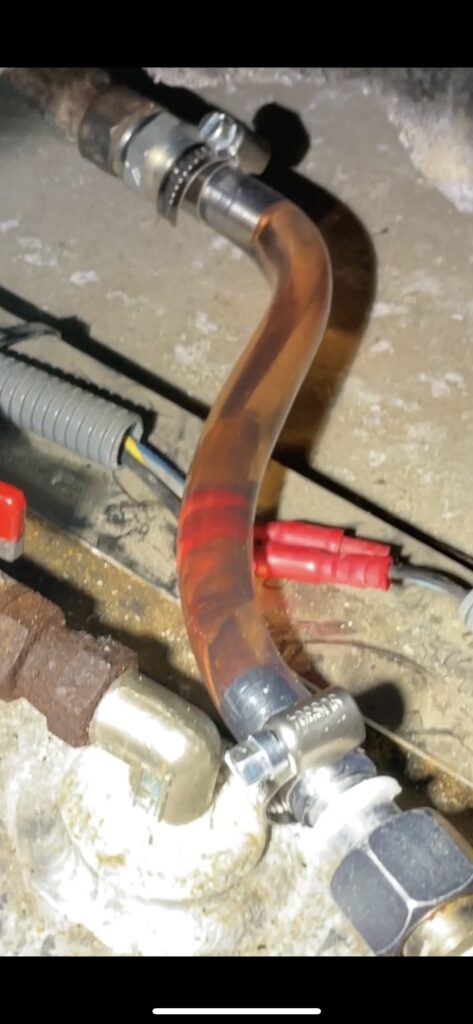
The first issue to arise was water coming in through the recently installed PSS shaft seals. The boat came with PSS seals installed. They are meant to be dripless seals however on our maiden voyage home there was water coming in.
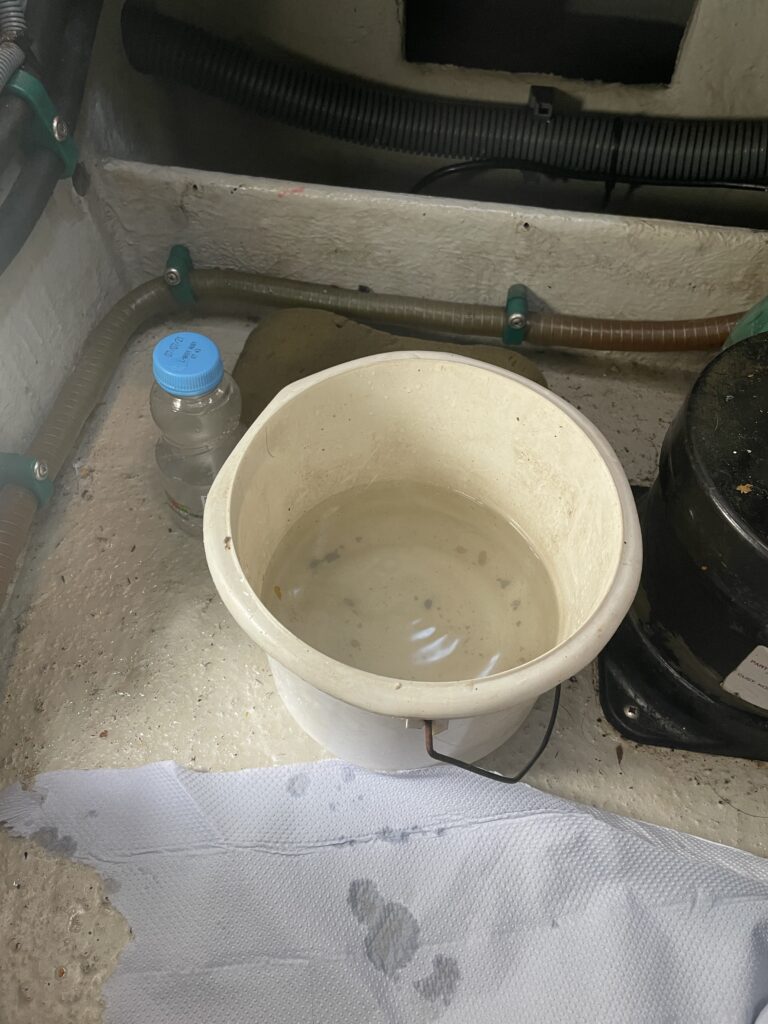
Not at any rate and not enough to set the bilge pumps off, but probably 5L or so of water needed baling out on an 8 hour journey. This continued dripping while moored up, at one point I was going to the boat every two days to bail out. There were no obvious issues, however after some head scratching, it came down to its initial installation where the cuffs of the bellows had been cut down and the two jubilees did not subsequently fit as they were supposed to with one sliding off the stern tube causing the bellow to deflect meaning the sealing faces were not sitting right and the compressed length figures were no longer accurate since they were modified!
Fortunately this was able to be rectified while in the water as disconcerting as it was. I was shocked how quickly water enters the boat when this bellow graphite stator is pulled away from the rotating disc. A failure of the bellow does bear thinking about because it is serious business.
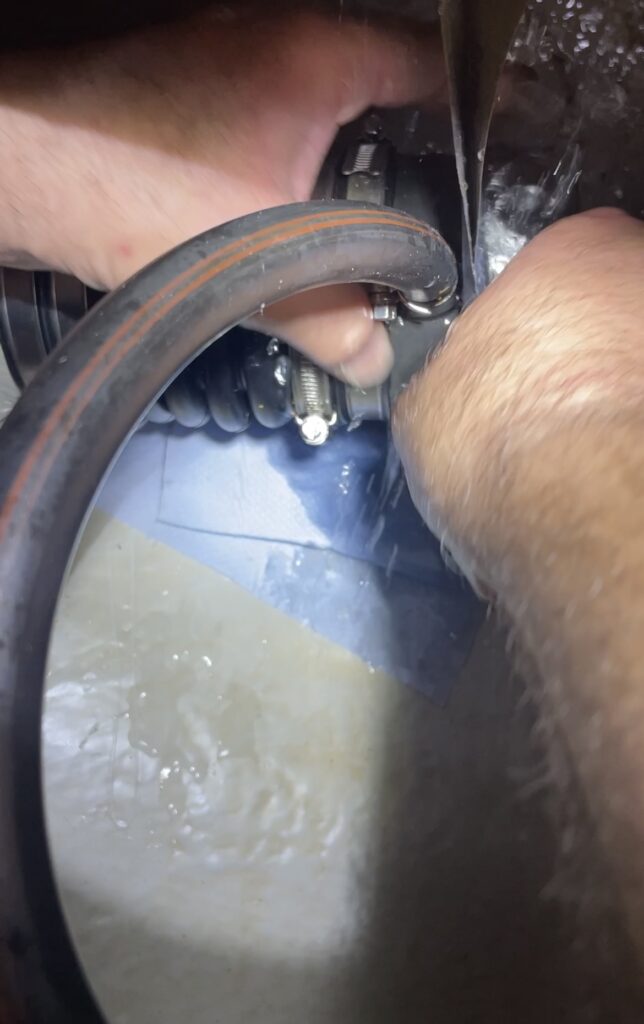
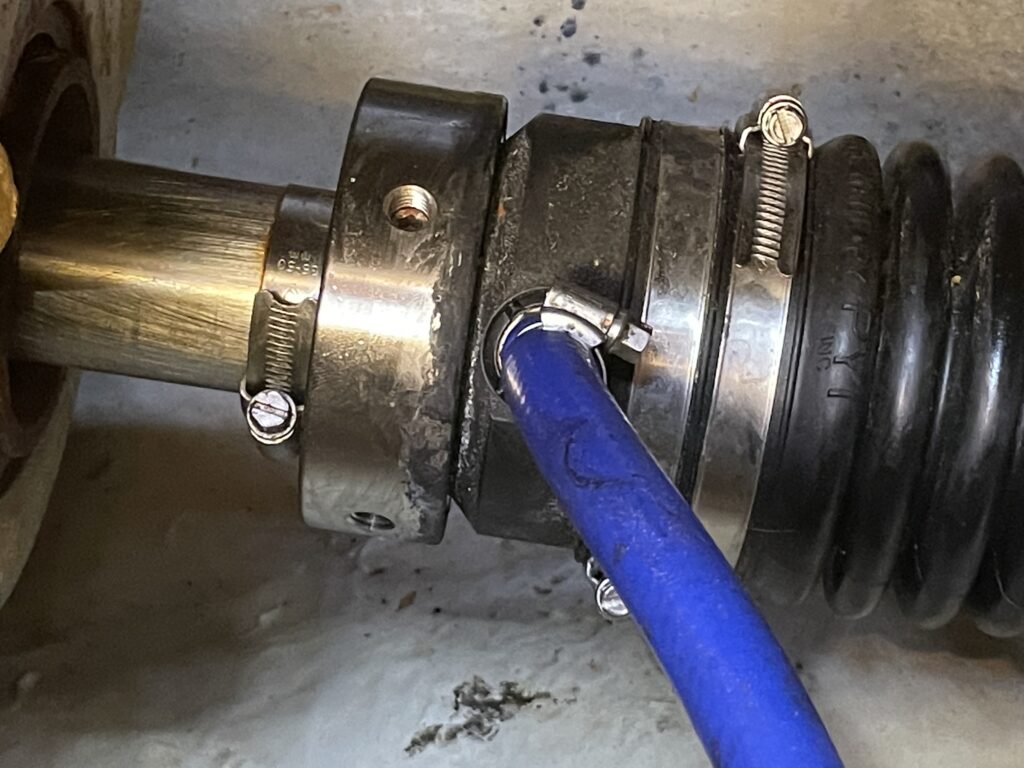
The solution was to remove one of the jubilees, substitute with a cable tie and re-compress the seals with more preload.
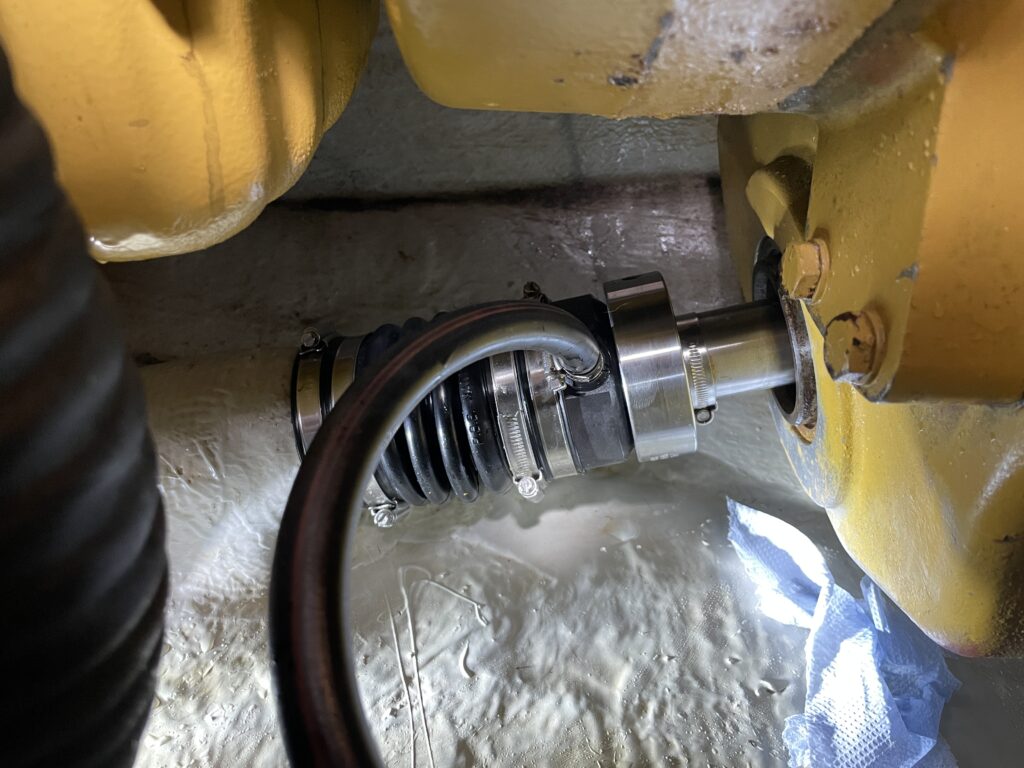
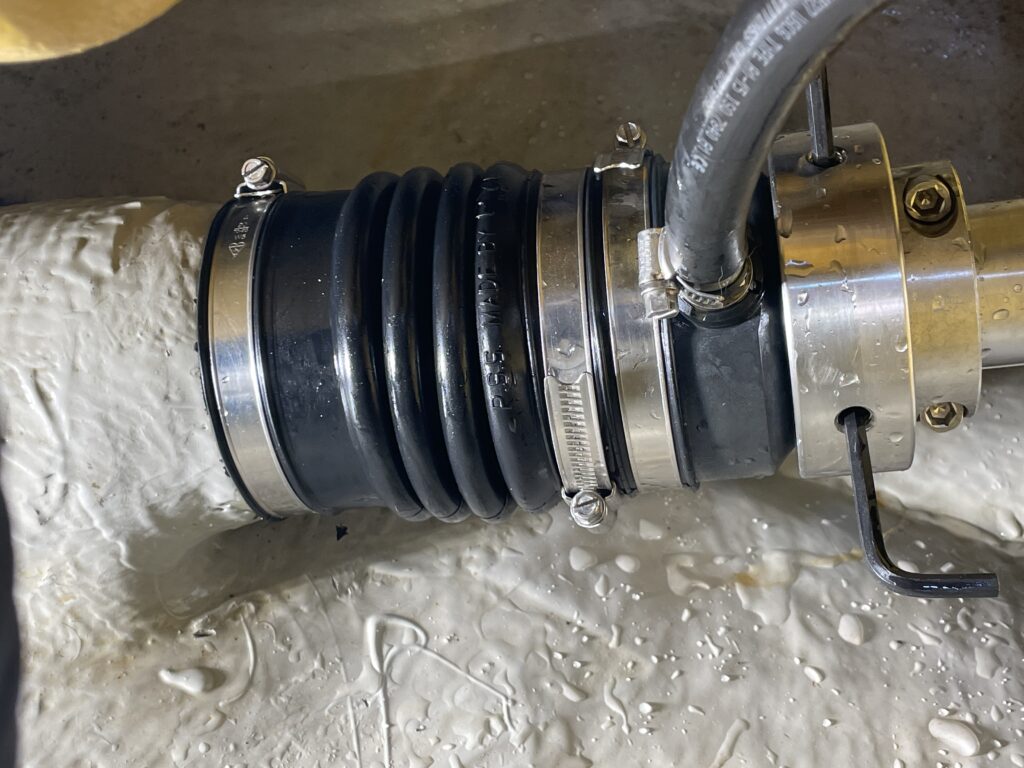
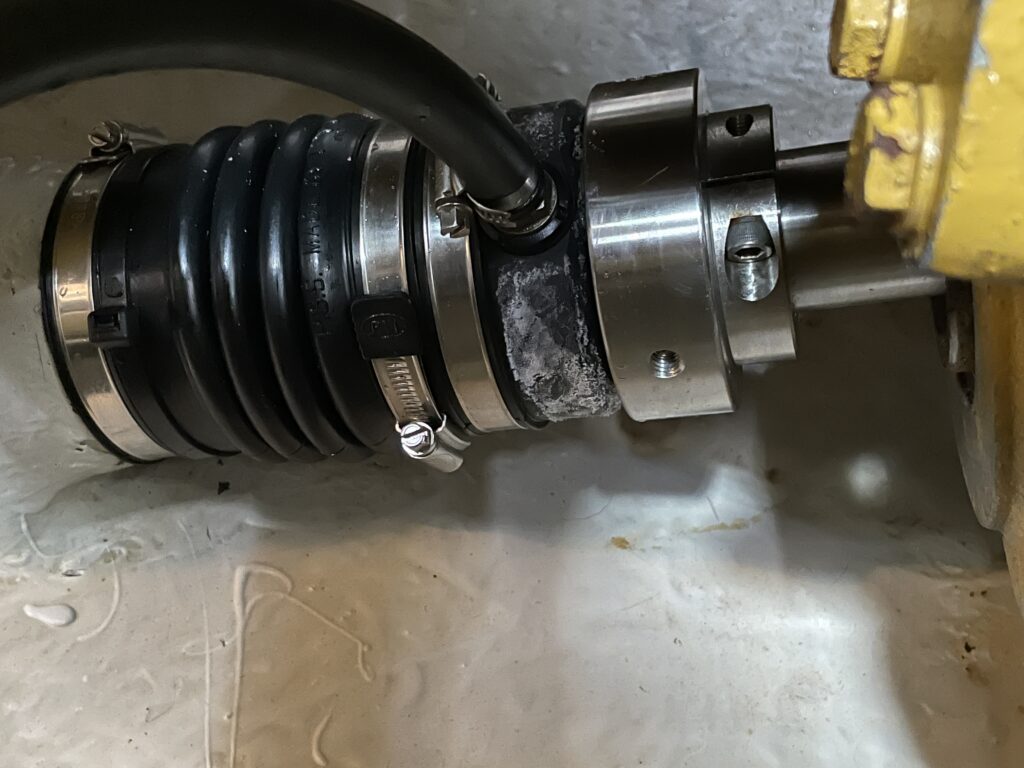
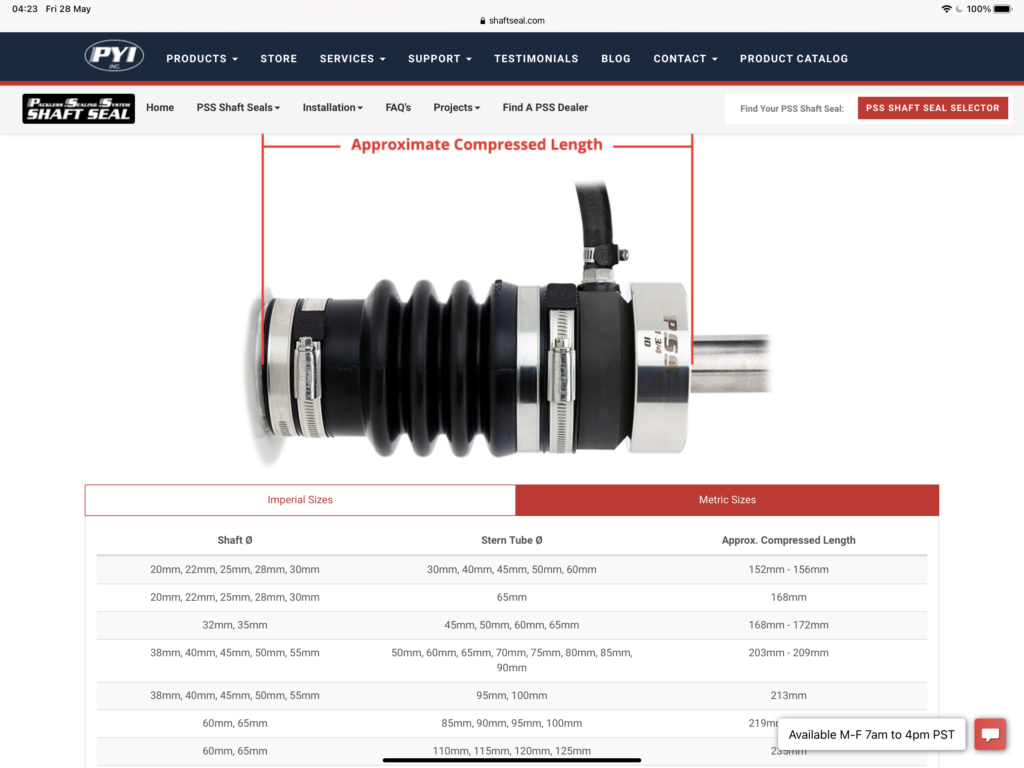
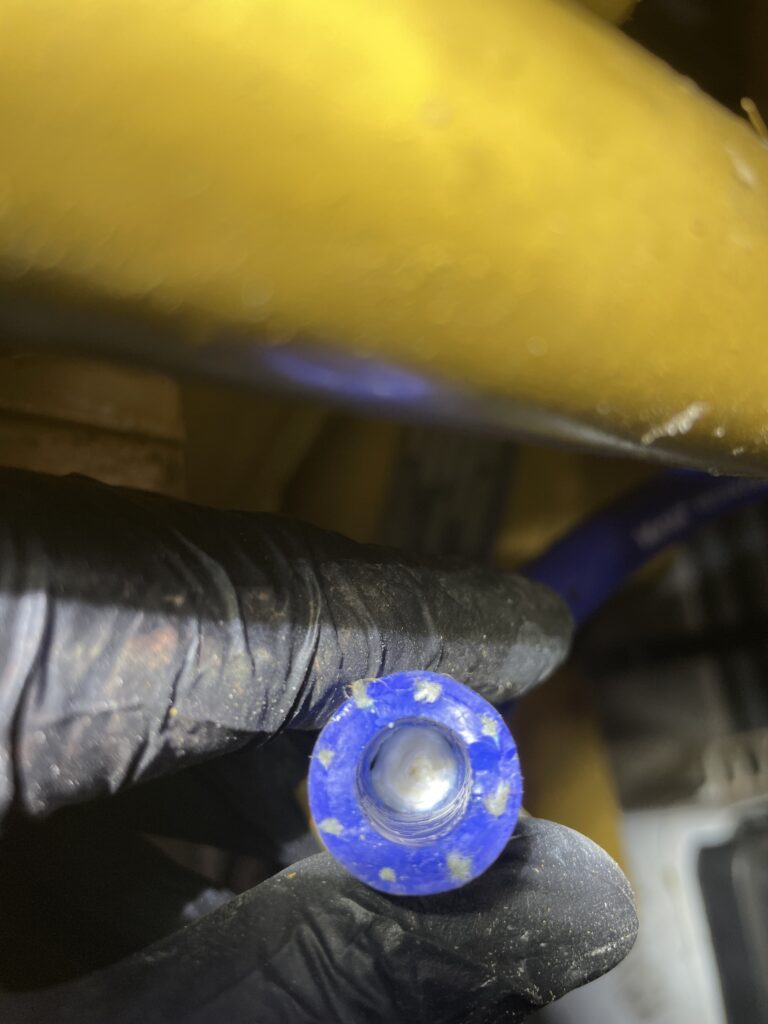
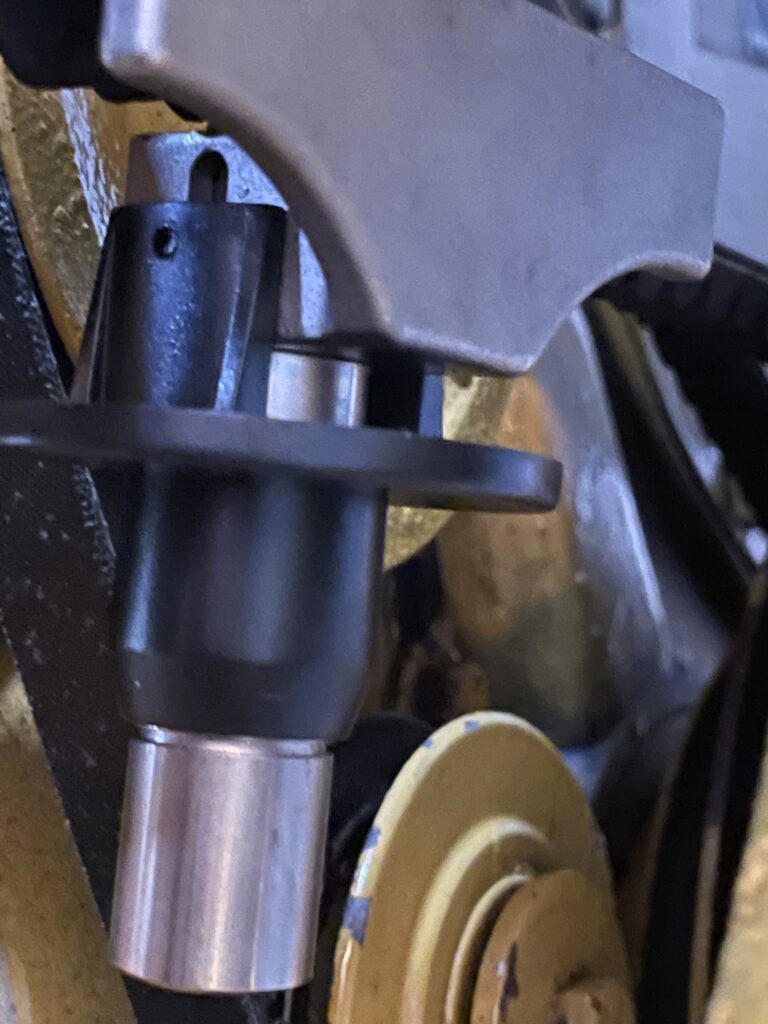
This did the job and kept the water out but I wanted a better long term solution, one which would allow two jubilees on this below the waterline fitting! Cue, PSS Pro bellows put on order, the heavy duty silicone versions are shorter in length and therefore would not require cutting down to suit the available space and also featuring locking collars which I had previously ordered and installed above in the last 2 photos, which replaced the less substantial jubilee clip which is a fail safe in case the locking collar was to come loose, which in turn would loose compression on the bellow and literally sink the boat!
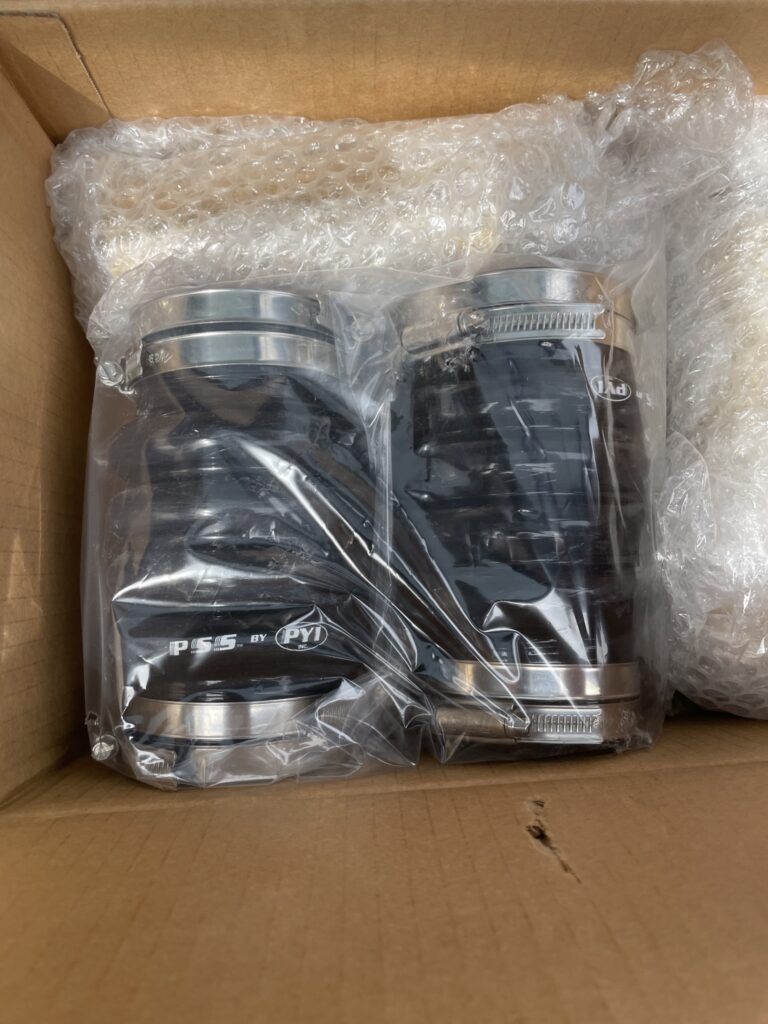
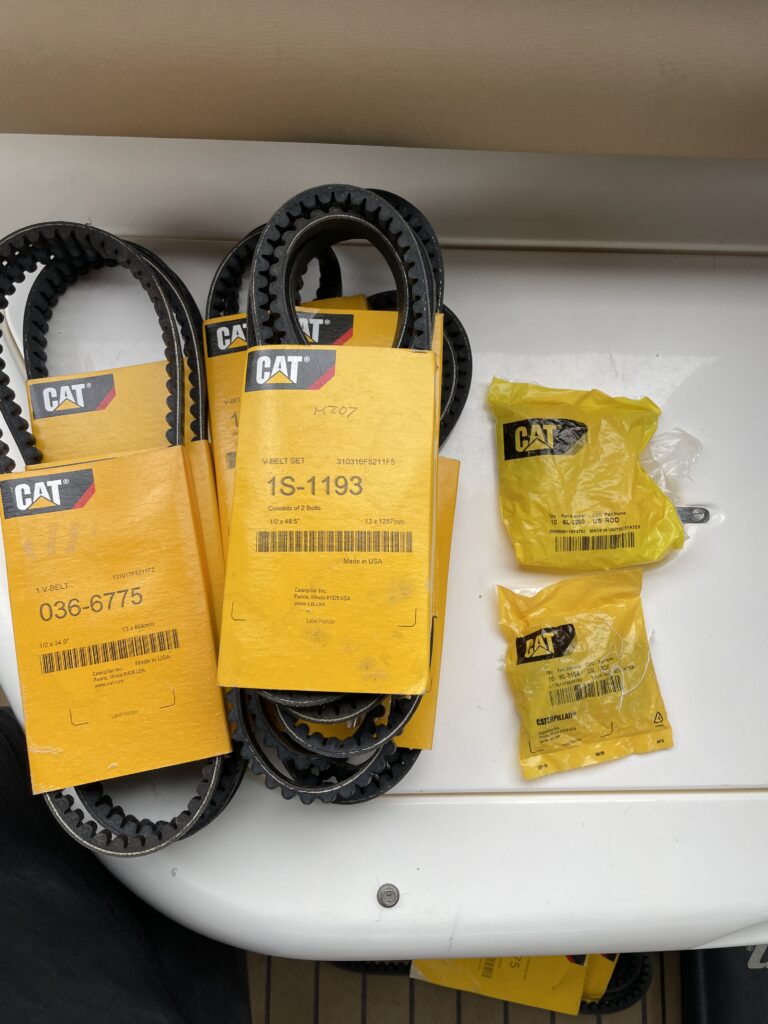
The PSS Pro seals arrive (below) and look infinitely more robust, but fitting them involves removing the prop shafts so this will have to wait until I’m ready to take the shafts out.
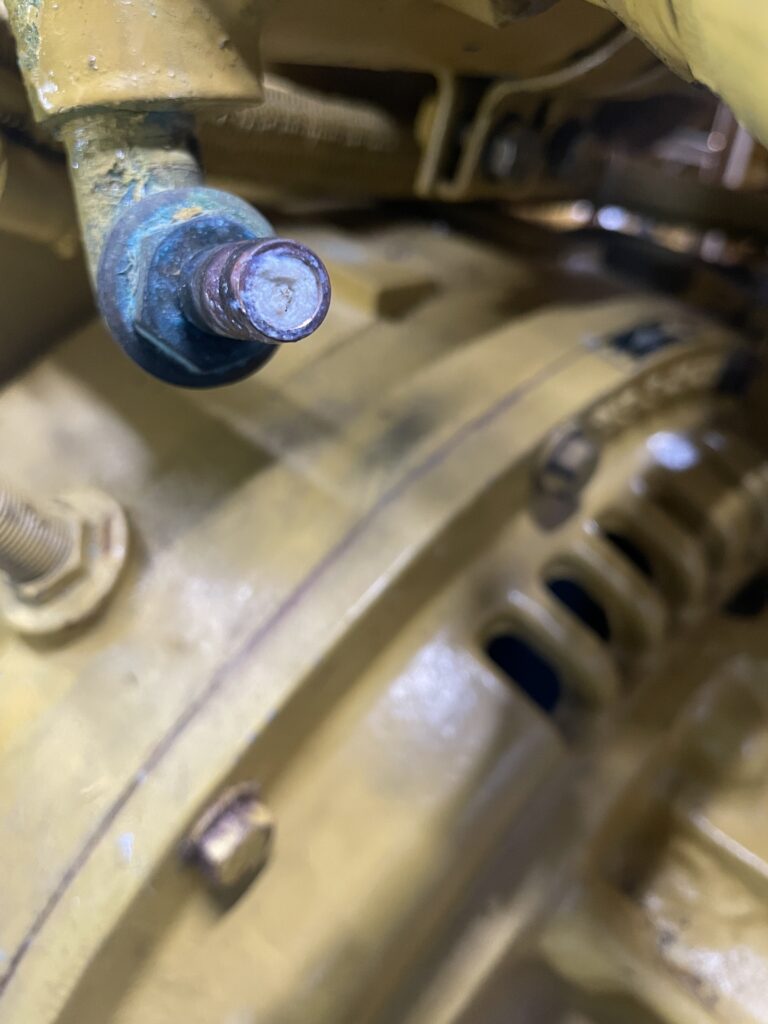
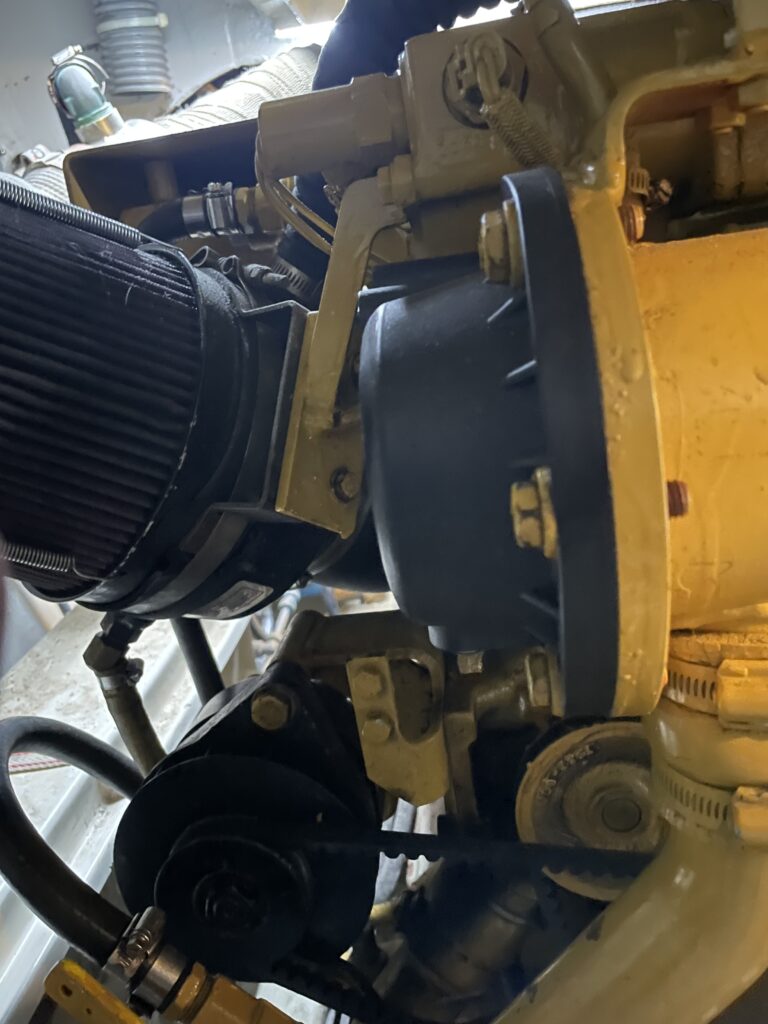
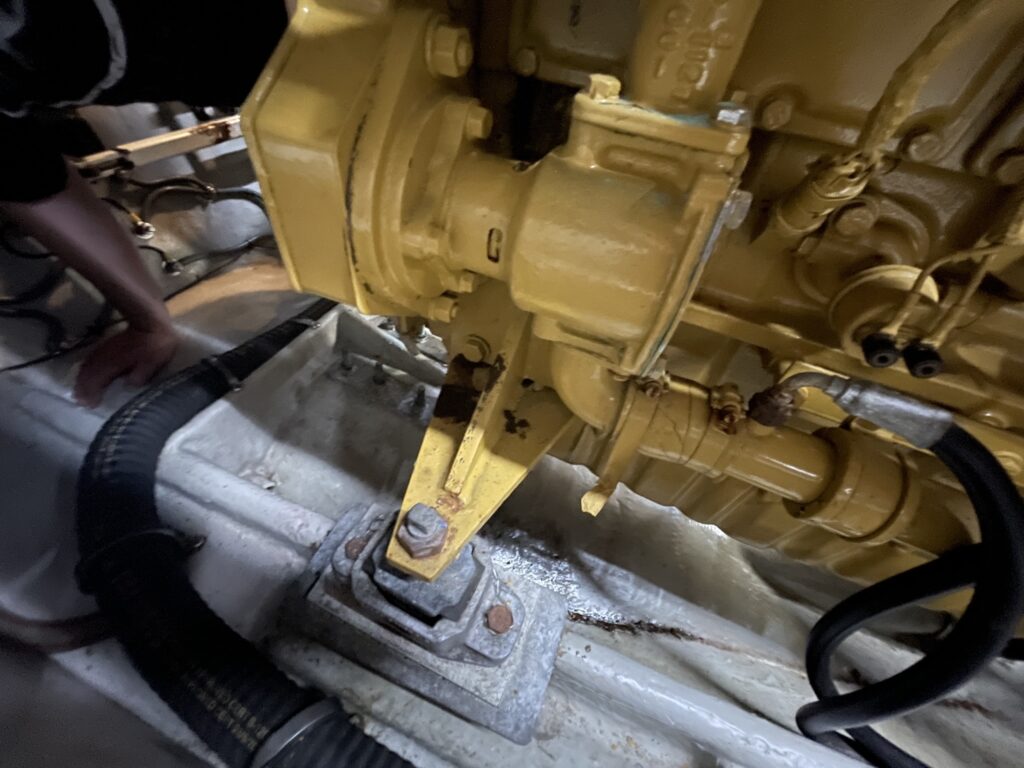
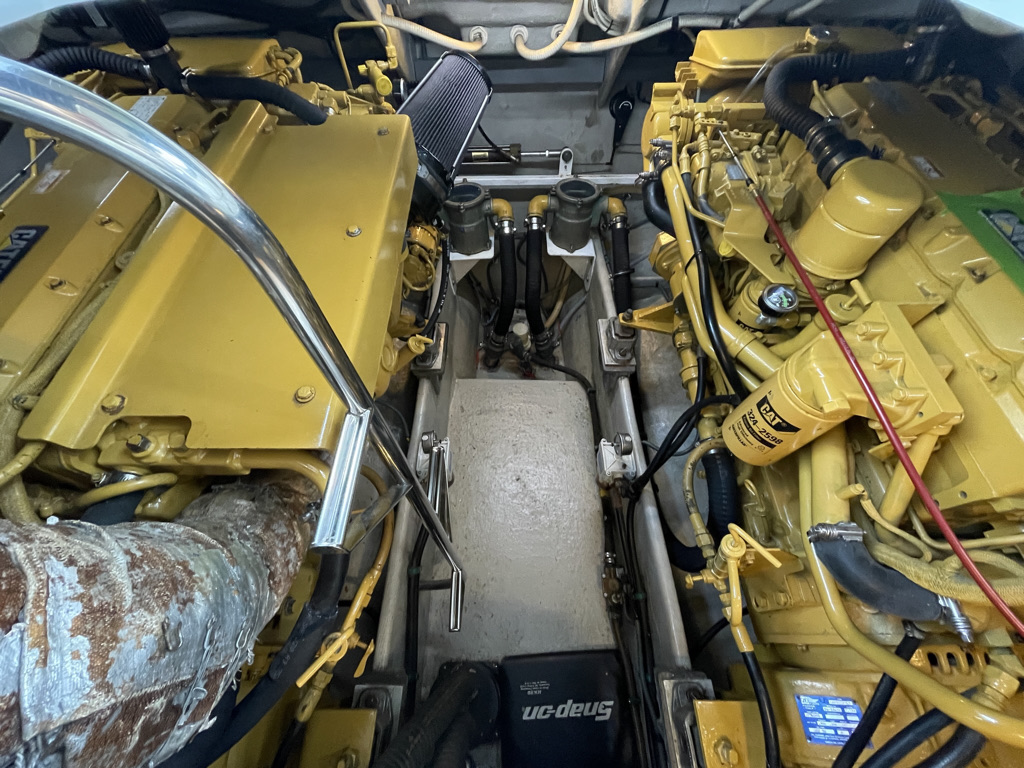
Alternator bracket – While checking the belt tension during one of my random engine bay inspections, I note there is some flex in one of the belts, and it looks like the alternator itself has movement. Closer inspection reveals the bracket is cracked through, fortunately the tension setting bolt is keeping the whole assembly together barely as the bracket it turns out is cracked completely through.

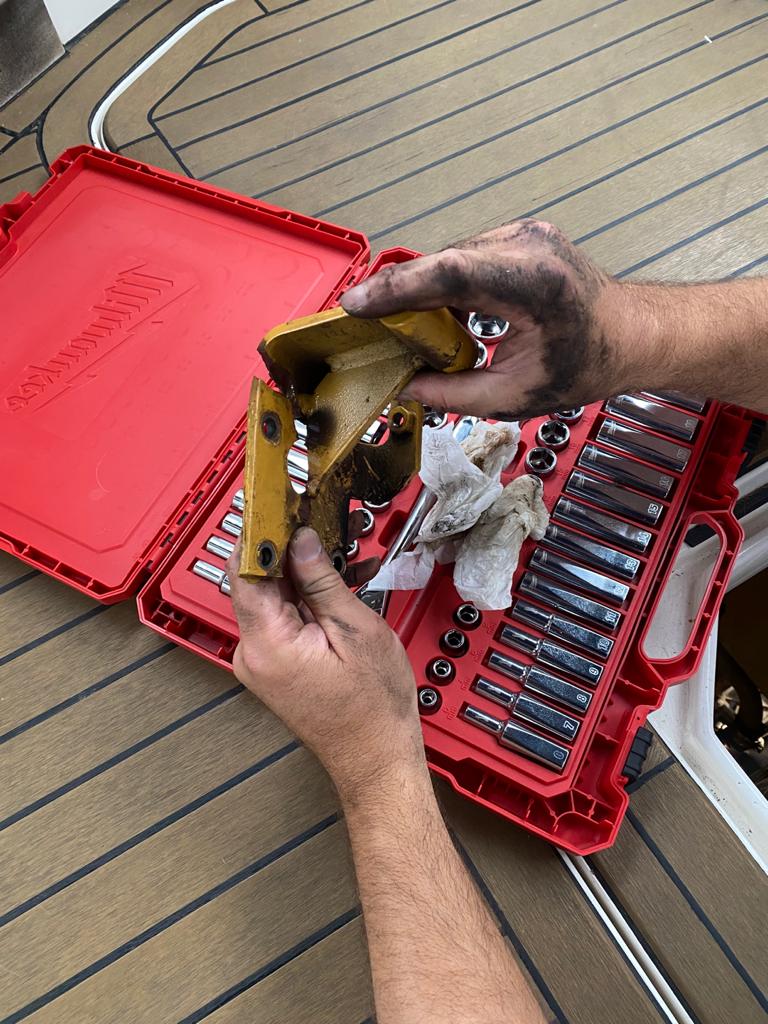
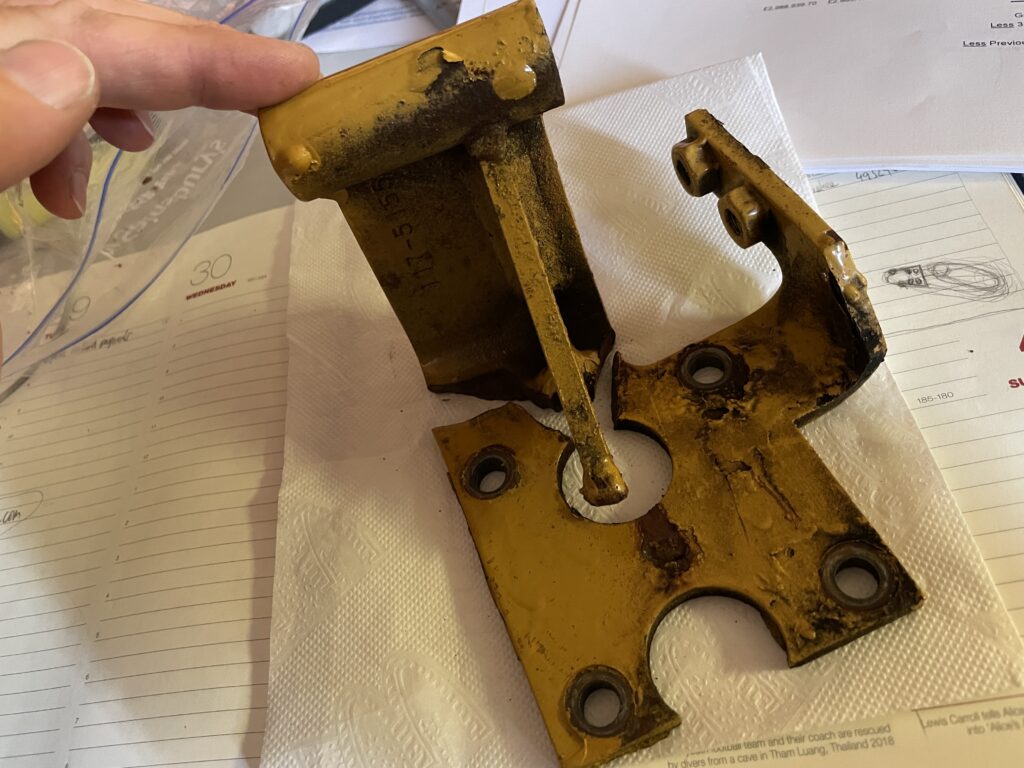
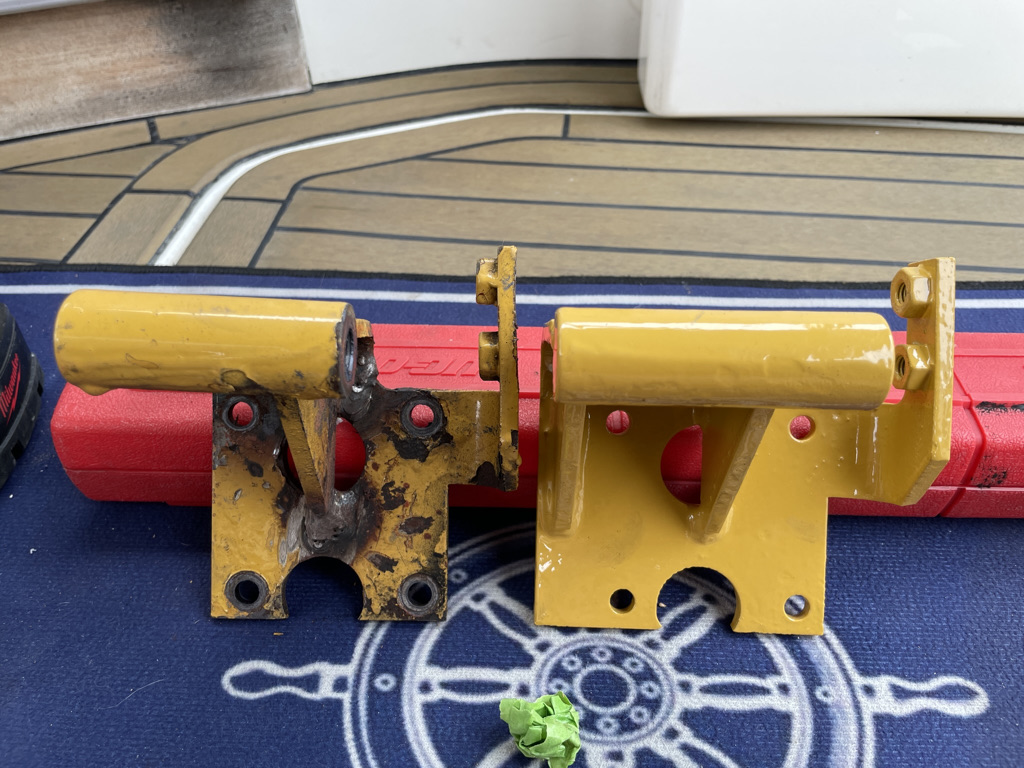
I have this welded temporarily (left bracket in below photo) to get underway asap while 2 new brackets which are back order items are placed on order, one for each engine as the other side looks like it may not be too far behind. When the new brackets arrive, it is apparent that they have been redesigned. I first note that they are longer, they just looked different but on closer look, they now have two fins supporting the alternator top mount which is why they look so much longer. Clearly this must be a known failure point prompting the redesign. I’m glad I ordered two!
Engine running problem. This has been an interesting journey and led to looking at many things closely. The starboard engine seemed to intermittently hang when powering it up on its own for example to turn hard to port when entering the marina where the sea is notoriously choppy. It would get to say 1600rpm and wouldn’t give any more. I tried to replicate this and it seemed when there was load on the engine it hit a wall, when powered up with the other engine it seemed to work ok and rev happily to where it should go. This had me looking at fuel quality, fuel pressure, turbocharger, breathers, chargecooler, water pumps, everything.
First off, diesel bug…which had me installing a diesel dipper covered in another blog post, as well as replacing the Separ primary and Caterpillar engine fuel filters.


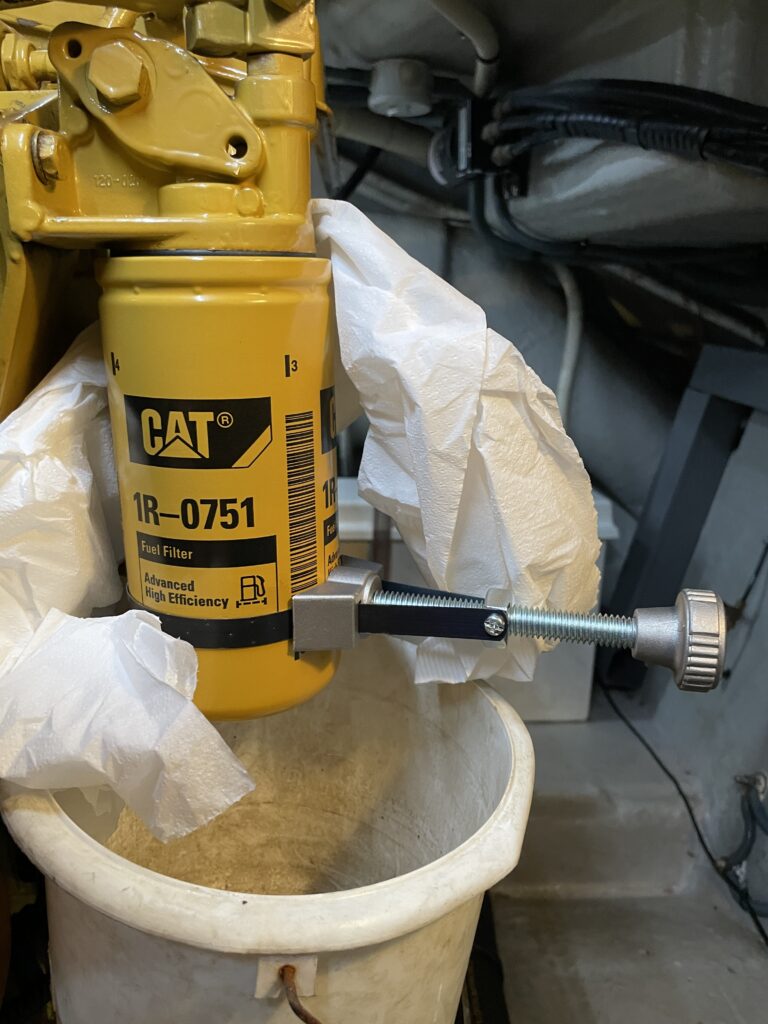
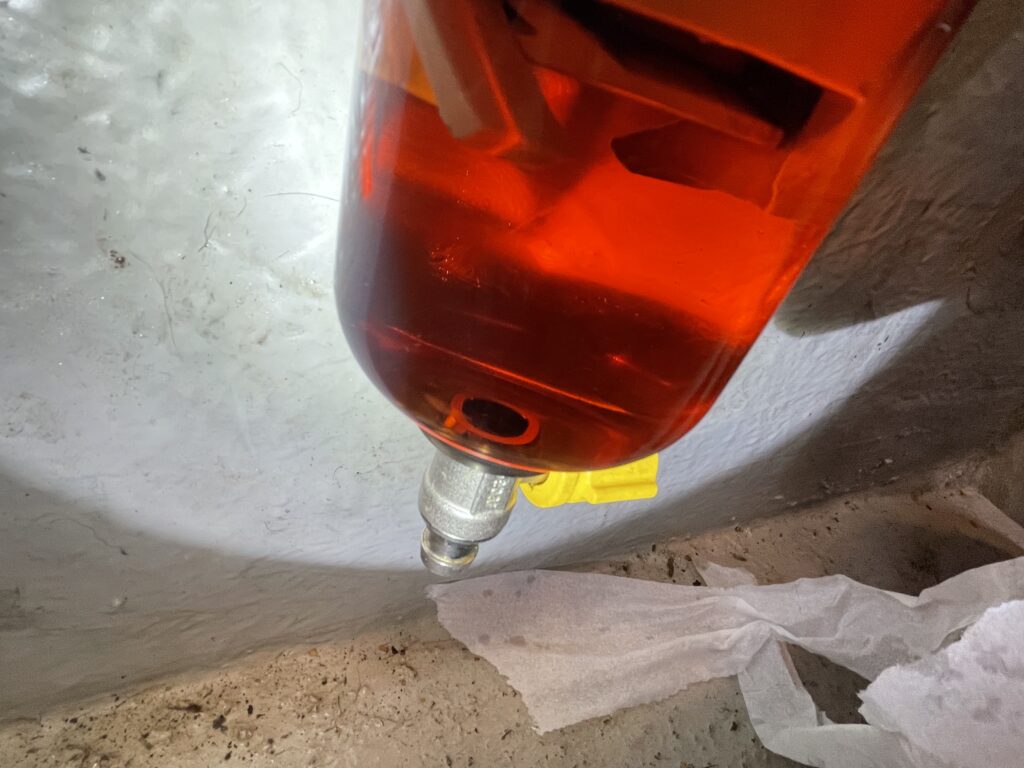
I install new CAT fuel pressure gauges to each engine, new separ vacuum gauges on the primary filters with new modified lids, and some temporary clear fuel return line attachments to check for any air bubbles in the fuel system.
It appears that fuel starvation through low pressure or injector failure isn’t the issue with the engine hanging. The turbo looks as new, as it should since both were renewed by the previous owner. I note during one of my engine inspection while underway that my starboard aftercooler is running hotter to the touch than the port side. There is water coming out of the wet exhaust which would indicate that the water pump is working and there is no blockage. So I begin wondering if there is an air leak in the inlet causing the turbo to run hotter increasing the inlet temps. I don’t like the look of the starboard intercooler around where the anodes are, the paint here had been touched in when I bought the boat and I had to keep touching it up.

I decide to run it with the heatshield removed and note there is quite a bit of paint burnt off the cooler suggesting it is running hot.
I monitor this and come to the conclusion that it’s noticeably hotter than the other side. I bite the bullet and order a very expensive after cooler which due to covid and decimated supply chains are on back order. We’re in winter now and so we are not using the boat anyway for the moment.
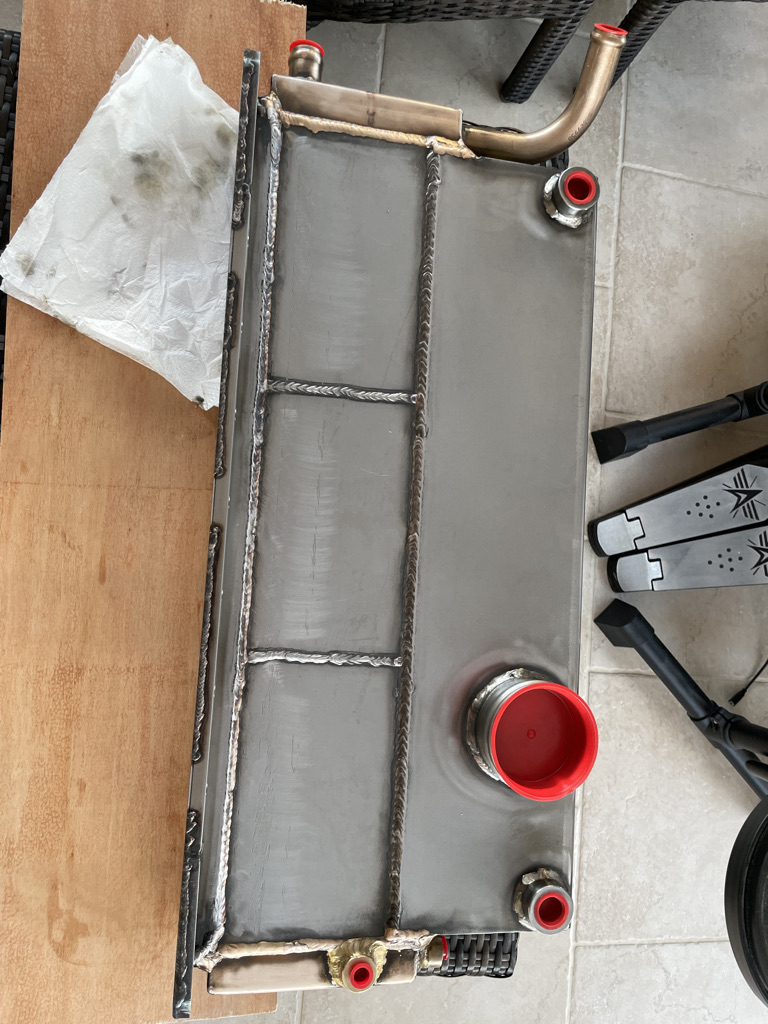
The new aftercooler arrives unpainted…it’s a beautifully made piece and very heavy!!
I set up a make shift spray booth and paint it in CAT yellow!
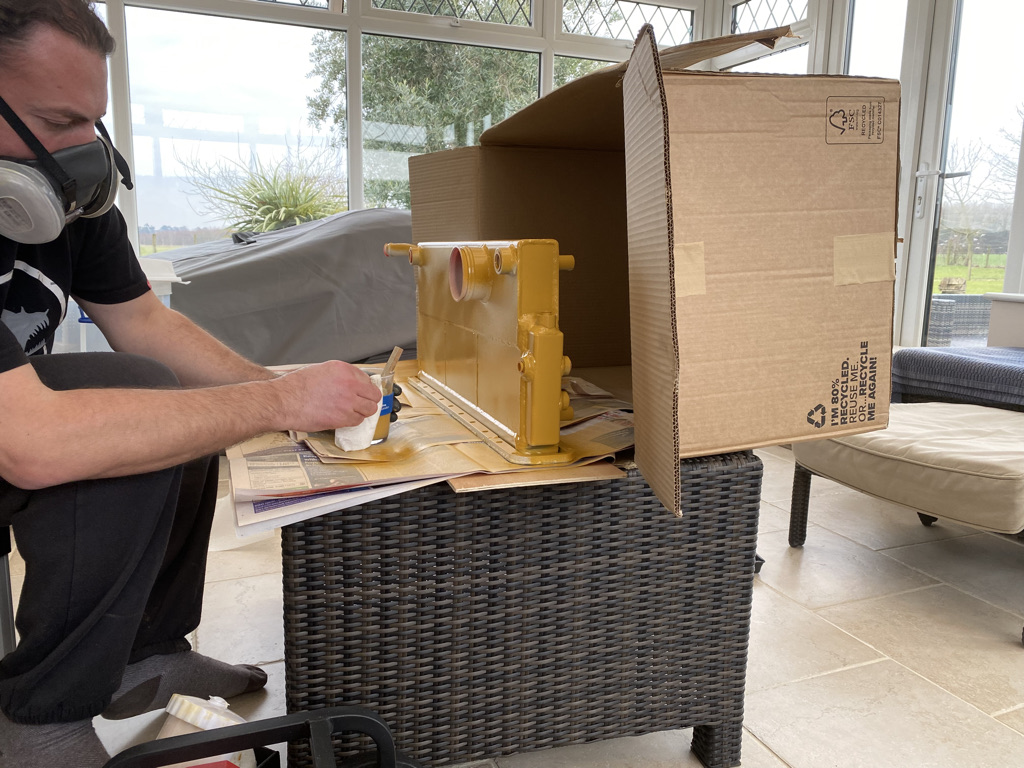
Wow what a difference!
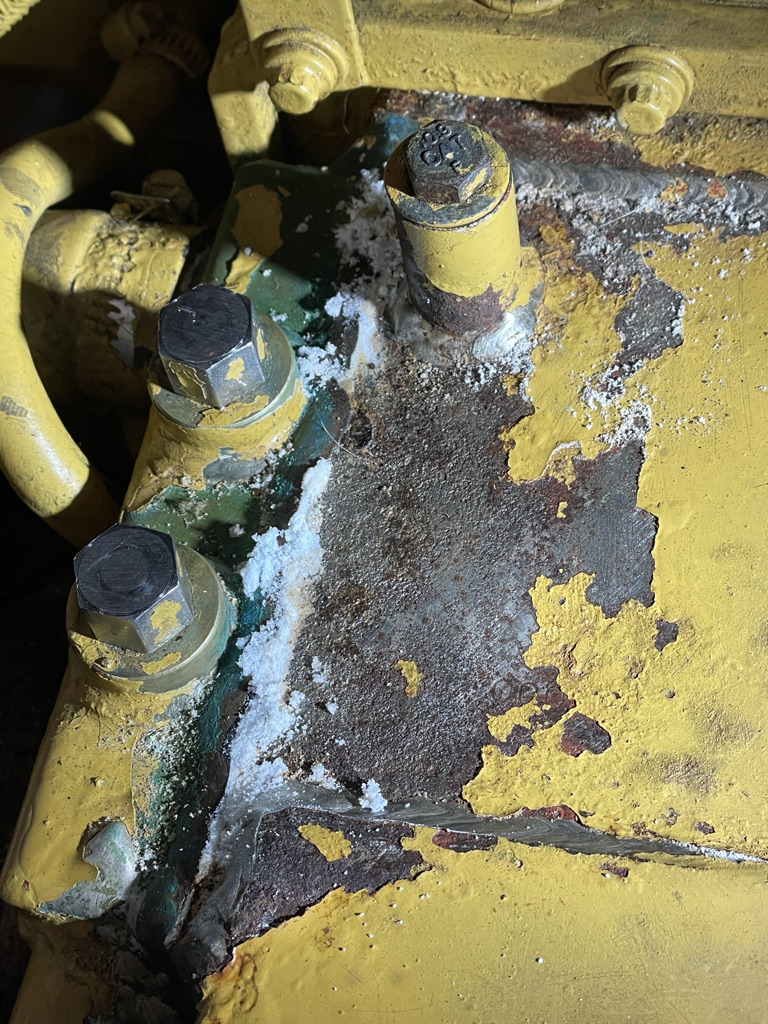
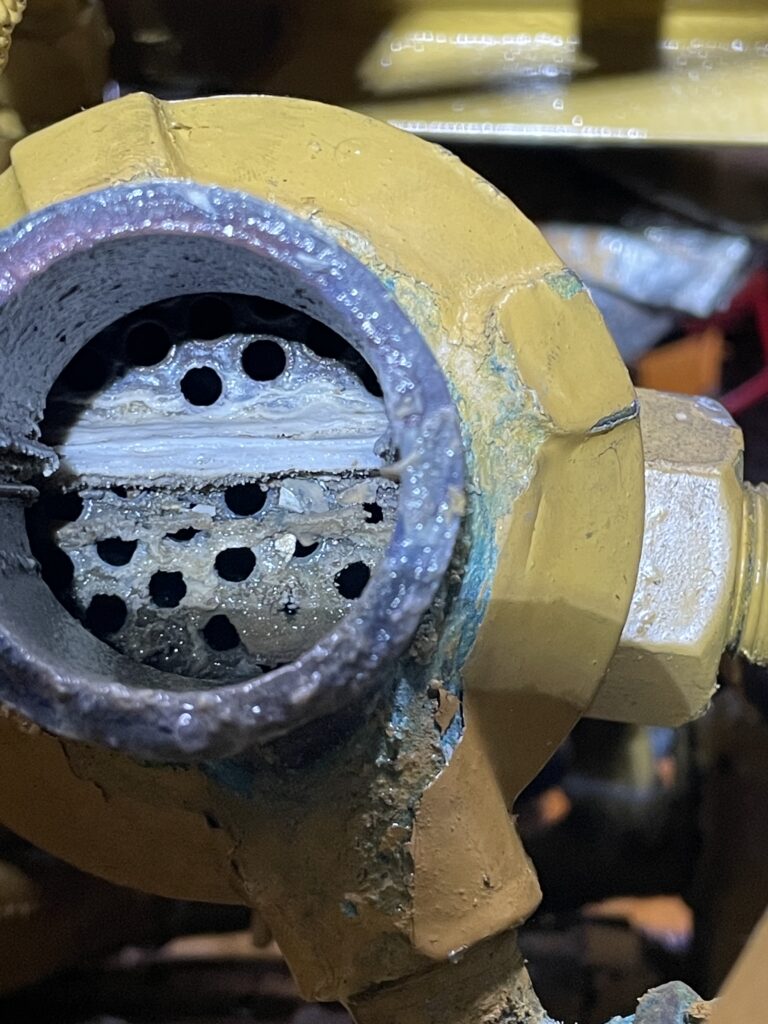
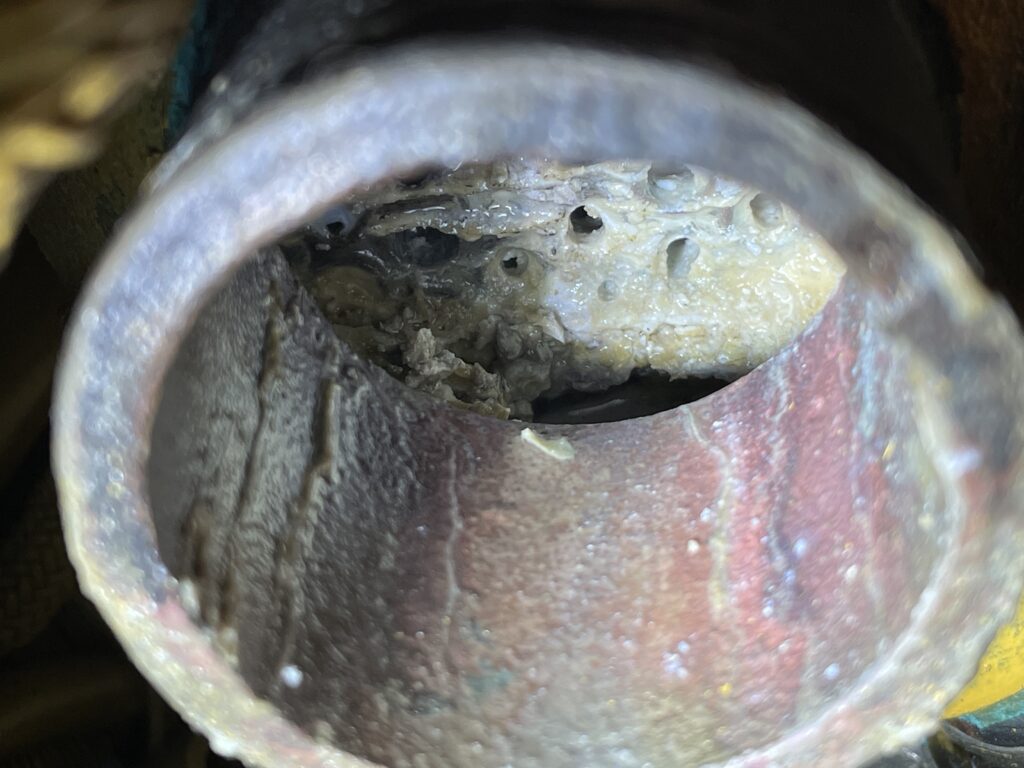
Upon removal of the old one, it becomes apparent what the issue was and why the aftercooler was running hot!

A deeper inspection reveals…
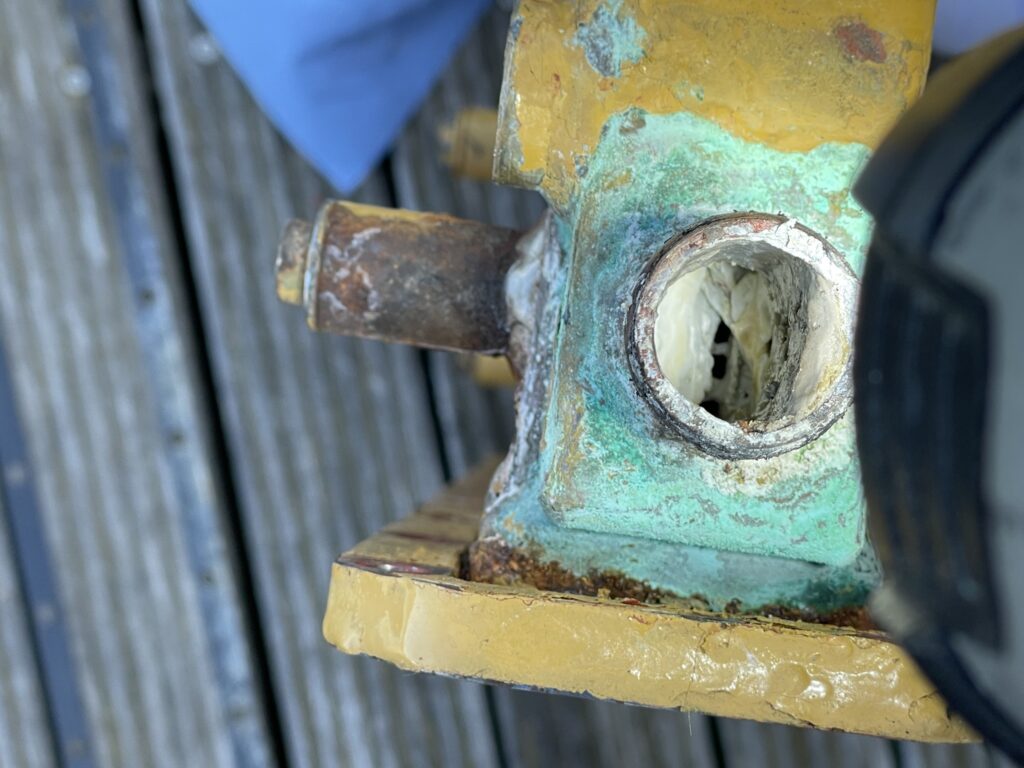
The inlet charge from the turbocharger compressed air should be cooled by the sea water cooled chargecooler, only here the chargecooler wasn’t seeing much cold water as it was so massively restricted in the cooler. Water was still running out of the exhaust but not as efficiently as it should.
It looks like this turned out to be the performance issue we were experiencing, reduced performance under high load conditions due to increased inlet temperatures which only occurred on the return leg of our typical journey to our local bay which had been making diagnosis somewhat difficult. Fortunately this was caught very early and not hammered around under heavy load conditions or on long journeys!
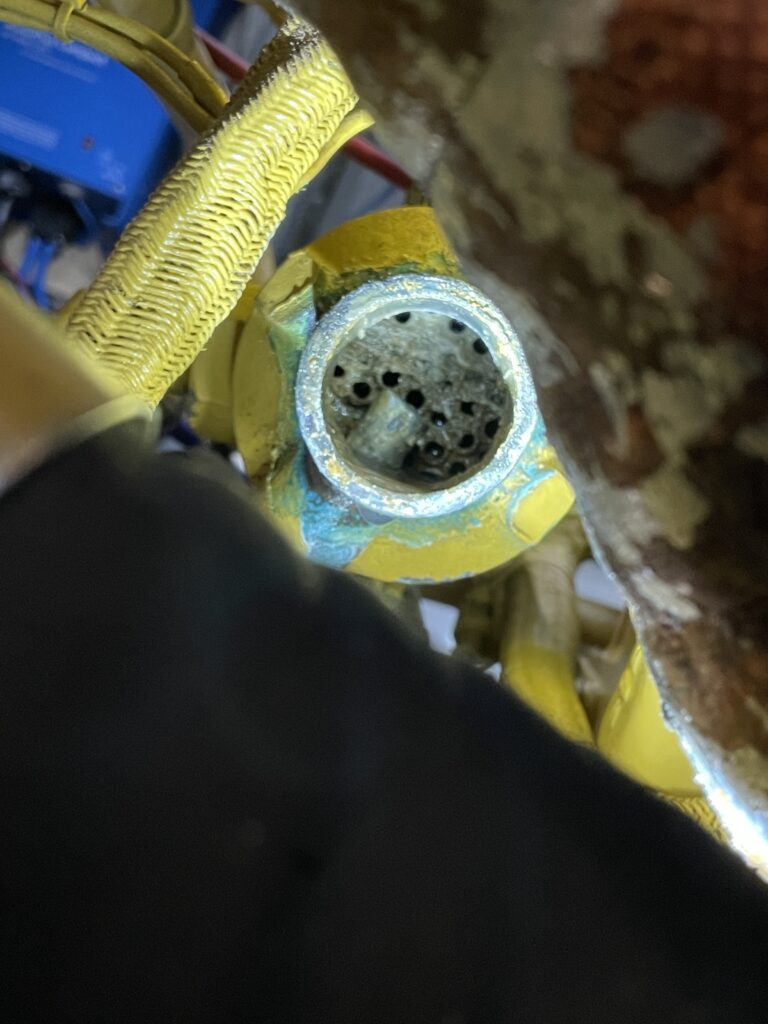
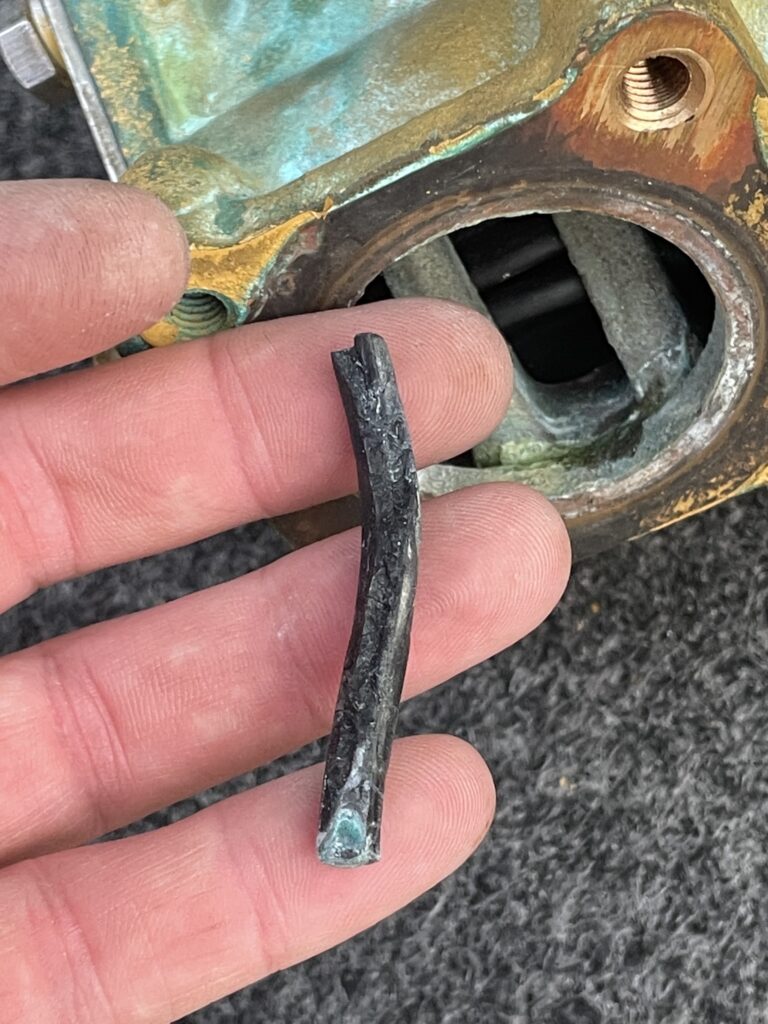
Another day another engine bay inspection, I note one of the shaft seal stators on the starboard side is warm to the touch and the other side is cool. On closer inspection, I see carbon build up suggesting this is seeing heat.
I check the transmission oil cooler and once again make a discovery!
The feed to the shaft seals is completely blocked, hence they were not receiving any cooling and the transmission coolers are showing early signs of blockage!

I clear all the coolers, install new hoses and check the port side and clean that also.
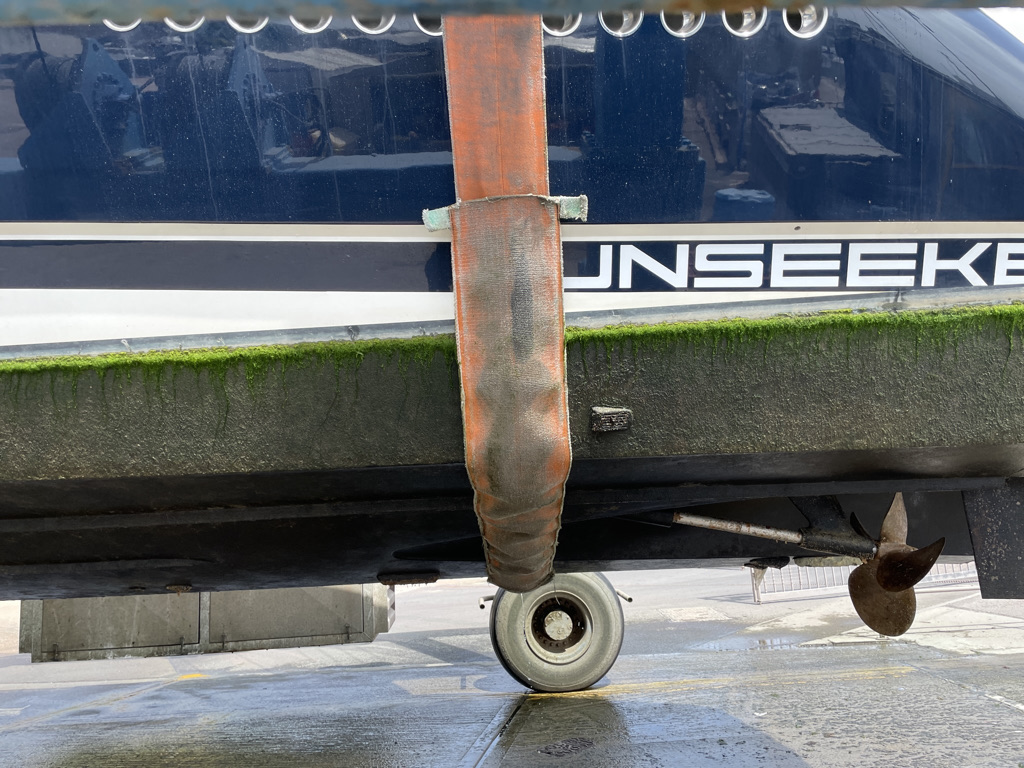
A cautionary tale comes some months later, when another recently purchased non resident Sunseeker sits two boats away from me on the hard standing in dry dock (far left).

The RNLI had rescued it, diesel bug had killed the engines. He was towed in, while being towed in the shafts were windmilling under the water on the 8 knot tow. This boat was fitted with ‘Tides’ seals which were Sunseeker factory fit. Because the engines are off and not supplying water to them, the windmilling action caused those plastic seals to melt, allowing the ocean into the bilges. Fortunately being under tow by the RNLI meant access to a serious bilge pump to clear it. The boat required immediate craning out. I thank my lucky stars I have PSS seals fitted with their graphite stators. Looking at old pictures from when we bought the boat, there was a small amount of burnt carbon on the shaft rotor even before we had set out on an 8 hour 24 knot homeward journey! This leaves me seriously impressed with PSS seals and I will shout their praises from the rooftops after witnessing how the competition fare under typical real world circumstances!
Anodes, regular maintenance items. These can break off if left too long and get lodged in the coolers helping to cause build up.
Heat exchanger caps showing lack of continuity for the anodes through their internal circuit. 2 of the 4 caps were new, the other 2 were showing signs of failure so 2 new ones ordered!
Belts, another regular and easy maintenance item. There are 2 belts per engine, one for the alternator and one for the sealed circuit water coolant pump (the sea water pump being gear driven).
Set to the correct tension…
Rubber work… Some of the rubber was looking very worse for wear, in particular the window trims. After eventually sourcing the correct profile I set about removing the old and replacing with new!
By now we are hauling out in preparation for the 2022 season!
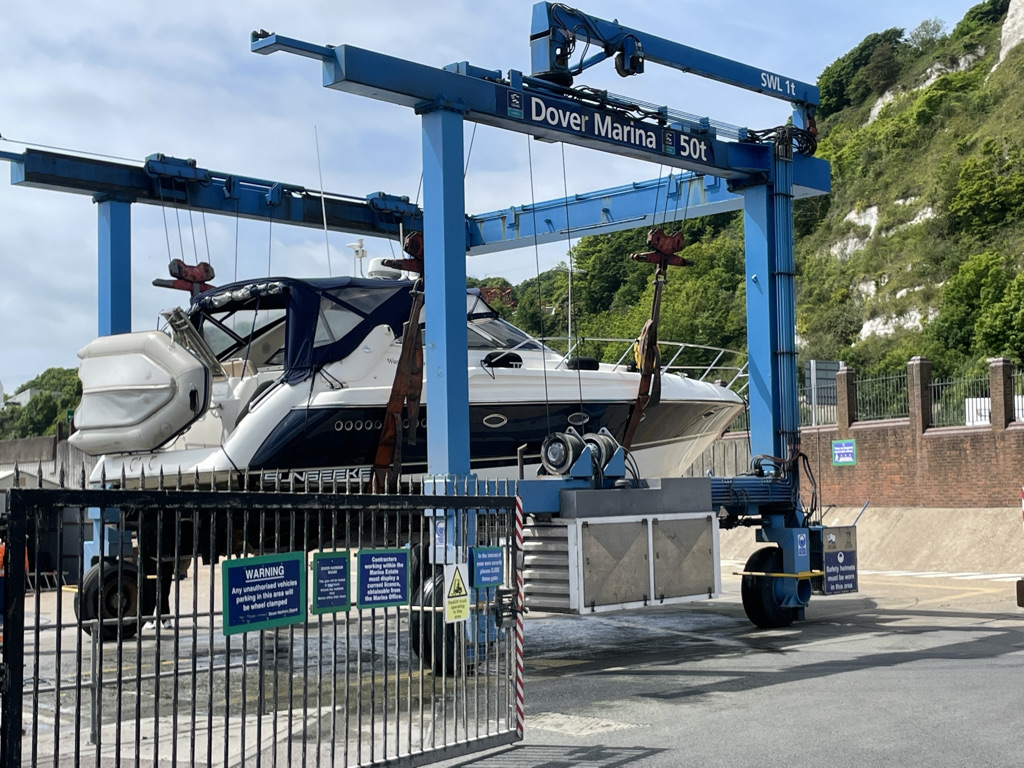
Expecting a nice quick turnaround for anti foul and anodes so we can get back on the water!!
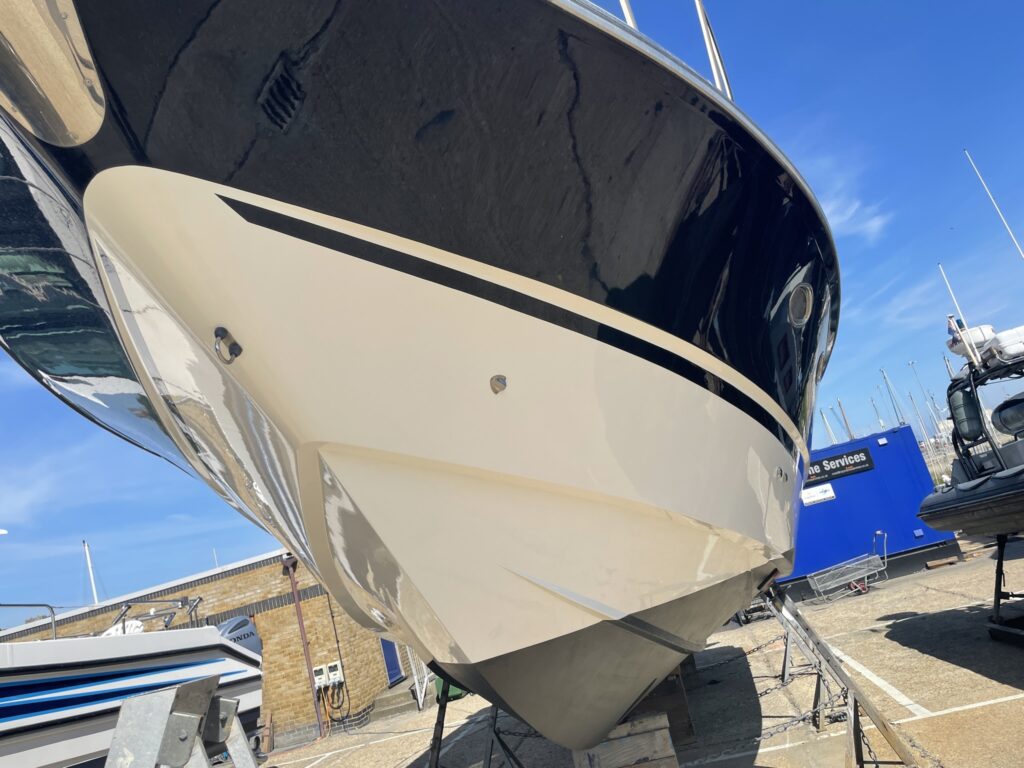
A quick jet wash on the bottom and it’s looking much more respectable. We set to light sanding in preparation for new anti foul.
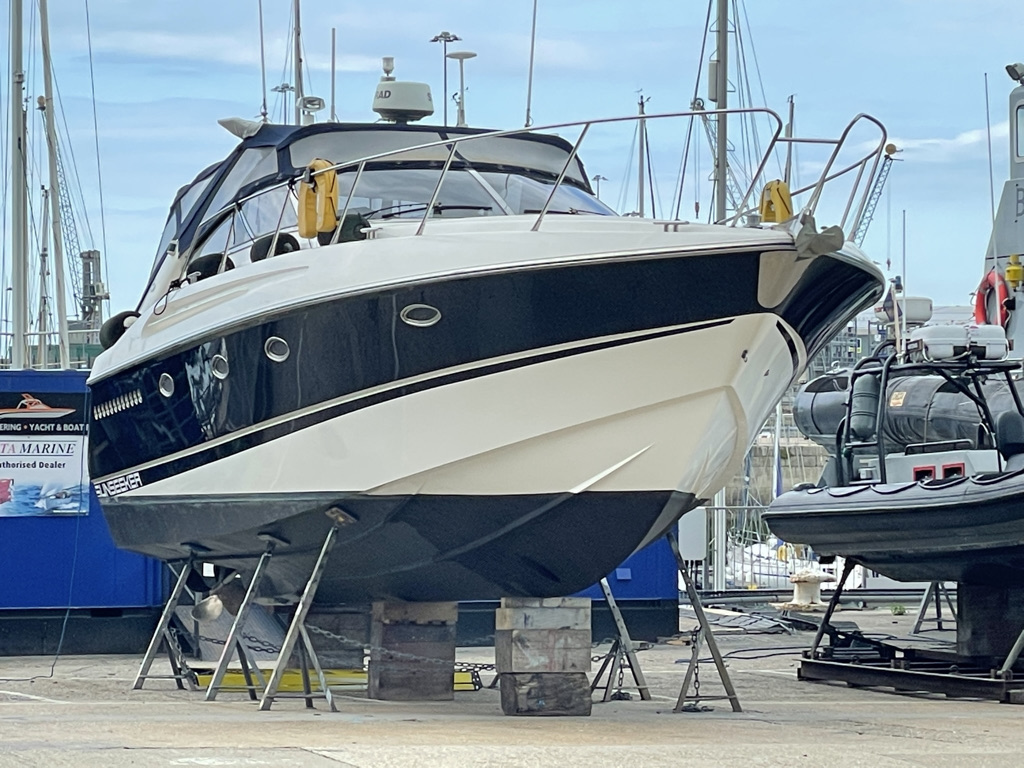
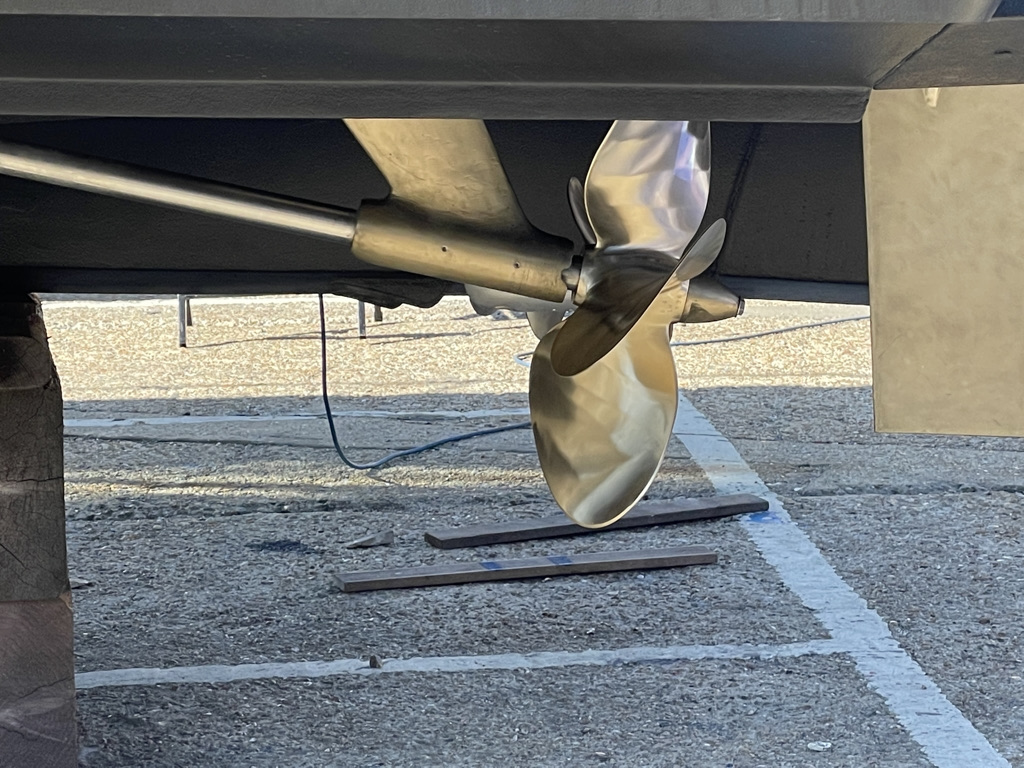
A few days later and we’re all done. Hull anti fouled, props, P brackets and rudders polished…
And all polished up…
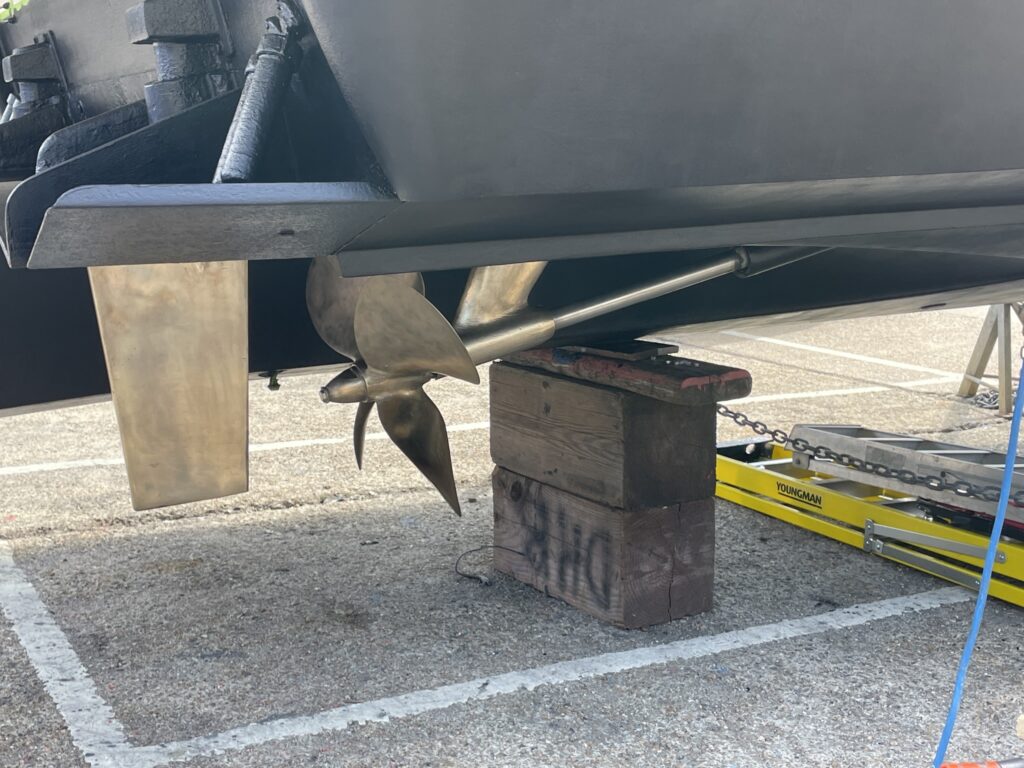
When we bought the boat, the only item picked up on the survey of any significance was that the cutlass bearing would want replacing at the next haul out as there was a slight bit of play in it. We decide to replace both at the same time while we’re there. At that point, we notice than one prop appears to be a different size to the other. 24″ (factory) vs 23″. This won’t do, so we order up a new prop from Teignbridge who made the originals. The manufacturing time delay on this renders the boat out of the water for the remainder of the boating season, along with another discovery…
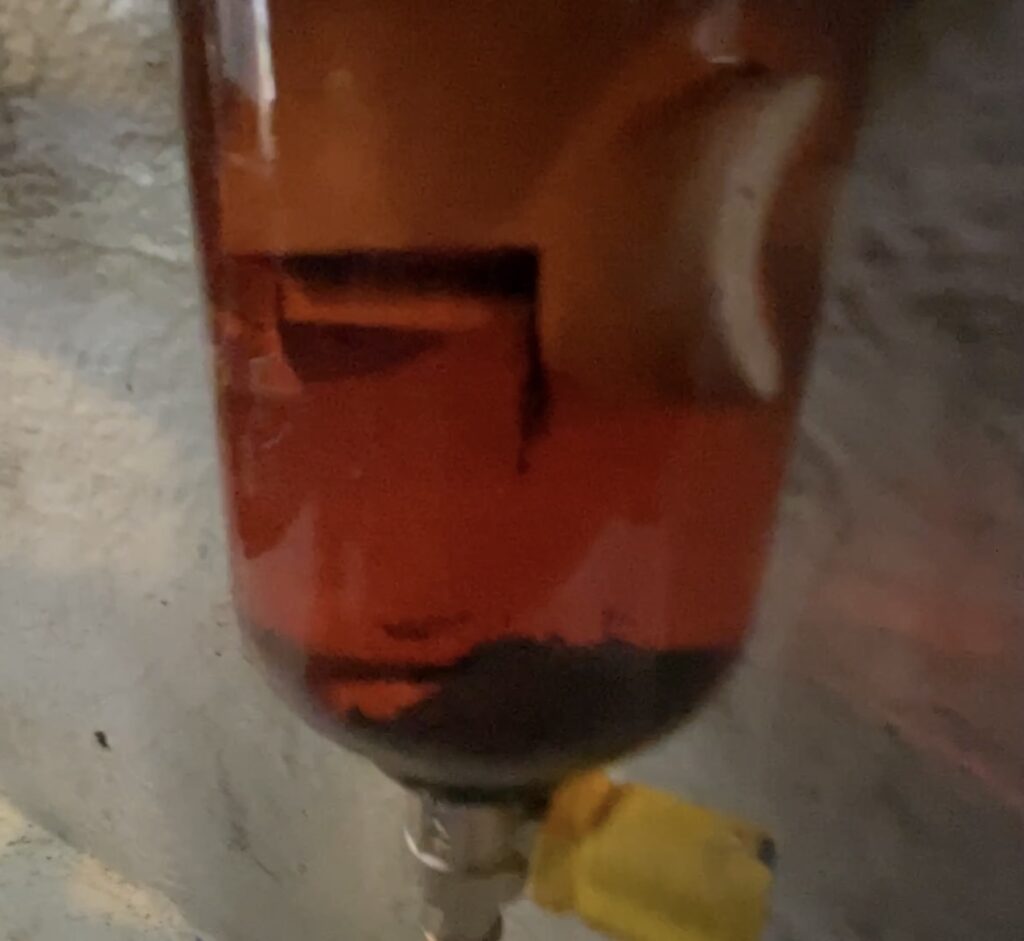
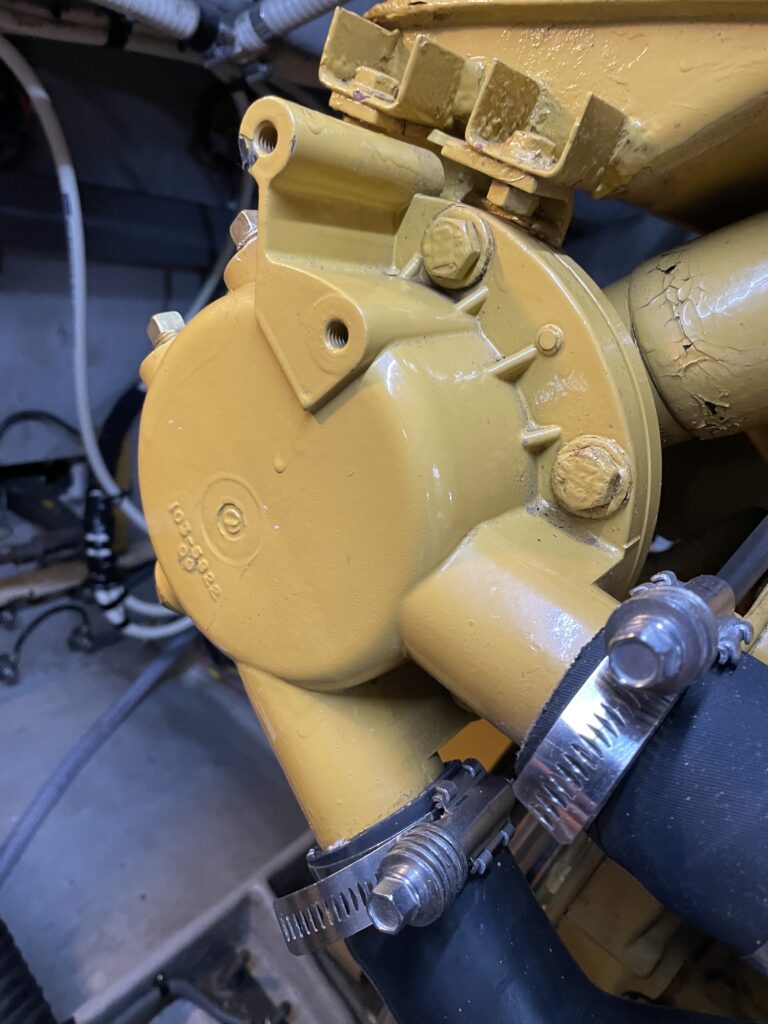
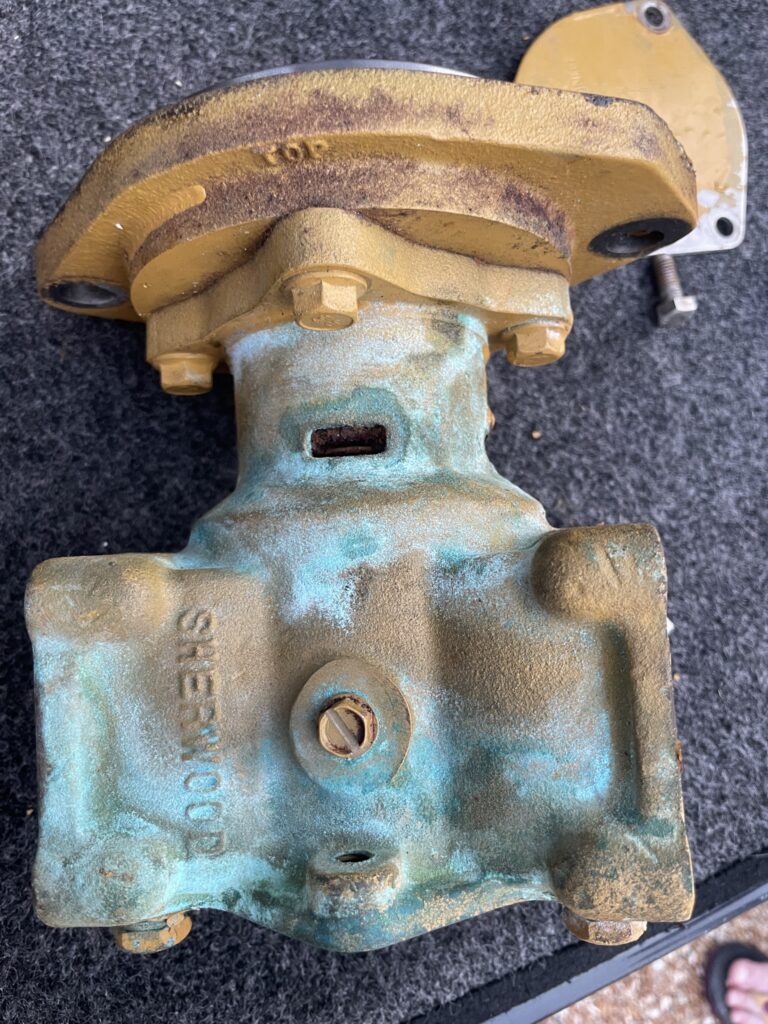
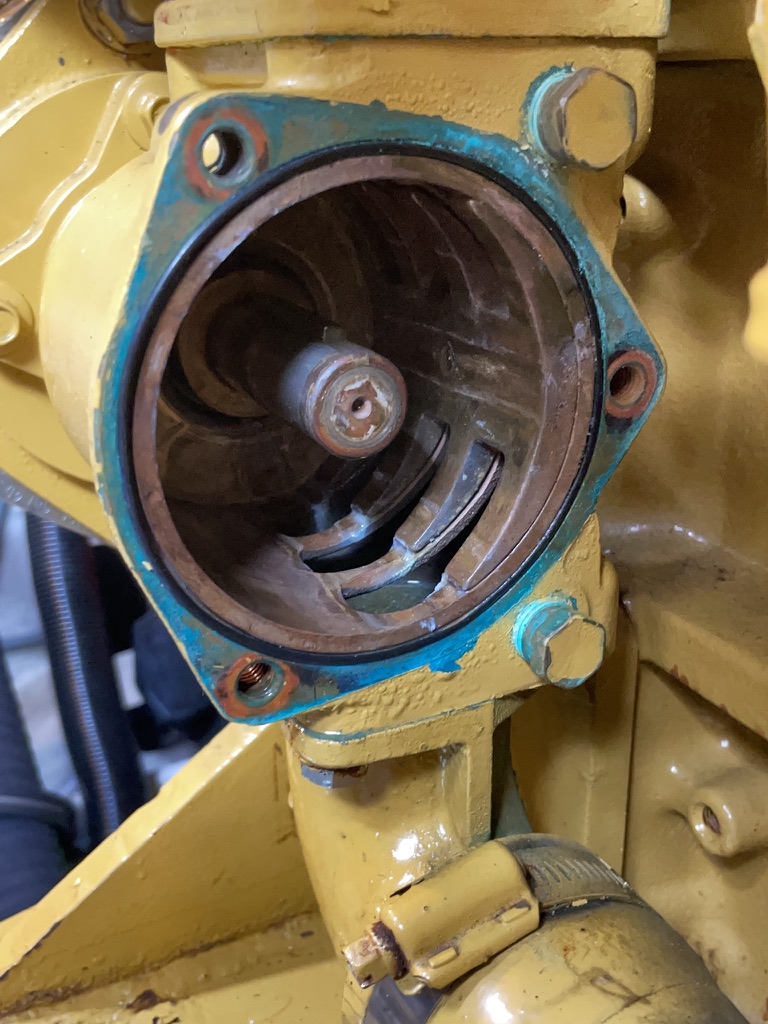
The starboard water pump shows the first signs of crapping itself. The brown sludge exudes from the tell tale. These are also on back order!!
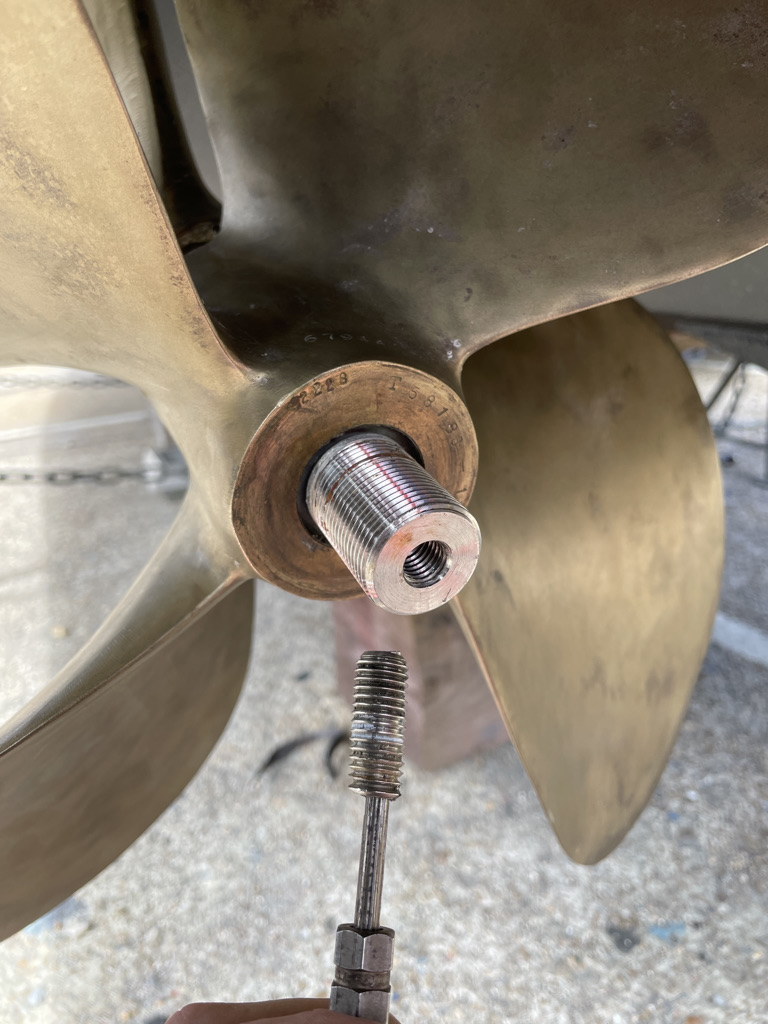
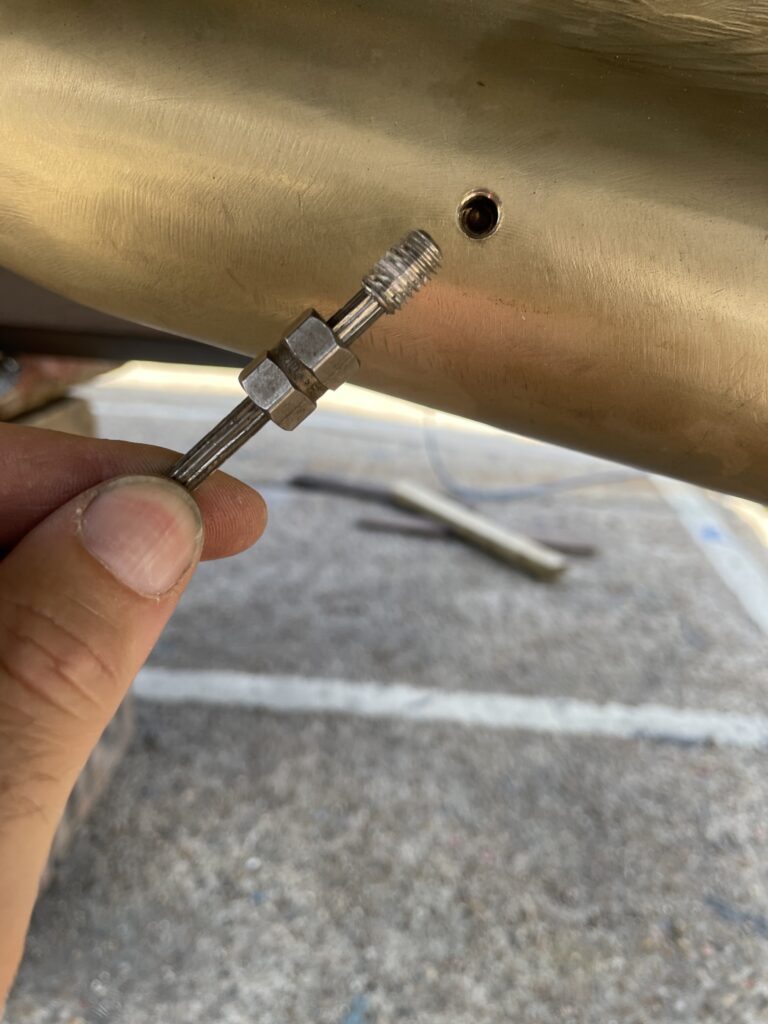
I learn the hard way that props are fitted with left handed thread bolts…
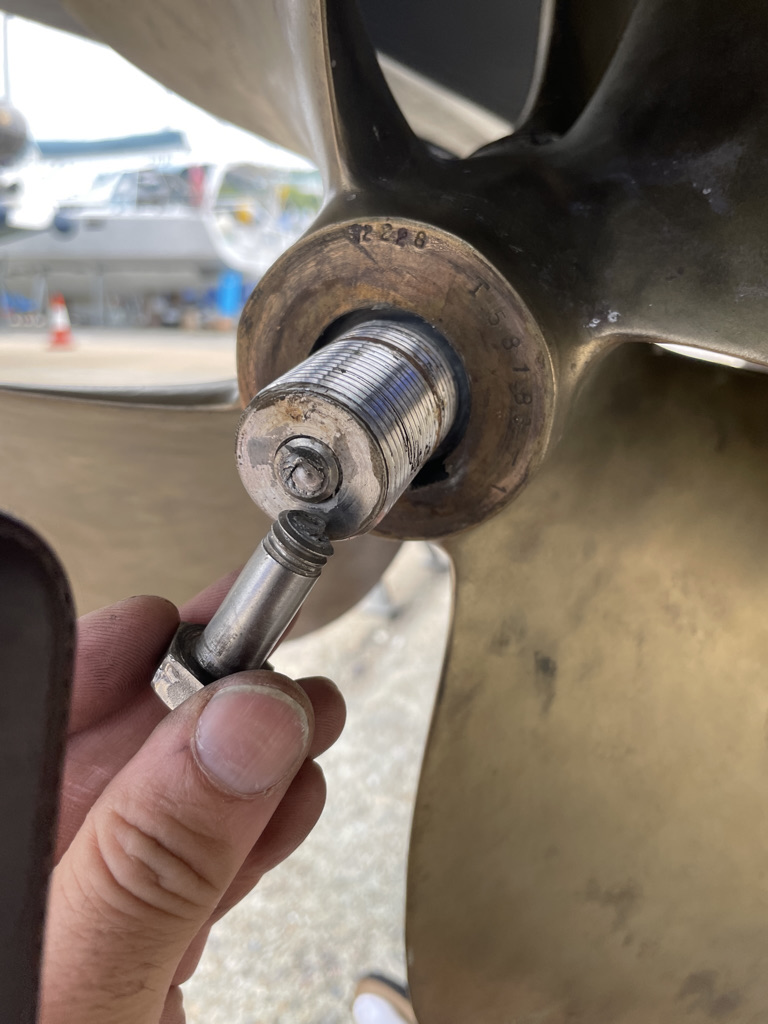
Fortunately, drilling out broken fasteners is something I’m fairly used to…being stainless steel makes it a little trickier…
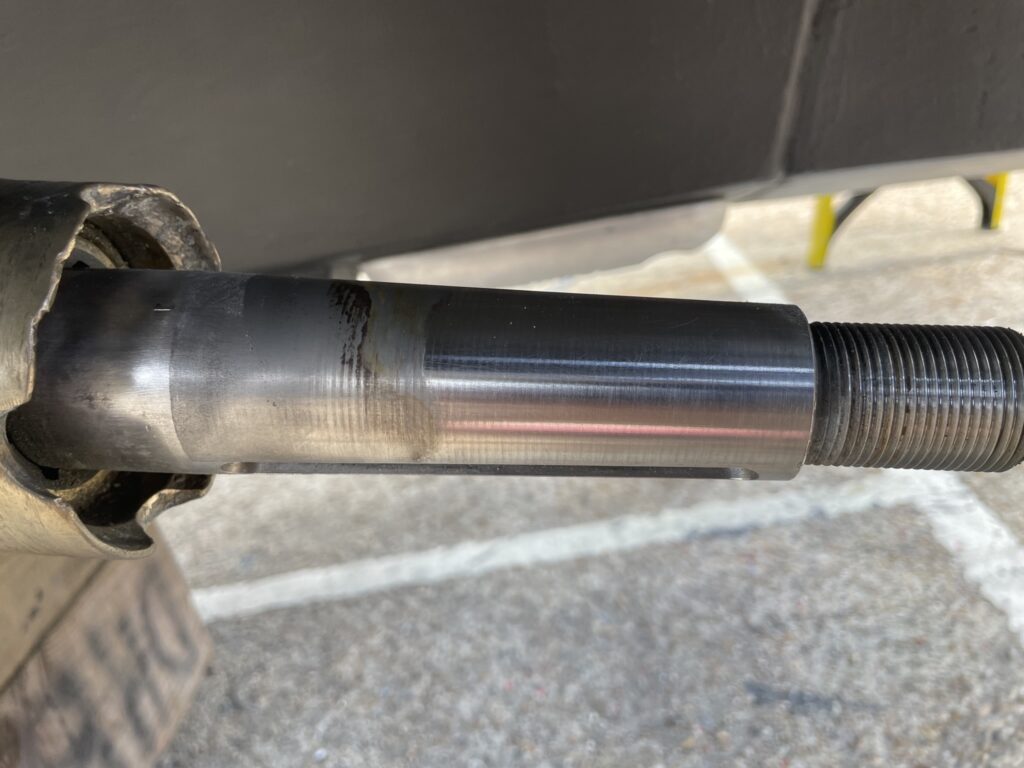
Meanwhile, the original props refused to come off without getting the pro’s in with proper oxy torches!
We also end up fitting larger grub screws for the cutlass bearings with the old ones also needing drilling out.
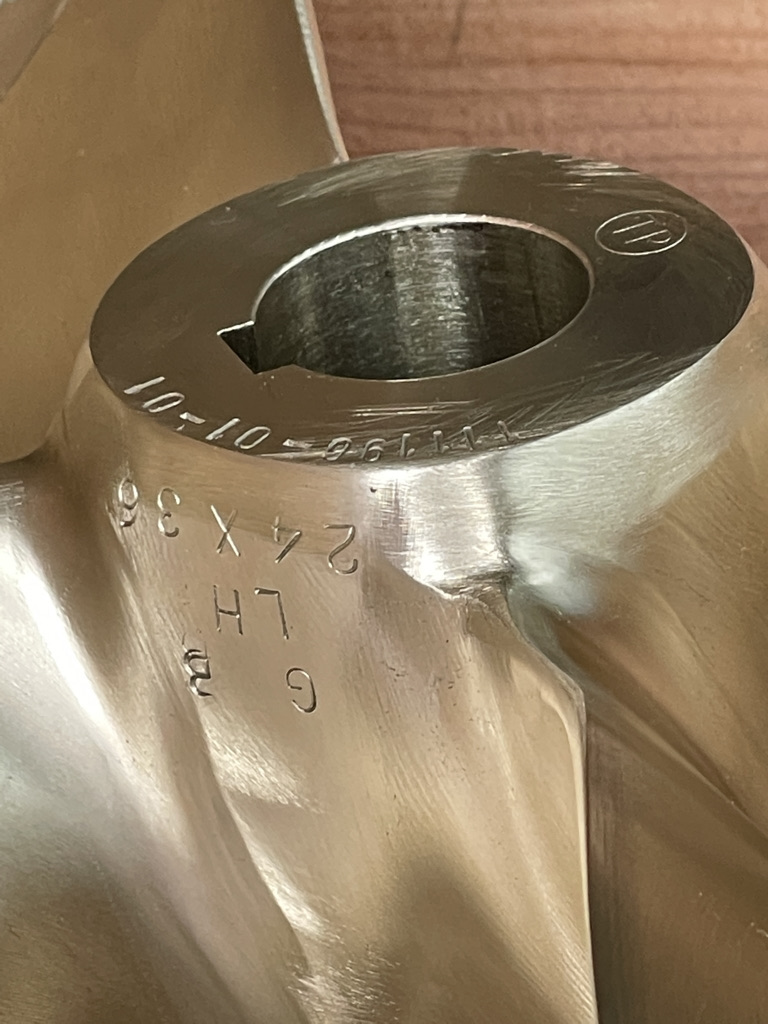
Teinbridge finally come through with a beautiful new prop for the portside…
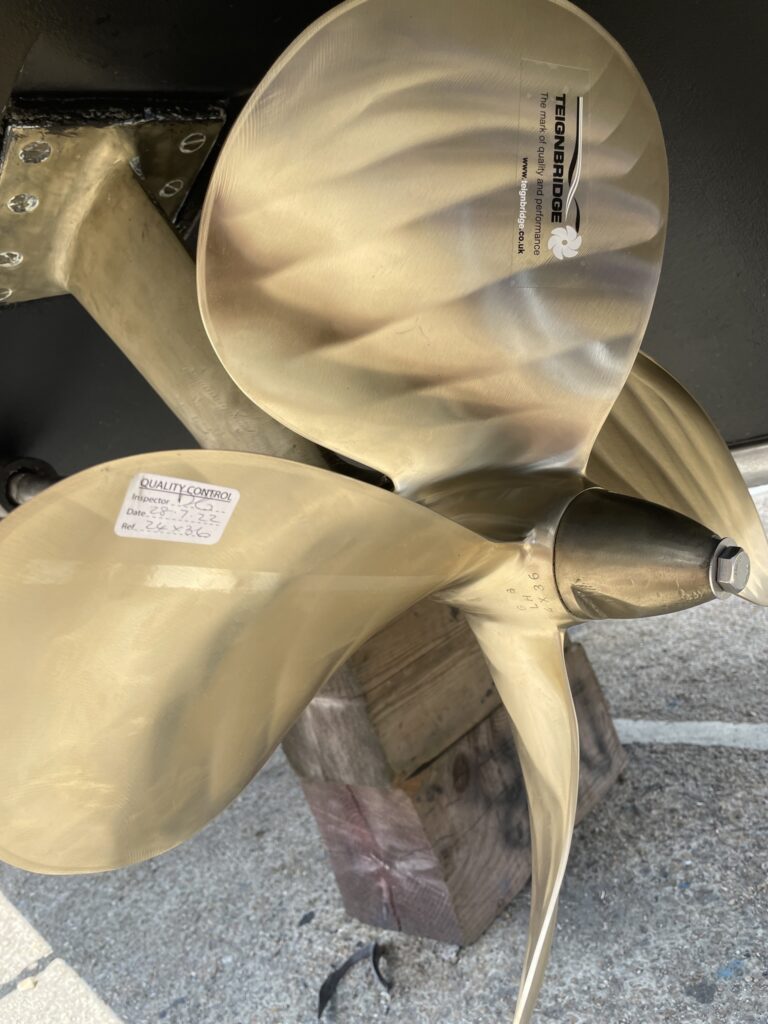
Props refitted with new bolts and washers, new cutlass bearings with new larger grub screws…
It turns out that the new prop looks virtually the same as the 23″ prop that came off, they’re not easy to measure but I suspect that the prop that was installed was a 23″ stamped prop modified to a 24″ diameter, as I learn that props can be heavily reworked. Anyway, the stampings both match now (24×36)!
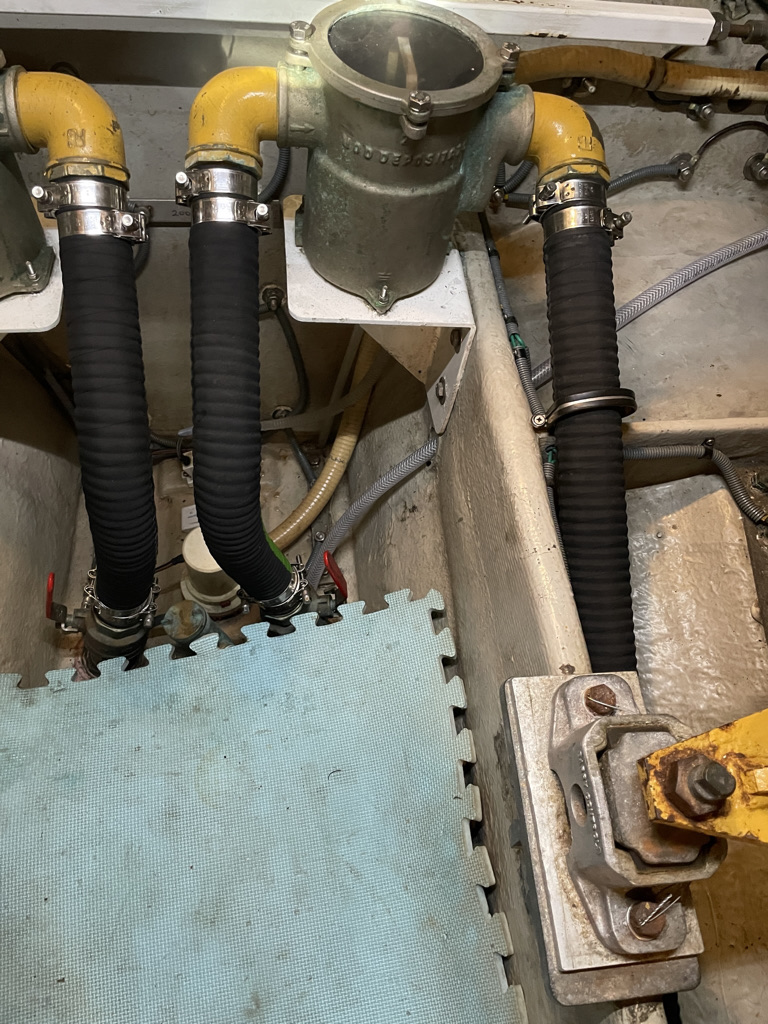
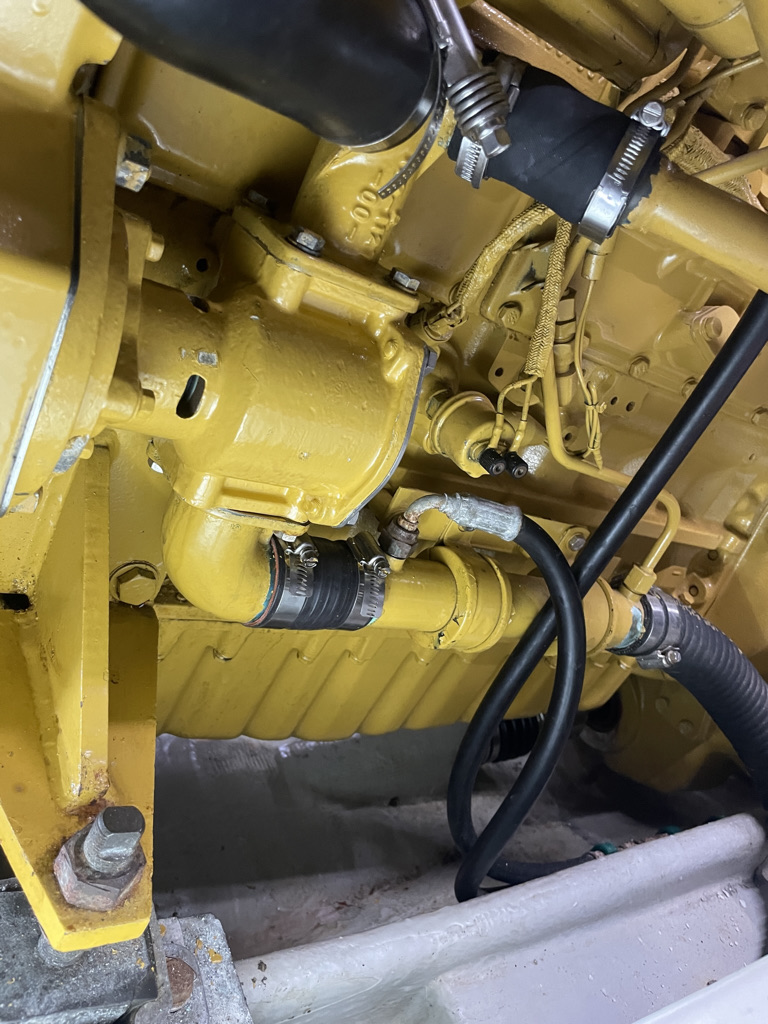
While we are out of the water for the summer, I take the opportunity to look at sea cocks and hoses…some of the engine bay hoses were looking a bit tired, given I’m somewhat neurotic about the thought of water coming into the boat, I decide to replace all the hoses in the engine bay!
The water pump for the starboard engine also arrives. Again unpainted…

Out with the old pump..
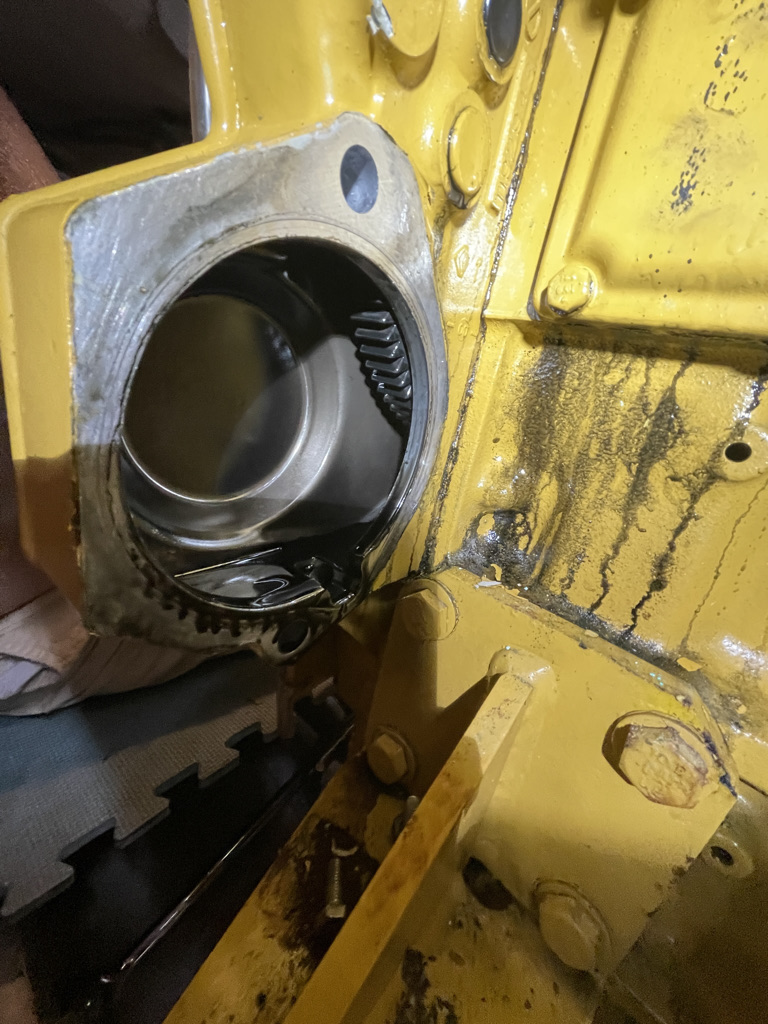
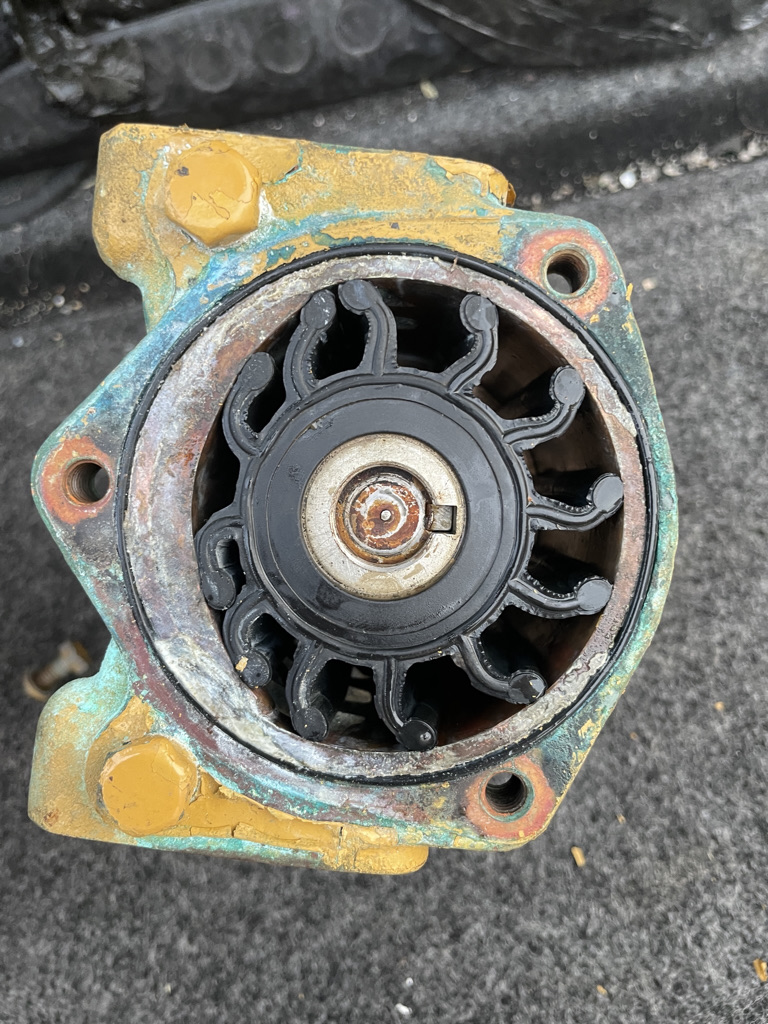
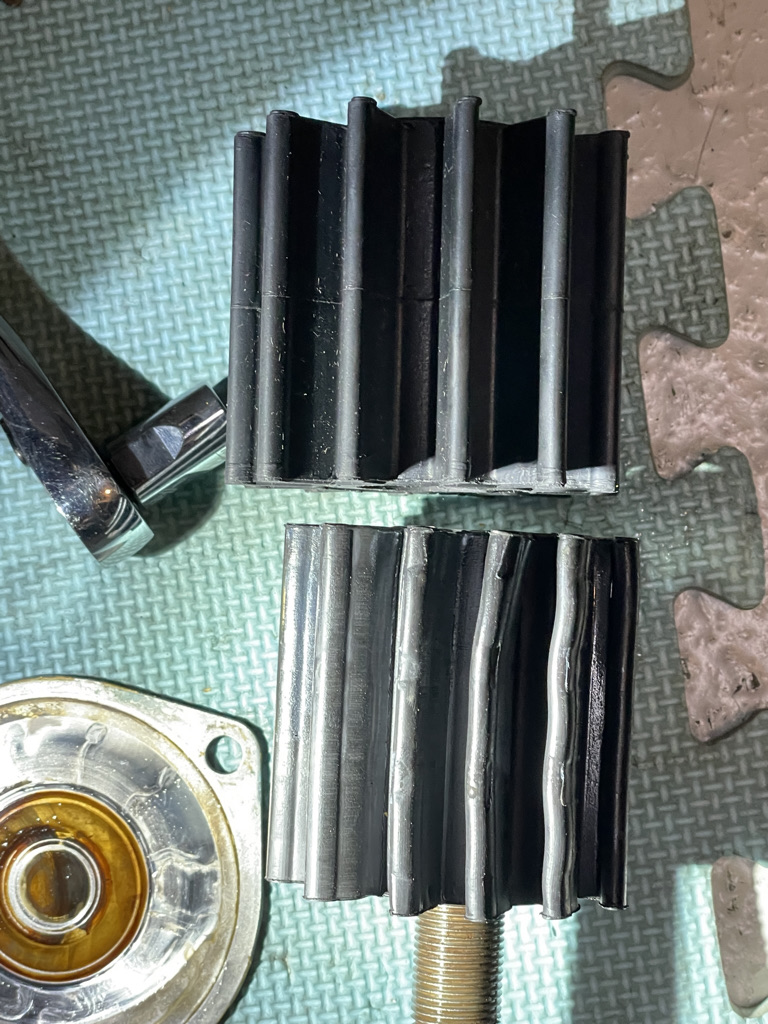
The impellers aren’t too bad but there are dislodged remains in the pump from a previous impeller!
New pump now painted is duly installed with new hoses and area cleaned up.
While the port engine gets a new impeller fitted also…
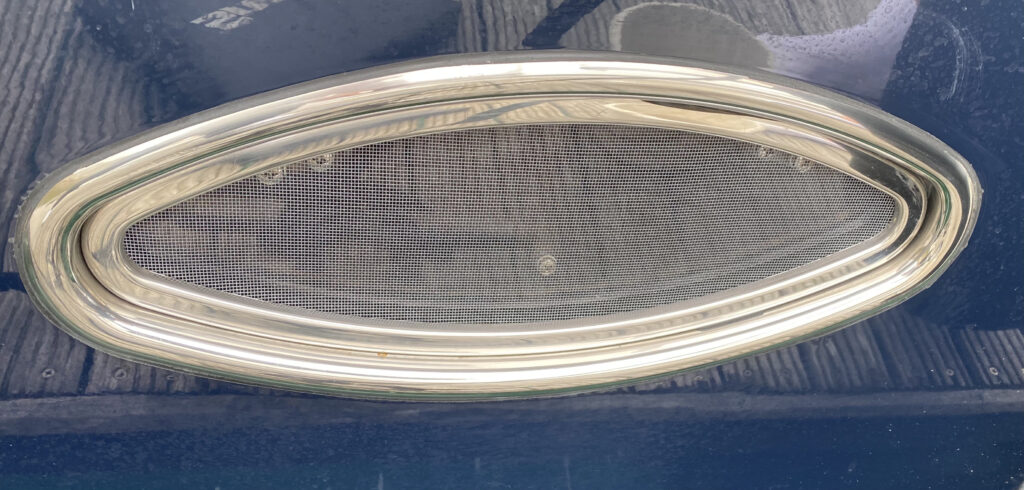
Portholes…one of the first jobs carried out, we replace the ratty old mesh with new.


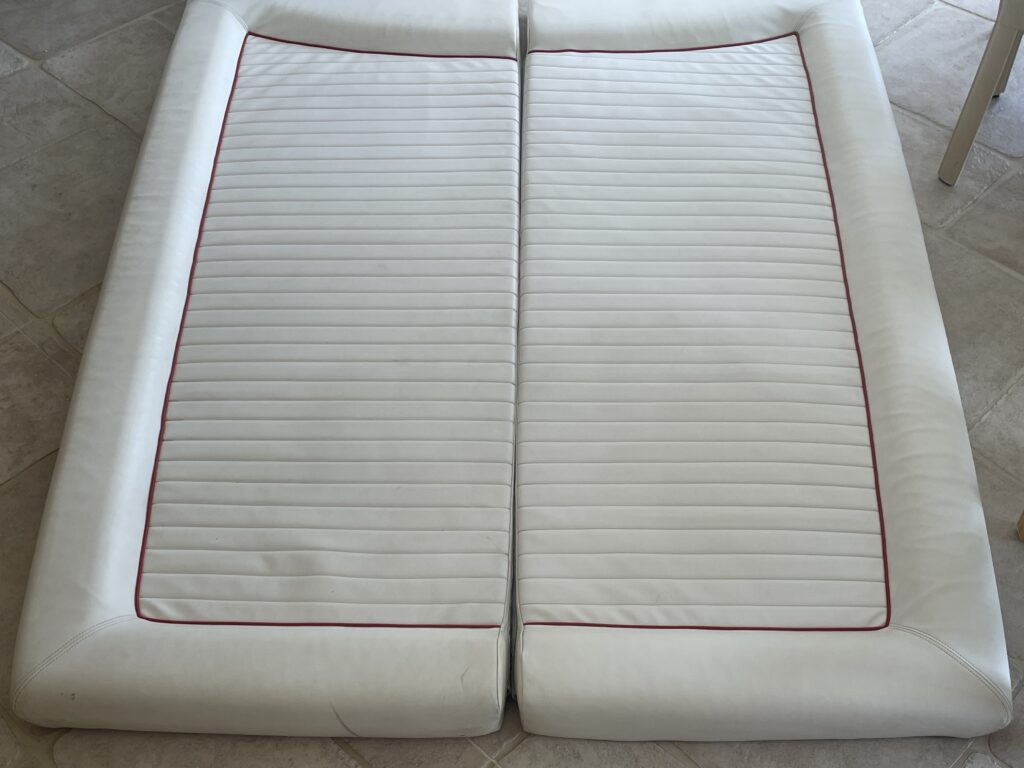
upgrades, mattresses,
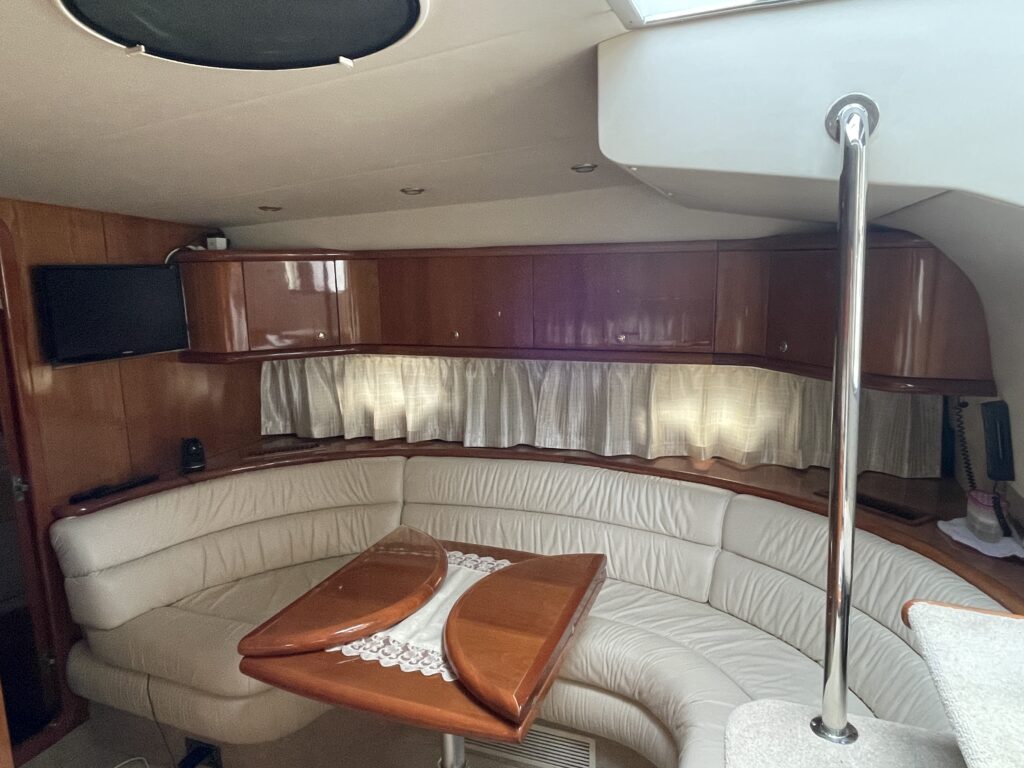
Leather seats given a good clean!

Old curtains
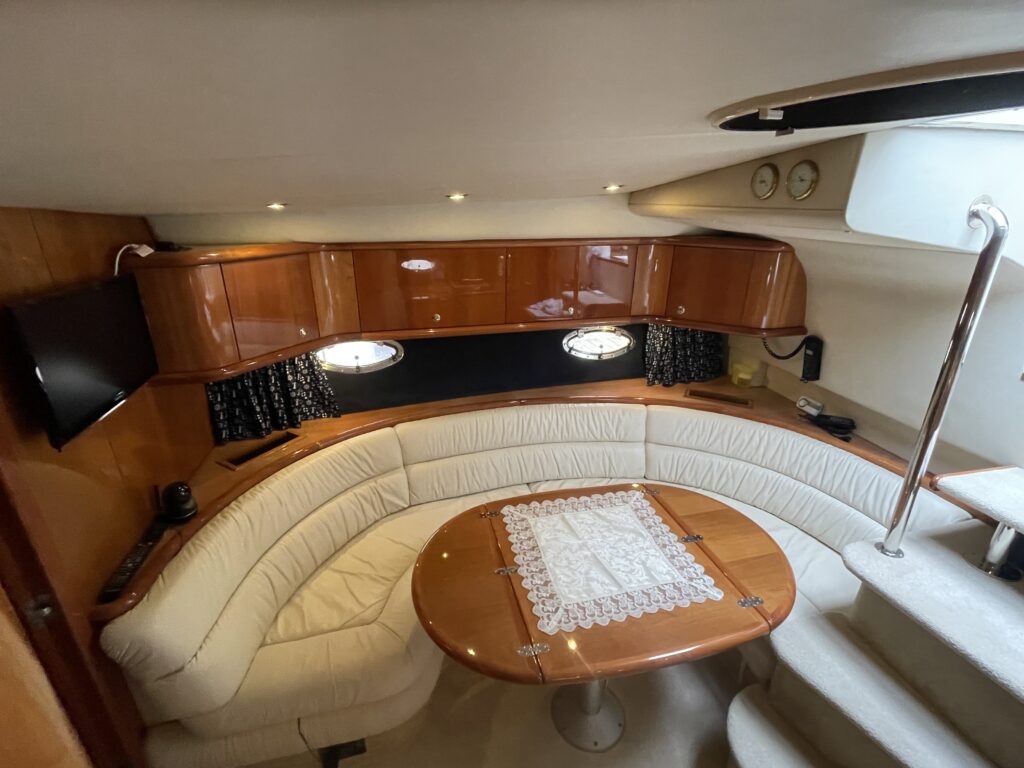
New curtains!
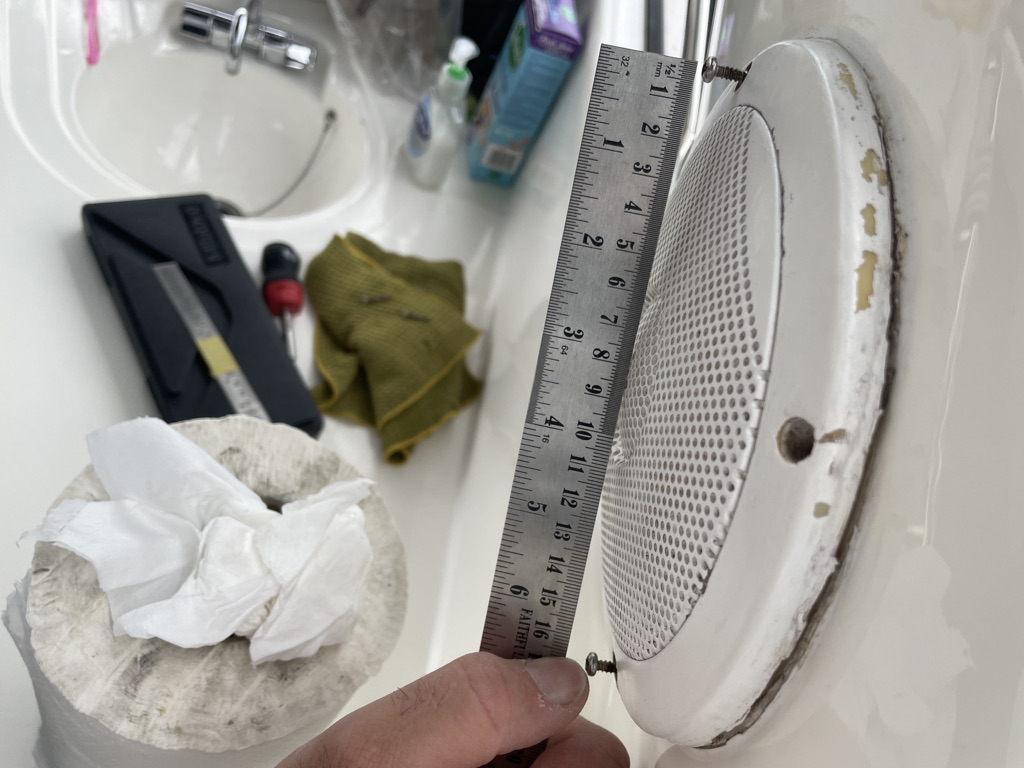
Finally for this blog post..replacement speakers…the original knackered old Alpines are 6.5″ and will be making way for some new ones…
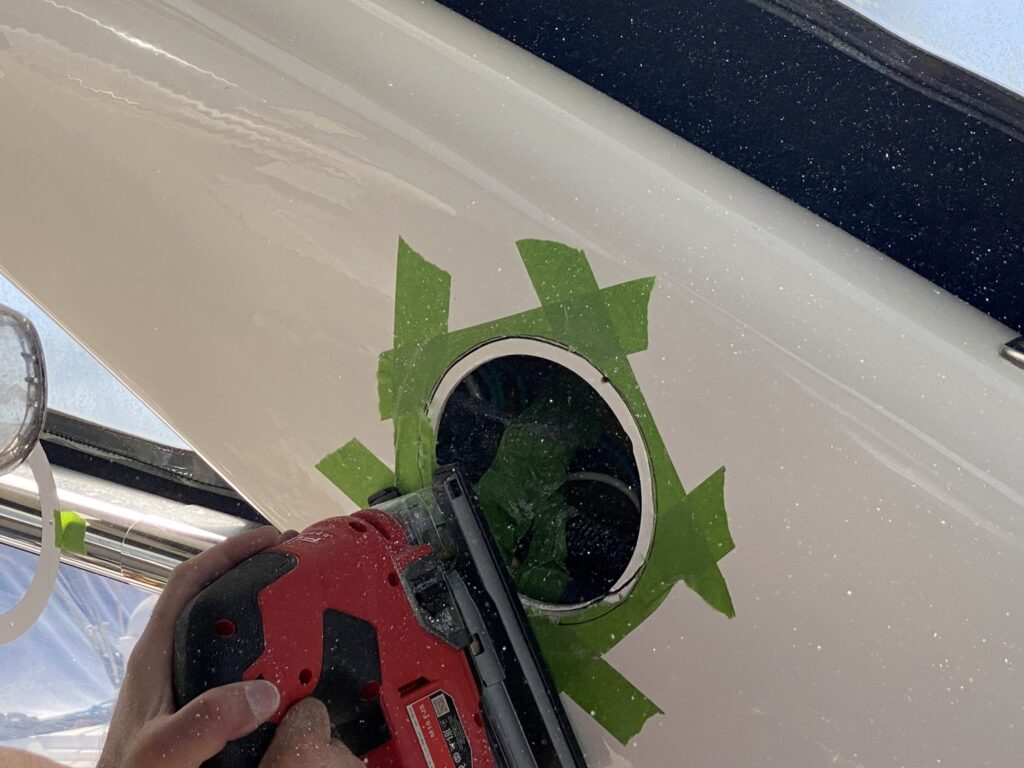
We decide to upgrade the size to 7.7″ JL Audio M6 speakers.

This involves cutting material out of the radar arch, a somewhat scary prospect!
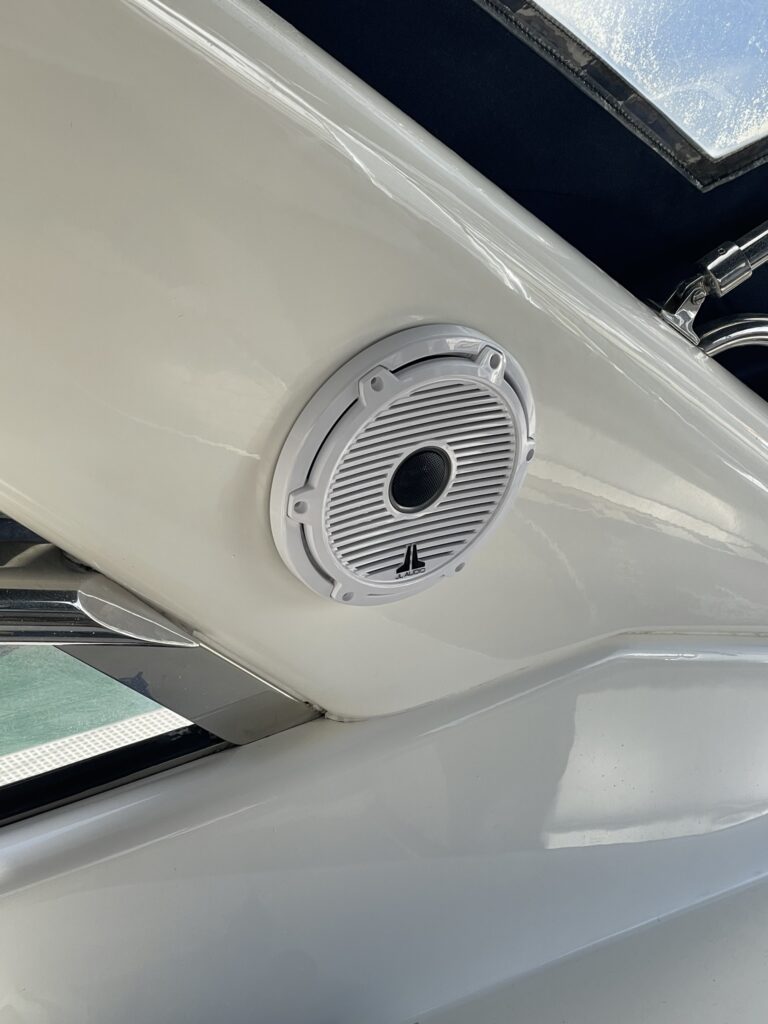
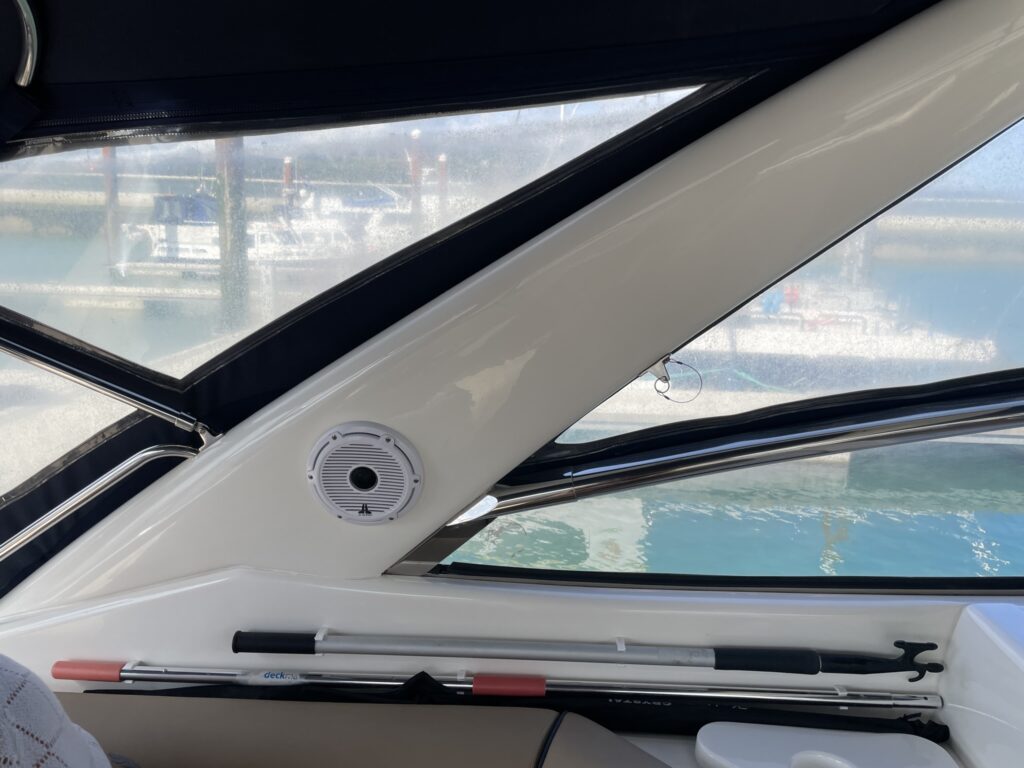
The speakers have RGB led illuminations but this will require separate wiring and a controller so this function is not currently operational. We also remove the rear tender and buy a proper safety raft.
As one can see, work is never done on a boat, it is an ongoing journey with high’s and low’s. One thing is for sure, you either need to be able to do your own work or have very deep pockets, or better still, both!! Since having the boat my other hobby has been ignored while we get this to where we wanted. We are nearly there and hope now to have a period of enjoyment. Hopefully we have headed off many a potential issue through proactive maintenance.
Here’s hoping for a better season in 2024 as 2022 was largely a write off and 2023 wasn’t much better due to a number of reasons, largely down to time available and the weather conspiring against us!