Honey, I’m just on the phone ordering a bike to go!
It’s not the preferred way to buy a motorcycle unseen over the phone. In these COVID-19 lockdown times however, there are few alternative options, particularly when something as rare as this comes along.
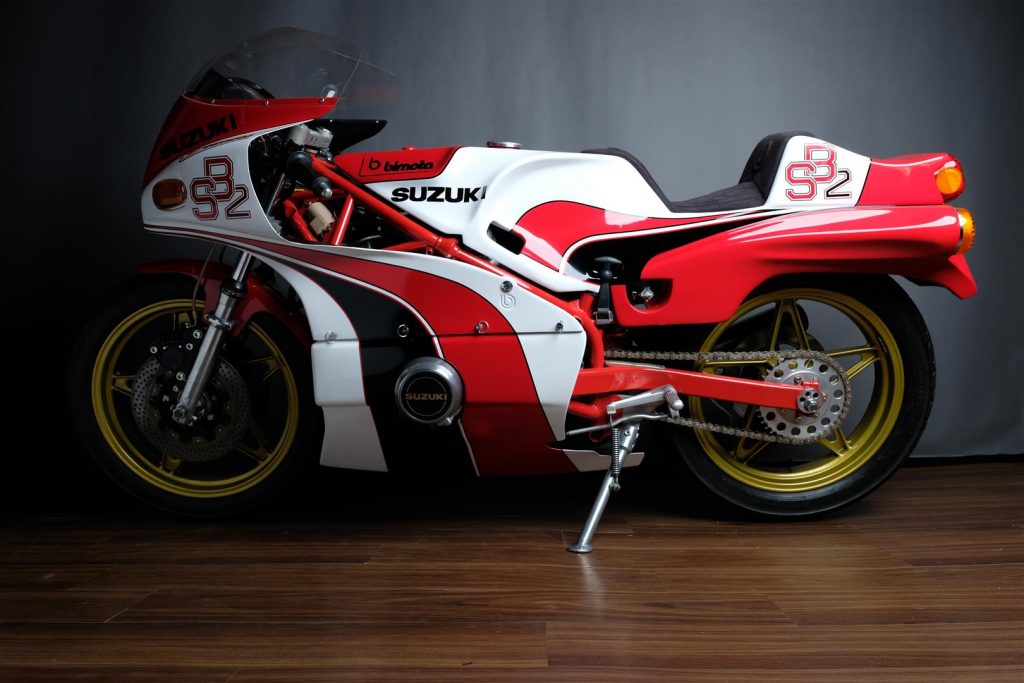
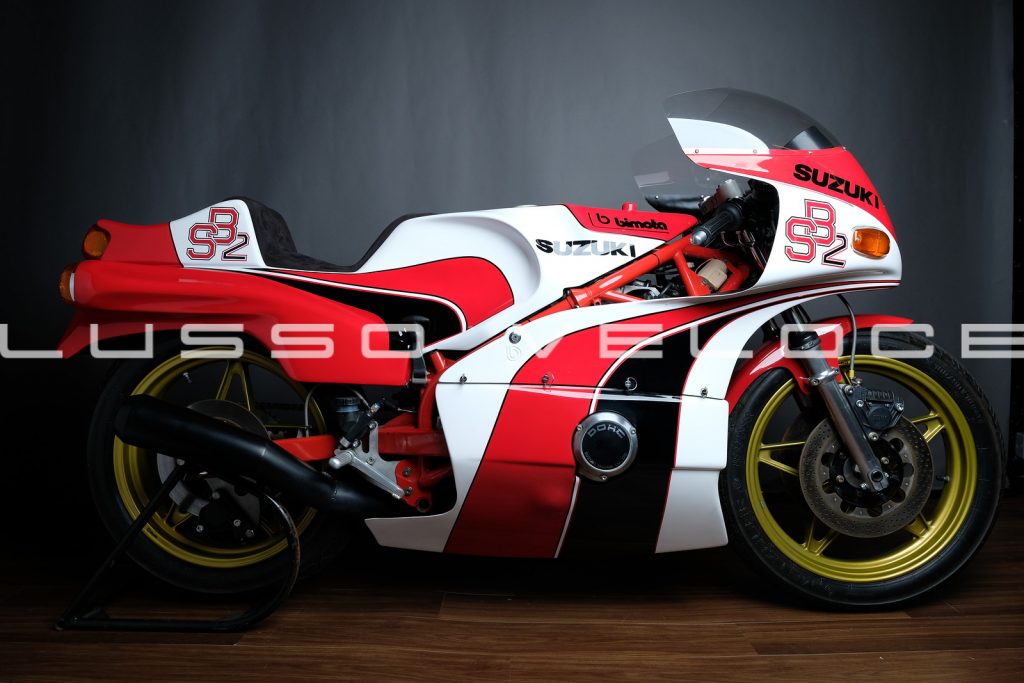
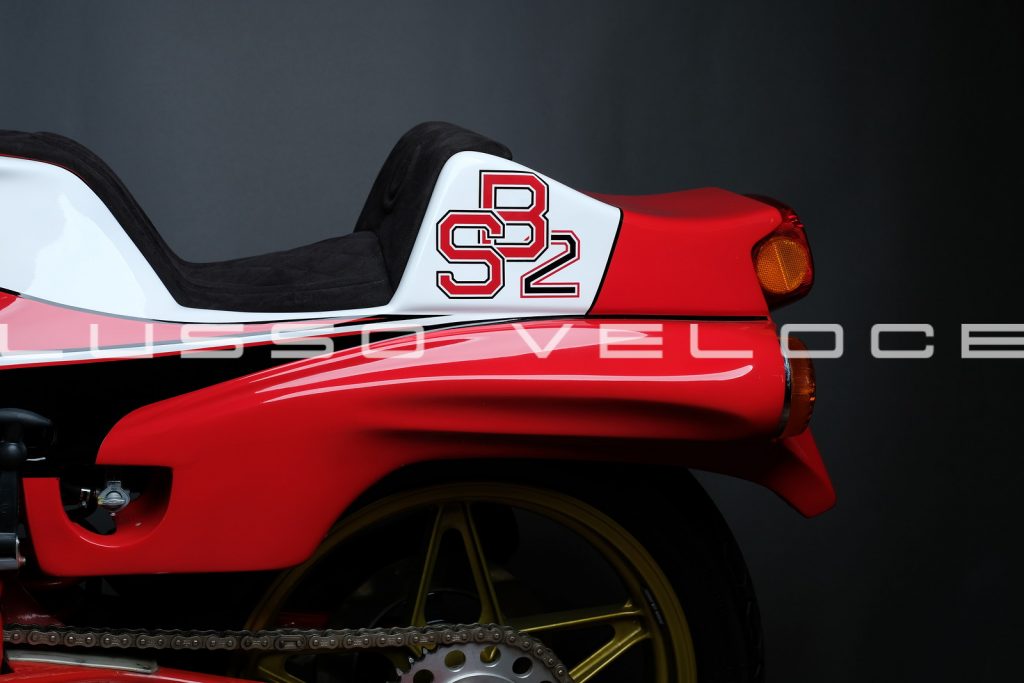
Thanks to technology, I did get to watch a you tube video of it running and was able to view some high resolution photos at least.
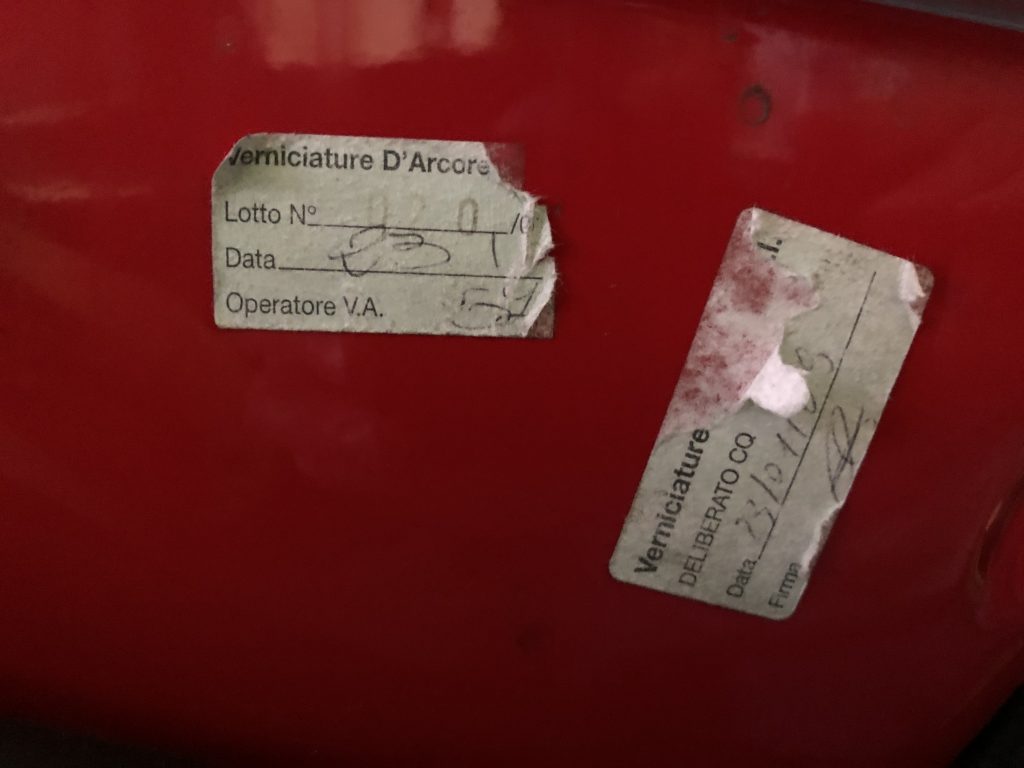
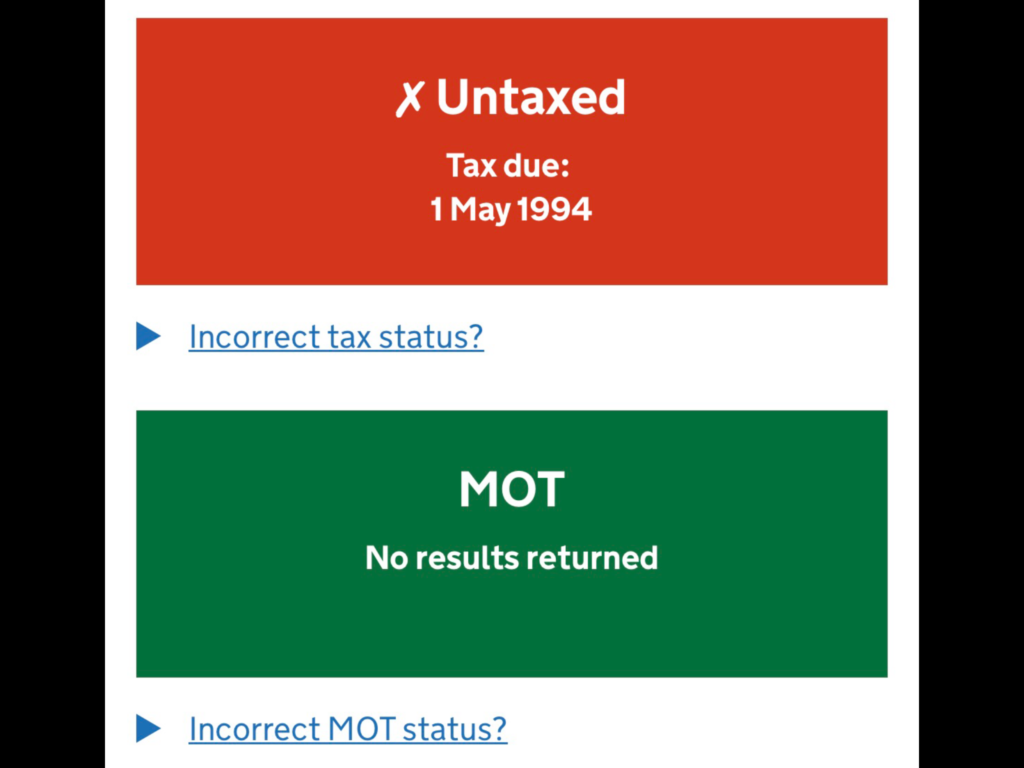
When you’re looking at a very special 43 year old bike, there’s a certain amount of leeway you’re prepared to grant. There is nothing in the way of service history with this bike, just a V5 and keys. That’s not a lot to show for 43 years but then as the type of bike that customarily sits on display for most of its life, there’s perhaps not a lot one should expect! I do the basic checking online, but it’s academic really, clearly this hasn’t been near a road since it was first registered, showing with DVLA as being registered in November 1993. 6 months minimum road tax would have been mandatory then, taking it to a tax expiry of 1st May 1994.
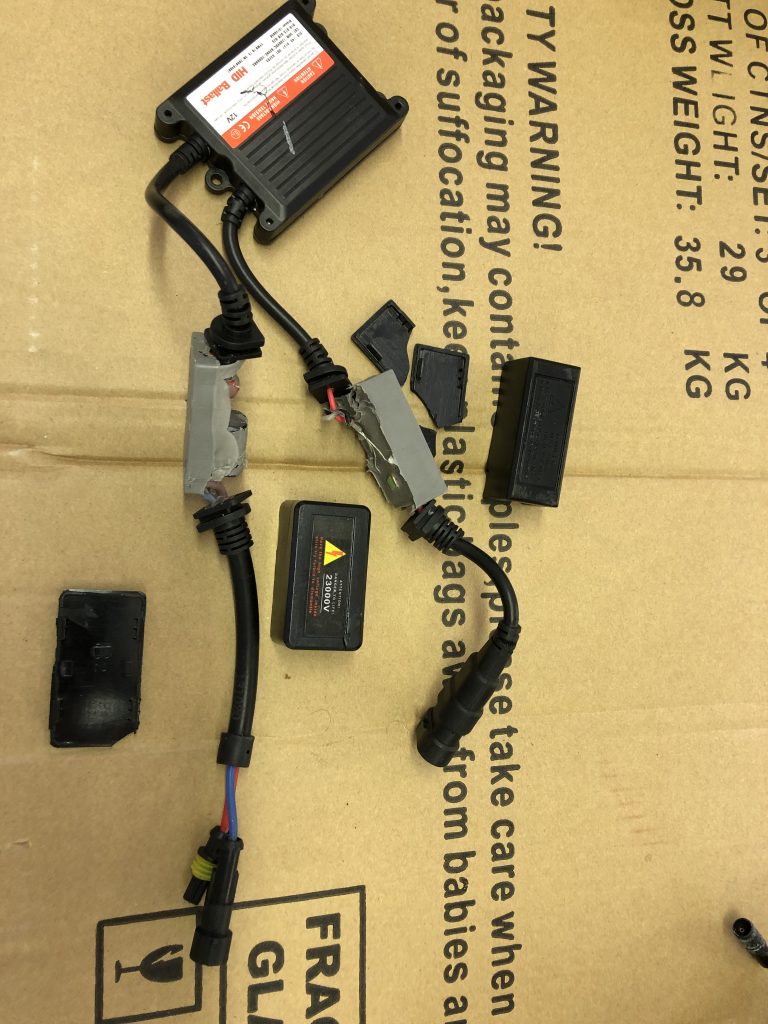
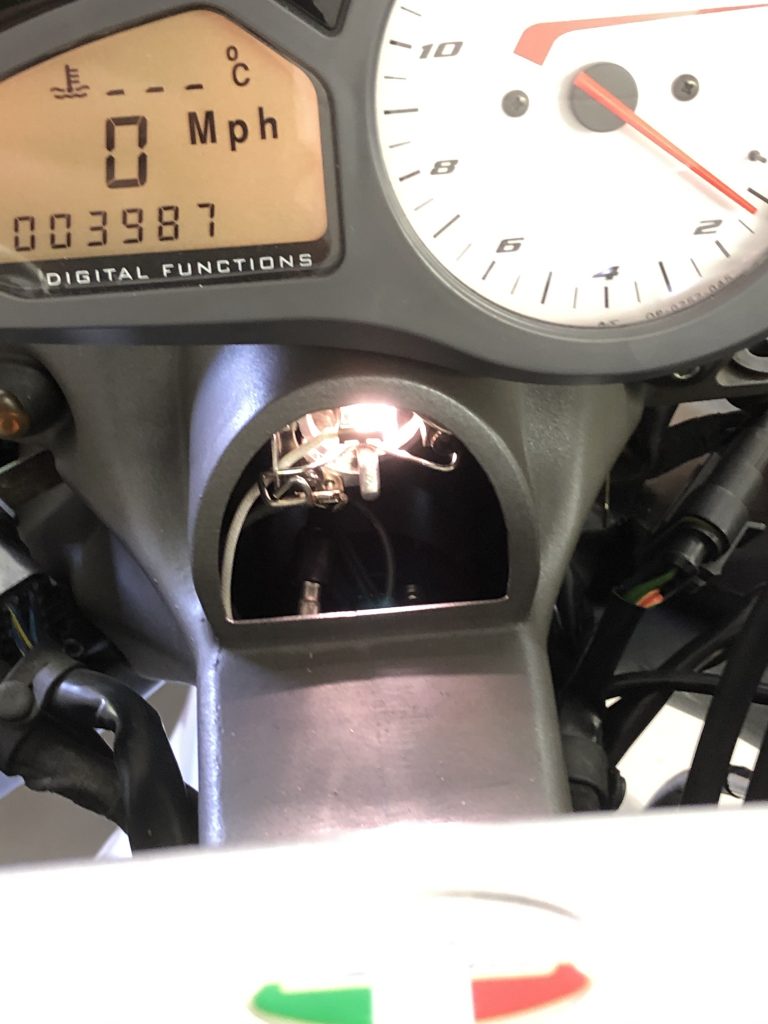
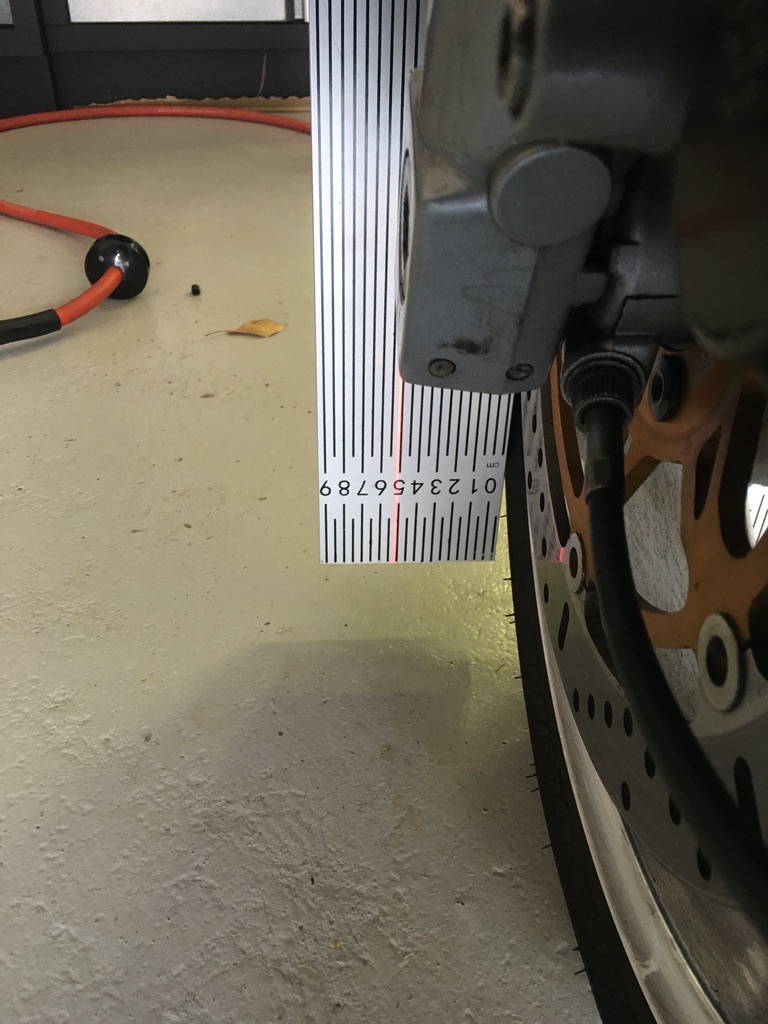
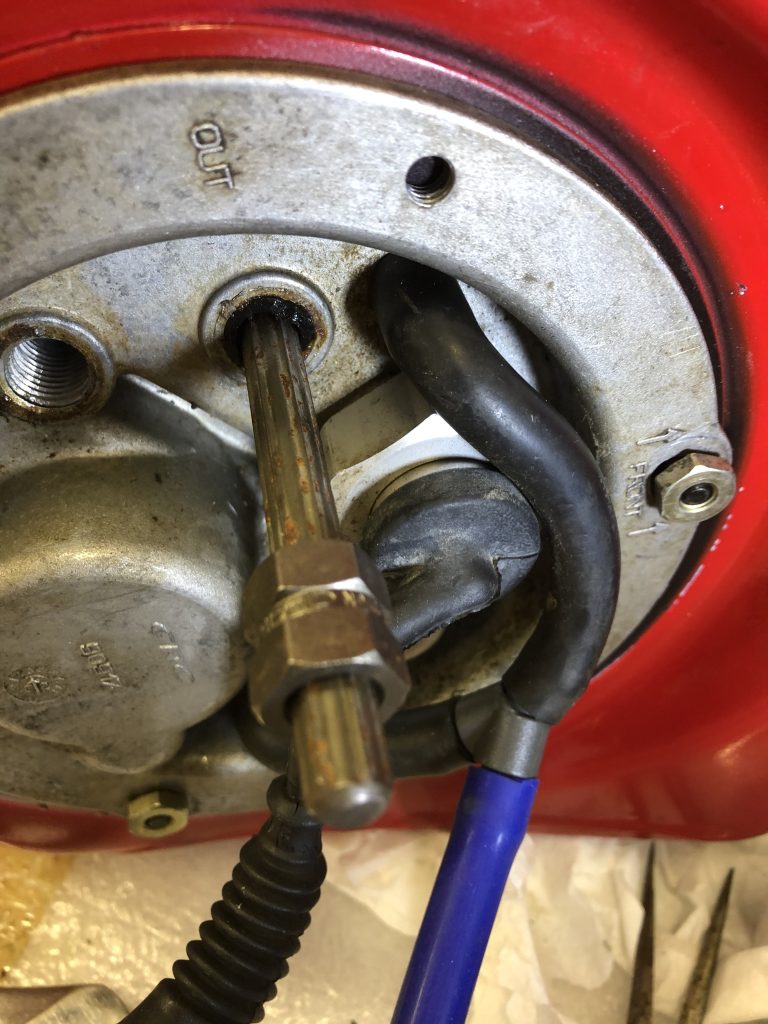
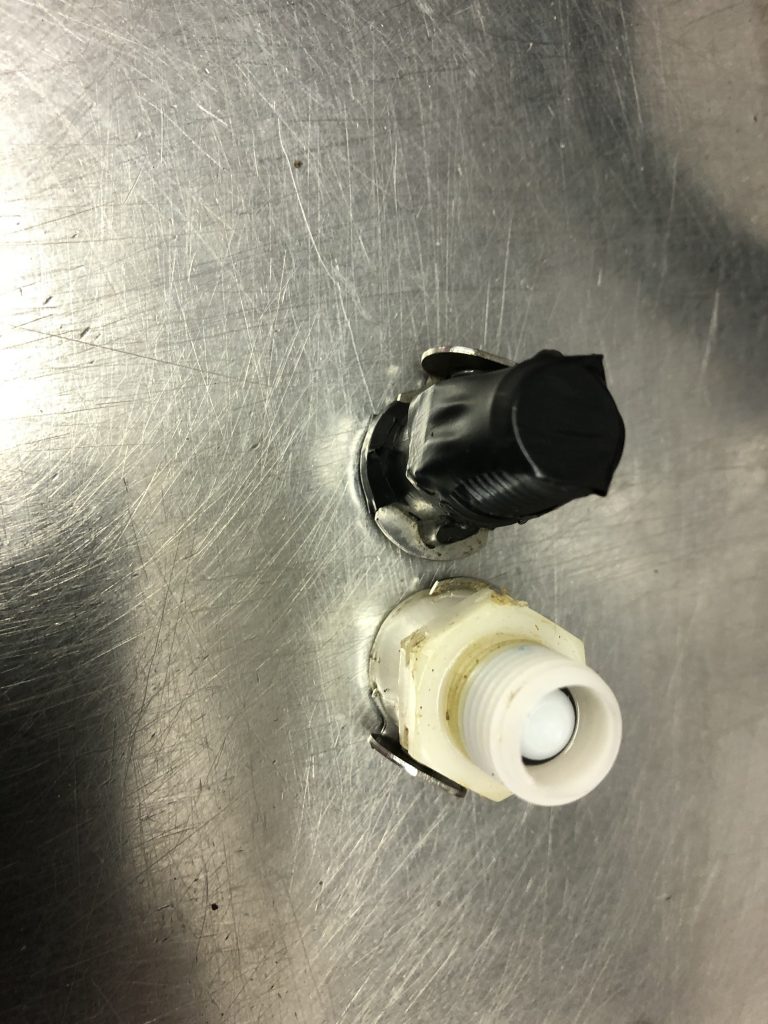
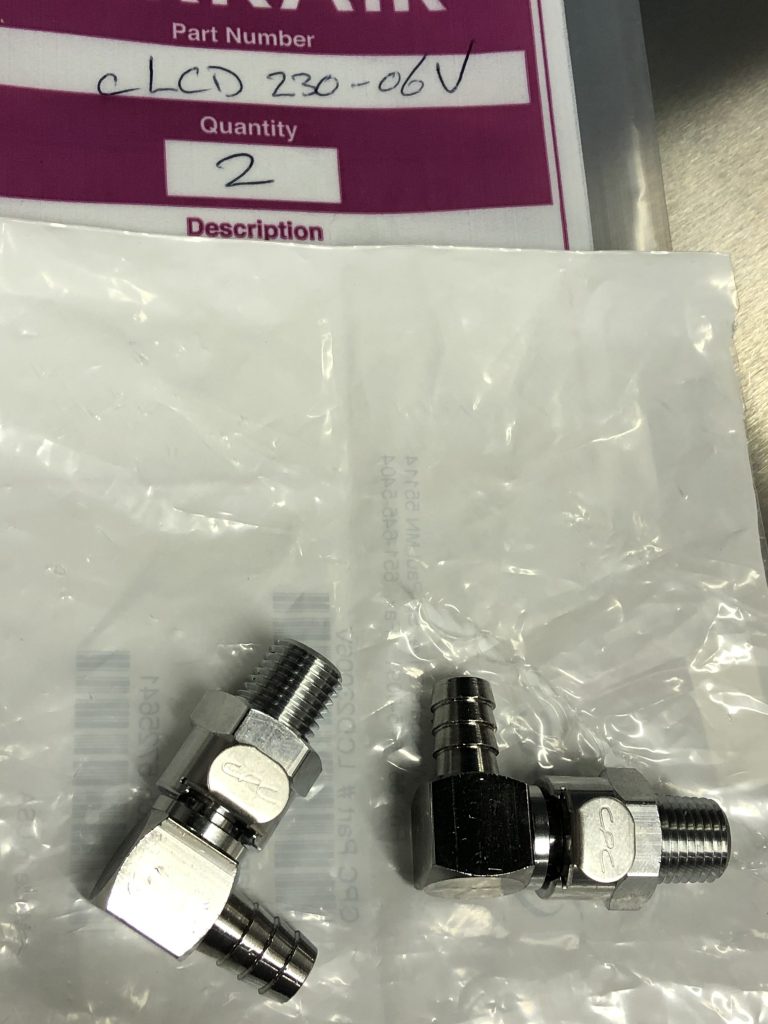
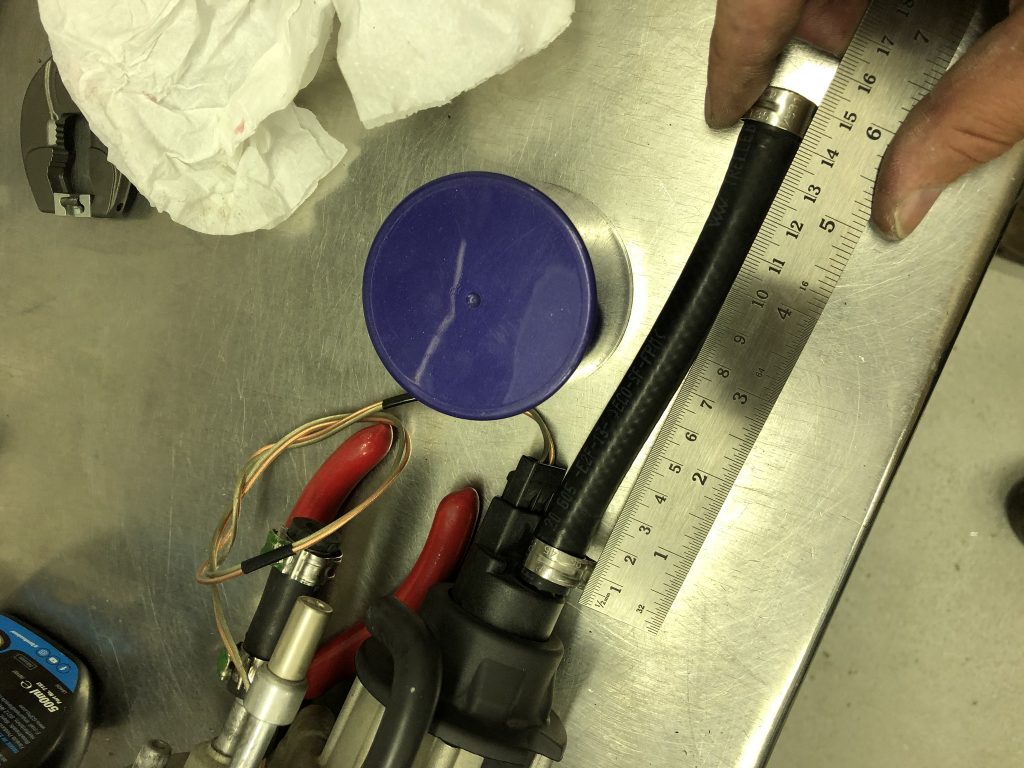
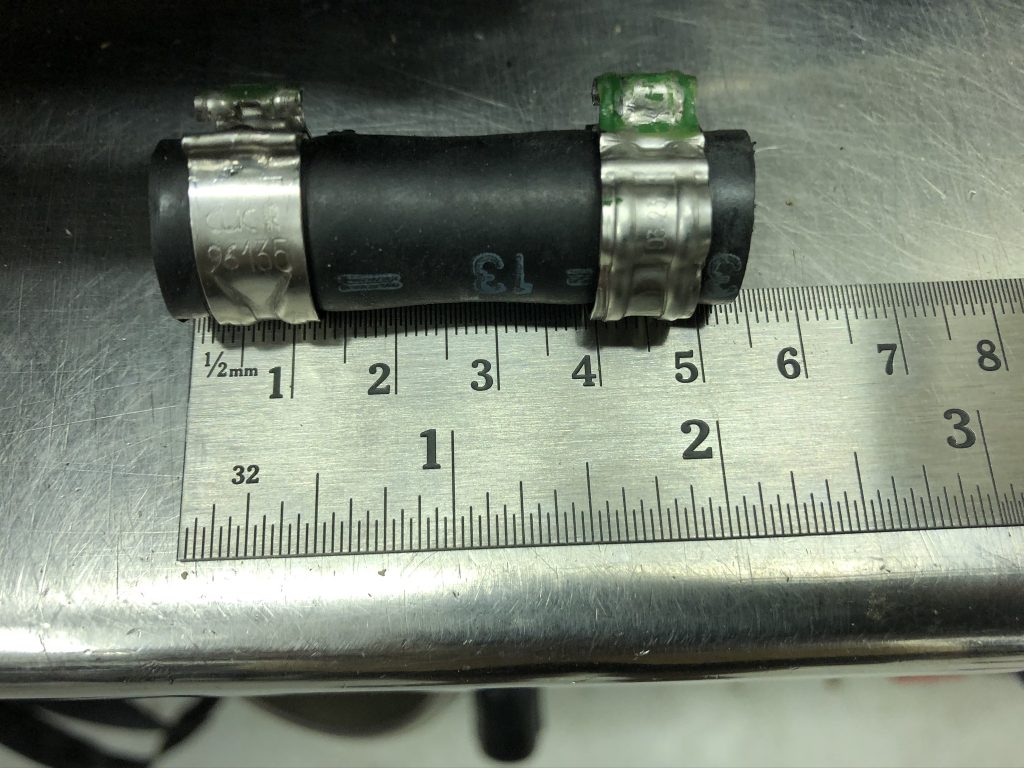
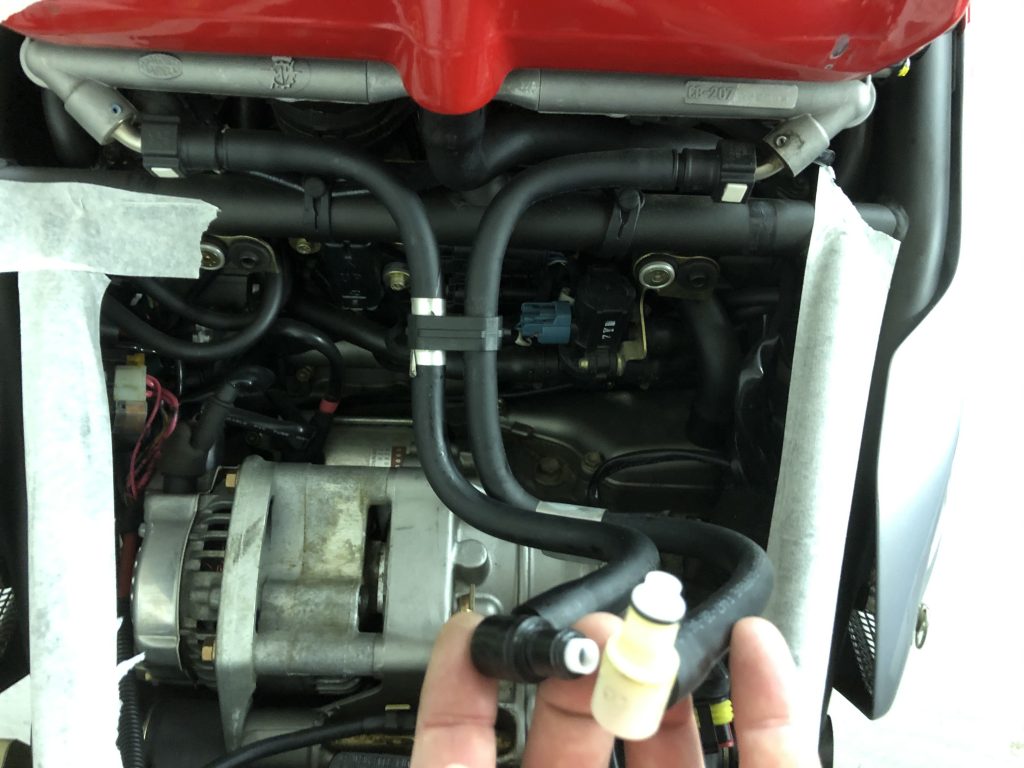
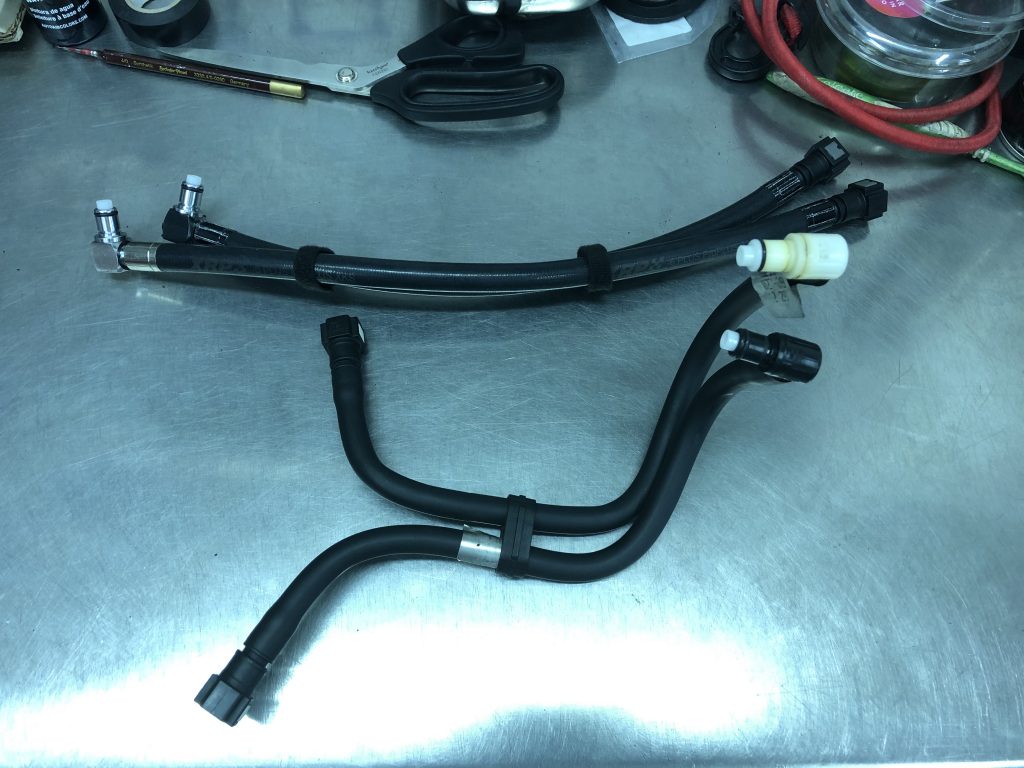
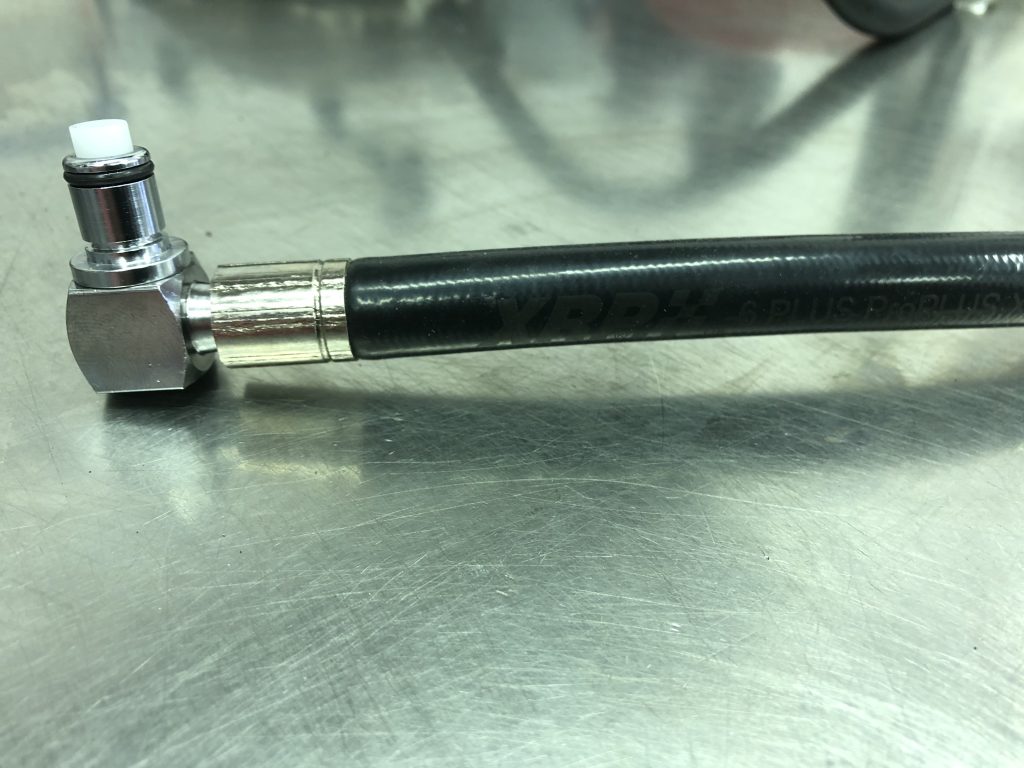
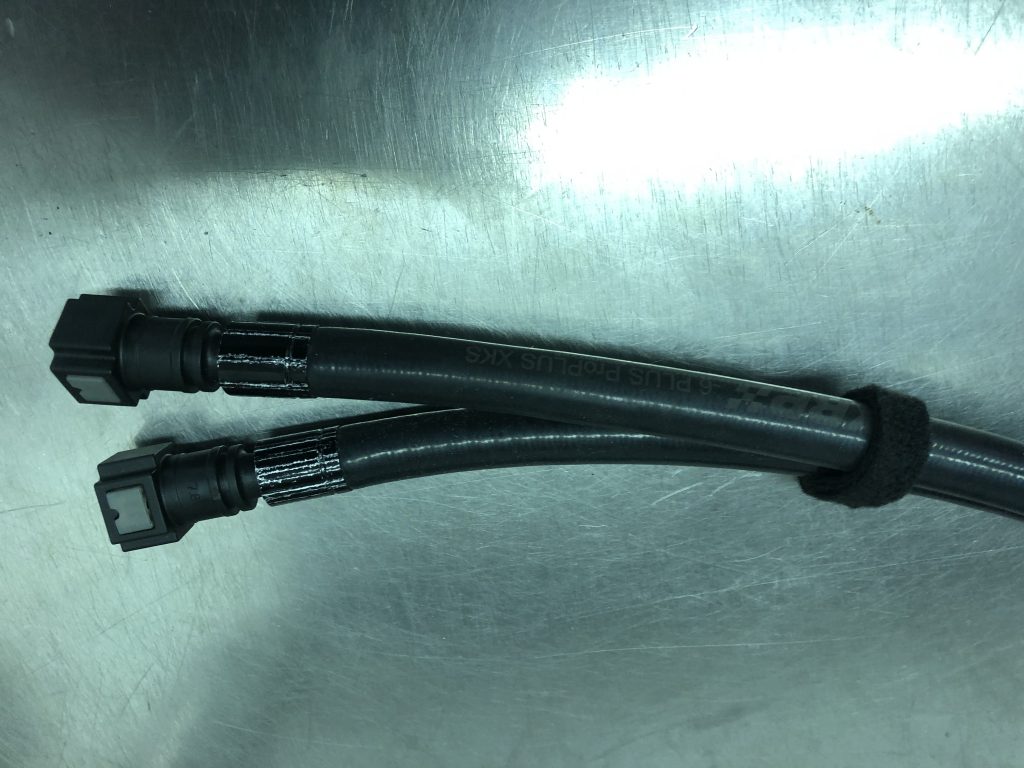
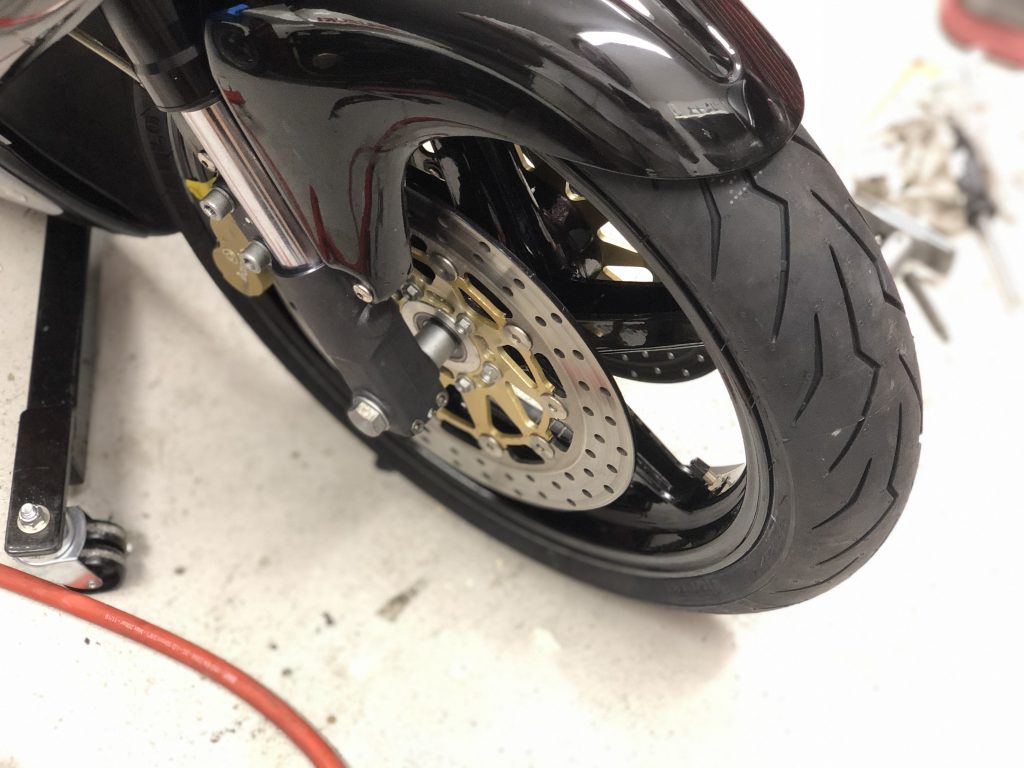
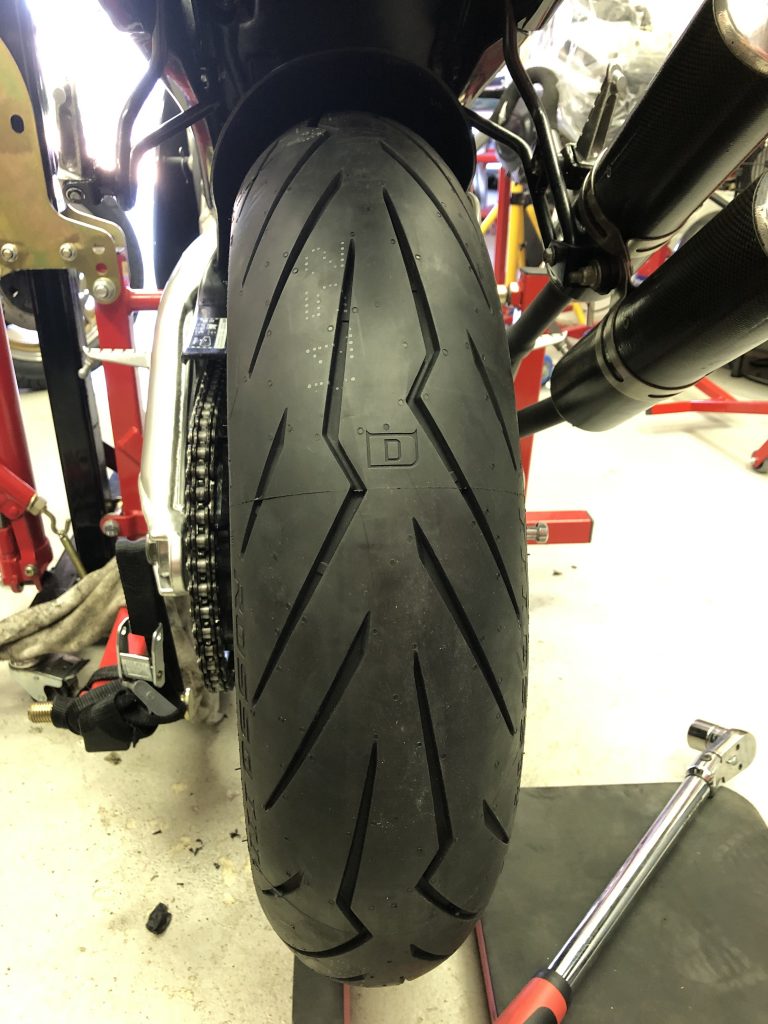
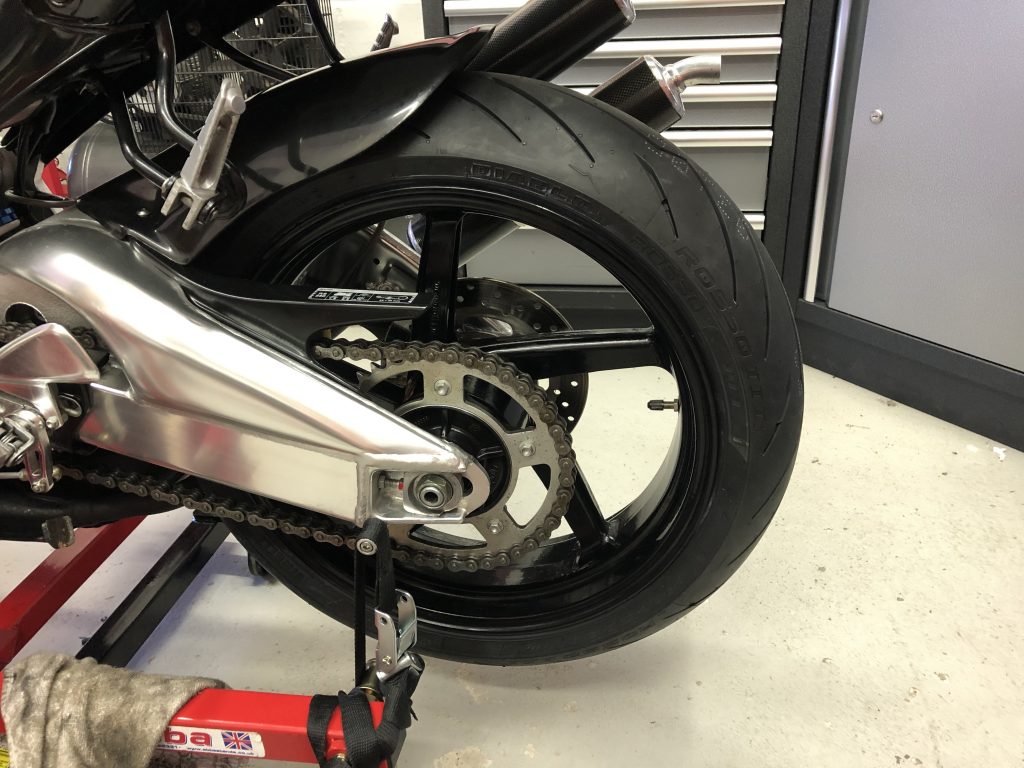
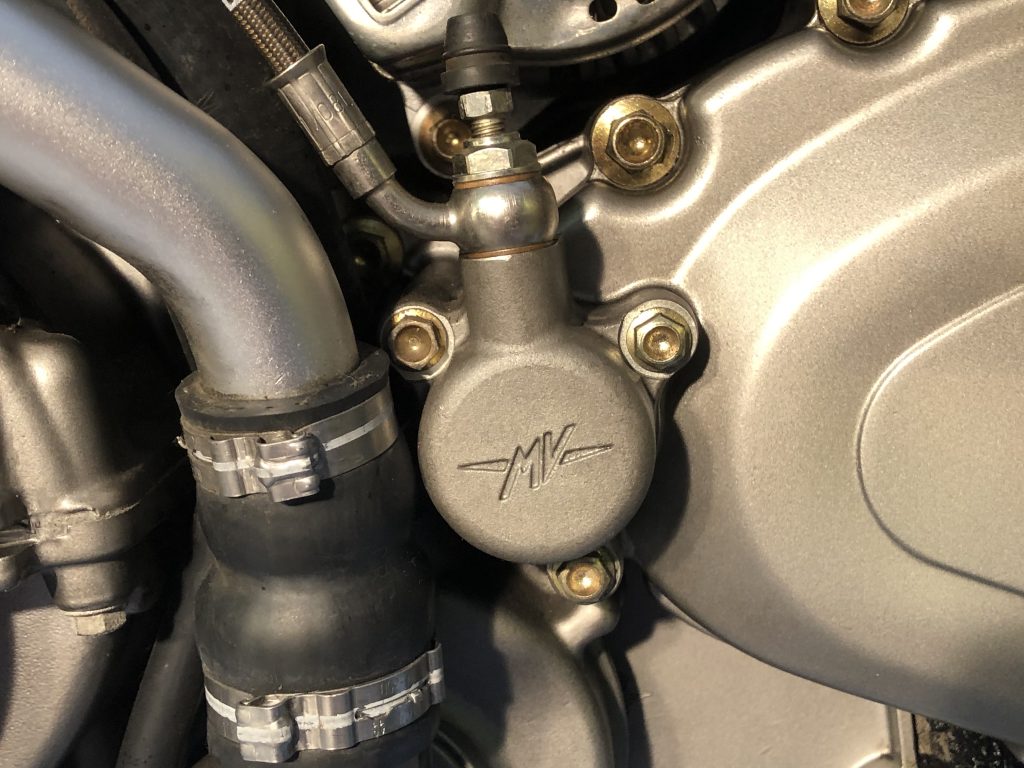
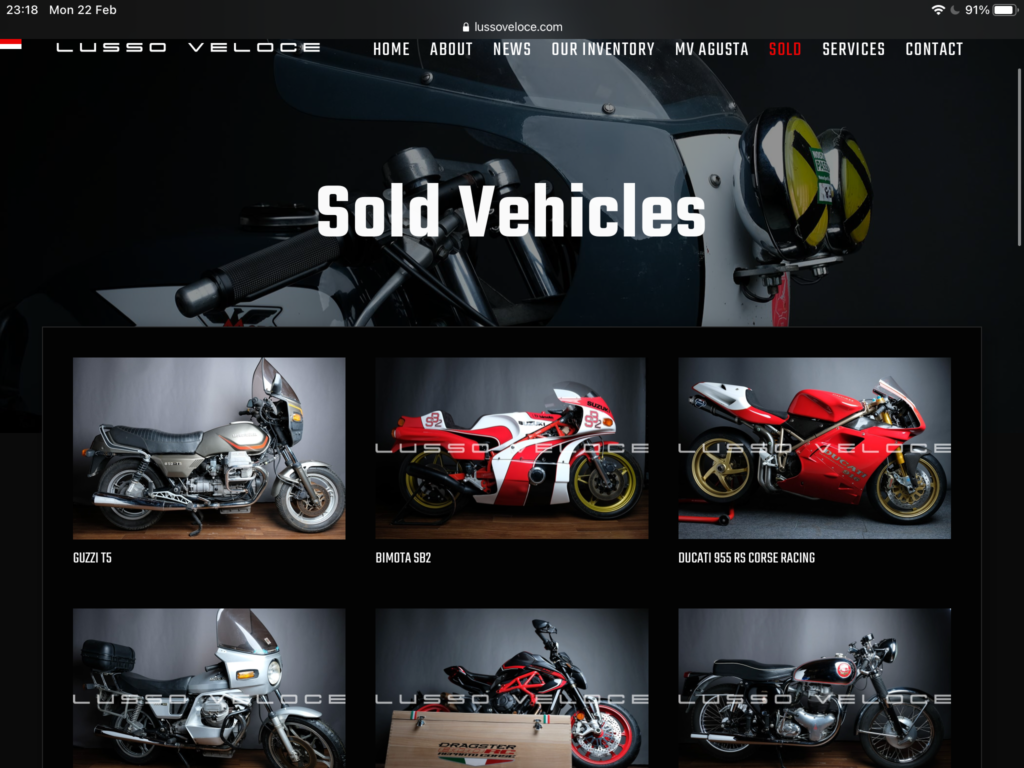
A phone call was made to Lusso Veloce and a lengthy chat had with Chris Mayhew, Managing Director. We thrash out what a deal would look like and away I went to have a think about it. There has been strong interest from a South African and Japanese buyer since the bike has been advertised. I daren’t think about it too long because in this game, if you snooze you lose. I call Chris back soon after and the deal is done over the phone, to include new front and rear tyres to replace the aged ones, an MOT and free delivery. They also indulged me in sorting out the missing fuel overflow fitting/line as well as supplying and fitting a replacement for the missing speedo cable, although it has not really turned a wheel in anger since the expired RFL of last century. The deal was done on the 3rd Feb with delivery aimed for either the 10th or 12th. Then it decides to snow hard all week!
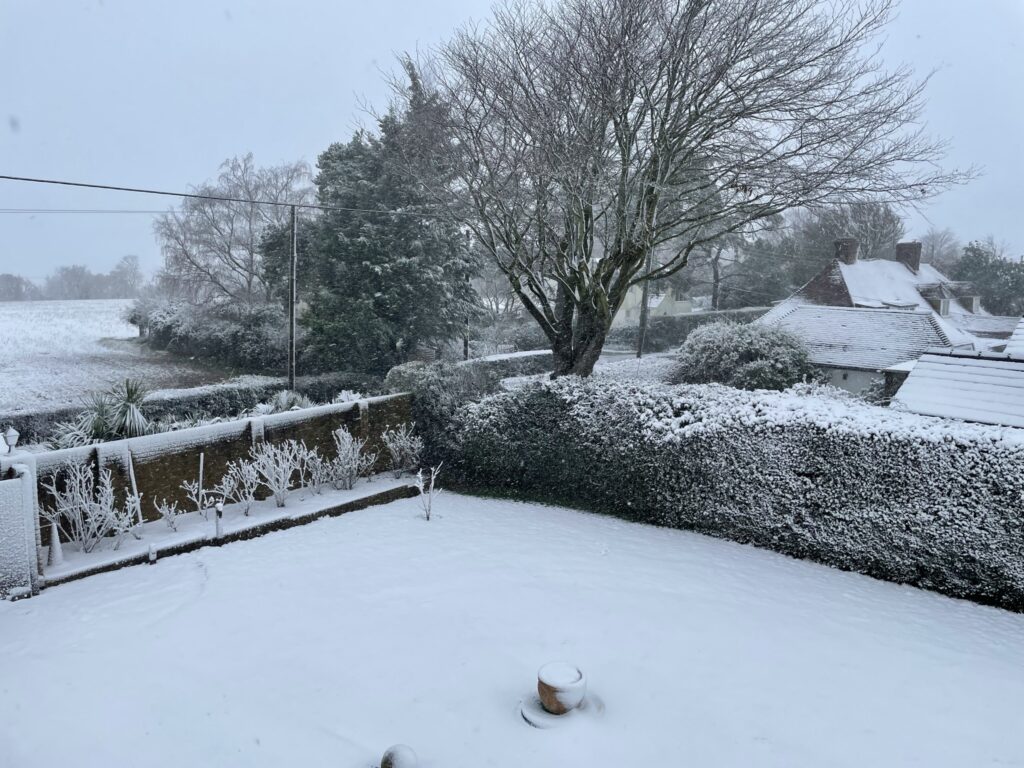
Miraculously, Friday comes and the sun is shining, it’s not snowing in Leicestershire where the bike is departing from. Our drive is still snow covered though. Fortunately Chris arrived as planned and is able to make light work of the snow on the drive and with the main roads clear now it’s been a clear run. He seems surprised by the amount of snow and quite pleased with himself as he proclaims with a wry grin “It’s grim down South!!” Indeed, cold too!
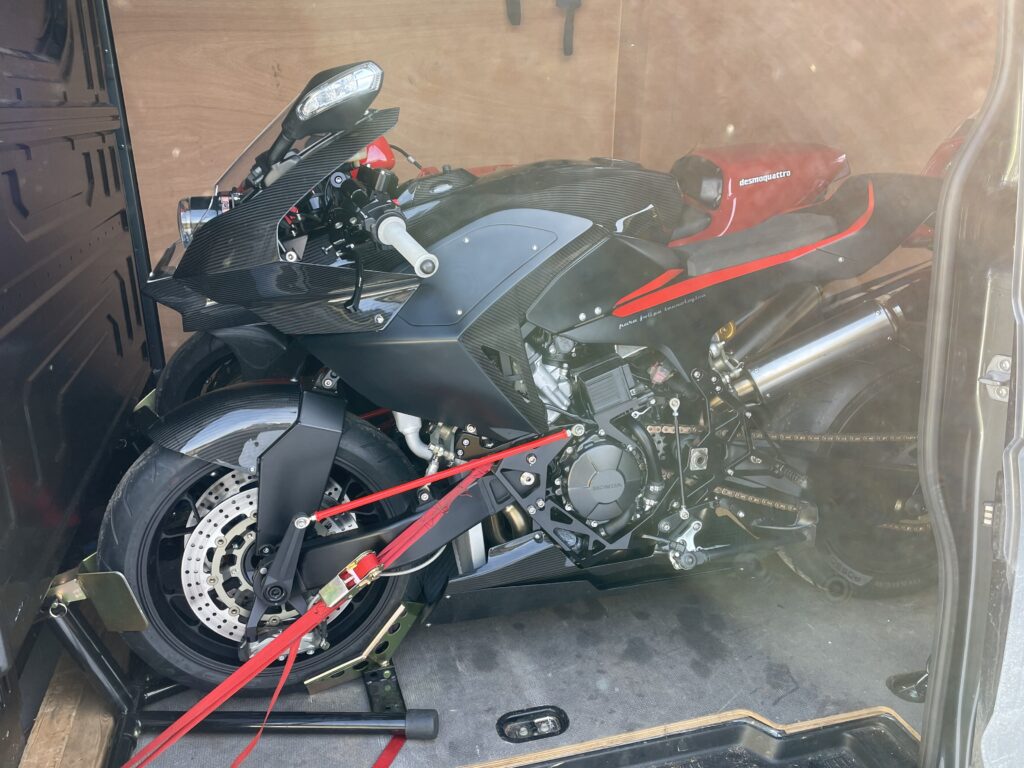
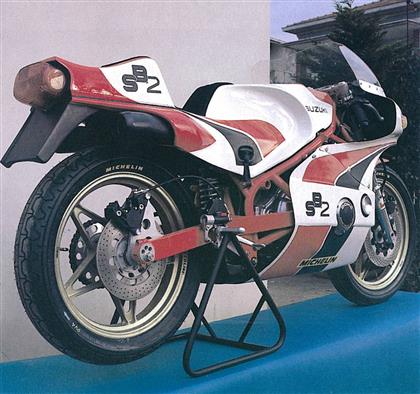
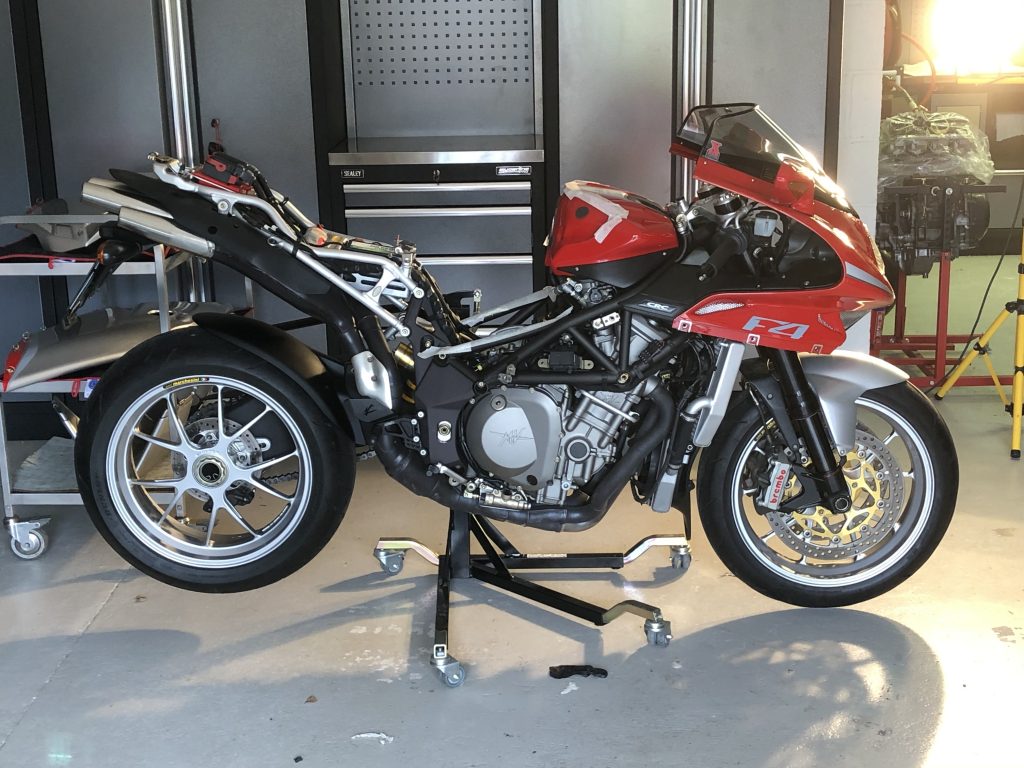
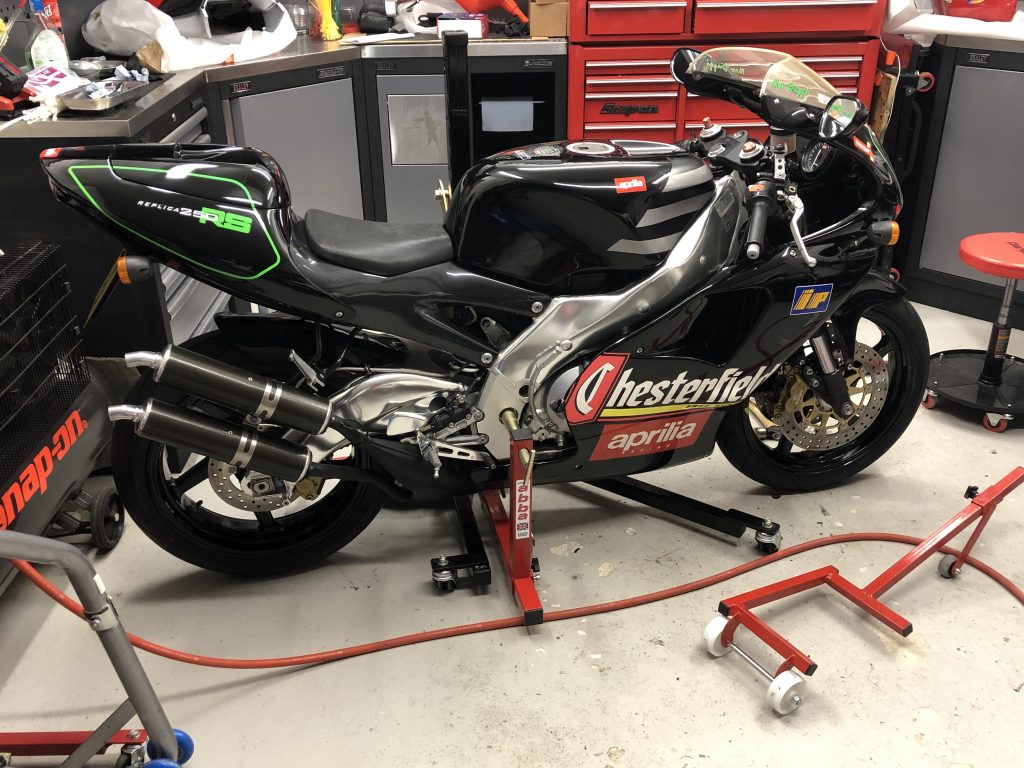
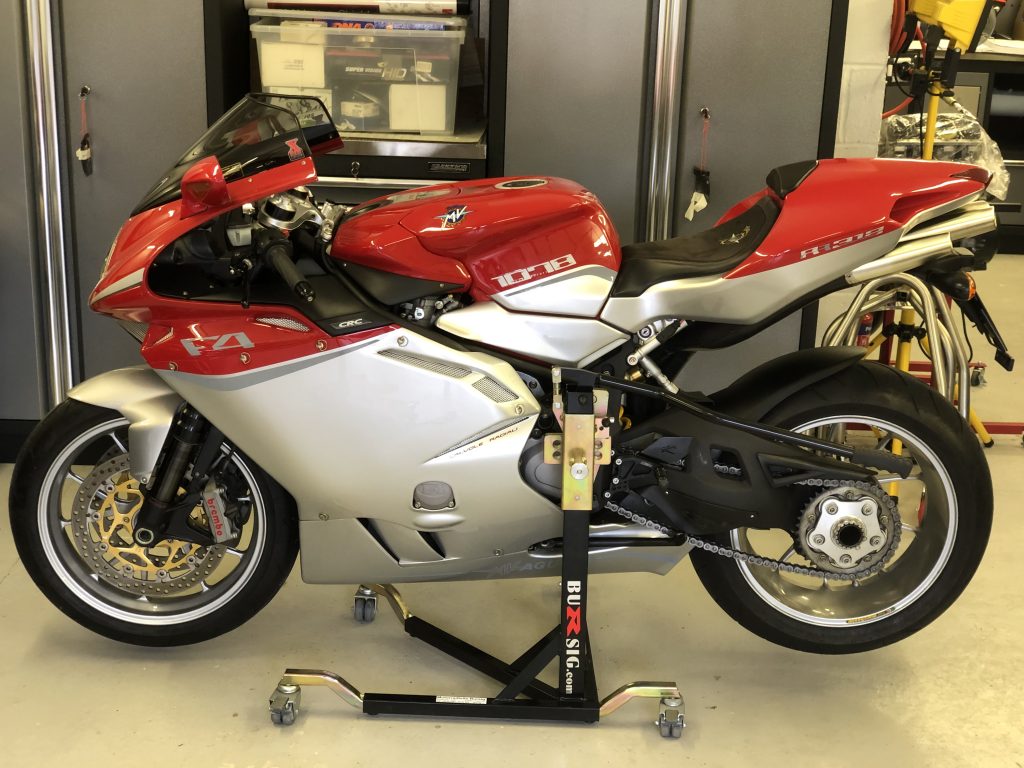
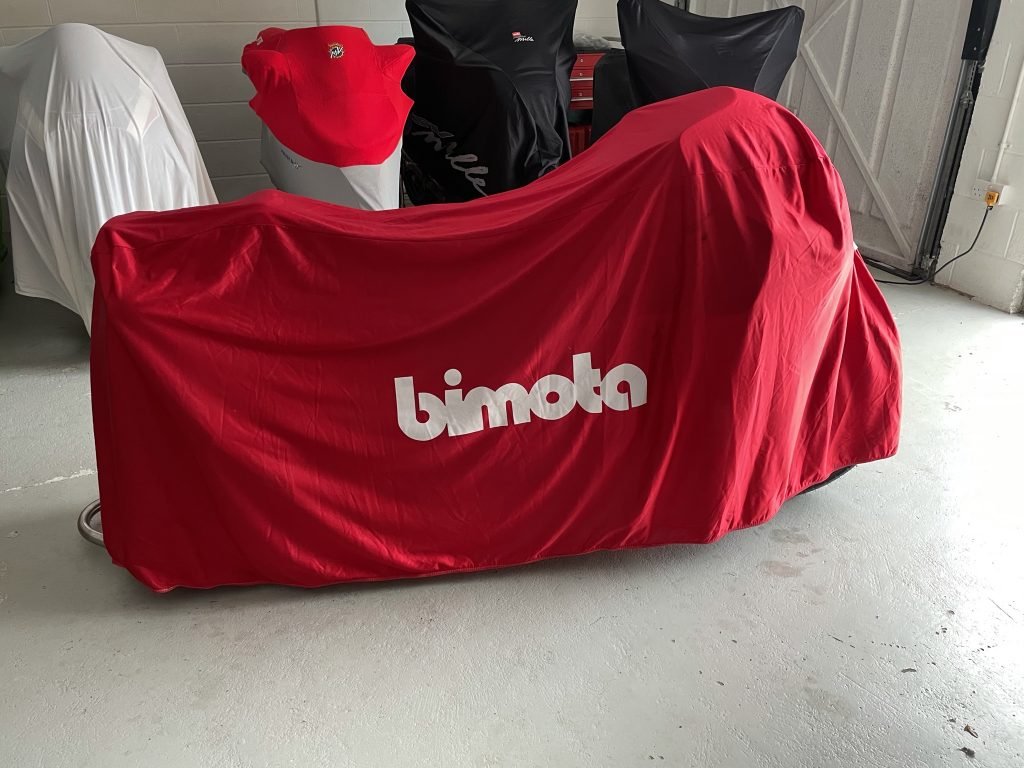
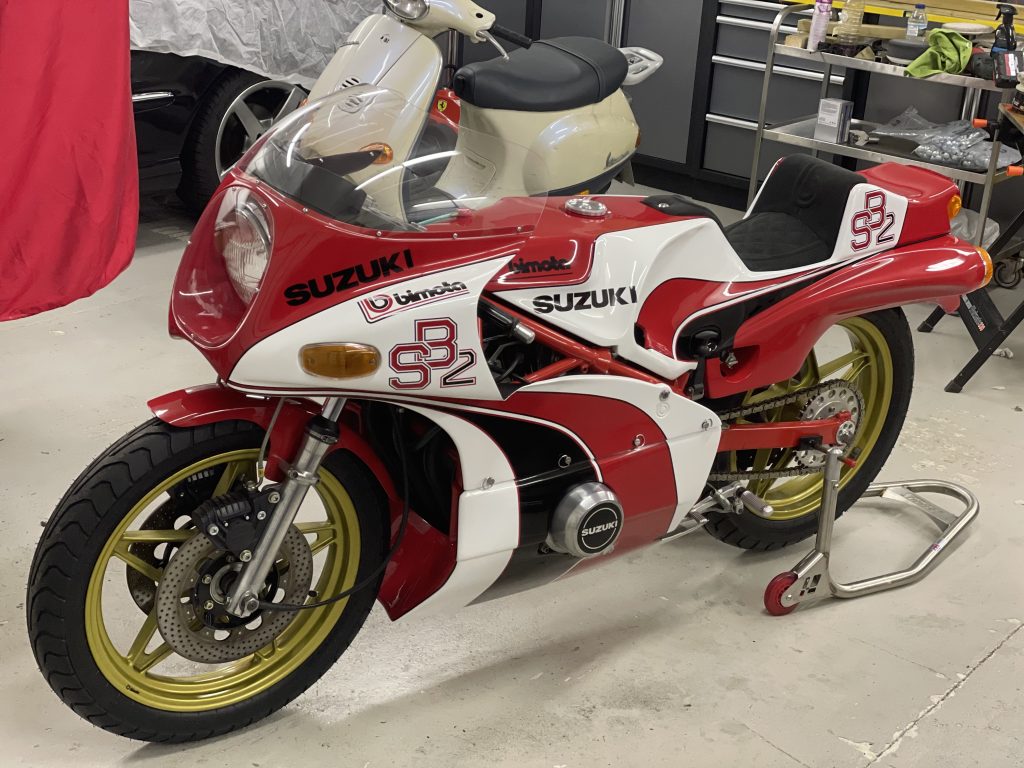
With three bikes tied down in the back of the van, the Bimota was loaded last, so it’s first out, and it’s wheeled directly into the garage. Chris had informed me en route that he had found some goodies too that he thought I’d be pleased with. Having been a Bimota distributor once upon a time, and Chris’ Father a Bimota owner himself, it turns out a previous Tesi 1D his Dad had owned (the only factory red one in existence) was sold, leaving behind the cover, tools and an old Bimota stand which had all languished in a back room for a long time. It was therefore a wonderful surprise when he produces the most luxurious bike cover I’ve ever seen. It is stunning, as befits such a special bike, in an almost silk metallic red. A Bimota tool kit, documents wallet and paddock stand which rounds it all off perfectly.
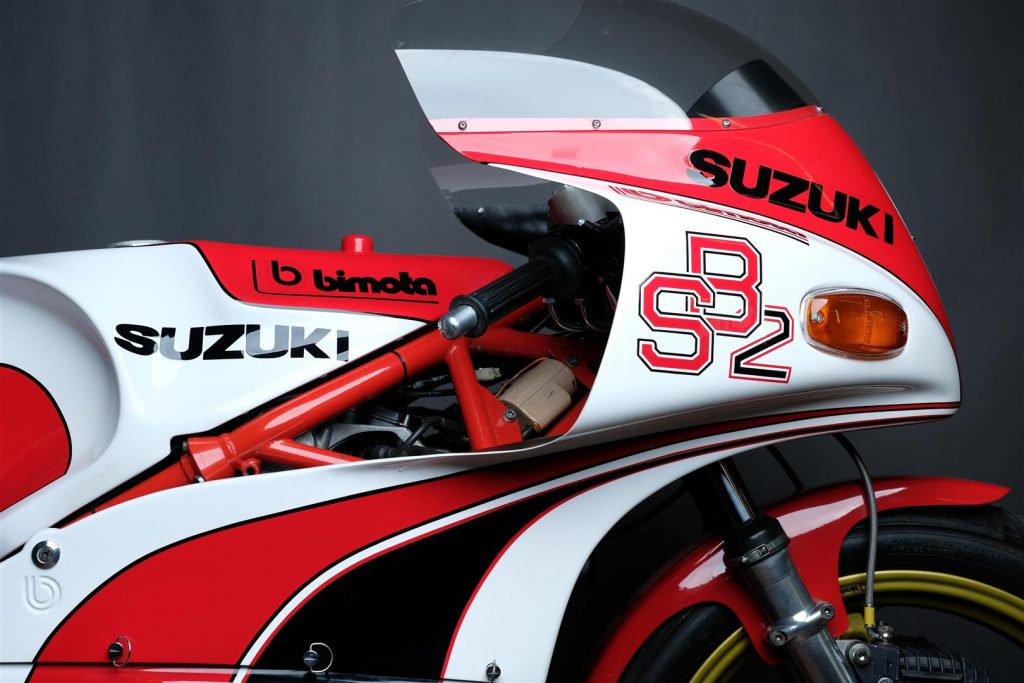
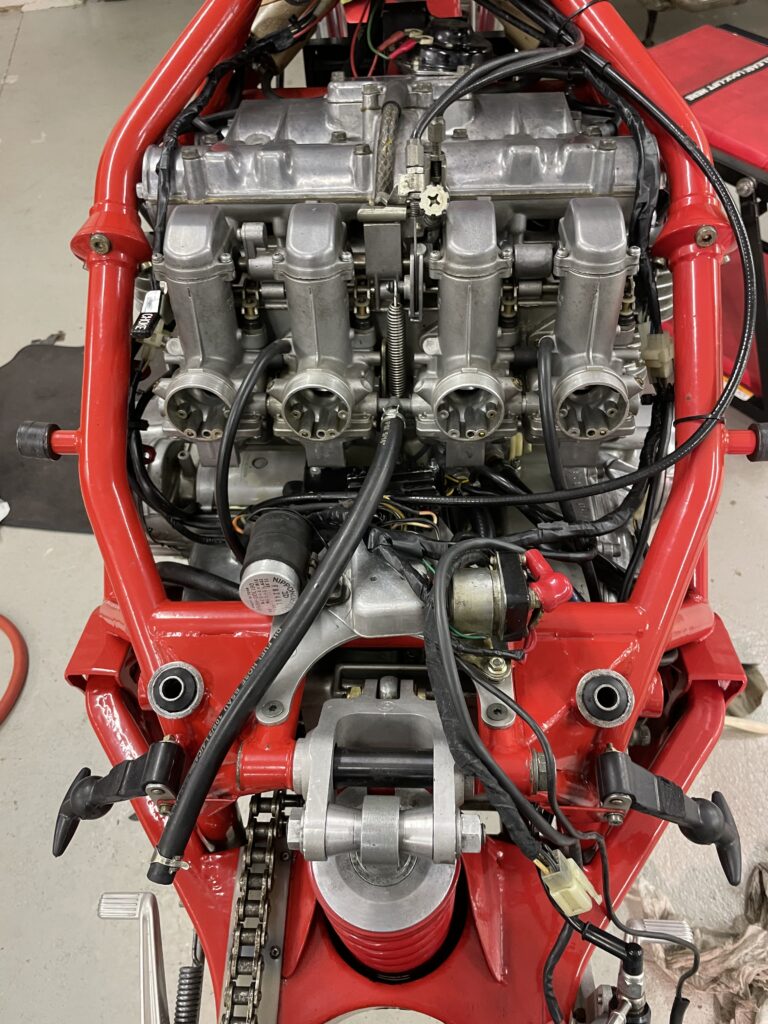
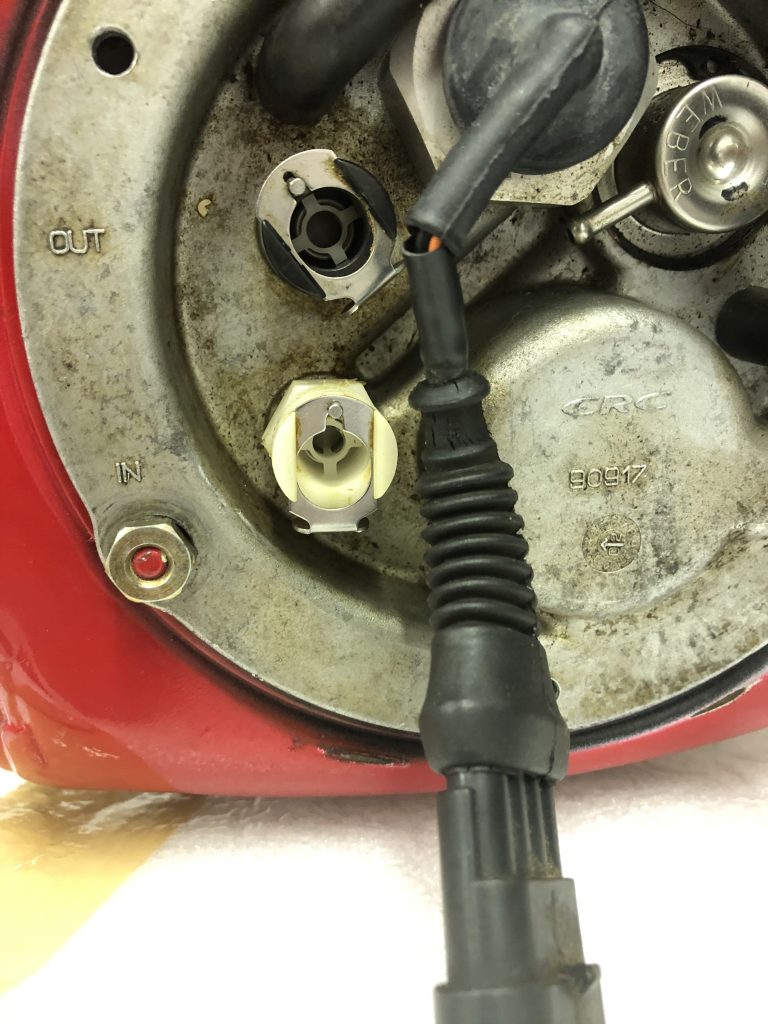
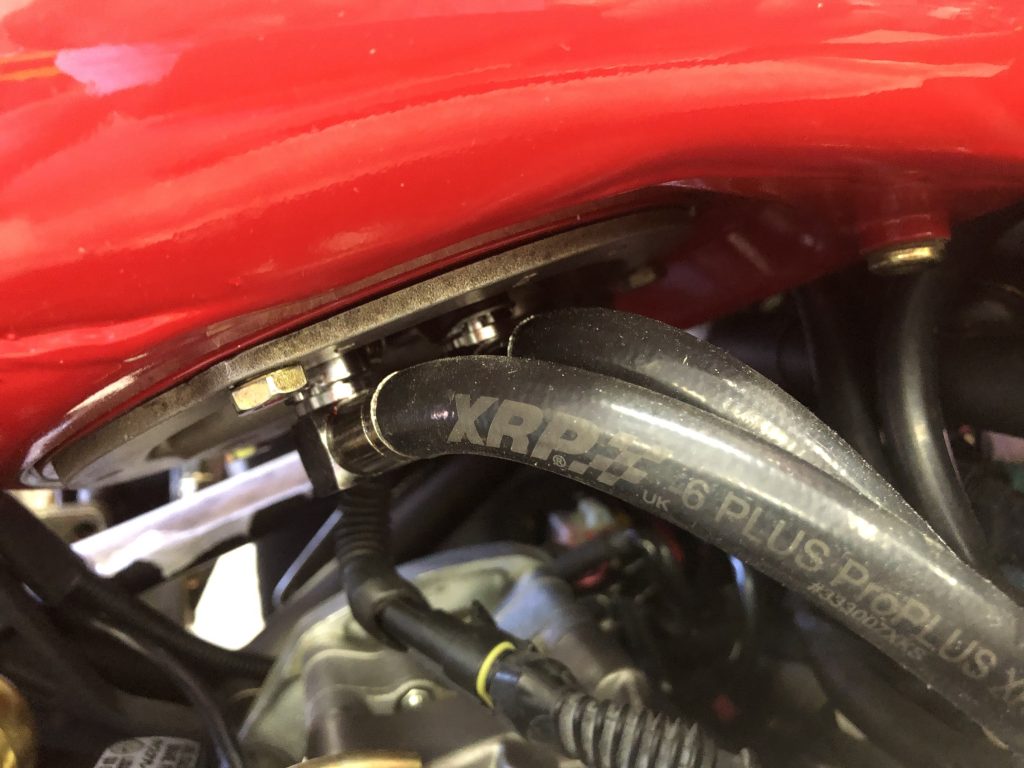
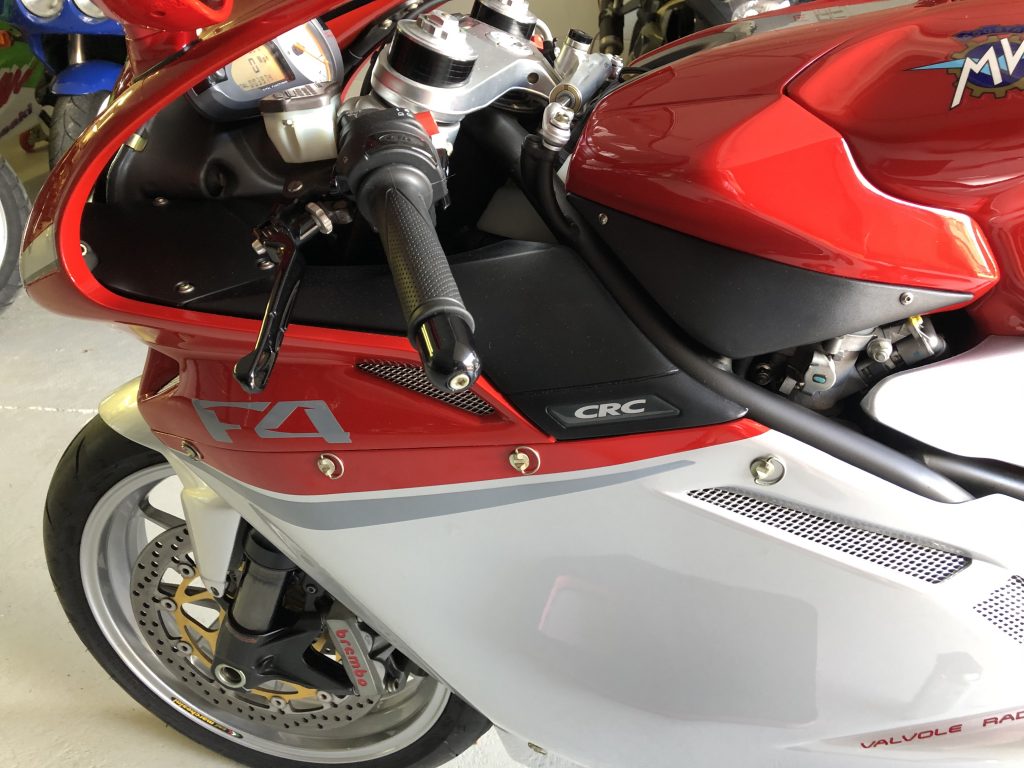
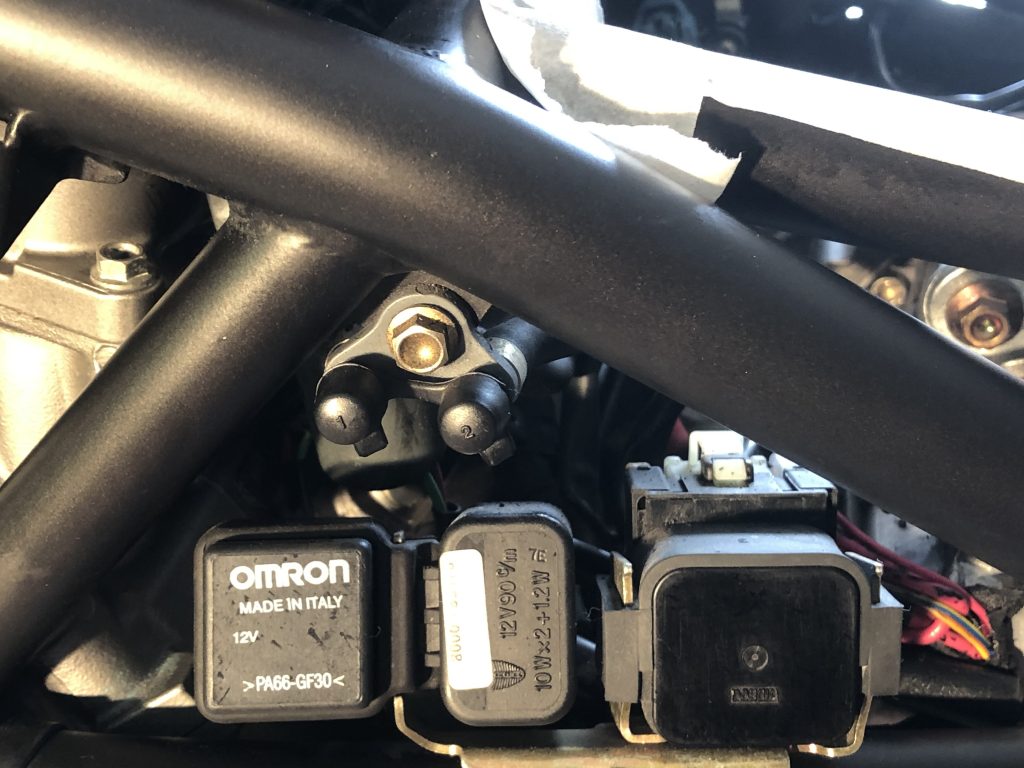
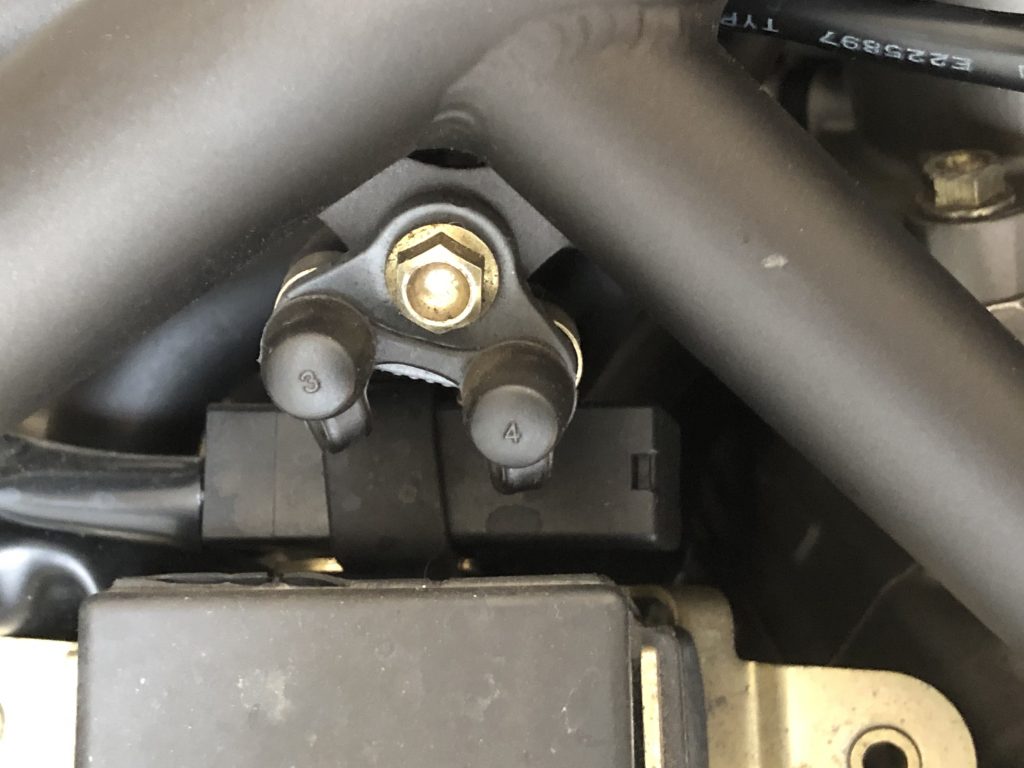
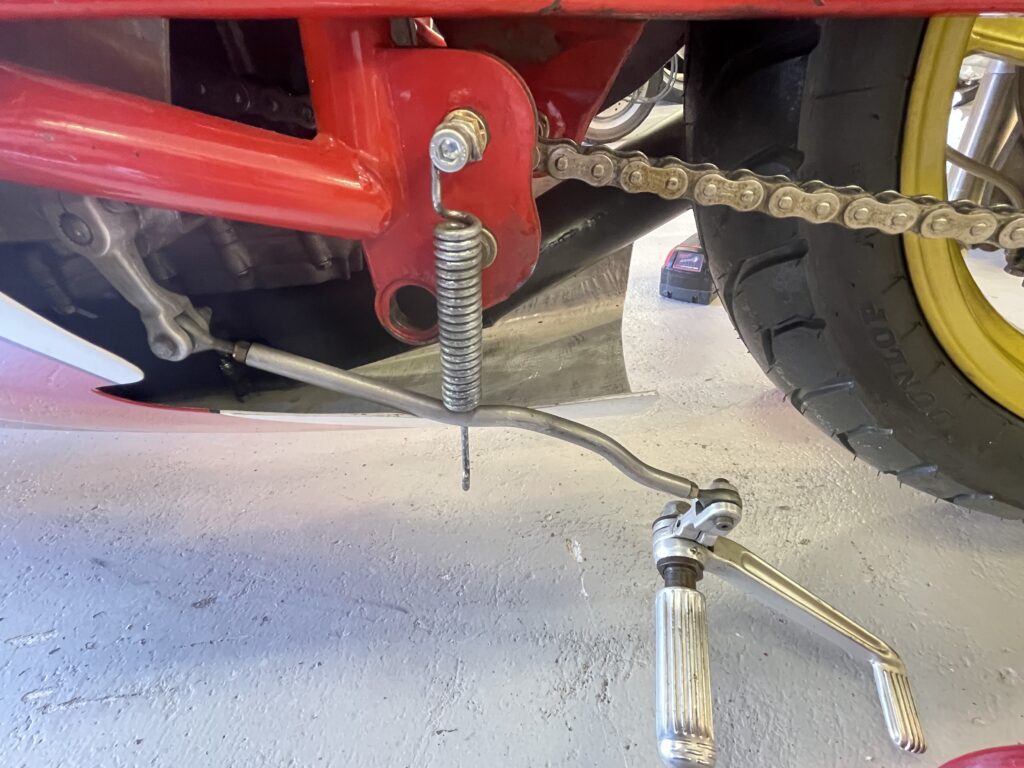
The bike is sat on its side stand as we stand around chatting. I had noticed prior to buying that the engine start controls had paint flaking on them, with a NOS one sat on ebay I needed to verify which version this had. As I stood over the bike to peer under the controls and turned the bars, there’s an almighty twang, a thud and the next moment the bike is going down!!! Fortunately I’m on the right side to catch it and in a decent position to arrest it’s fall as it becomes very heavy, I panic for a moment, it’s happened so quickly before anyone can even react, I see a scenario playing out in my mind ending with a horrible graunching groan of crushed fibreglass being tortured, followed by a splitting and cracking sound, this snaps me into mustering up that extra strength and resolution to get it back to neutral balance. Phew, disaster averted, but my heart is in my mouth for about the next 2 hours. Chris and my wife come to my aid as I go off to get the paddock stand to the ready.
With the bike now secure it’s time to assess what has just happened!
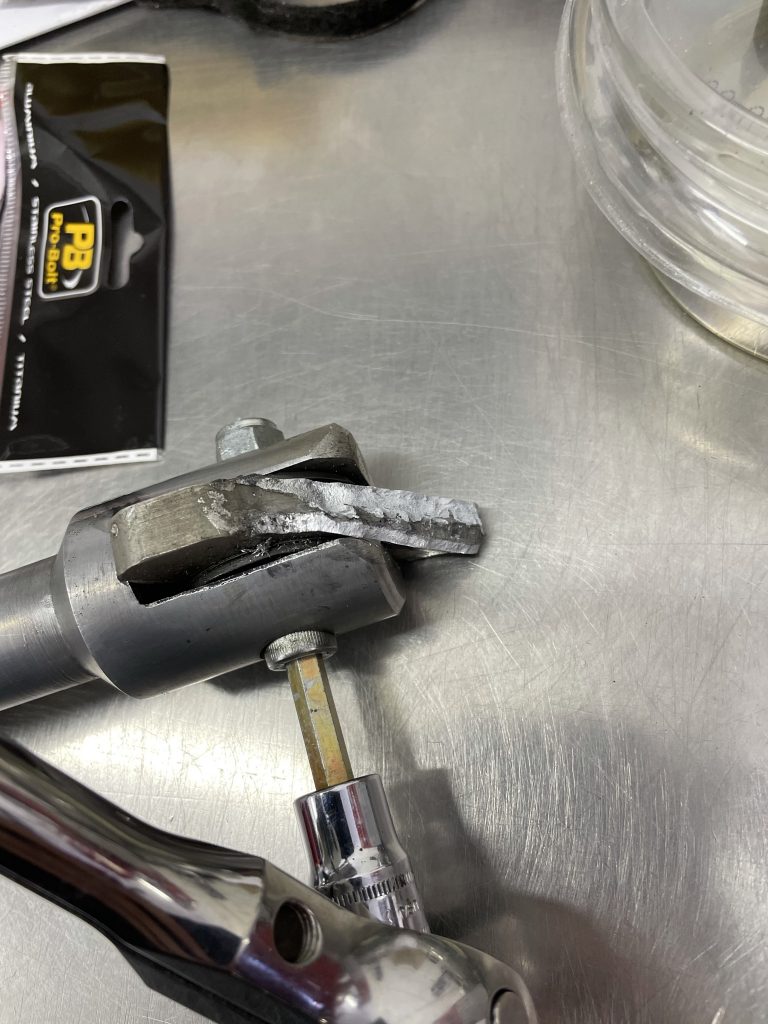
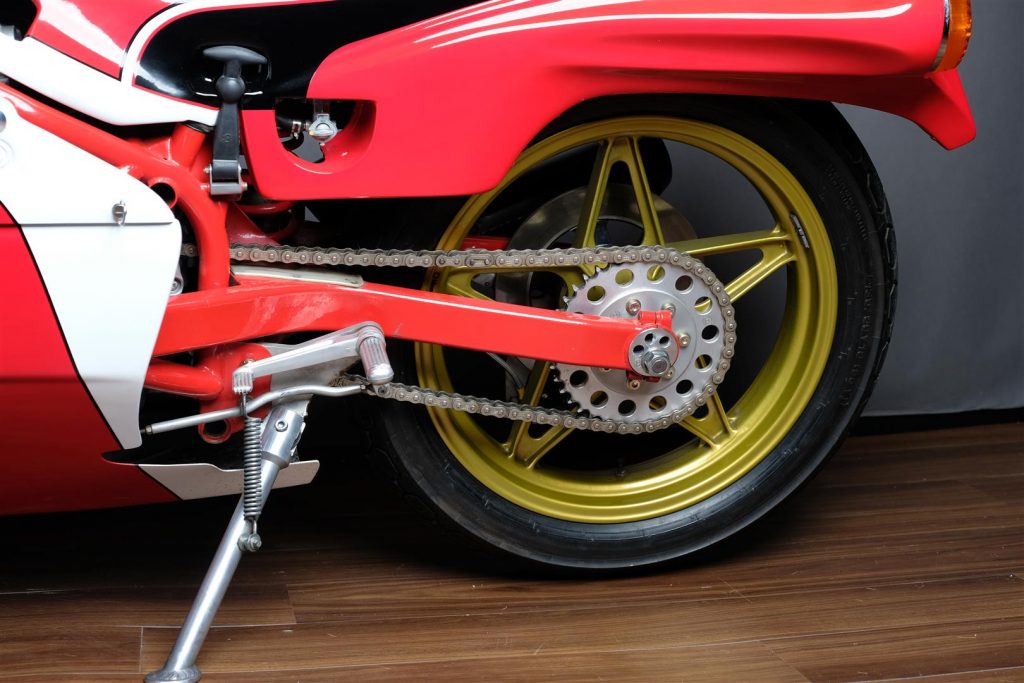
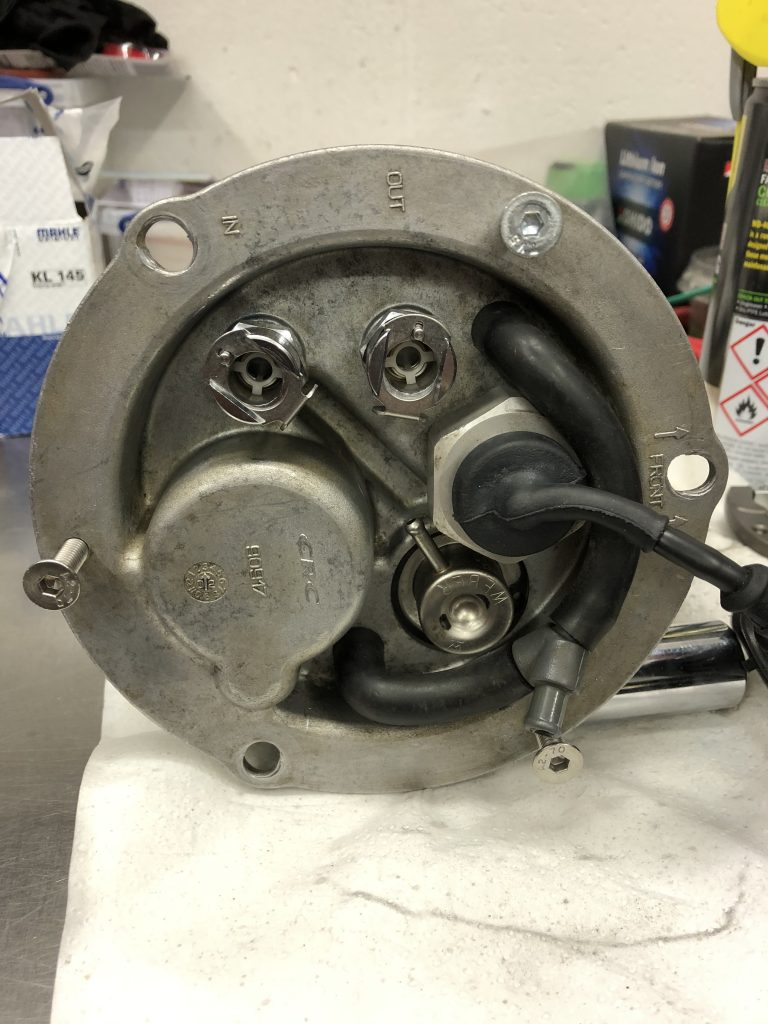
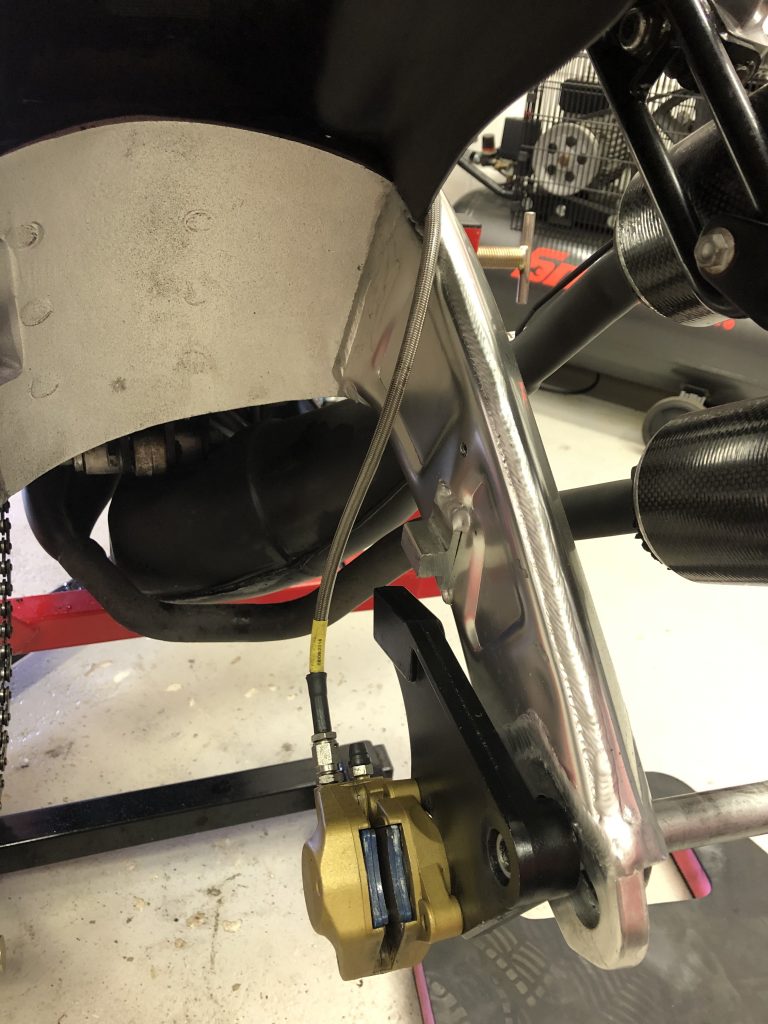
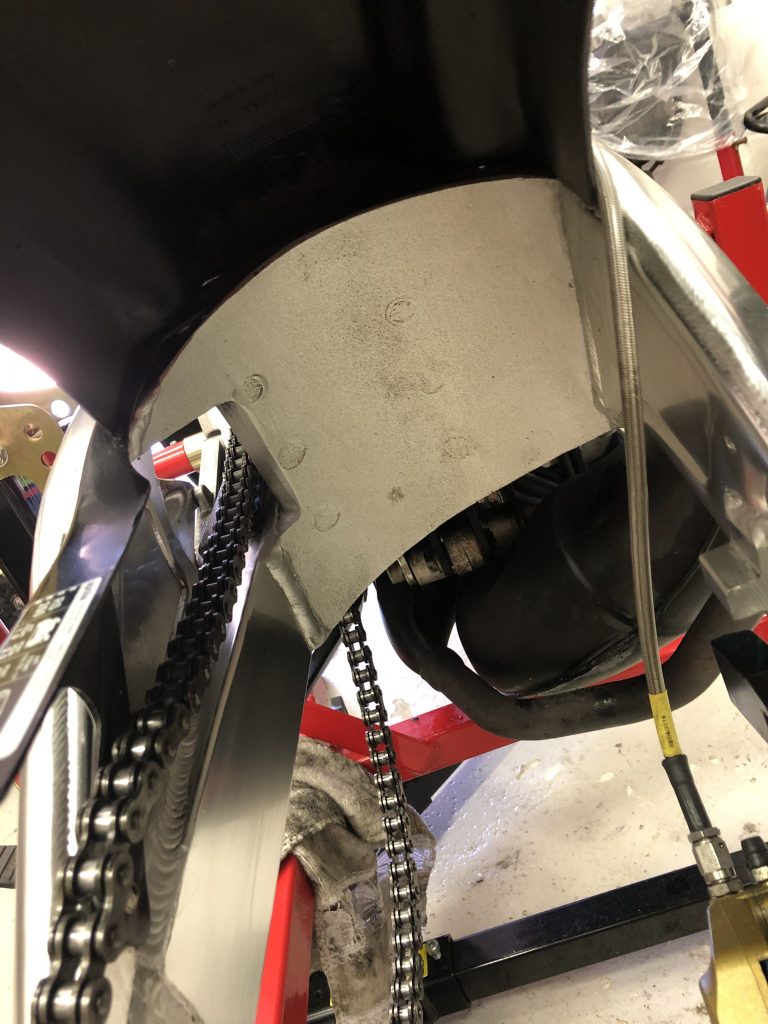
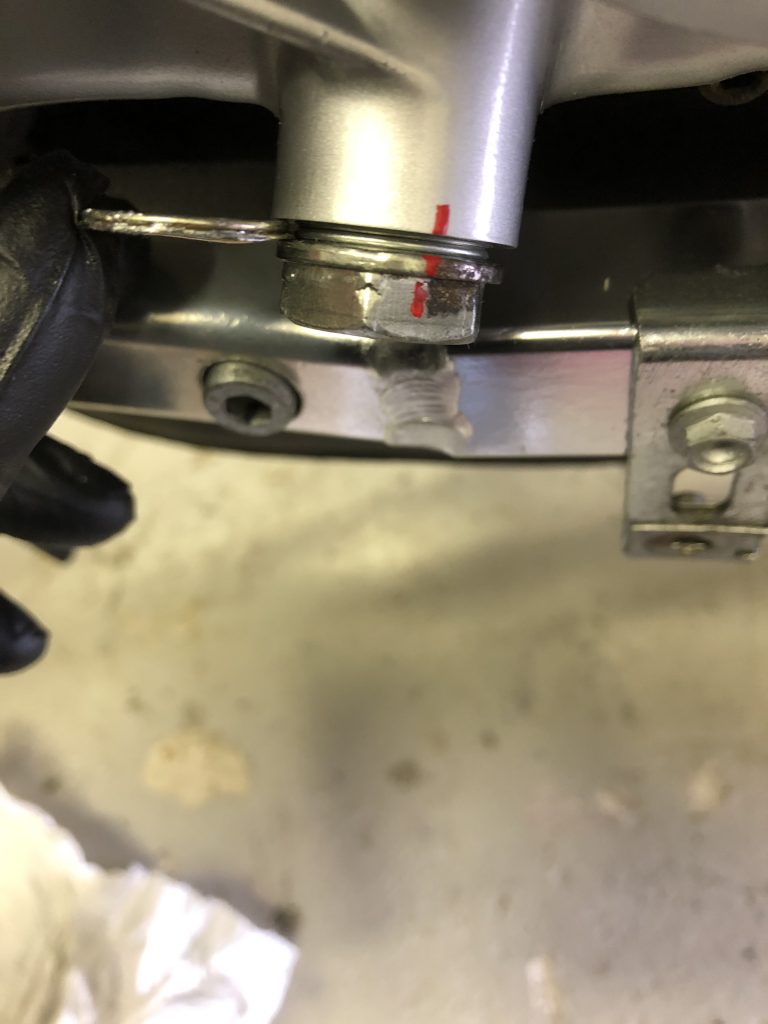
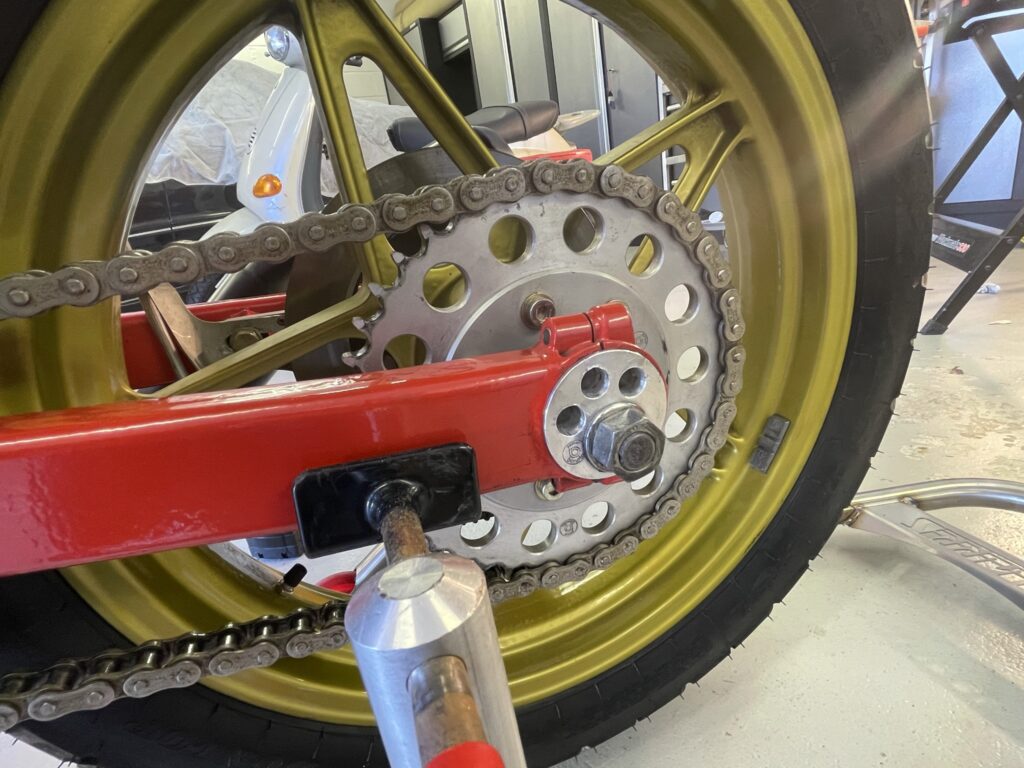
The side stand support bracket has snapped. 43 years of life and it snaps while I’m standing next to it. It’s difficult to be upset, the alternative doesn’t bear thinking about had it crashed down unattended into a pile on the floor!
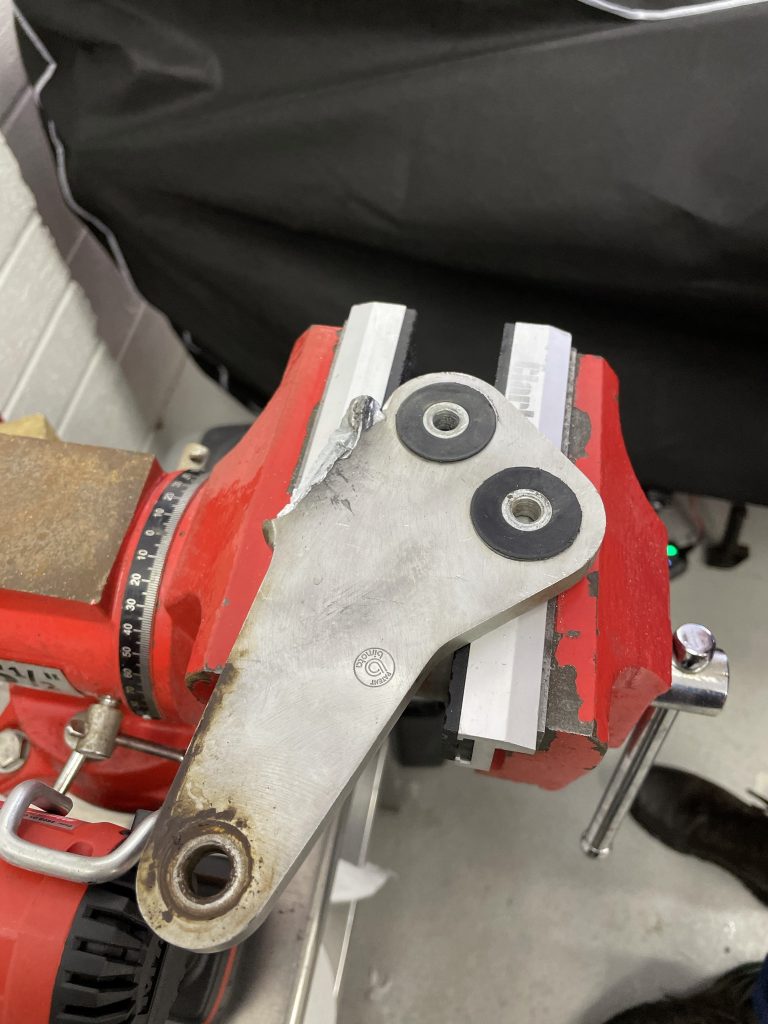
It looks like it has broken before and been welded. Some aluminium doesn’t take too well to being welded.
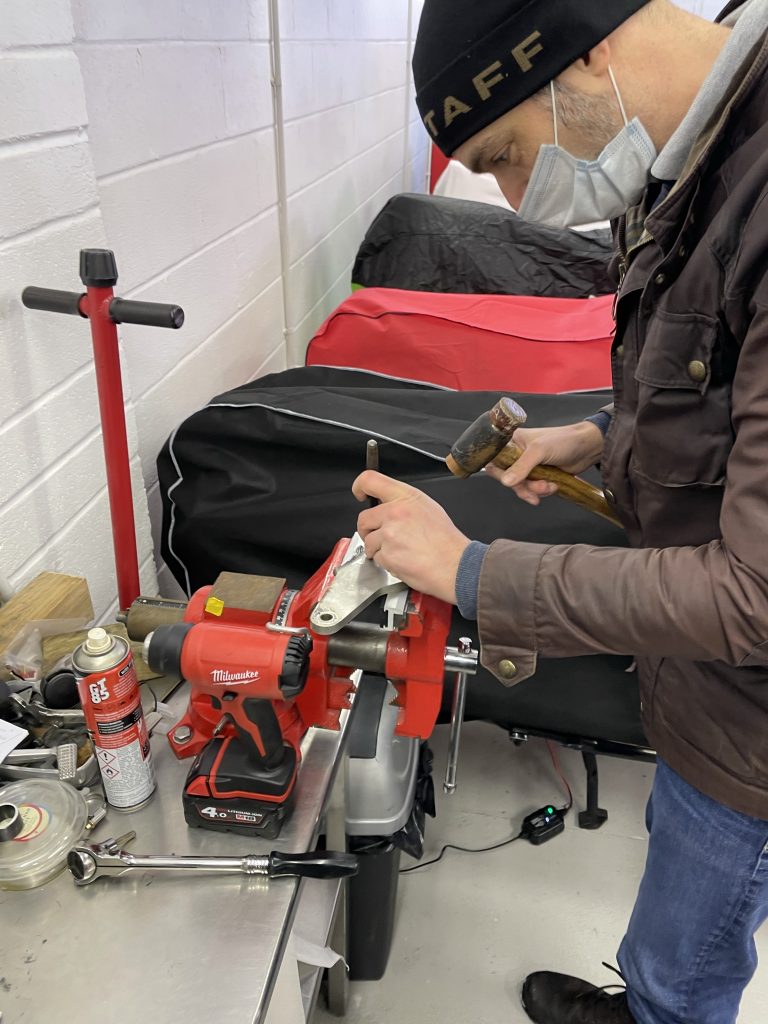
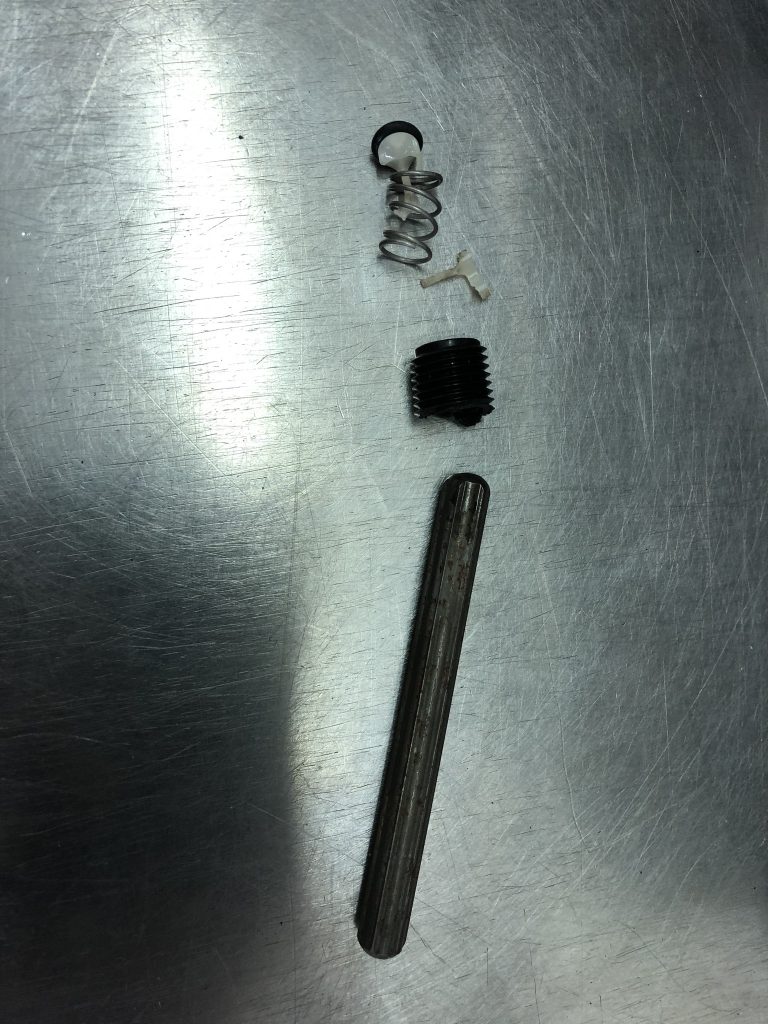
I set about removing the stand from the snapped stump while Chris removes the fittings from the bracket. He has a busy day with other bikes to deliver so we crack on so he can get on his way. Thankfully the bracket gave up the ghost in his presence, from his alarmed expression when the stand bracket snapped, he’s as relieved as I am that there was no other damage. Without quibble he offers to get it sorted, try and source a new one if available, fix it if feasible, or have a new one made.
Later, he calls Paolo at Bimota Classic Parts but these are long out of production, a repair wouldn’t give enough comfort and having been welded previously it just isn’t worth the risk. So Chris having taken the two pieces with him, hands it over to an engineering company down the road who CAD it up using the old template and will determine the best grade of aluminium for the job.
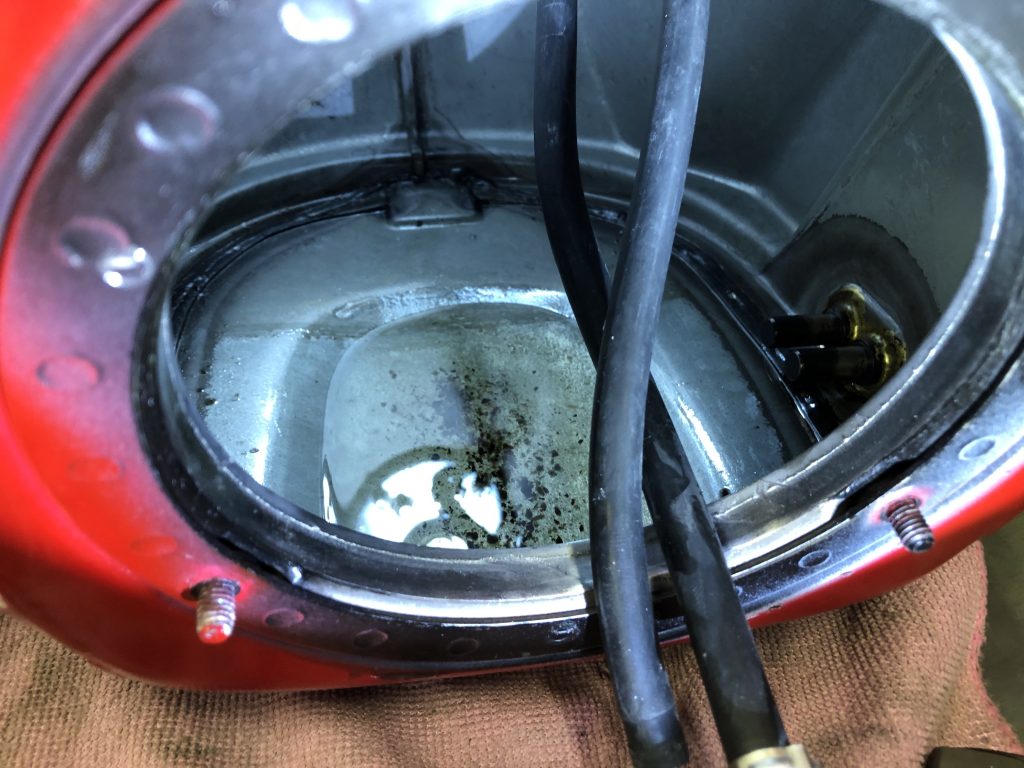
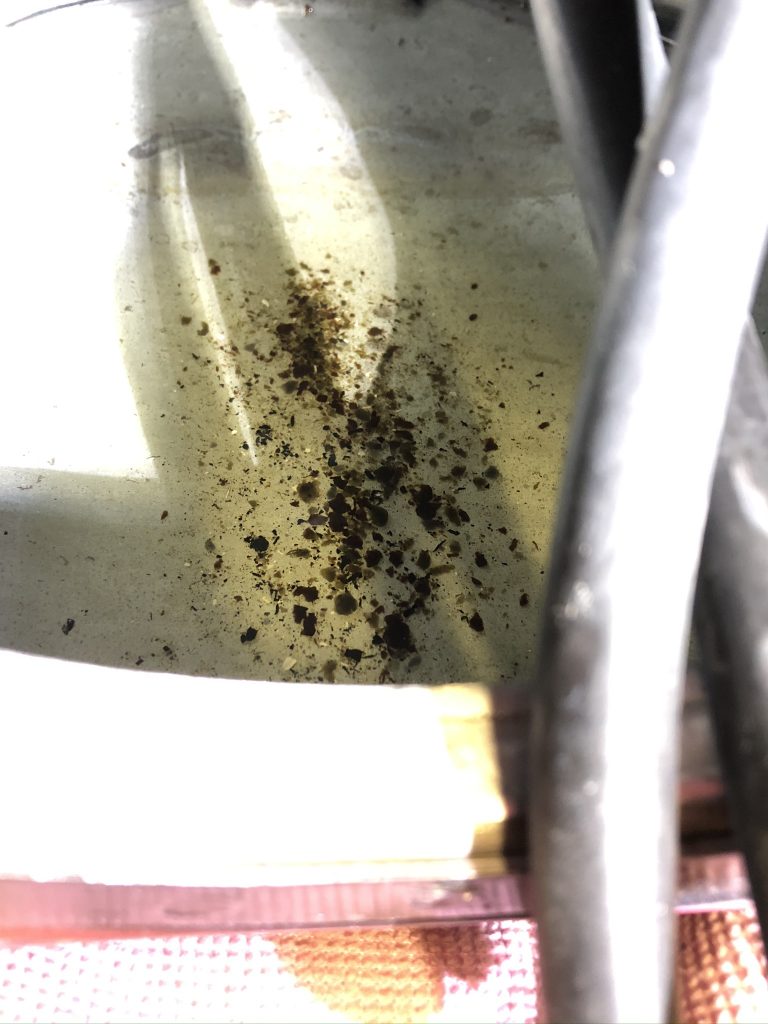
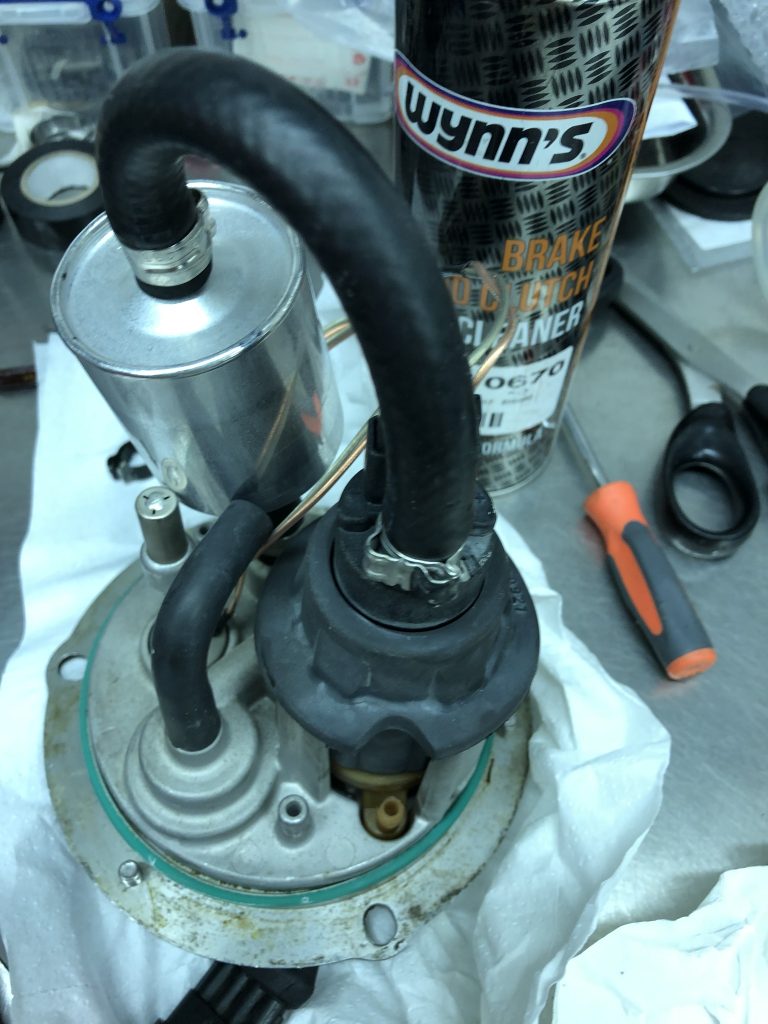
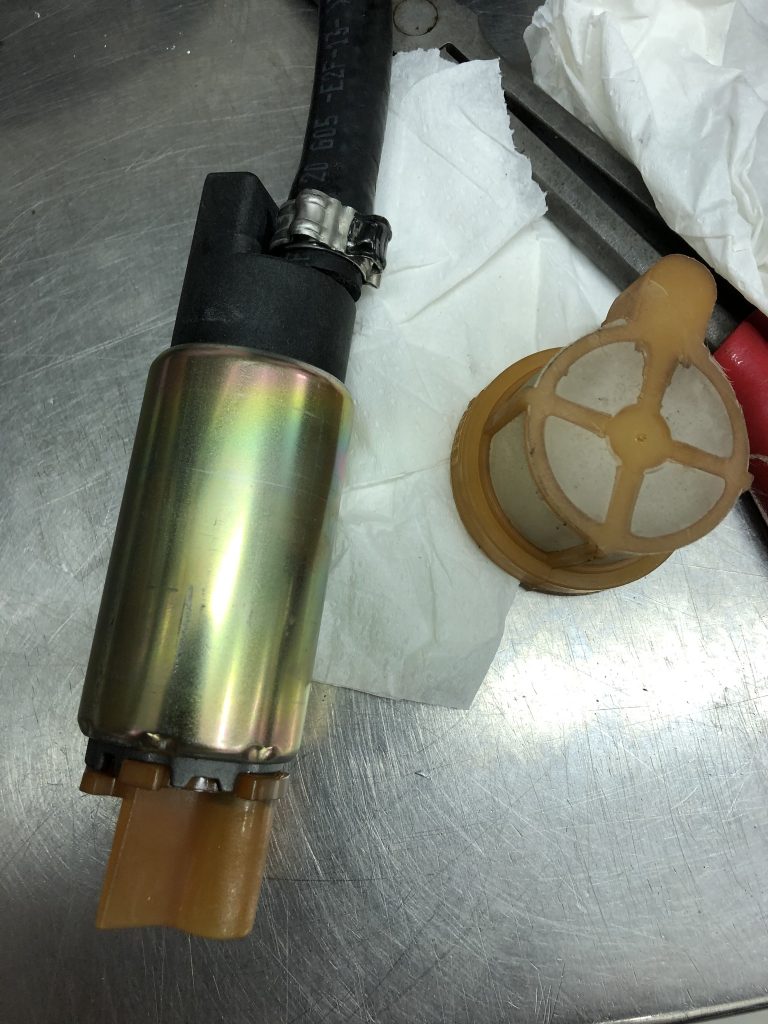
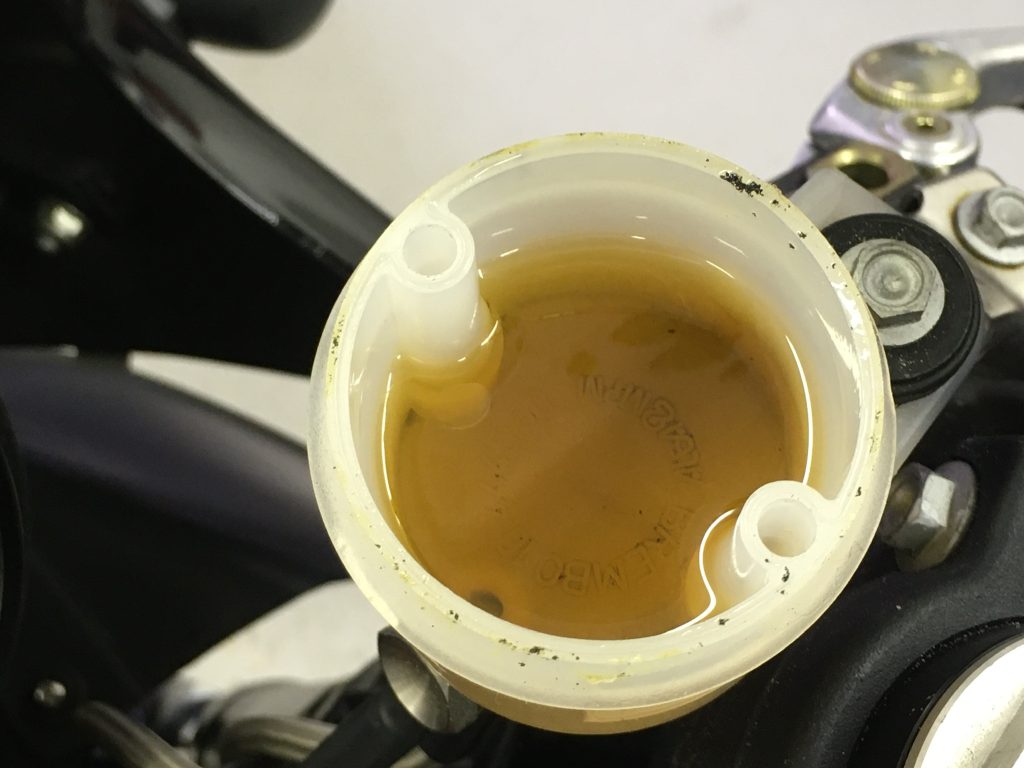
No mere breakage was going to dampen this experience. It’s an induction into life with a classic motorcycle, an initiation ceremony!! She will be waiting a little longer yet before those wheels start turning in earnest. There is deep cleaning to do and lots to go over and check through yet! Plenty of hours of tinkering ahead.