In true Italian motorcycle style, they let you know when they’re not happy and require continuous pampering. After draining the old fuel out and filling with fresh SUL, a month later she’s grumpy to start again. I take the opportunity to order a new fuel filter (even though this was done 20 months prior and not even a full tank ago).
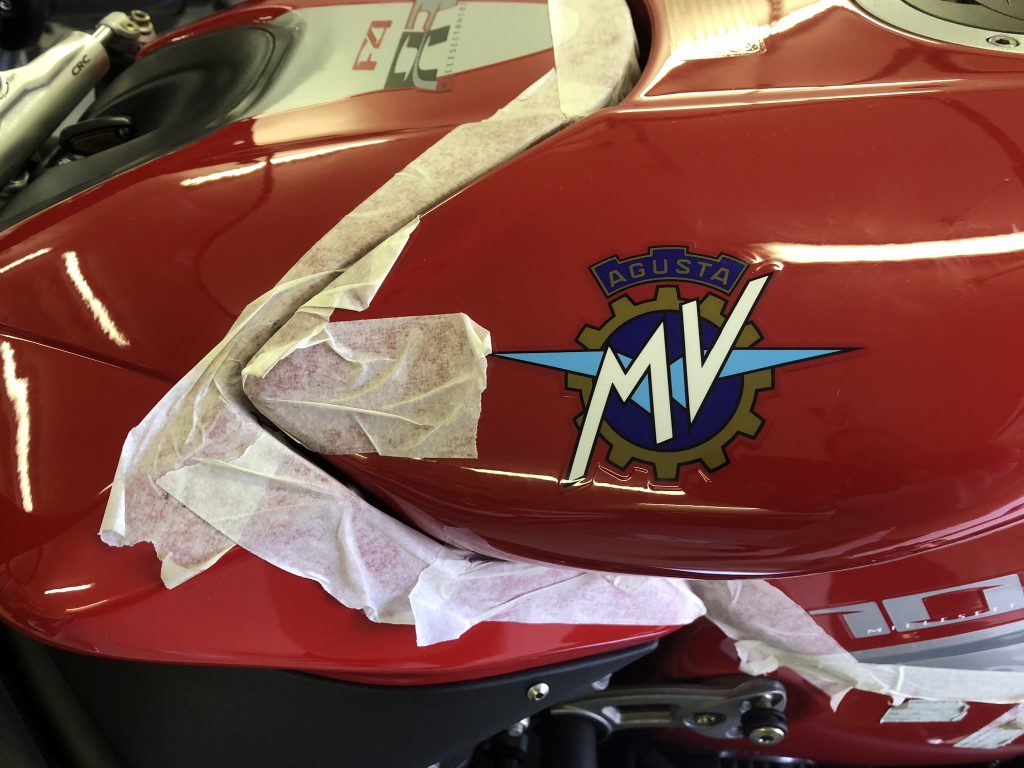
Masking the tank and airbox up to protect the paintwork…
A thing of beauty, the more you delve in the more you discover. From the intelligent way it all comes apart easily to the quirky design touches that you just don’t see on mainstream bikes. These are typical Tamburini traits, a design genius; combining the aesthetic beauty with mechanical thoughtfulness.
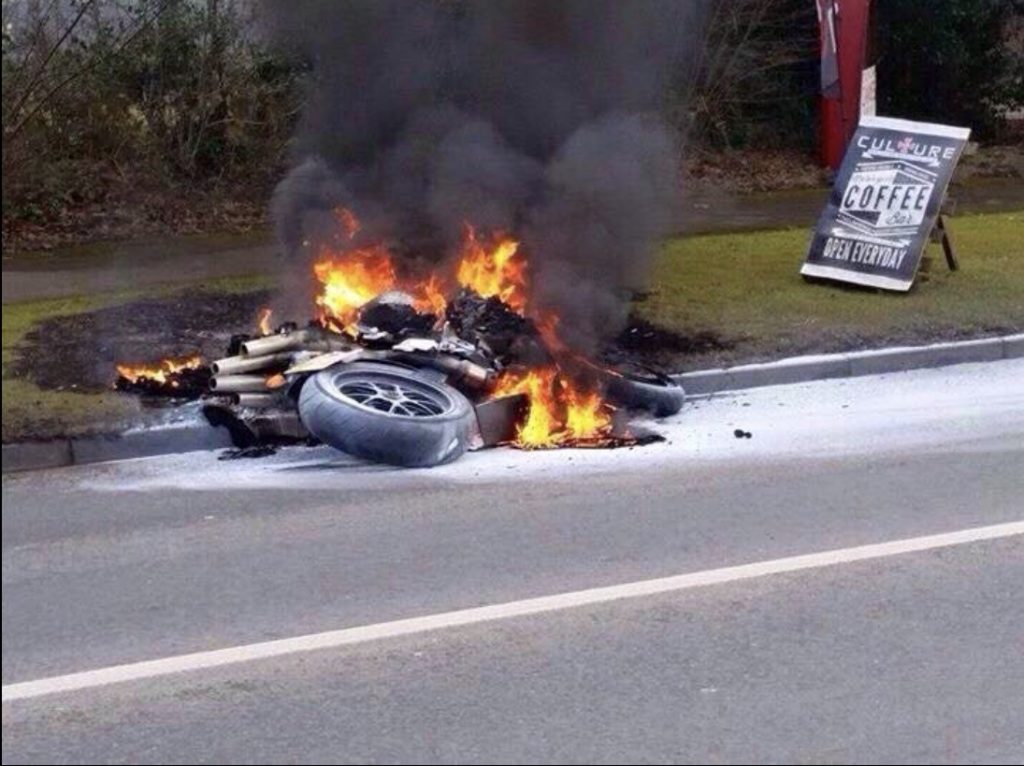
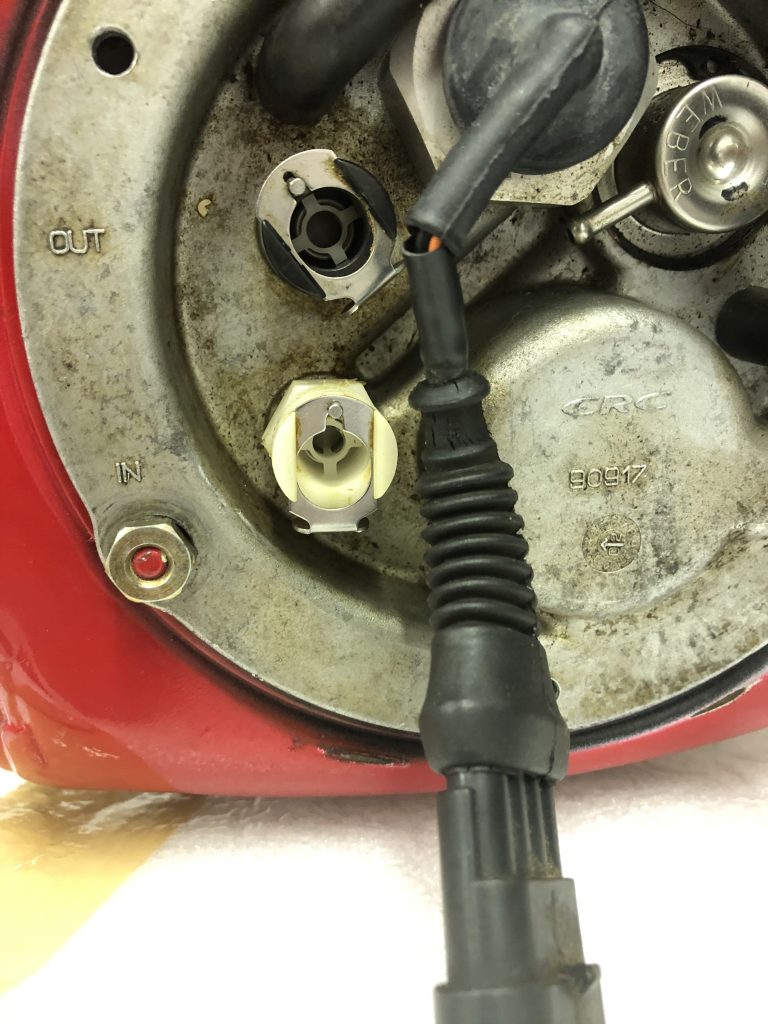
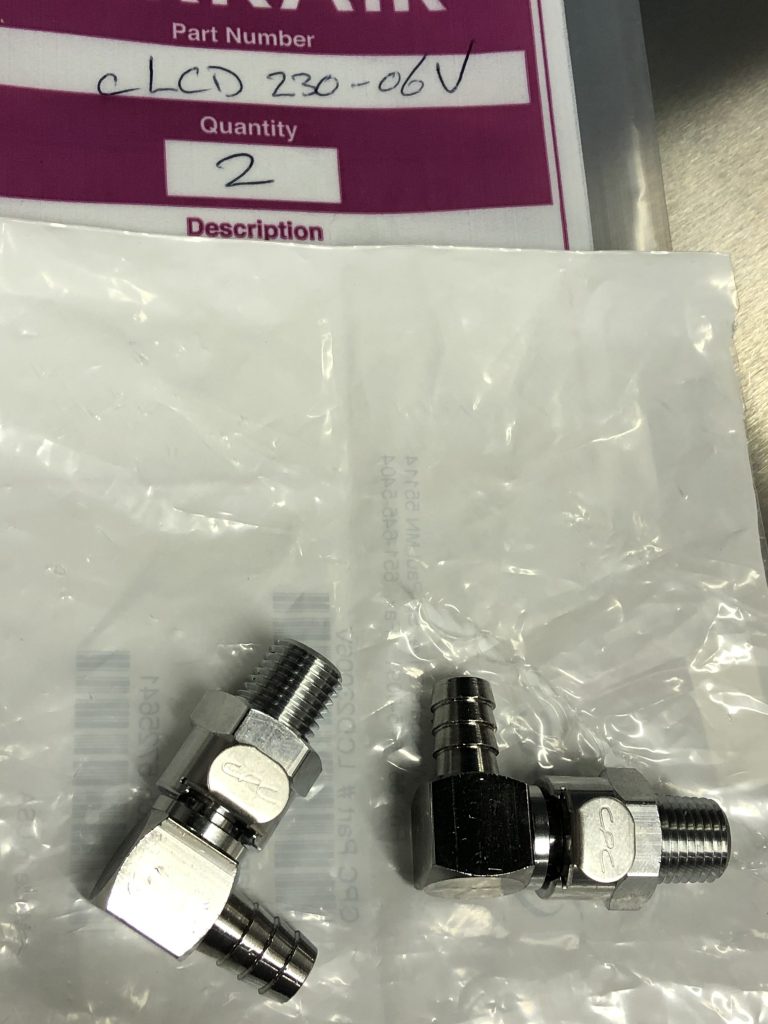
Like most Italian bikes, the MV is fitted with quick release CPC plastic fuel quick release connectors. These are known to embrittle with age where they can break and lead to an inferno as fuel sprays all over a hot engine.
With the tank off it’s time to swap these out for the more reliable metal bodied CPC units. The fuel hoses should also be replaced every three years according to the workshop manual, so once again, I’ll take the opportunity to upgrade. Plastic connectors below…
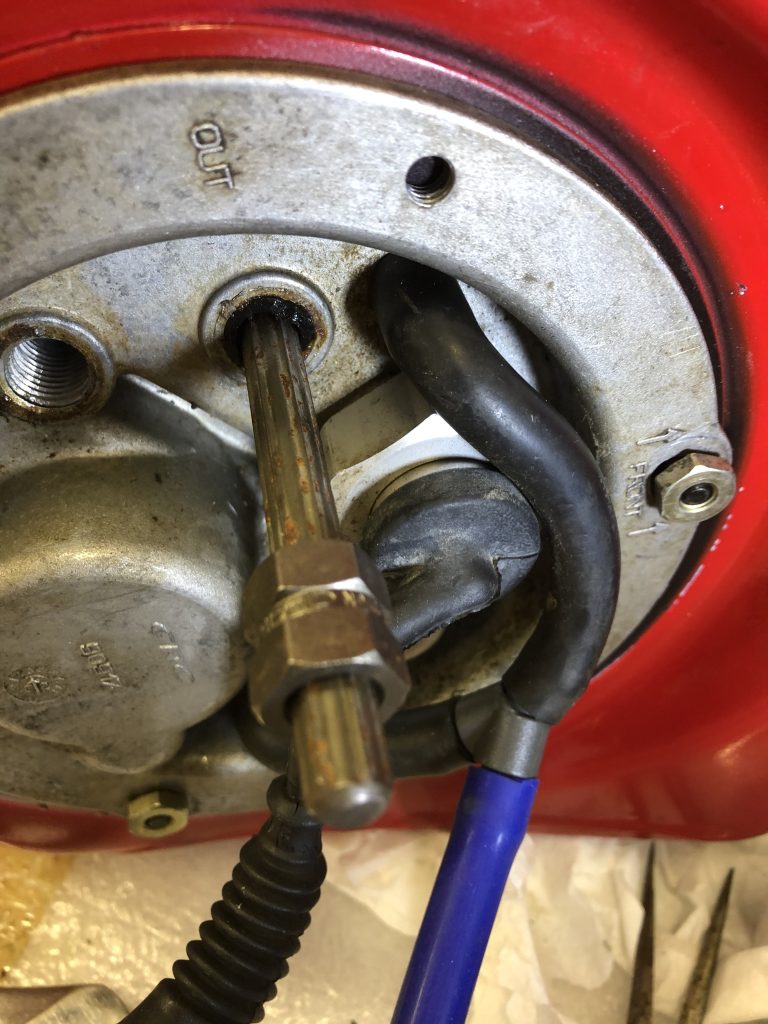
Typically, what should be a 5 minute job of unscrewing the plastic and replacing with metal turns into a mini marathon…one of the connectors snaps, albeit somewhat predictably…fortunately it came out cleanly enough with a splined extractor…
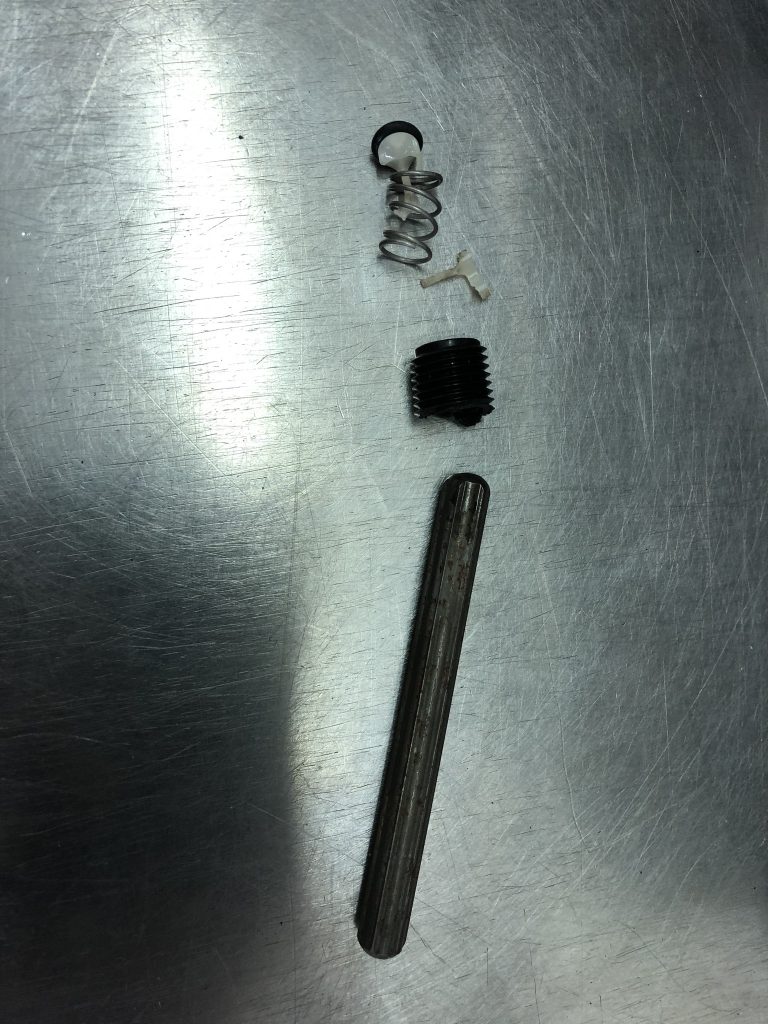
The offending plastic items…
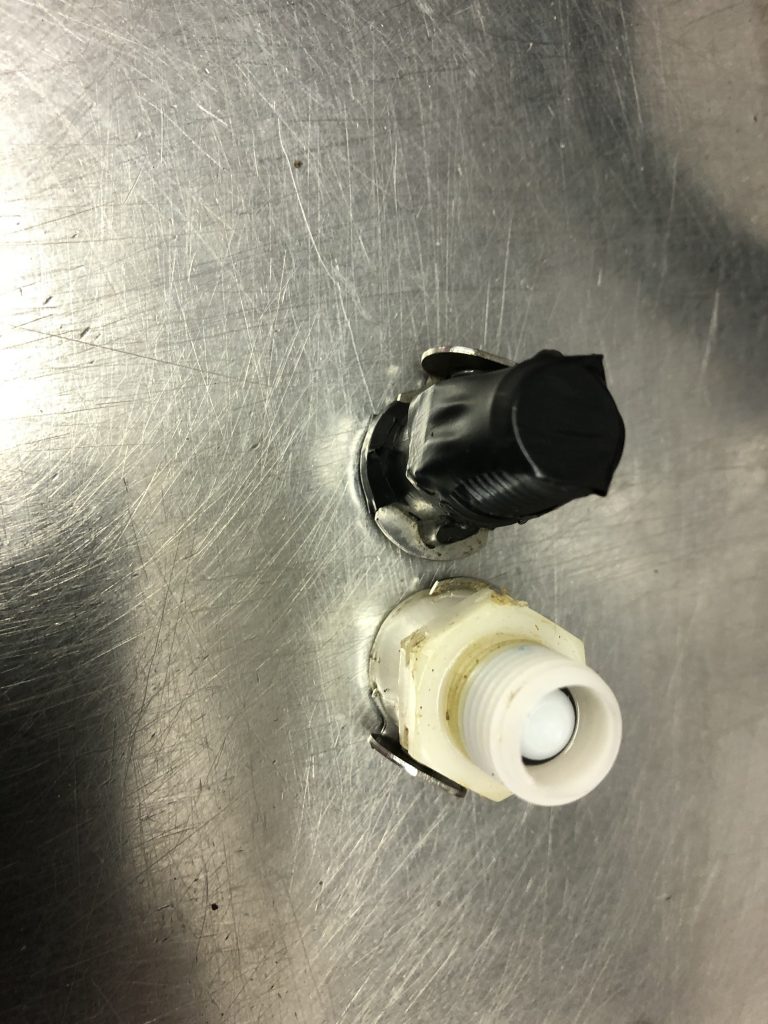
Replacement metal bodied CPC connectors with Viton seals…
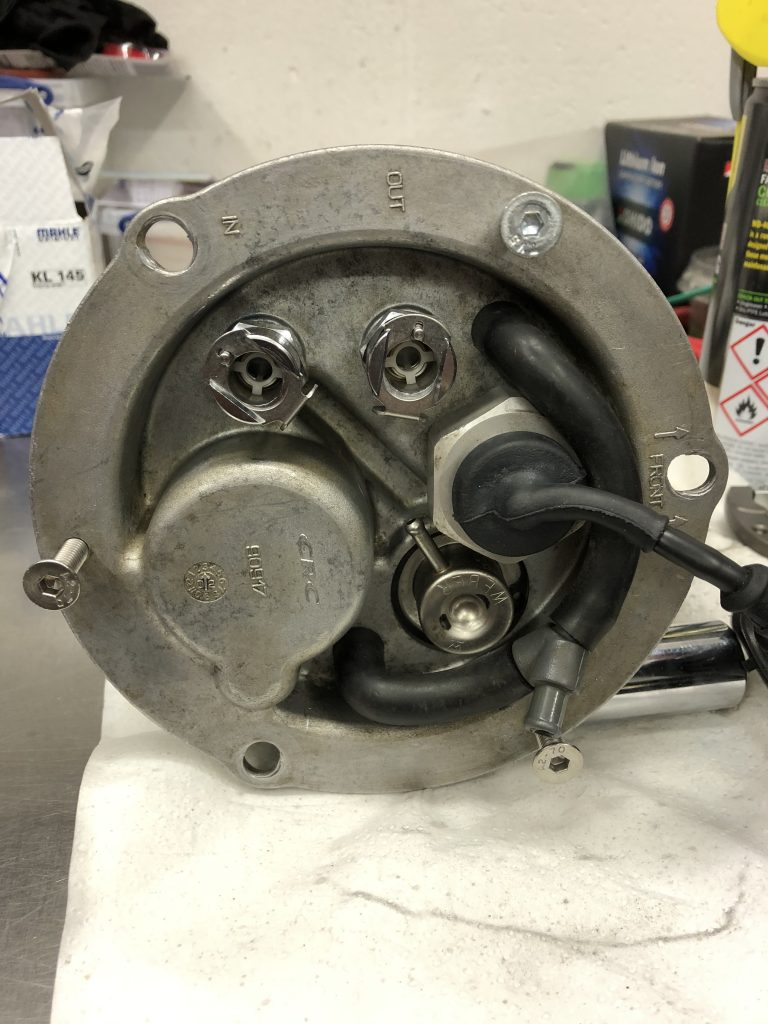
I take the opportunity to re-align the wiring to the correct orientation where they should exit towards the front of the pump housing to make tank wire routing and removal easier.
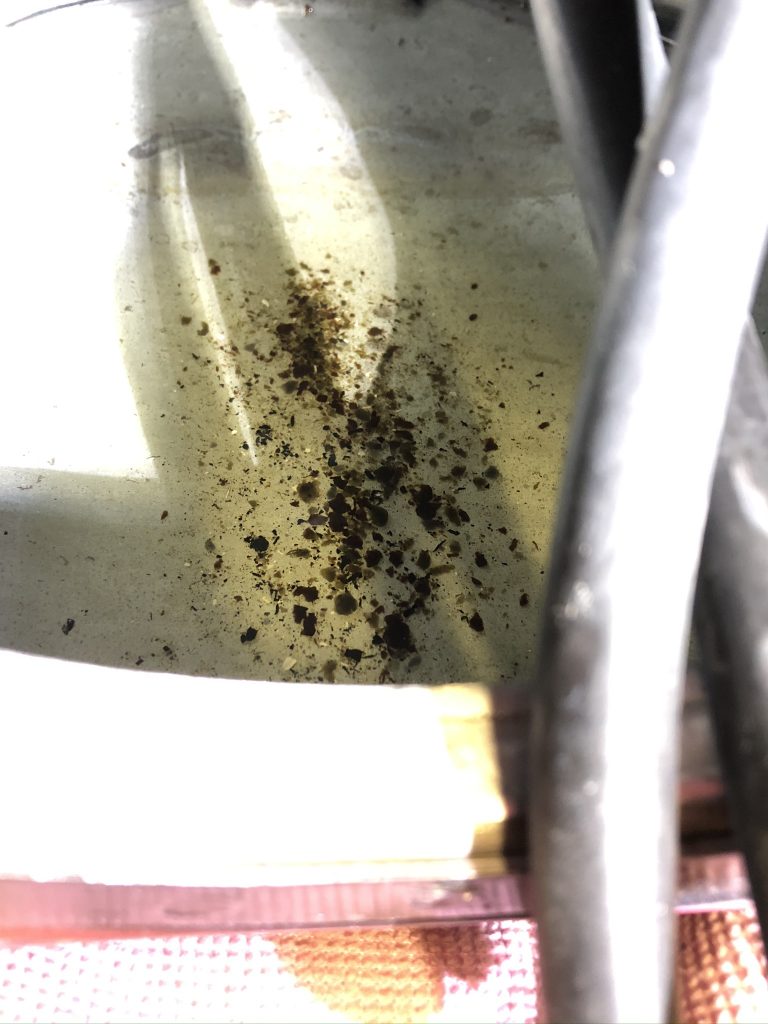
With the pump out, it’s time to clean out the debris from the inside of the fuel tank…
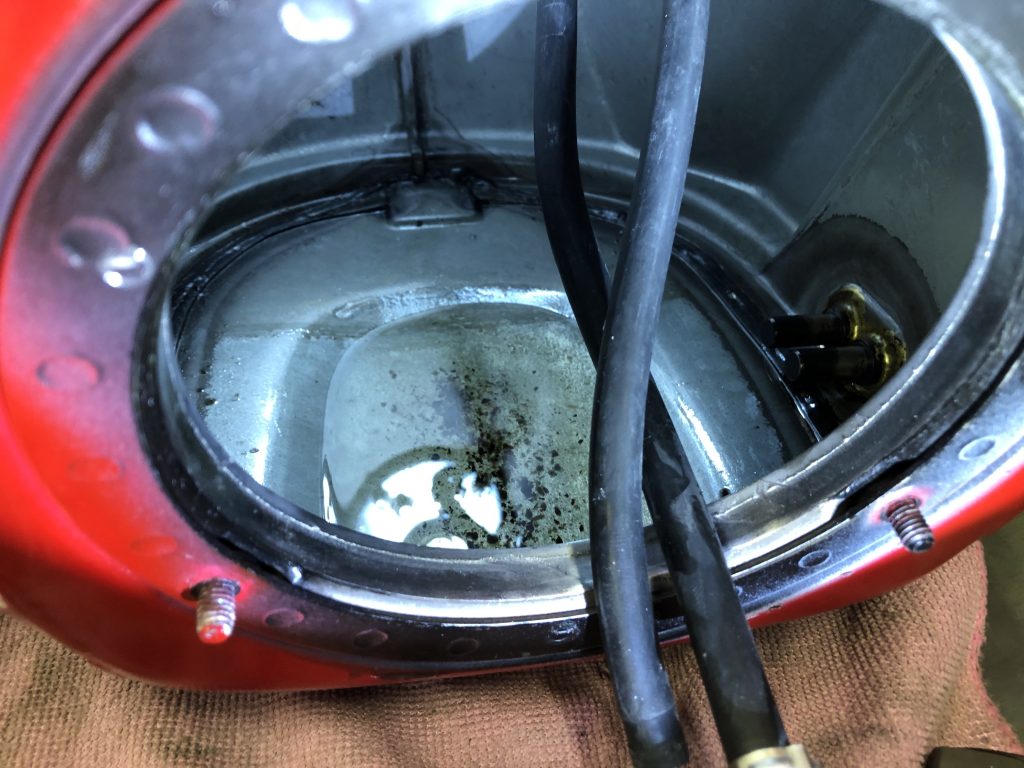
There’s a surprising amount of debris in there. It all cleans up easily enough though.
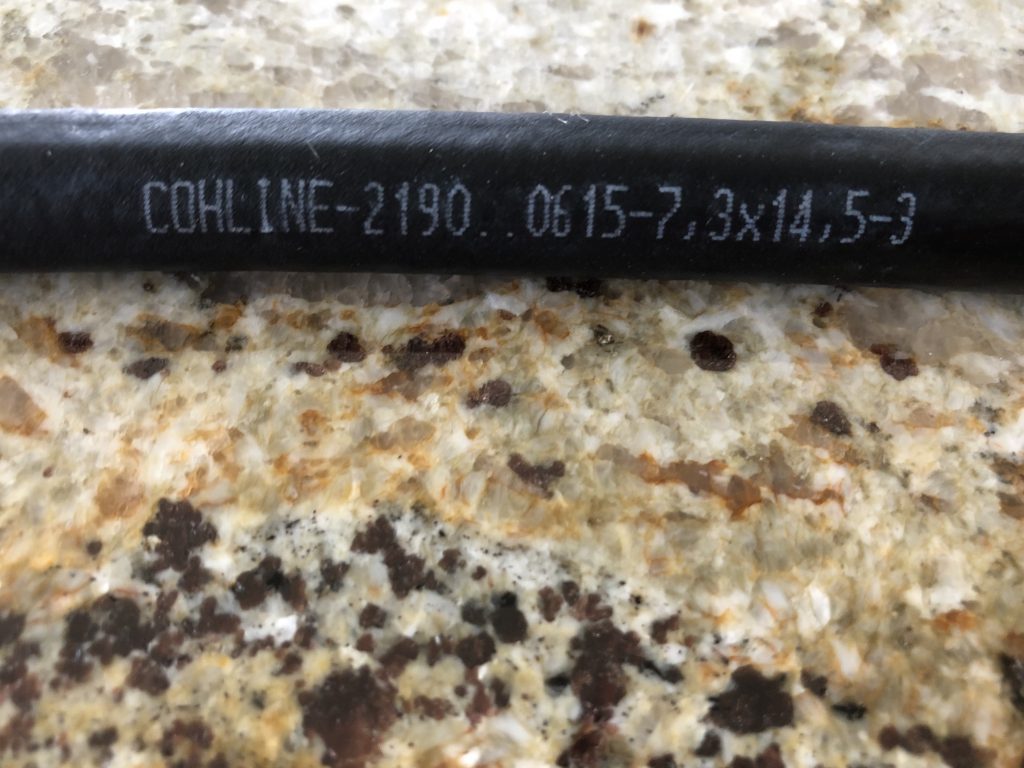
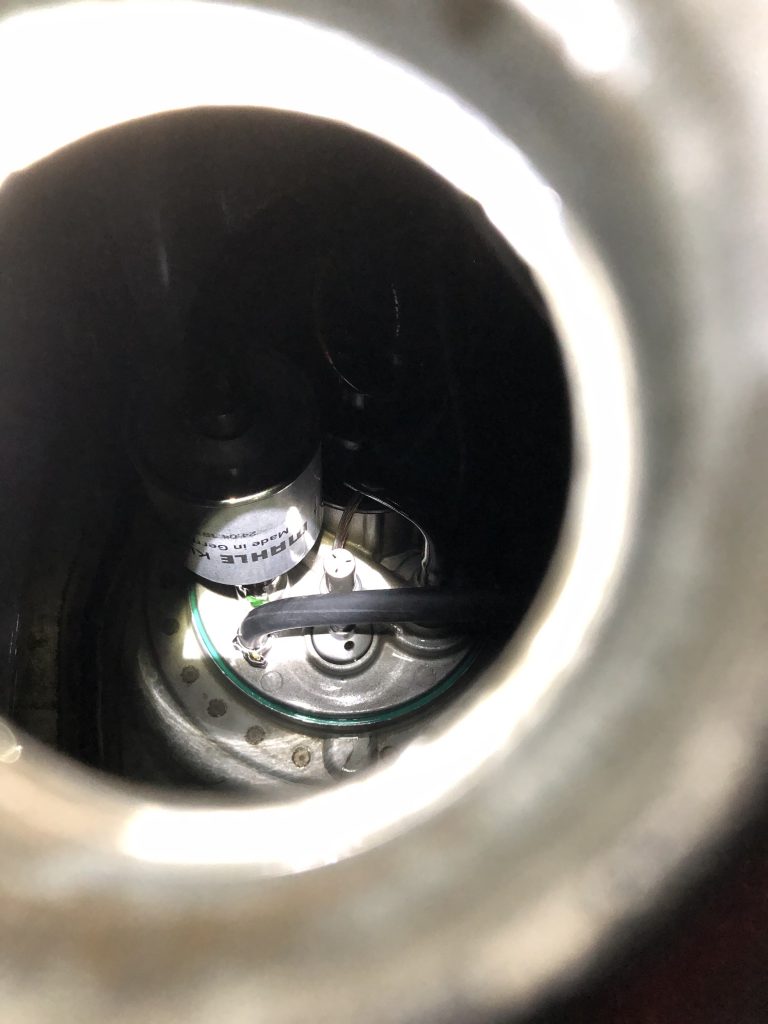
Fuel pump/filter assembly…I’ve checked all the internal tank lines that were renewed 20 months ago, I haven’t replaced them this time, but have ordered some new Cohline in tank hosing for next time. The fuel filter looks newish, but with the debris in the tank I decide to take it apart to check…
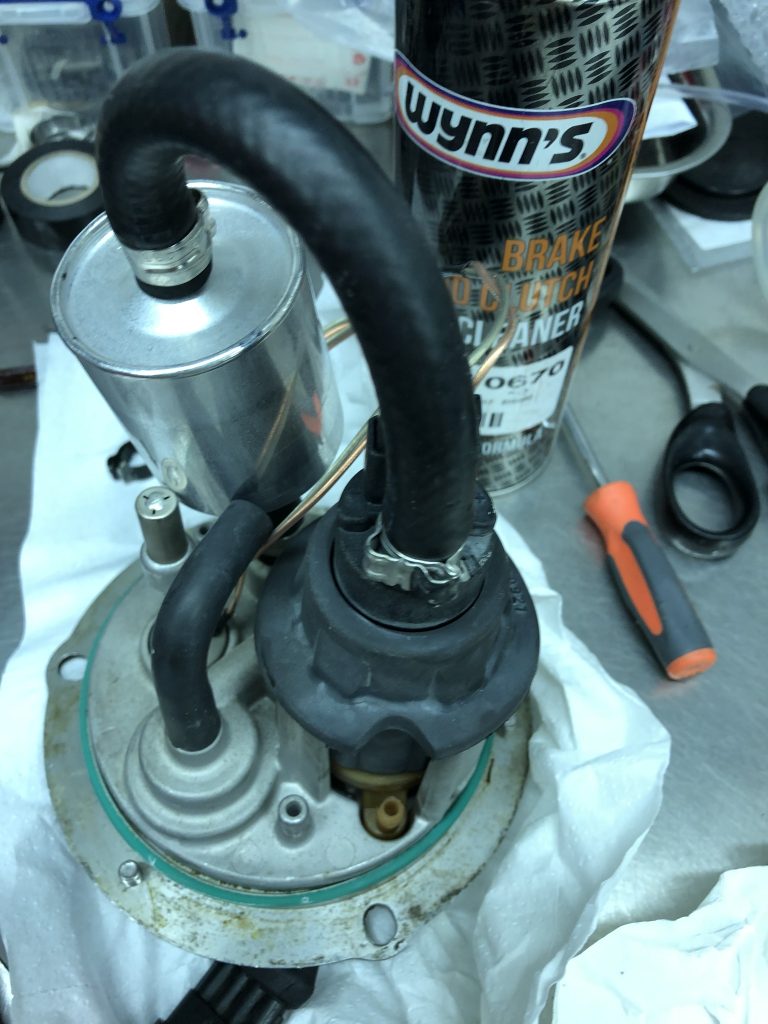
It actually looks in pretty good order…

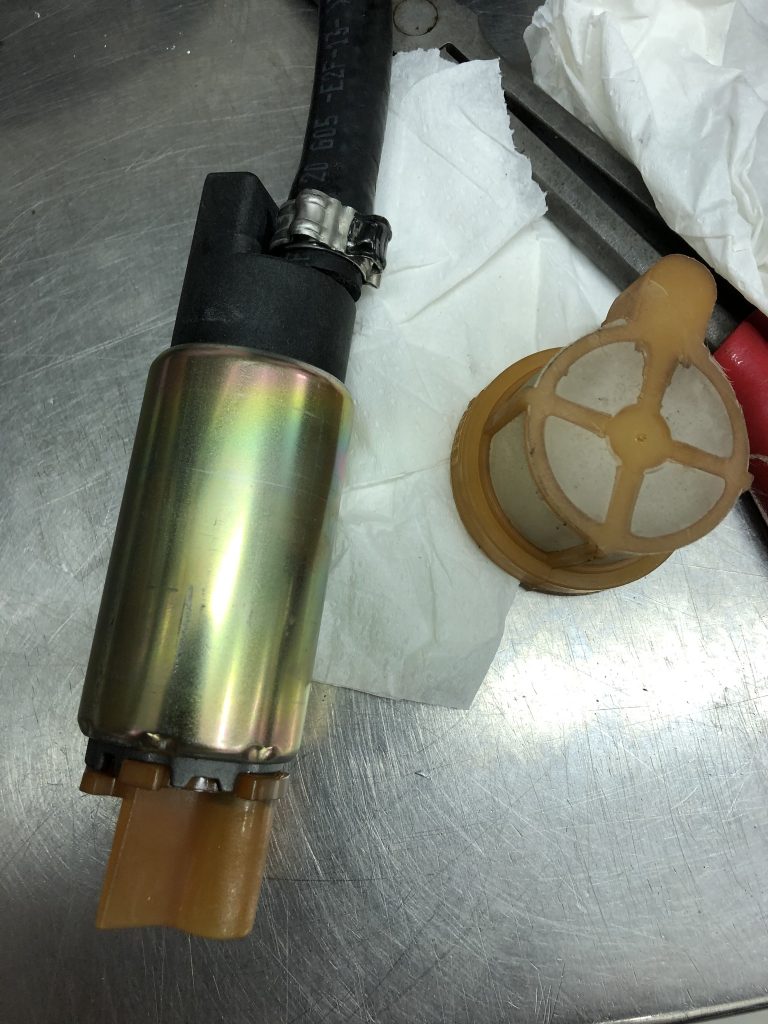
Everything gets a thorough cleaning, including the pre filter
And re-assembled as per the workshop manual with a new fuel filter installed…
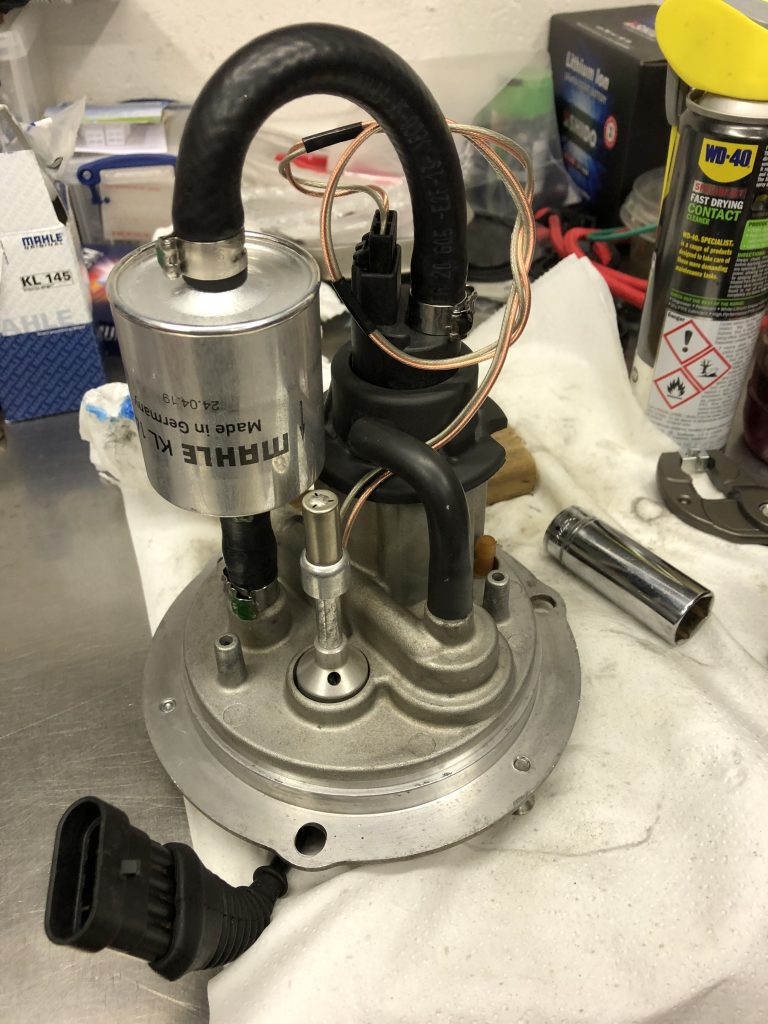
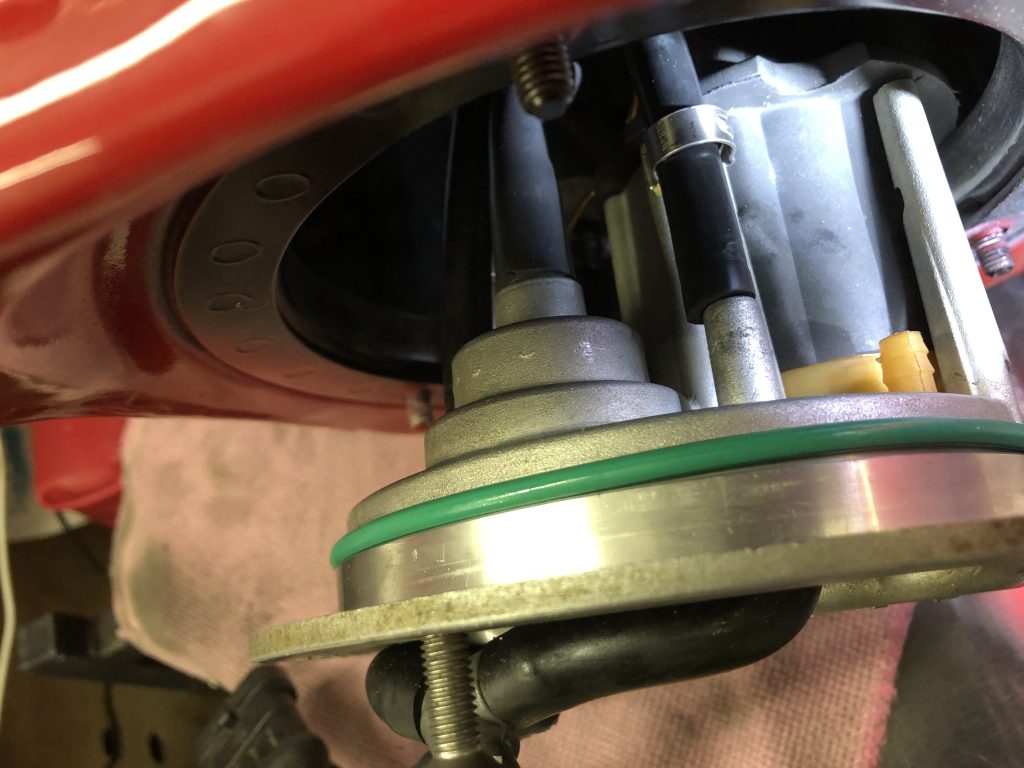
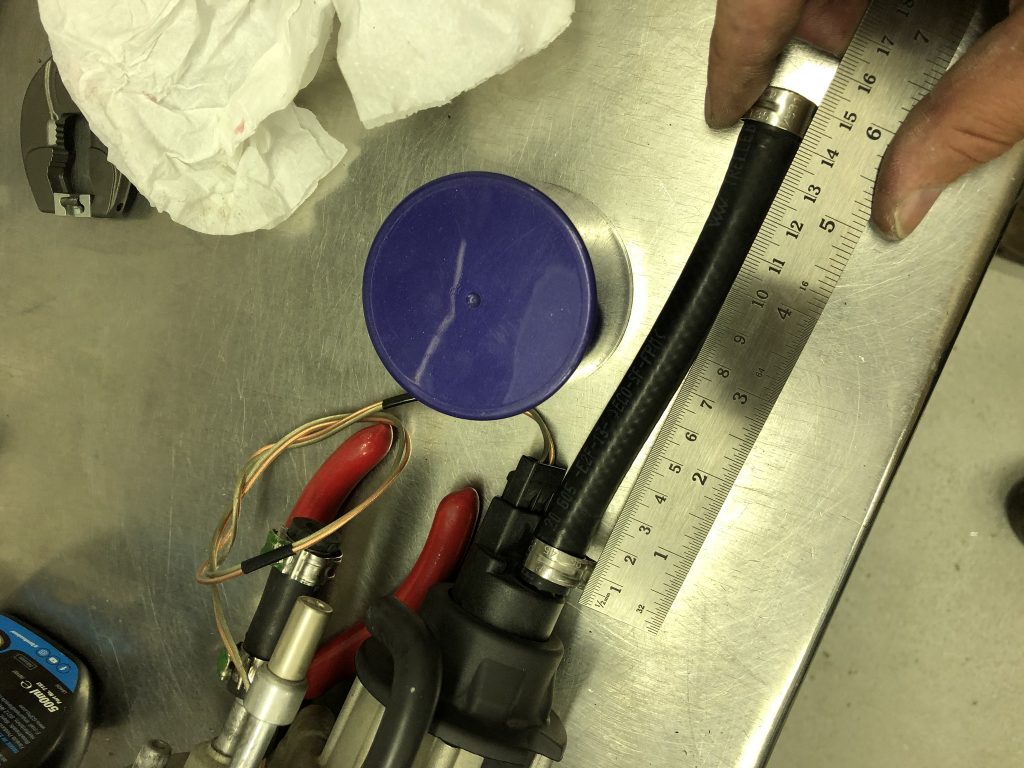
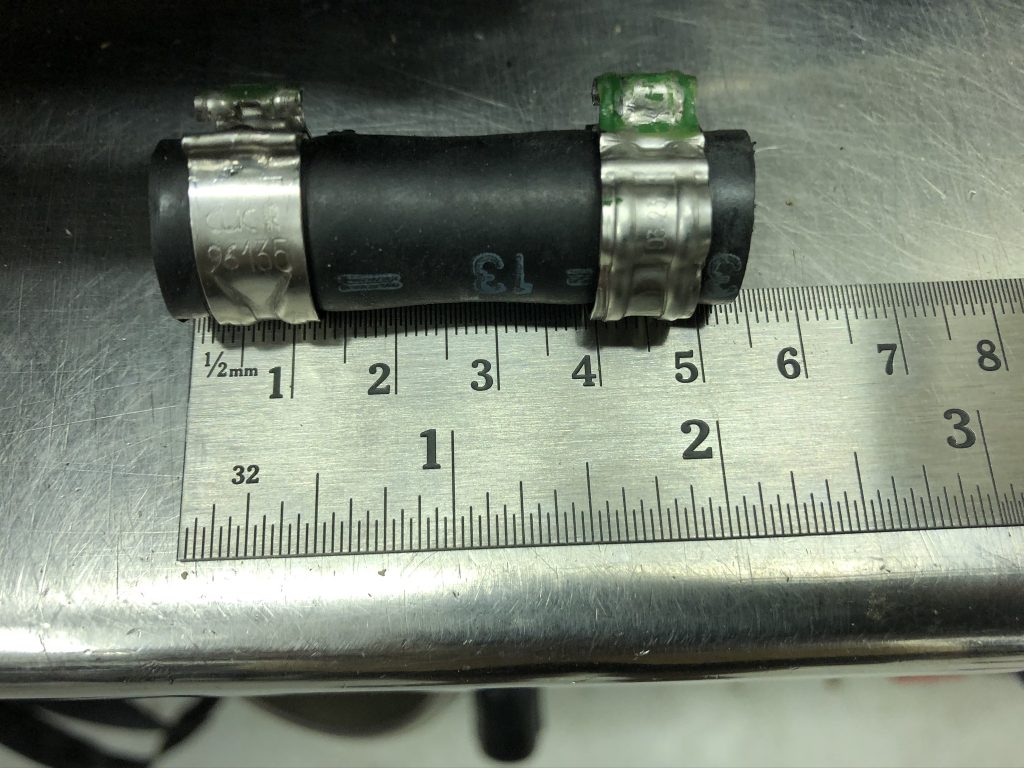
The gasket is smeared with silicone grease and the fuel pump base eased back in…note the breather hoses which don’t have much lenghth on them and require reconnecting in situ…
That takes care of the tank side for now. Next time in I’ll be replacing the internal tank hoses with this item…
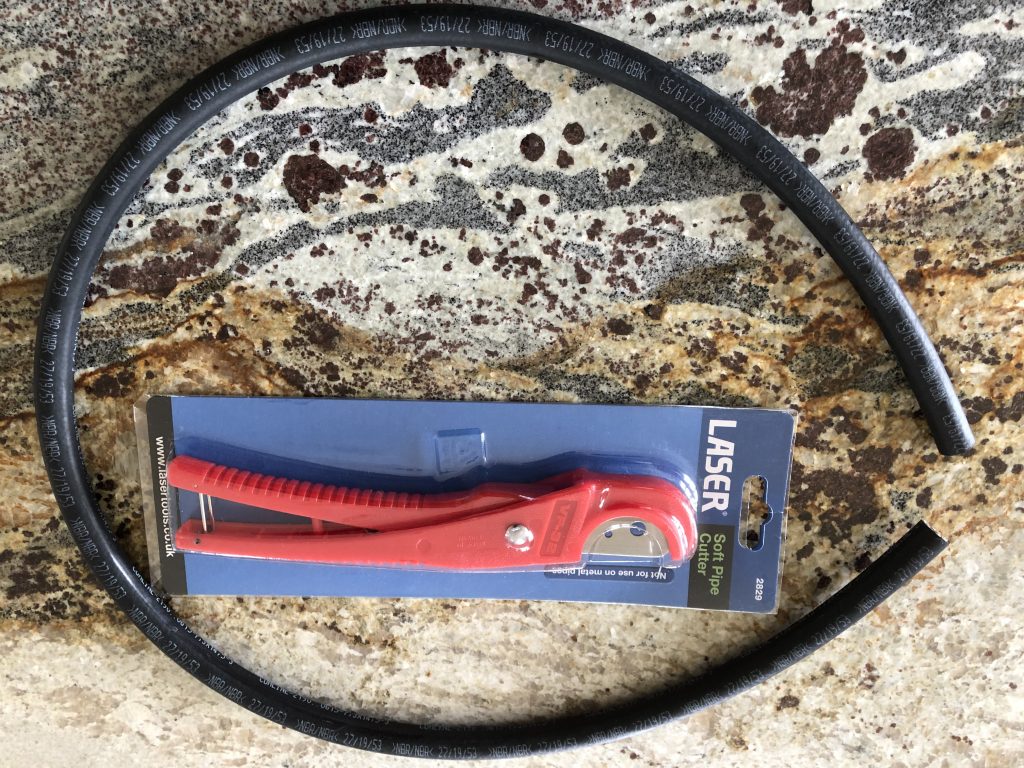
I’ve taken reference dimensions while everything was out so I can cut it all down to length in readiness for next time!
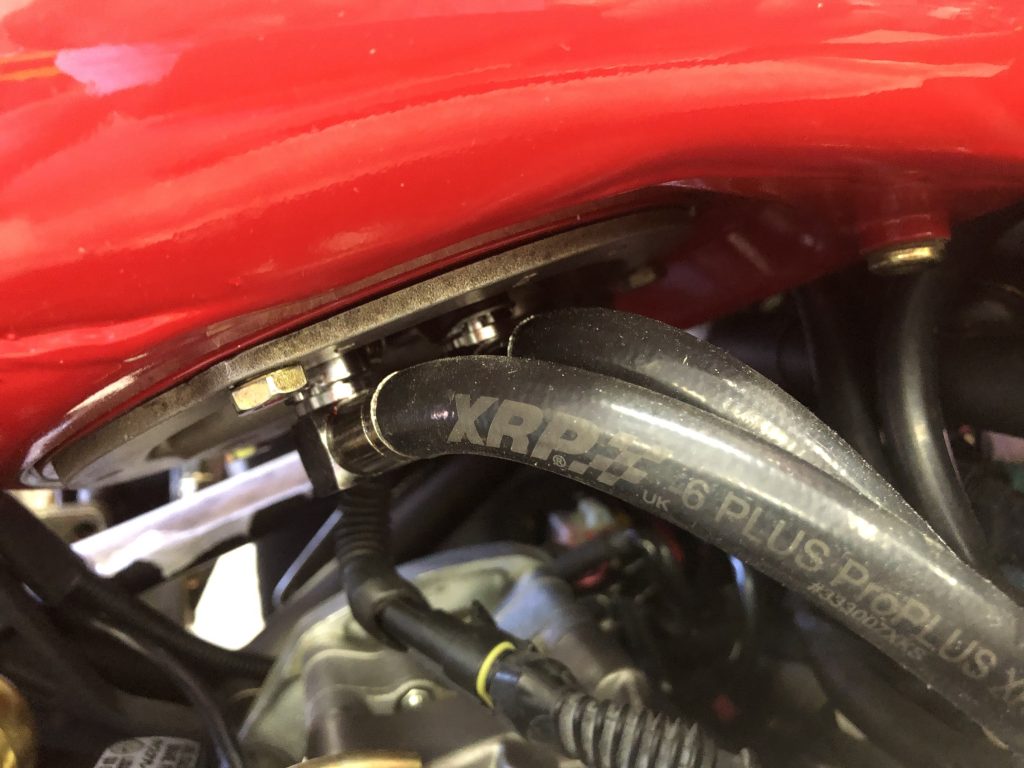
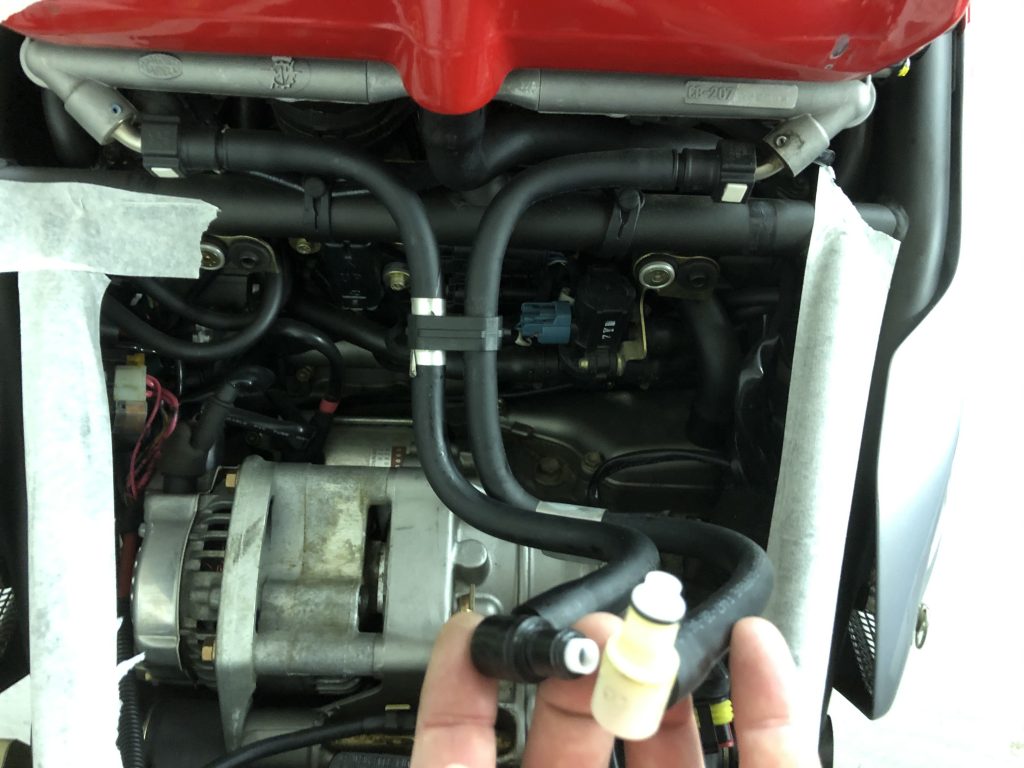
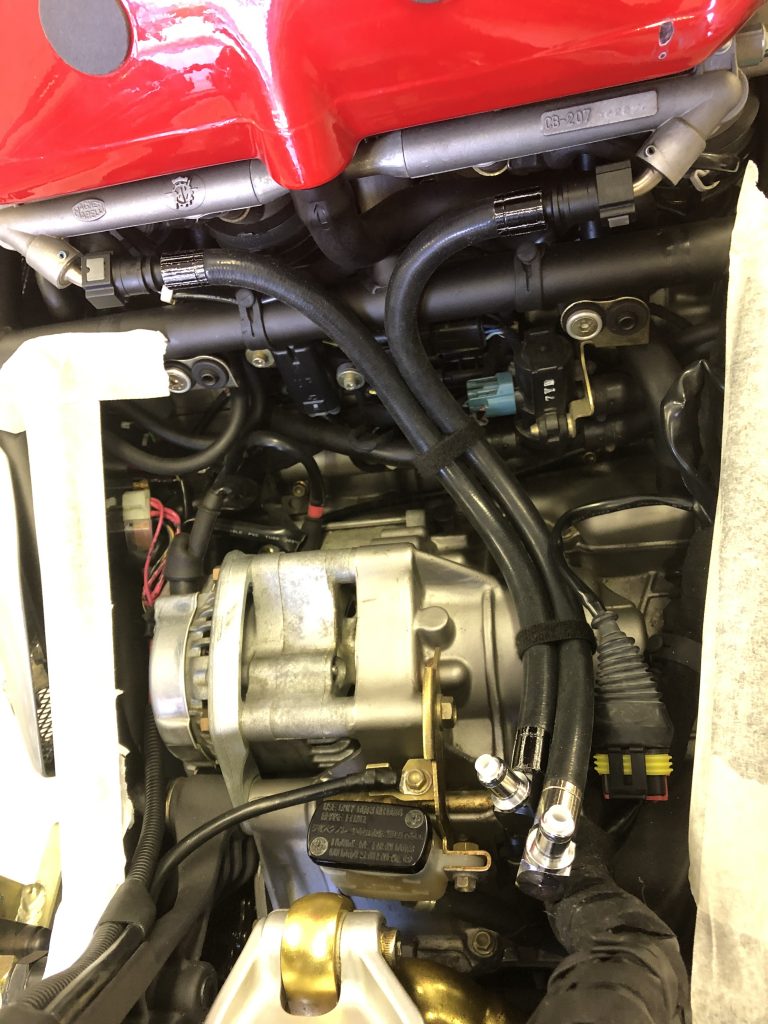
On to the fuel rail and hoses. Once again, the hoses are fitted with plastic CPC connectors and one of the hoses has a surface nick in it.
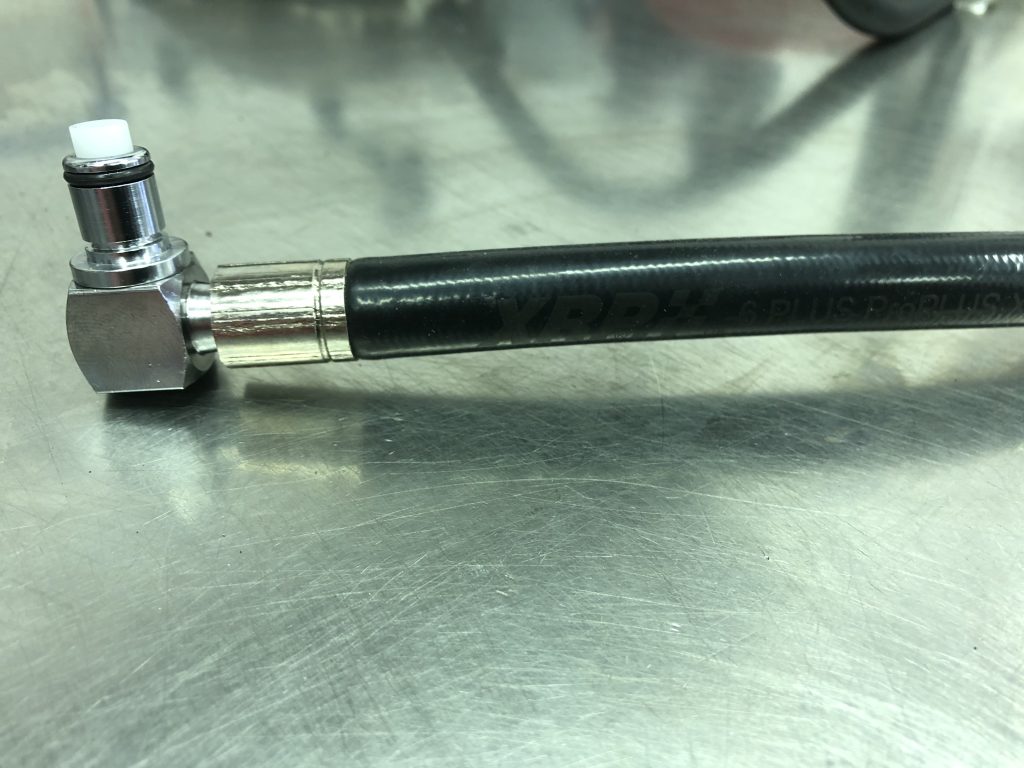
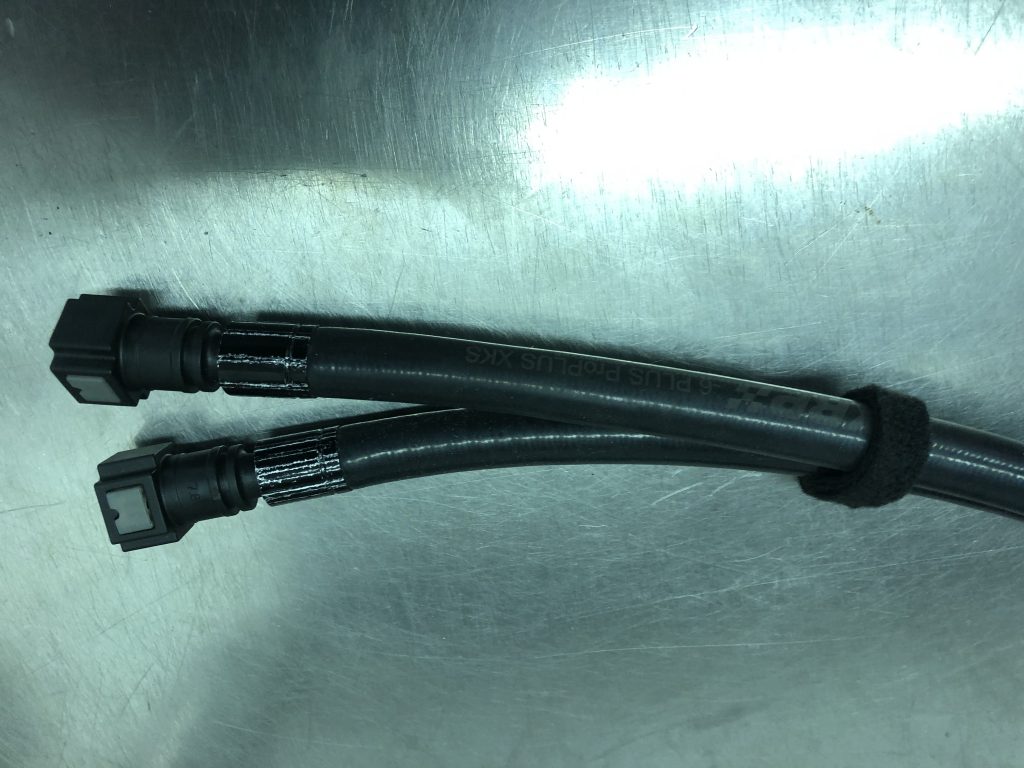
I have some custom hoses made up. These are XRP Pro Plus XKS -6 Plus hoses. They are a 3/8 equivalent with -6 fittings at either end. The hose itself consists of an anti static PTFE smooth bore inner hose with external convolutions for tight bend flexibility with an Aramid fibre with silicone outer braid for easy cleaning.
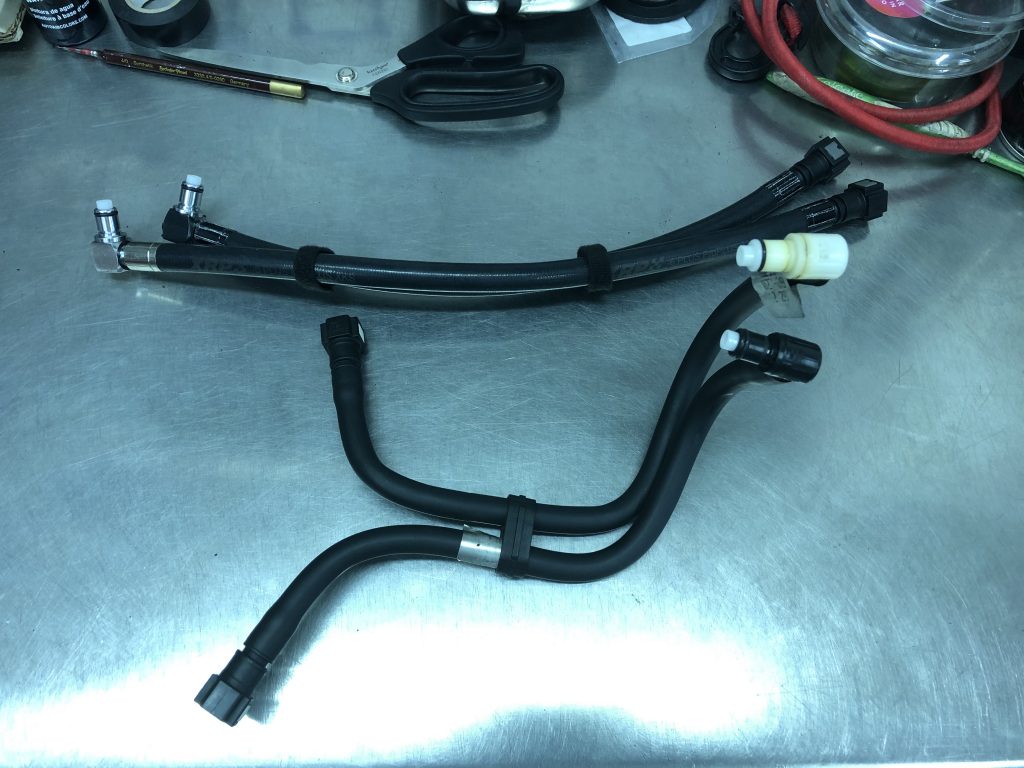
These are mated to the corresponding valved metal CPC’s with dry breaks on the fuel pump plate and at the hose end.
At the fuel rail end are some plastic SAE J2044 quick connectors which replicate the originals.
Peace of mind!!
Once again she fires up on the button, but she seems to be quite finicky with fuel. Having eliminated the fuel, pump, filter, hoses, it’s time to look elsewhere at the fussy cold starts with anything other than fresh fuel.
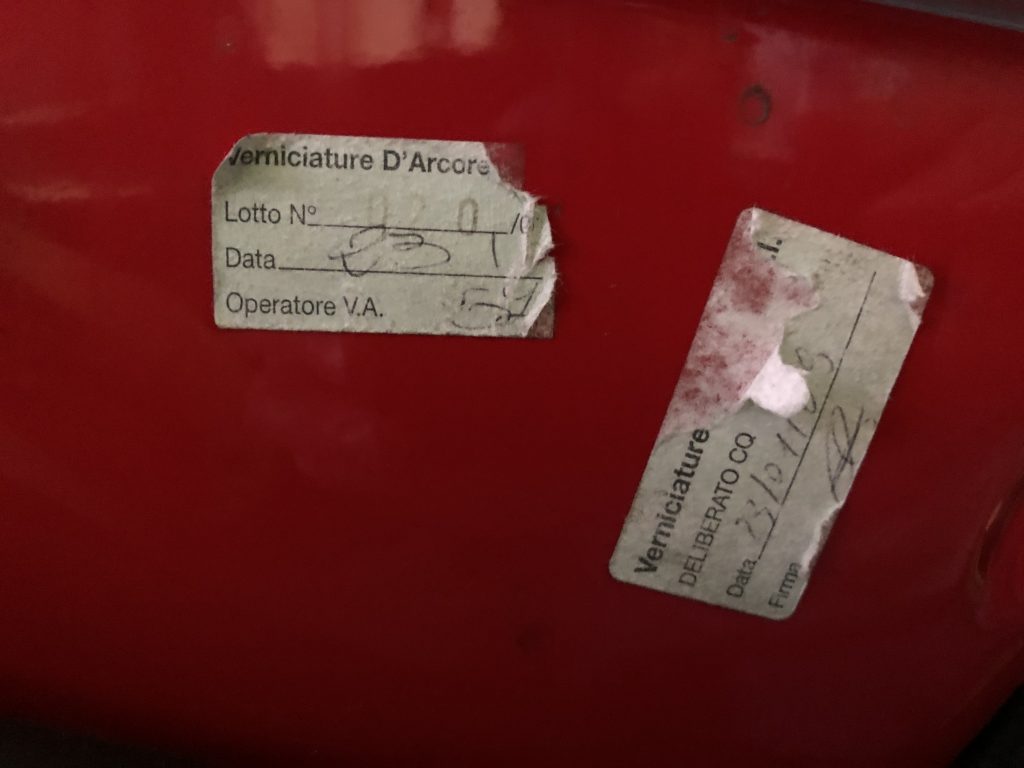
Manufacturer labels on the fuel tank show it was painted in the 23rd January 2009, including the painters signature!!
Hoses in position and in place under the tank…no more fears of them snapping on disconnection!!