No, we’re not talking about too much sugar!! Rather, bad carburettors to be precise!
So the Carburettors were rebuilt 8 miles ago when the previous owner had the bike recommissioned in 2018 at a non Aprilia motorcycle dealership. The invoice shows 6 hours labour and a carb overhaul kit. I was hoping that they had just been cleaned out and new seals fitted. It turns out I was wrong and my worst fears were confirmed.
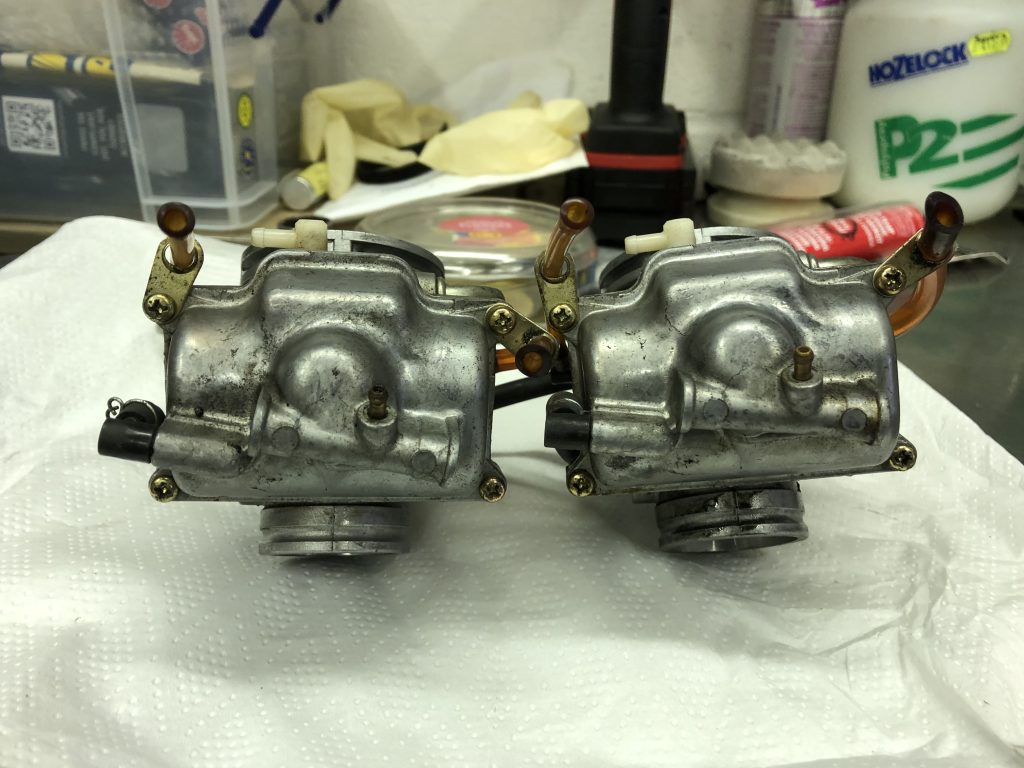
One of the carbs (the l/h) had been removed from the fuel delivery hose as this was now secured by a cable tie rather than the proprietary Aprilia click clamp. The fuel filter sits at the entrance to the carb, this one had come away from itself and would allow unfiltered fuel through.
The other looked to have never been removed.
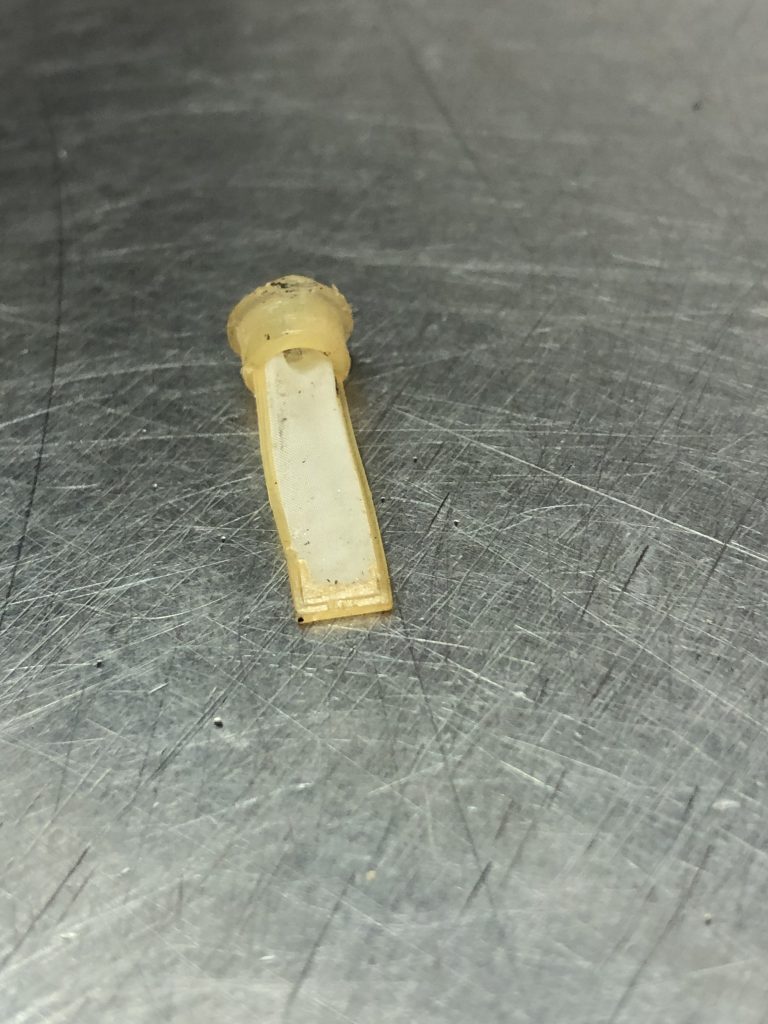
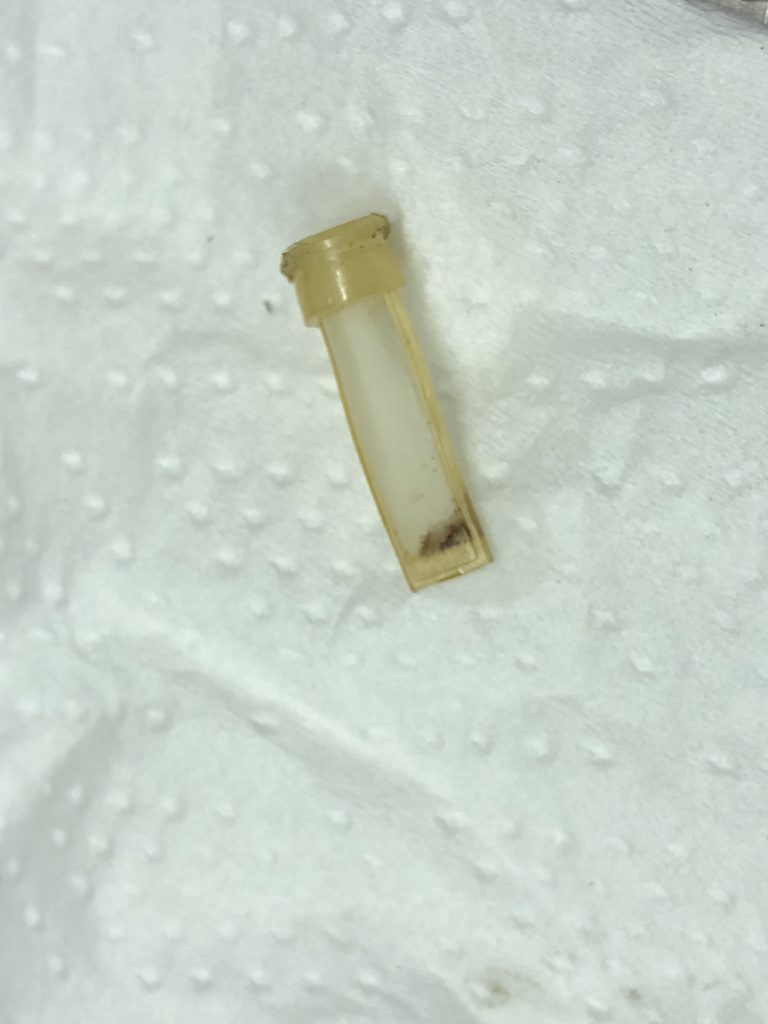
The fuel filter shows some residue/sediment.
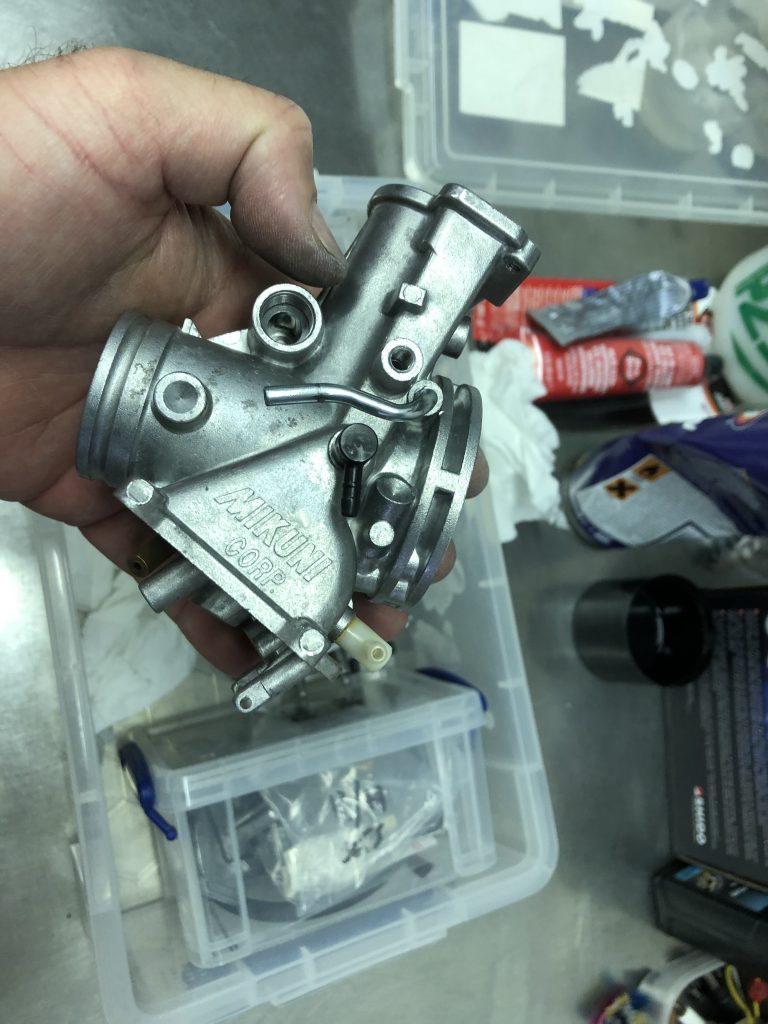
Unfortunately both carbs had been opened up, evidenced by some rounded off screw heads at the base of the carbs and further by some of the original (and very expensive) Mikuni parts having been junked in favour of Chinesium, one of the many Chinese full overhaul kits available on ebay, which include everything for both carbs for £32. I was dreading this! My view was the least done the better, unfortunately that wasn’t the case.
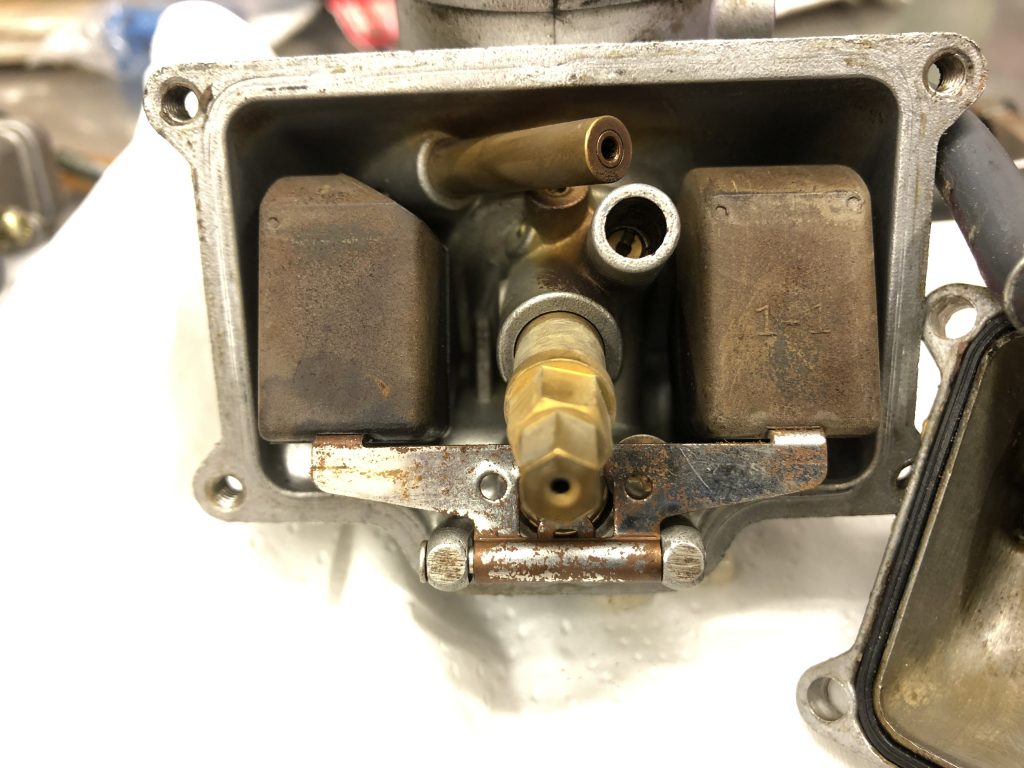
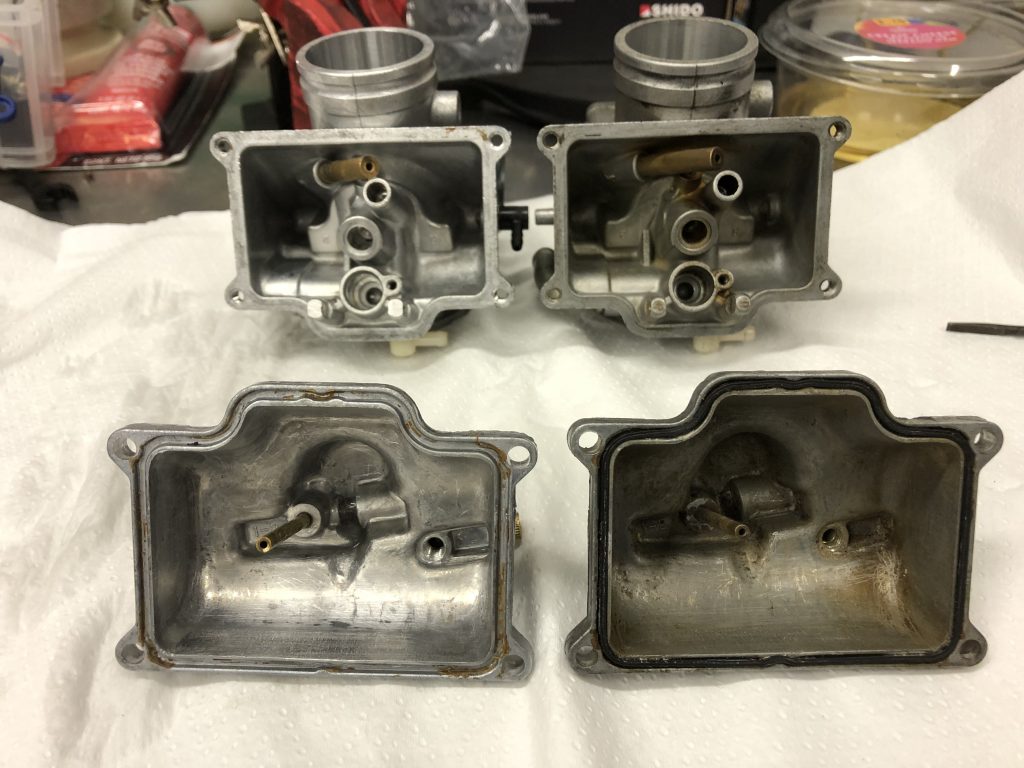
So it was time to identify what was original and what had been done. It’s not a great sight as I open the first carb, the fuel filter is split (this could have happened during the removal process) and the float looks eaten away on one side. This would be from the bike leaning on it’s side stand and probably came from being eaten away by ethanol which is corrosive.
The fuel had lots of black specs in it which had come from the corroded float, of course this is after the fuel filter so the muck could have found its way into the engine regardless. As with the air filter, I’m very glad that I’ve taken the bike apart first before being tempted to thrash it down the road. It seems like this approach is paying dividends in disaster avoidance. Curiously, this float does not ‘seem’ to have any oem markings on it, however the markings would have been on the corroded area so perhaps it is original after all! It would seem like a lot of damage for 2 years otherwise! The float furthest from the side stand is not marked despite being in the same float bowl suggesting it was not sitting in fuel.
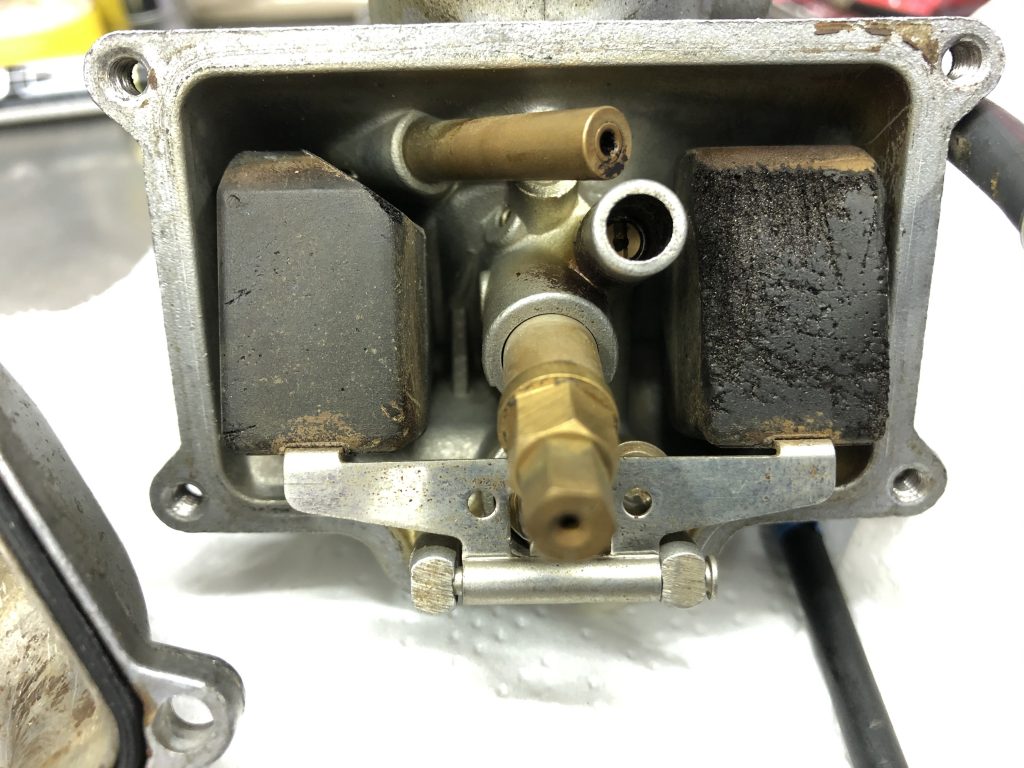
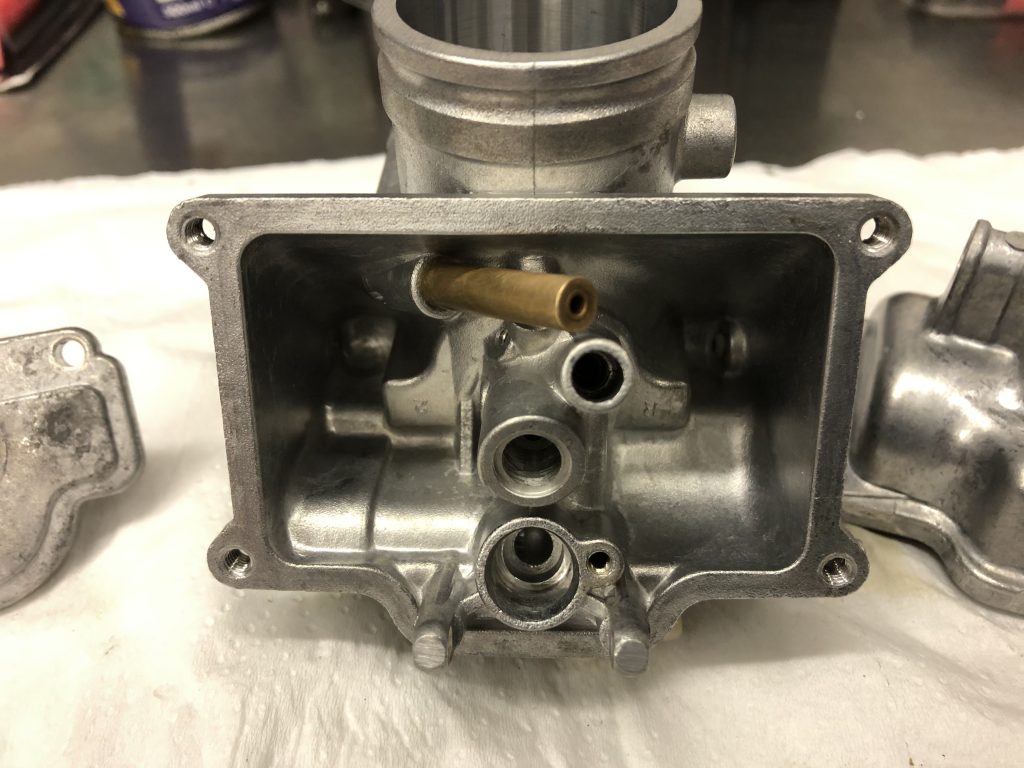
Of even more concern is the power jet circuit which performance 2 strokes are equipped with. According to Mikuni, this can provide extra fuel at high rpm full throttle. On removing the float bowl, the elbow to the hose connecting the power jet to the carb body snaps.
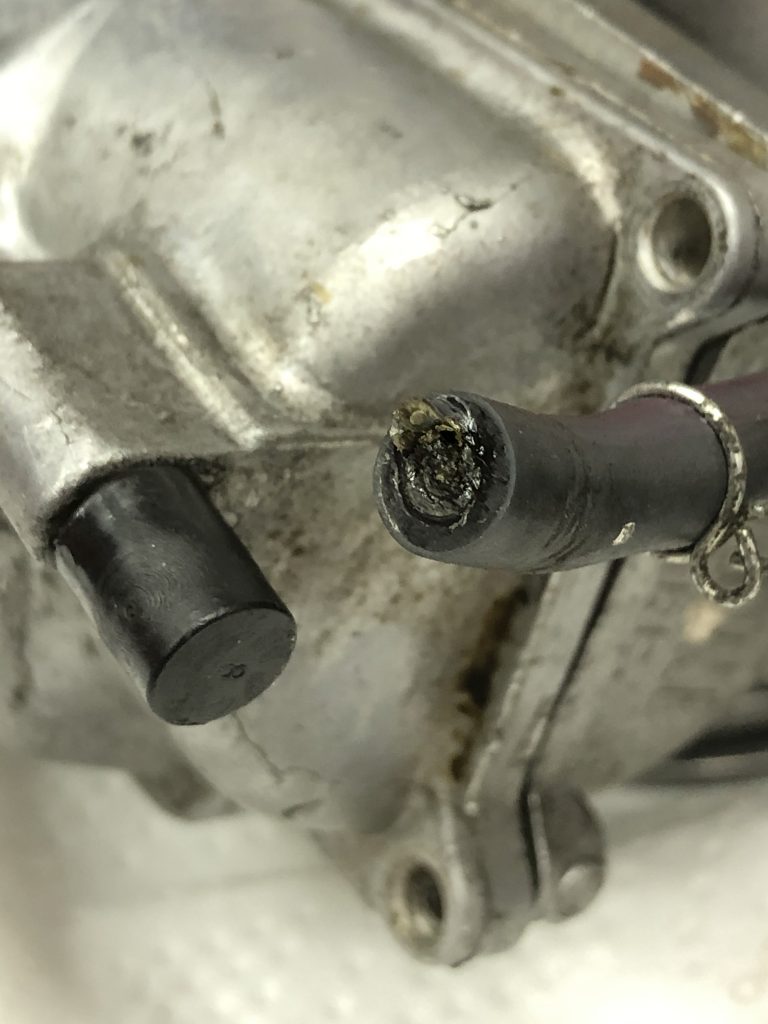
There was no force applied, it just came away with no effort. The hose was completely gummed up, I had to use a drill bit to clear the hose, clearly ethanol fuel had been sat here and had corroded the metal weakening it. Thankfully this is the left hand bowl which is still available, the r/h one is no longer available. The power jet circuit on this carb would have been totally ineffective potentially leaning out the mix at high revs/full power applications which is when you need it most, again I’m thankful I hadn’t been down the road with it. Sadly I’ll never know how bad it was suffering or not as I never rode it but better this way I think.
On to the r/h carb.
This would appear to have oem markings on the float, and was also rusty, suggesting it wasn’t sitting in fuel when the bike was standing. I guess if the fuel tap was shut off and the bike allowed to run until it stalled while on its side stand, it would have run out in the r/h carb first. This would have stalled the engine leaving some fuel in the left carb bowl with only one float dipped in the remnants of fuel, which is also where the power jet pick up was, explaining the corroded elbow.
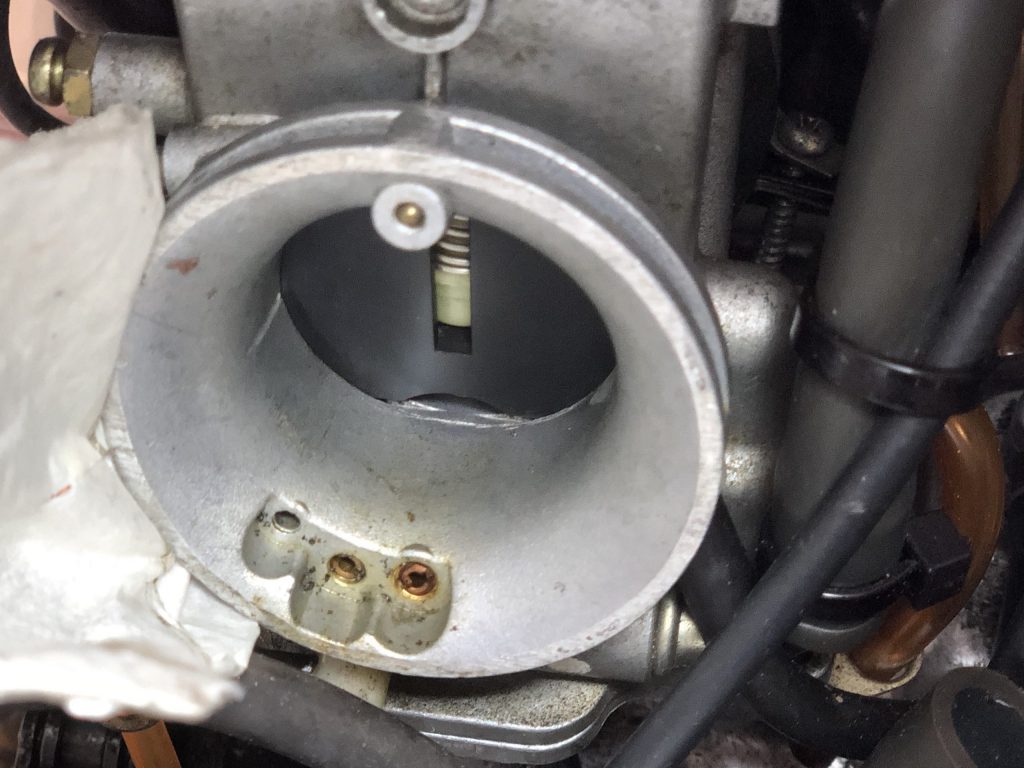
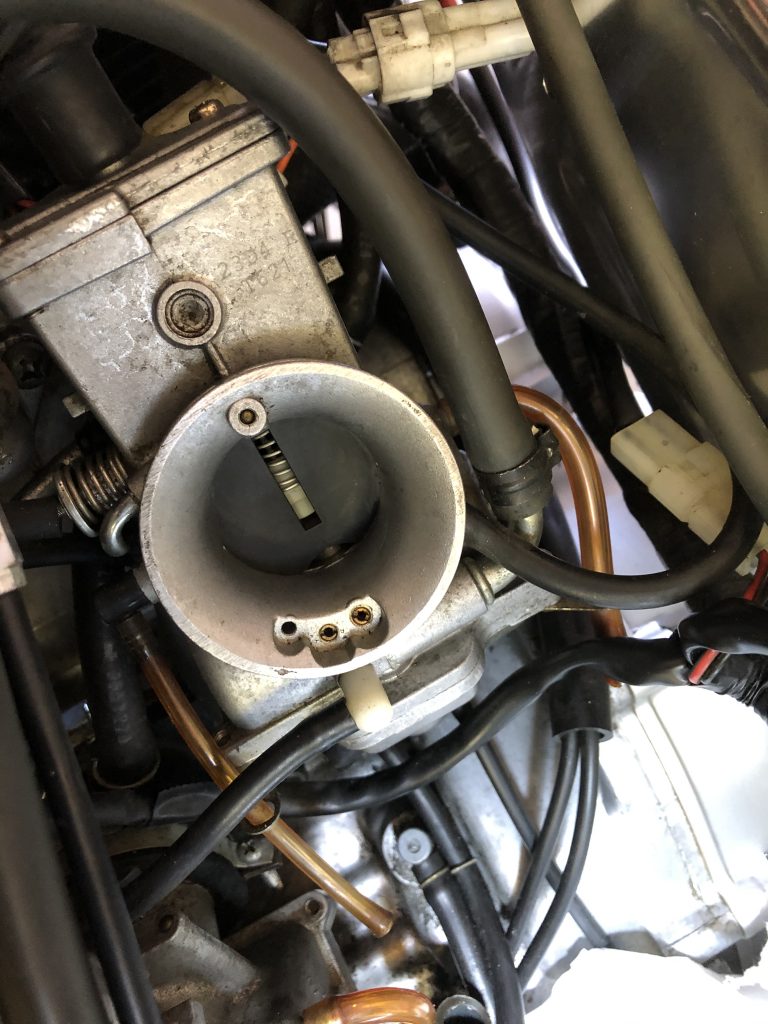
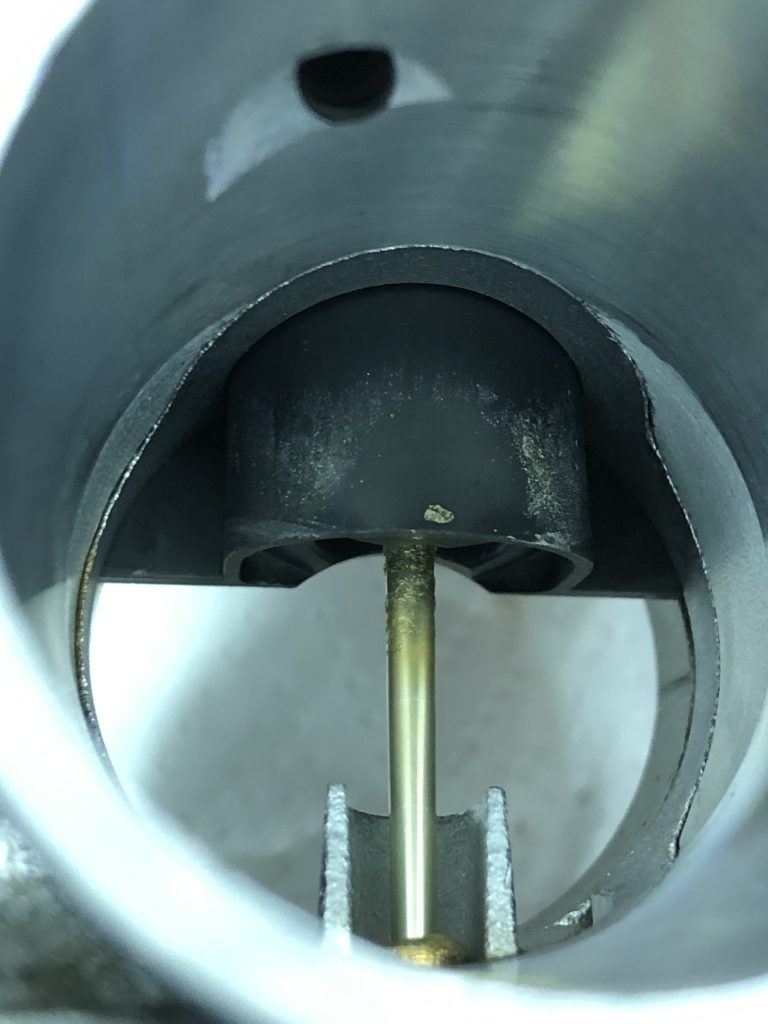
The needle has some congealed fuel on it and the throttle valves could use a clean.
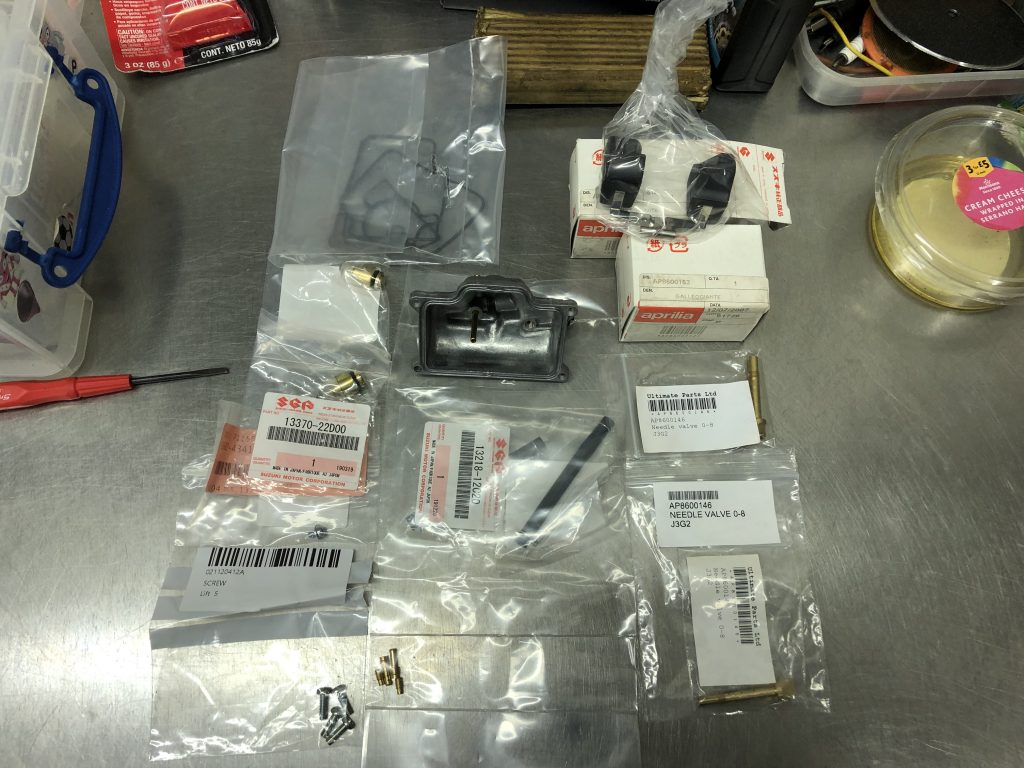
I strip the carbs down, on further examination, some of the jets are not original. Both pilot jets, one air jet, both needle jets as well as both float valves and needle valves are non oem.
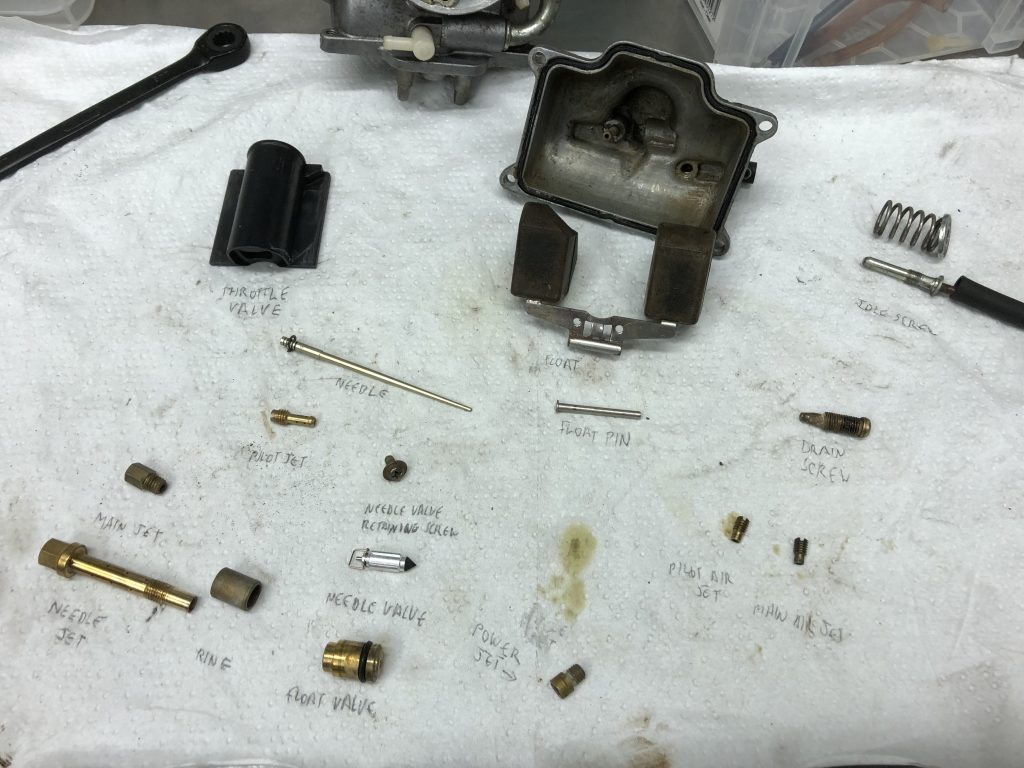
I lay out the parts which need replacing for oem, as well as the float bowl itself which will need renewing on the l/h carb. This little lot in the picture below represents £438 as a replacement value. Junking the Mikuni parts for Chinesium was an expensive exercise and probably an unnecessary one, I find it hard to believe they couldn’t have been restored with a little TLC. That figure includes obtaining parts from Suzuki where required as they are the same Mikuni carbs as used on the RGV and cheaper than sourcing them from Aprilia. I’m replacing the vacuum lines as they contain a jet, I have no way of knowing if they have the correct jet so decide to replace them as a matter of course. The unknown unbranded Chinesium items have no markings on them so I cannot even verify if they are the correct size.
In the meantime, after stripping the carbs, they go in the ultrasound tank for cleaning.
They clean up as new/
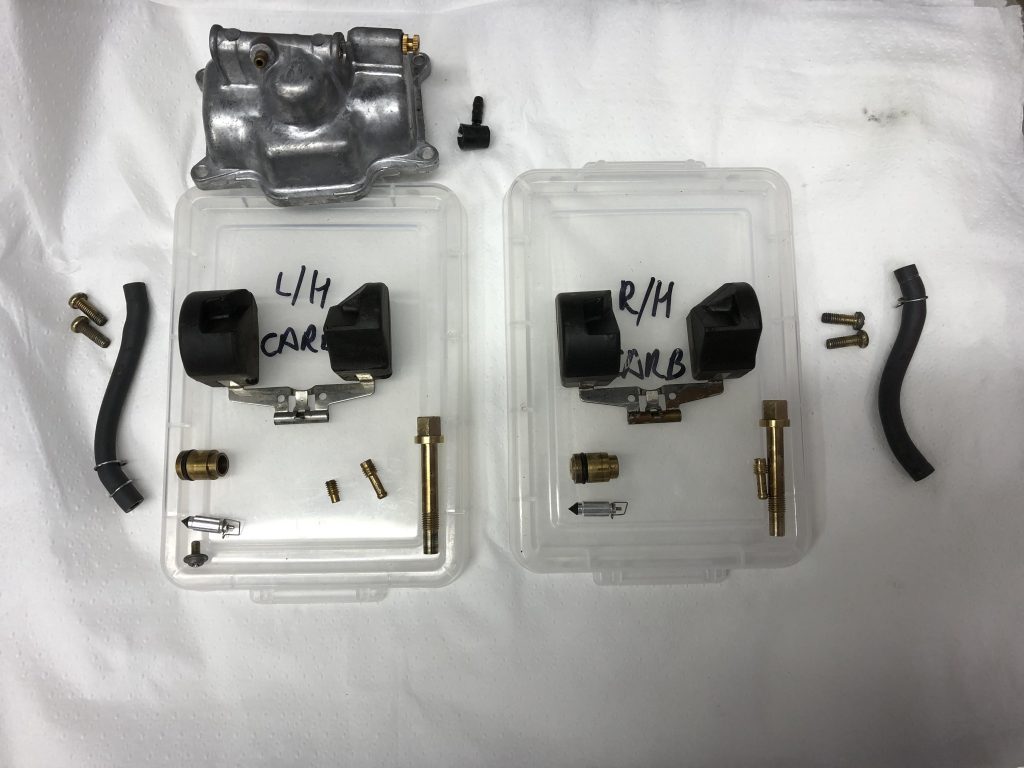
I pack them up respectively while awaiting for new parts!
The new parts duly arrive. There is a marked difference between them and the non original items. Not least they all have the official Mikuni markings and sizings on them. The float valve and needle valve in particular are very much more robust and precise.
The carb rebuild process begins. New parts and cleaned up originals now installed.

The Main jets, needles, power jets, spacers and float pin are the only originally retained parts, everything else is new. Pictured below is the new float valve and needle valve.
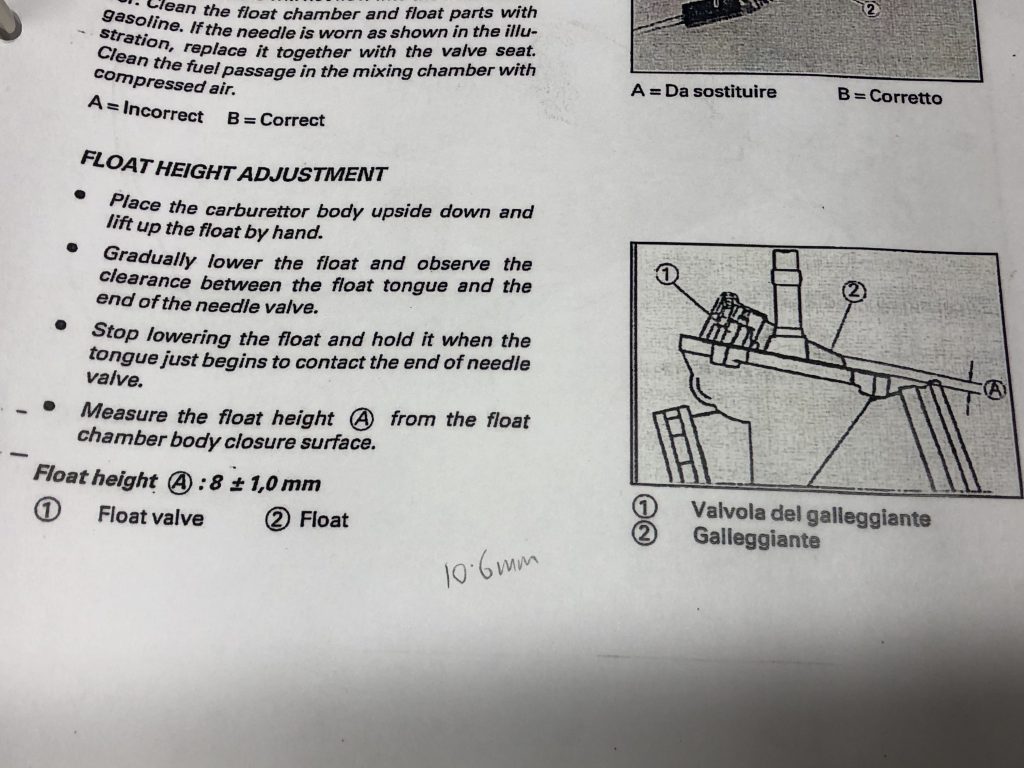
The float height needs to be set. As they are installed out of the box, the measurement is 10.6mm from the measuring point to the gasket surface. According to the manual this figure needs to be 8.1 +or- 1mm.
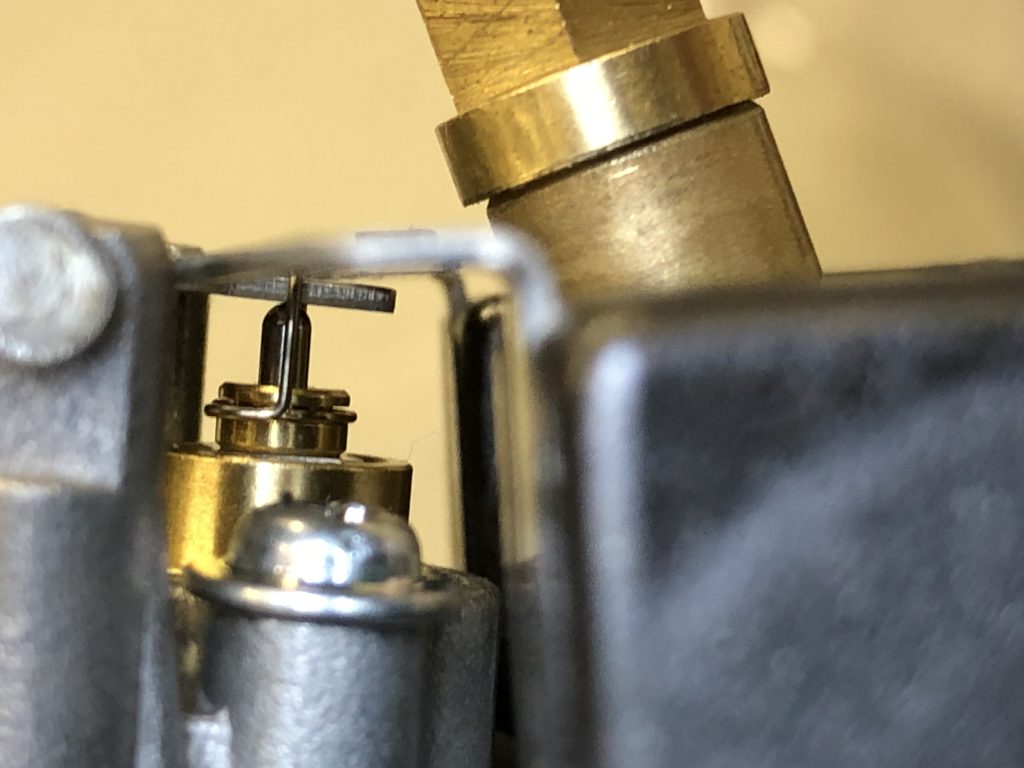
I adjust the float to the recommended height. There is a further test which is to measure the fuel level through a clear tube. The manual also provides this information, this is actually the more test and is the one I will be targeting for accuracy.
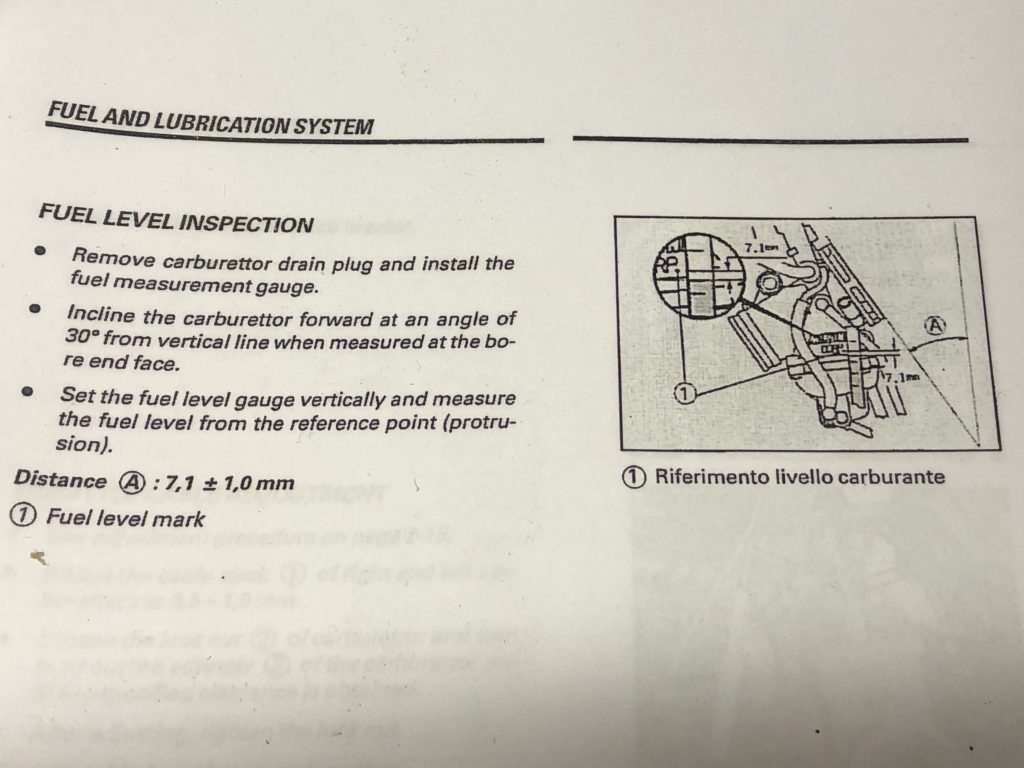
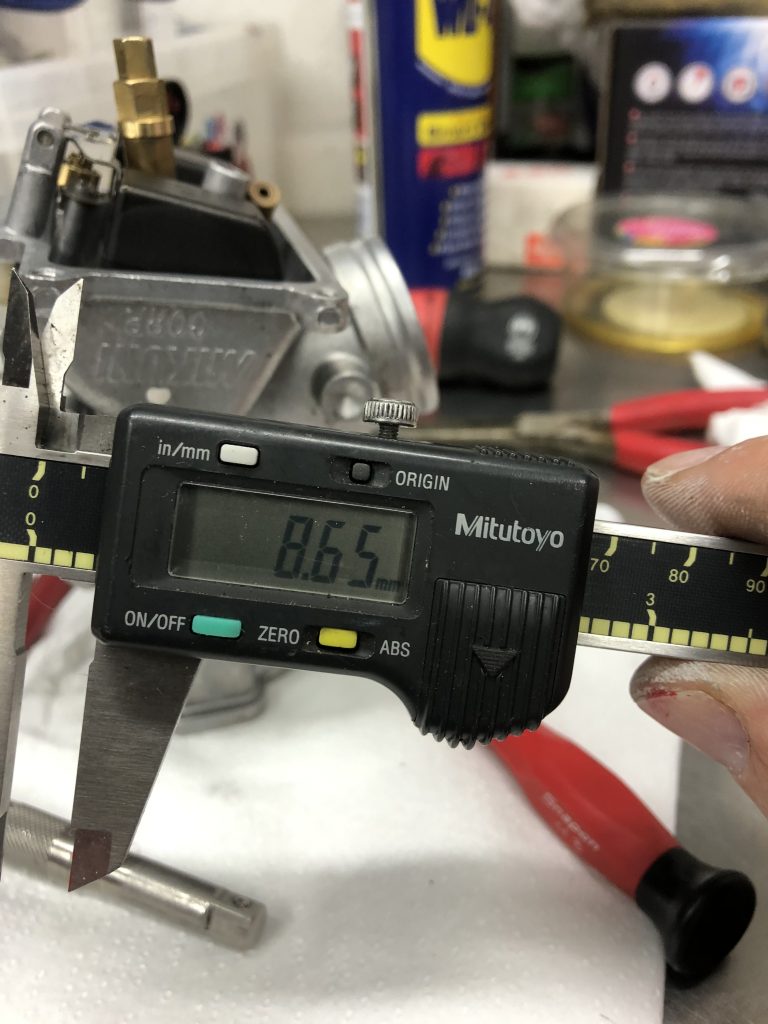
For this test, the tube should show a dimension of 7.1 + or – 1mm from the indicated points. To achieve this, I find the left carb requires a float setting of 8.65mm.
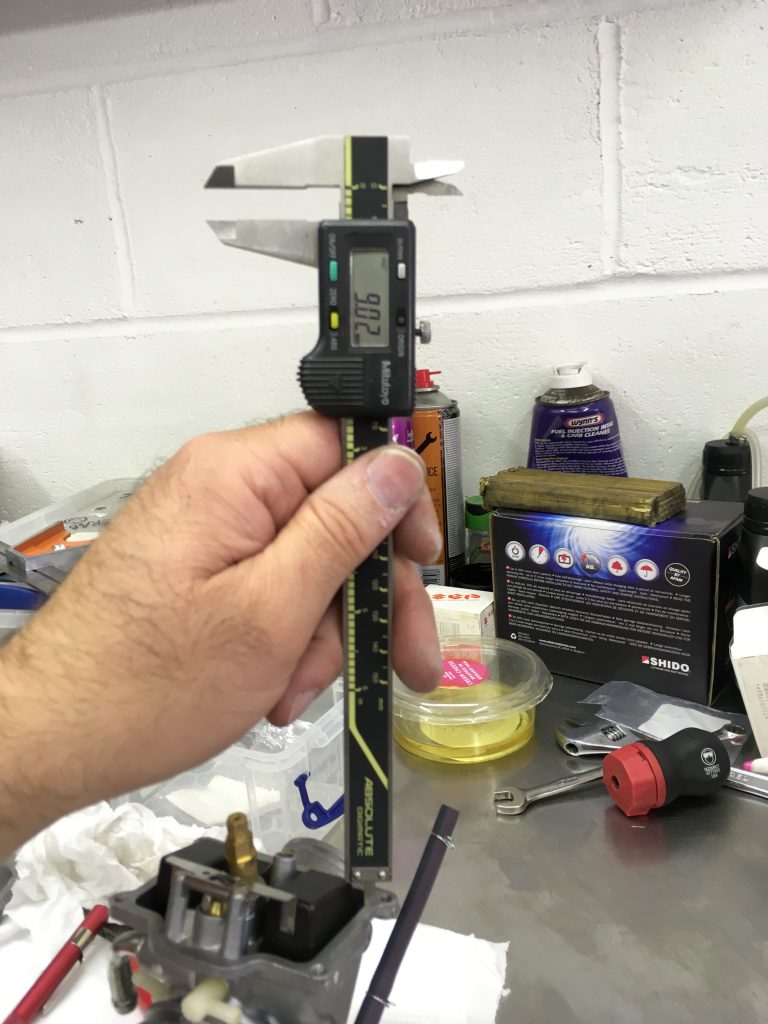
The right hand carb required a setting of 9.02mm.
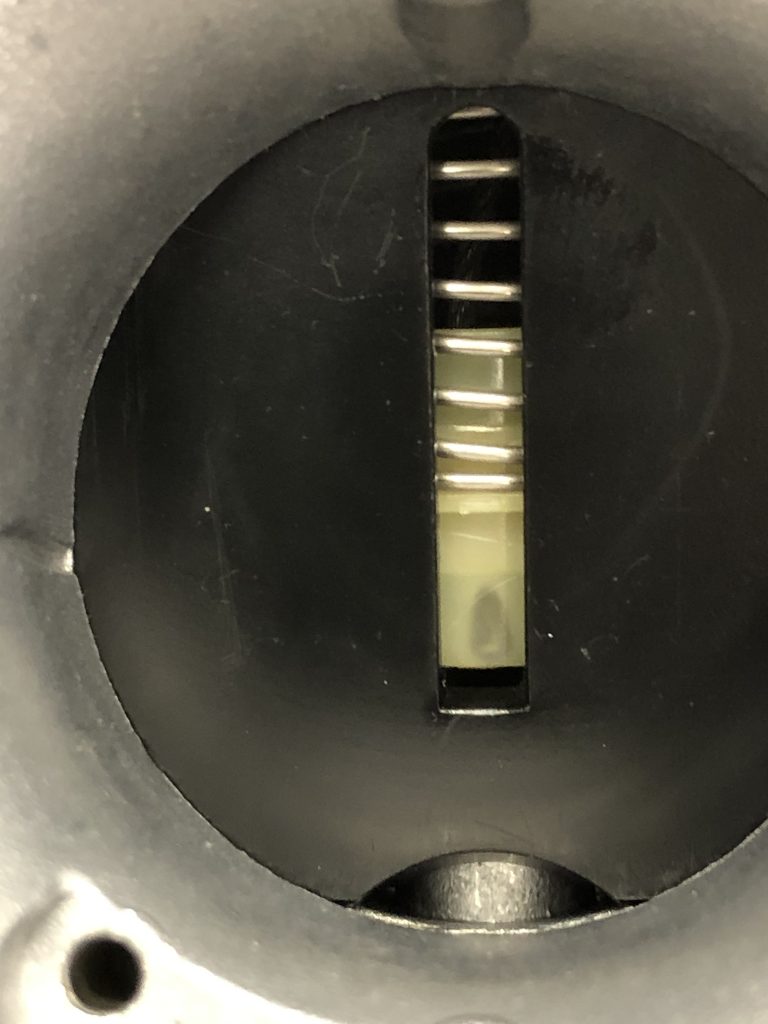
The carb needs to be carefully setup at the right angle and centricity for this test. My fuel level is within the tolerance of 7.1mm + or – 1mm.
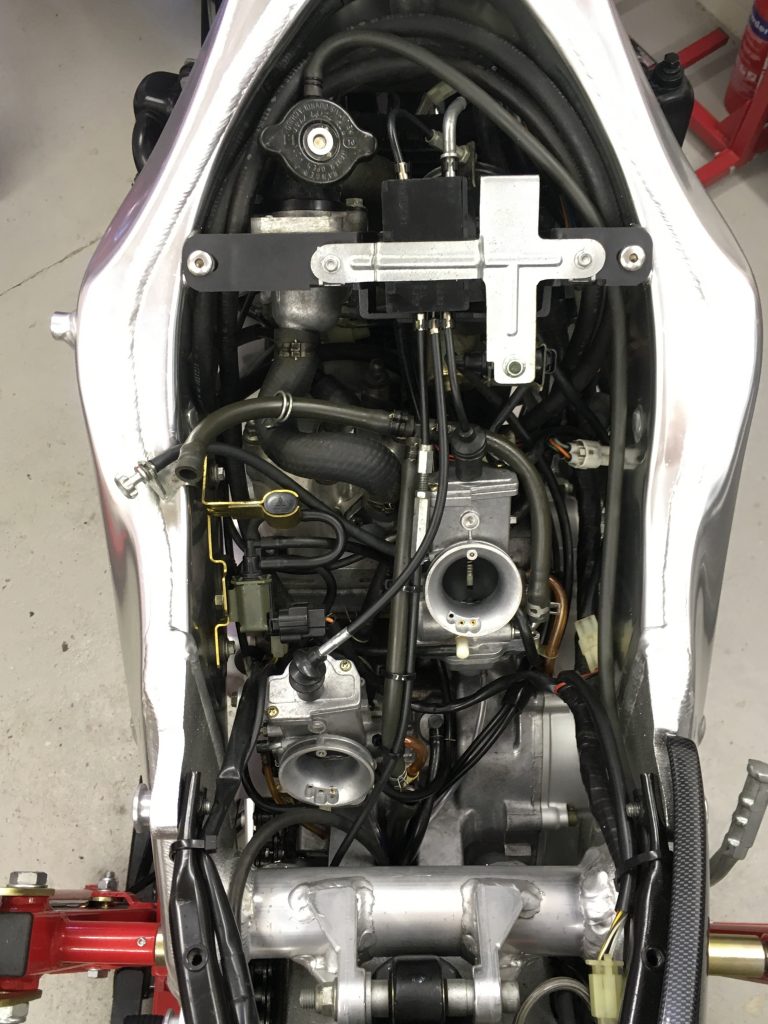
With both carb float levels correctly setup and checked, it’s time to finally fit them and reconnect the chokes, fuel lines and throttle cables.
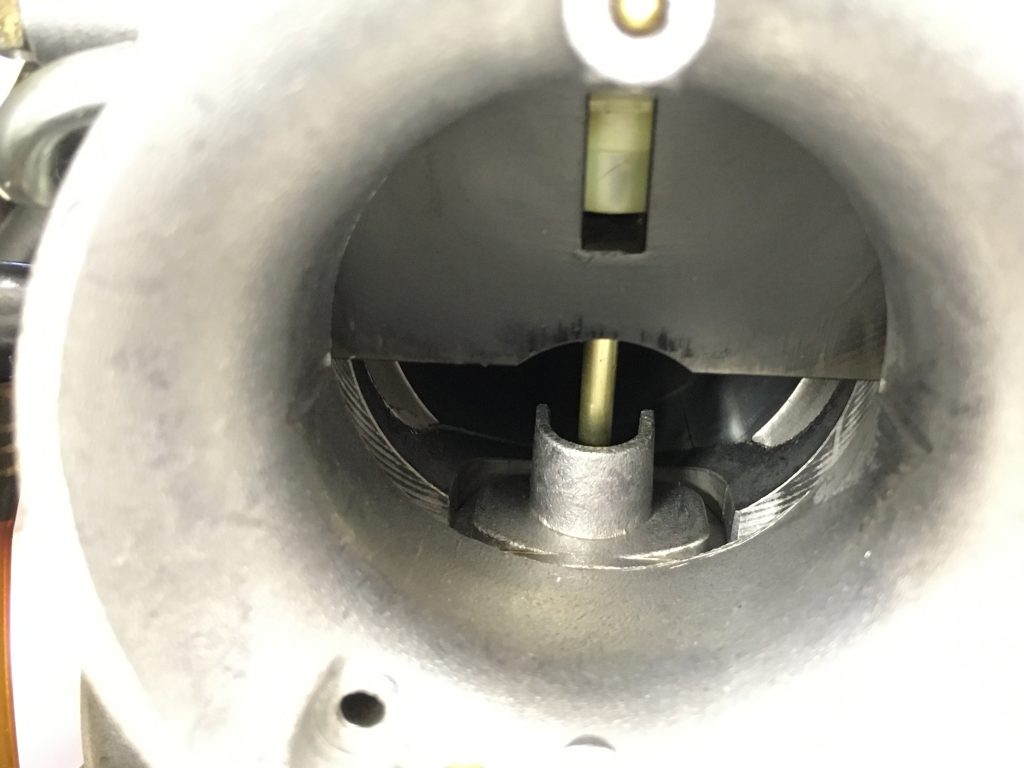
The throttle slides need setting up next to ensure that they are in sync with eachother. The throttle cable is adjusted so both are on the same mid marking together at half throttle.
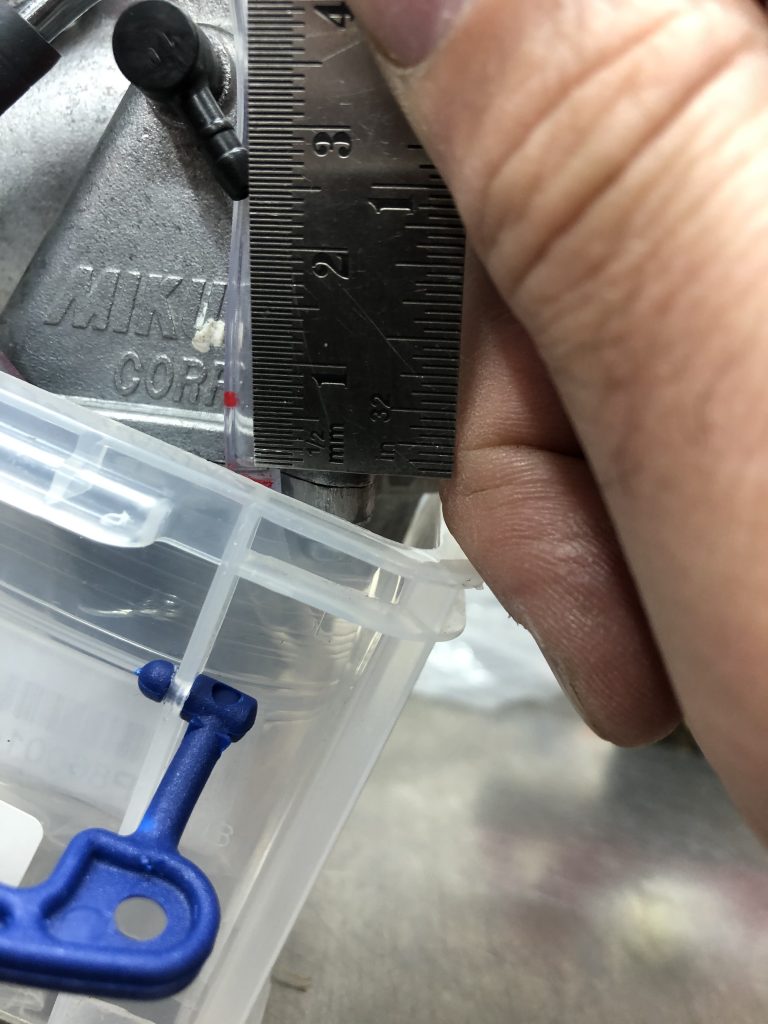
The idle position is also adjusted to a 0.7mm gap, this was pre adjusted off the bike using a cable tie that was conveniently 0.7mm thick!! This must be done off the bike as the measuring cable tie meeds to be inserted in the back of the mouth of the carb (engine side).
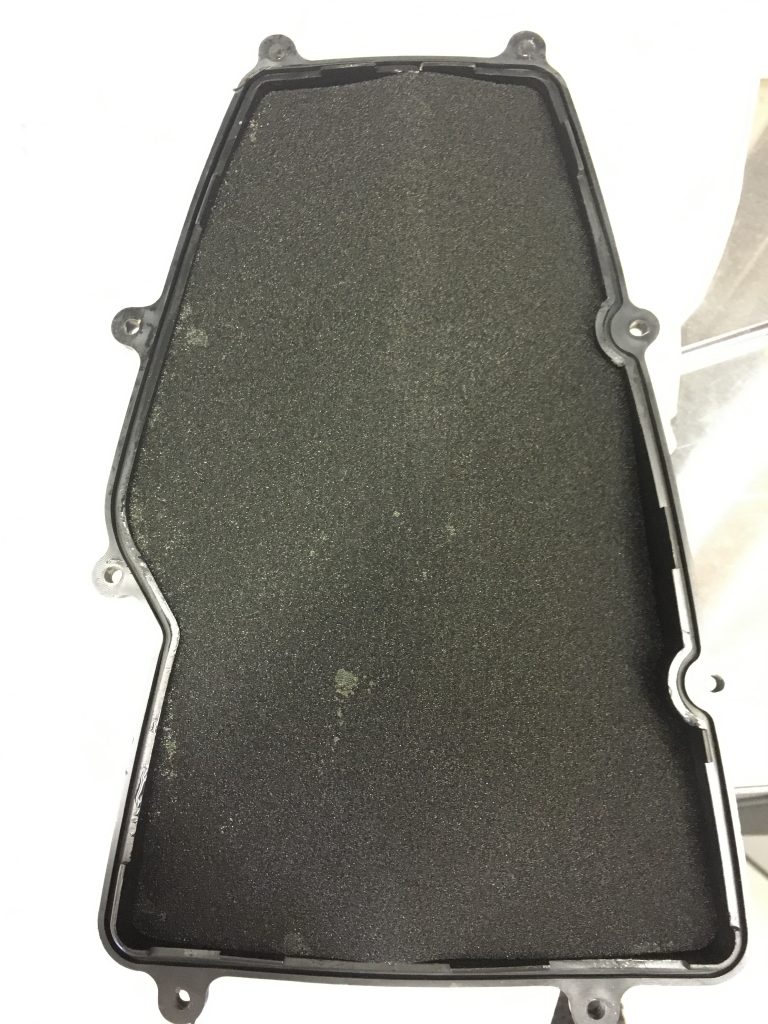
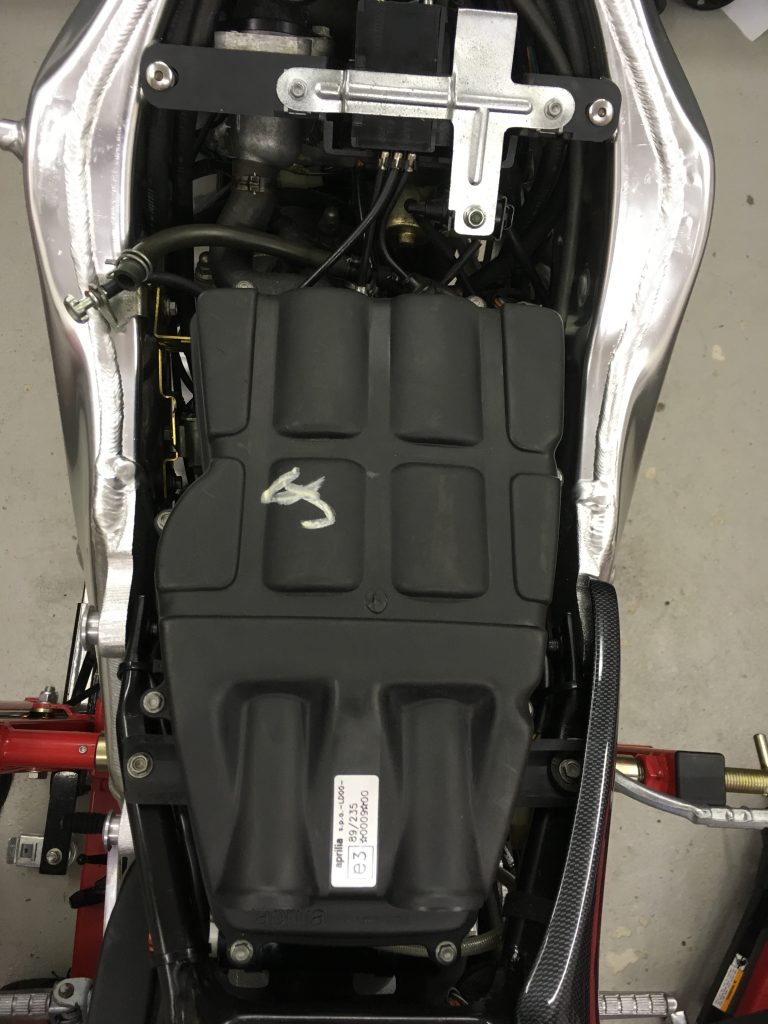
The new air filter is inserted, air box cover back on and all ready to go!!!
Edited to add, I have since been back and renewed all the fuel lines with new as well as replaced the carb drain hoses.