
I must admit, one of the reasons I have waited so long to pick up an RS is because deep down, I always had this fear that they would require far more fettling than a regular four stroke.
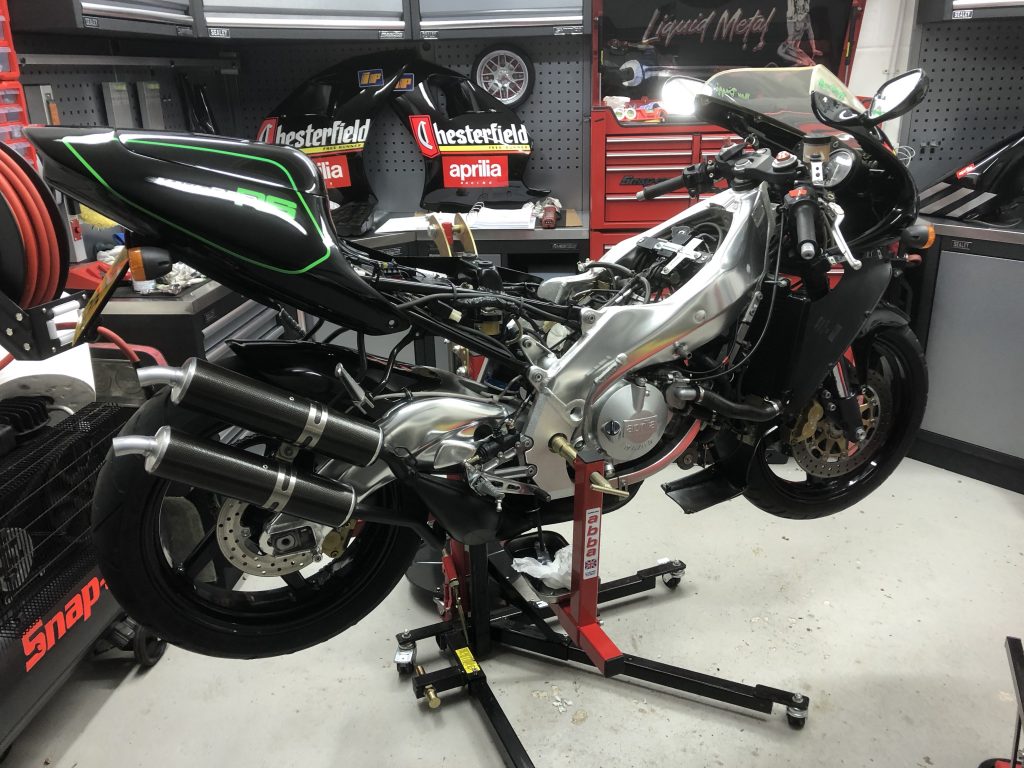
With 2,600 miles, this example would hopefully have a few years of engine life left in her. It has had three services in its life, 2 were Aprilia main dealer, of which the last of those being in 1998, and the last service a ‘local to the previous owner’ renown motorcycle shop that recommissioned her in 2018 (8 miles ago!). Fortunately this should mean that the bike hasn’t been messed with too much. However being overly cautious, I have been going through her checking everything and renewing anything that I’m not 100% sure about before it hits the road to stave of any disasters.
It doesn’t take very long to find the first eye opener! To be frank, this is why I like to carry out my own maintenance. The air filter literally falls apart in my hands.
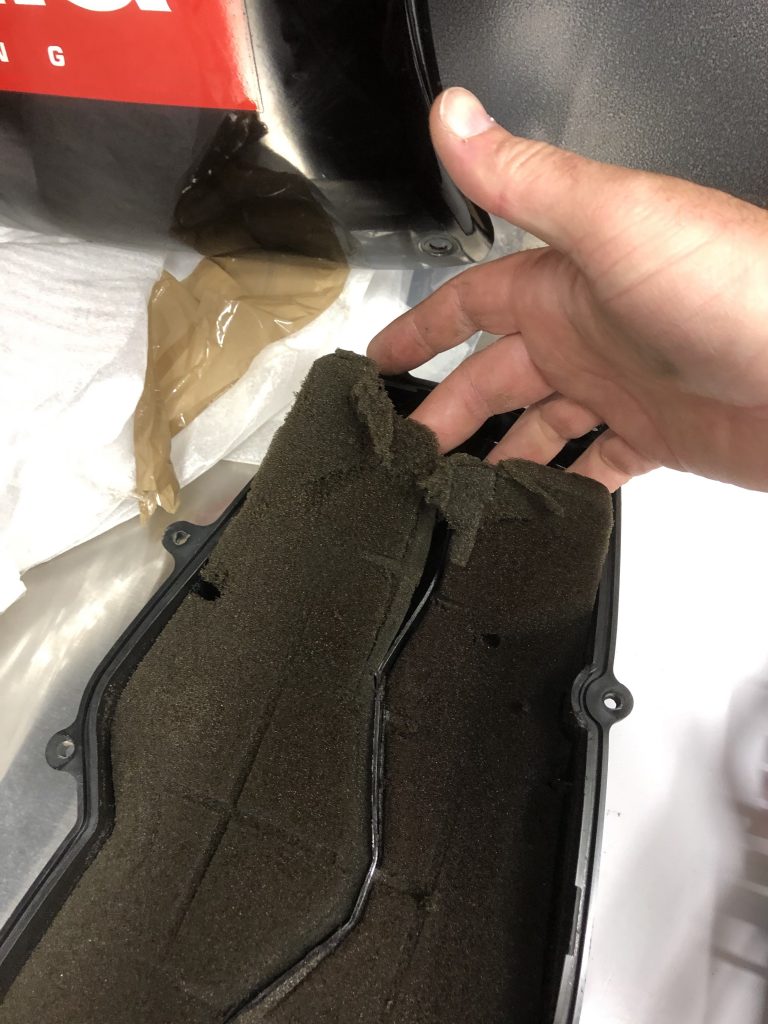
Thankfully it was complete when I removed it, but whether this would have held up under 11,000rpm load without the bike ingesting lots of crumbly foam; I doubt it. I also find a mismatched bolt on the airbox so in the name of OCD, a replacement matching bolt has been ordered.
Perhaps the highest priority is that the brakes are up to scratch, after the rear master cylinder bleed failure, I’m not taking any chances with the front one, so managed to source a NOS front master which includes the brake lever.
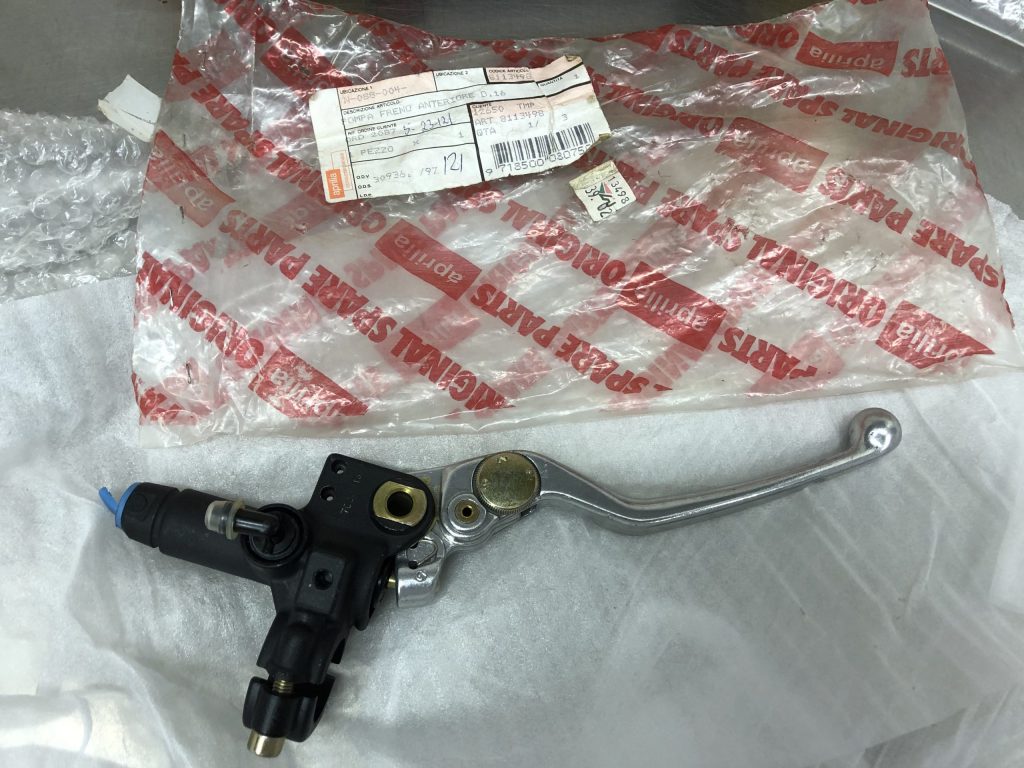
While there I’ve also picked up a matching clutch lever so everything looks shiny and new on the control front since these levers have a tendency to corrode over time. A front caliper overhaul kit has also arrived to compliment the new front master so they will function like new once the calipers have been overhauled.

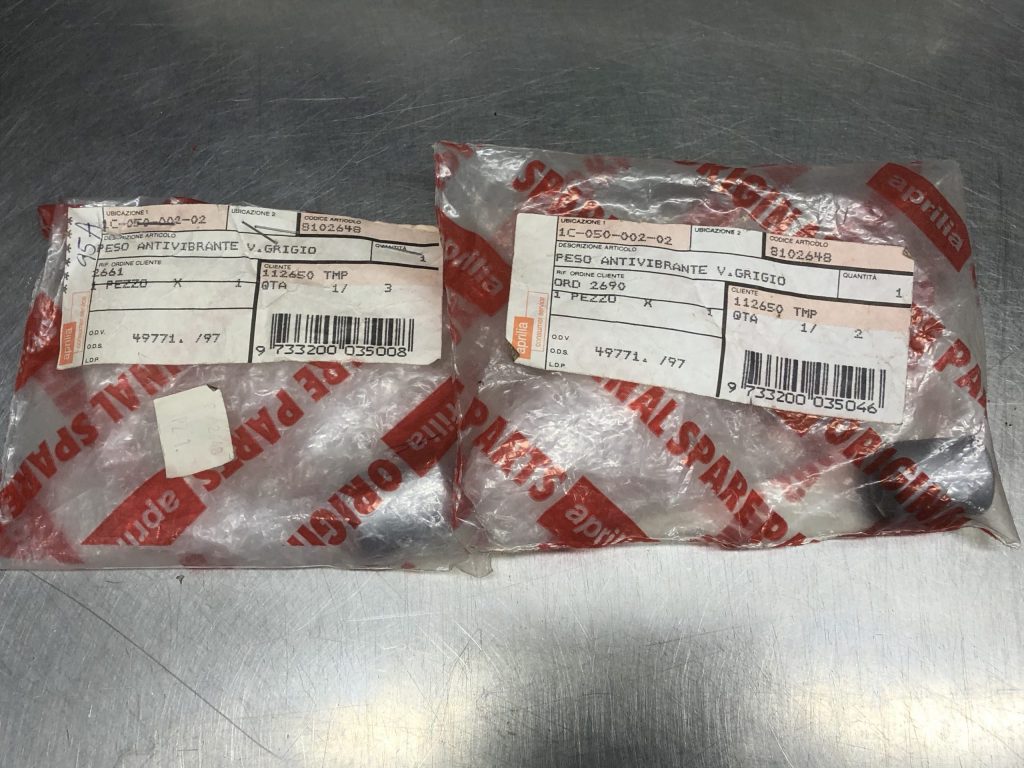
In general tidying, a pair of no longer available bar ends in the correct 1996 grey colour has also been sourced.
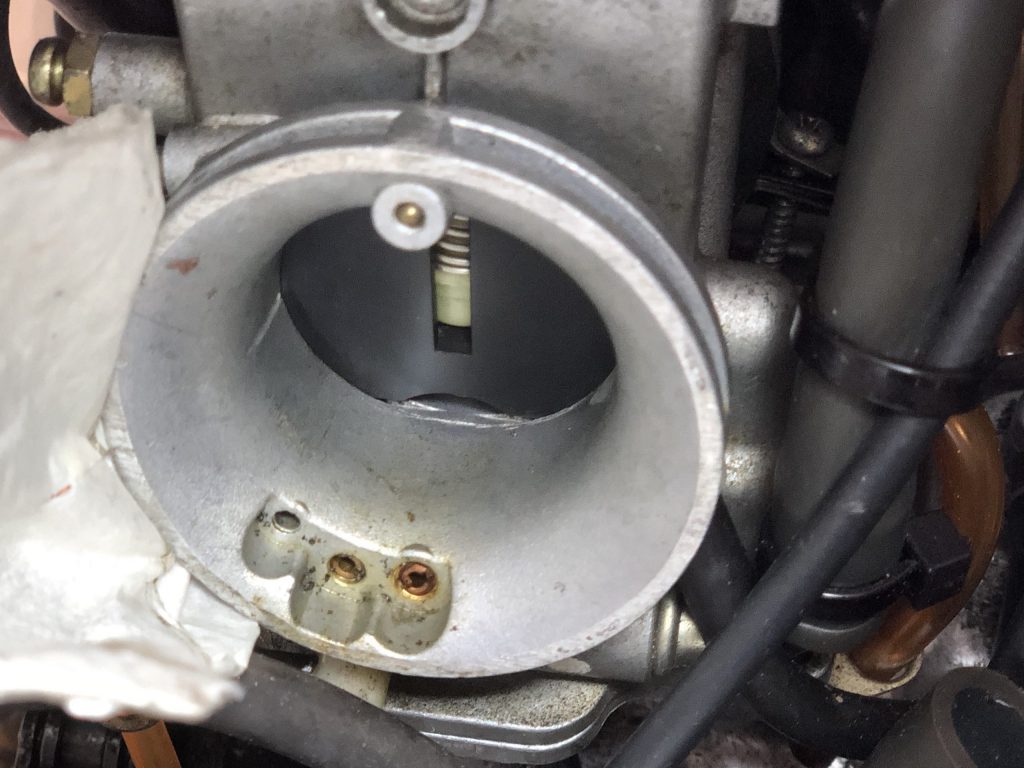
Before hitting the road, it’s time to look at the engine. Spark plugs are checked, carburettors were apparently ‘overhauled’ a mere 8 miles ago/2 years ago. The invoice charges for a carb rebuild kit. I’m hoping a cheap rebuild kit has not been fitted and the customer was either overcharged or only select parts were used. This picture shows the right carb. During this supposed strip, clean and carb rebuild, the factory fuel feed clips are still in place, so it doesn’t look like the carb has been removed from the bike. It’s possible that maybe the carb was visually cleaned and new air jets fitted at the front opening.
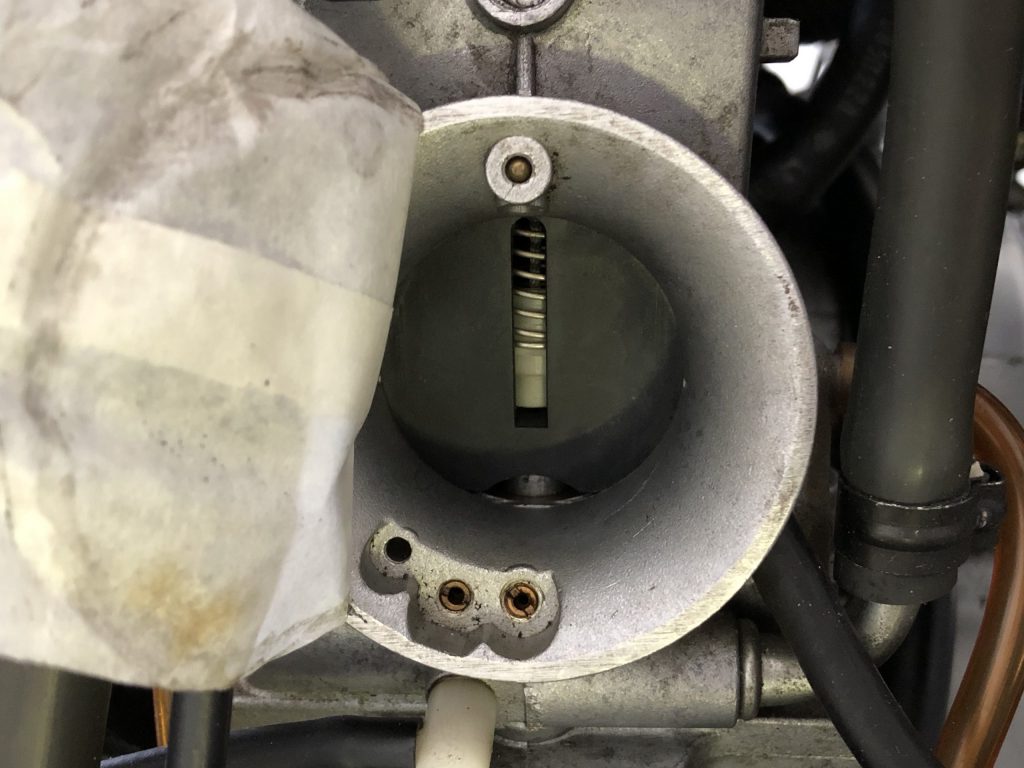
I don’t know if this is the factory needle, I’m hoping it is!
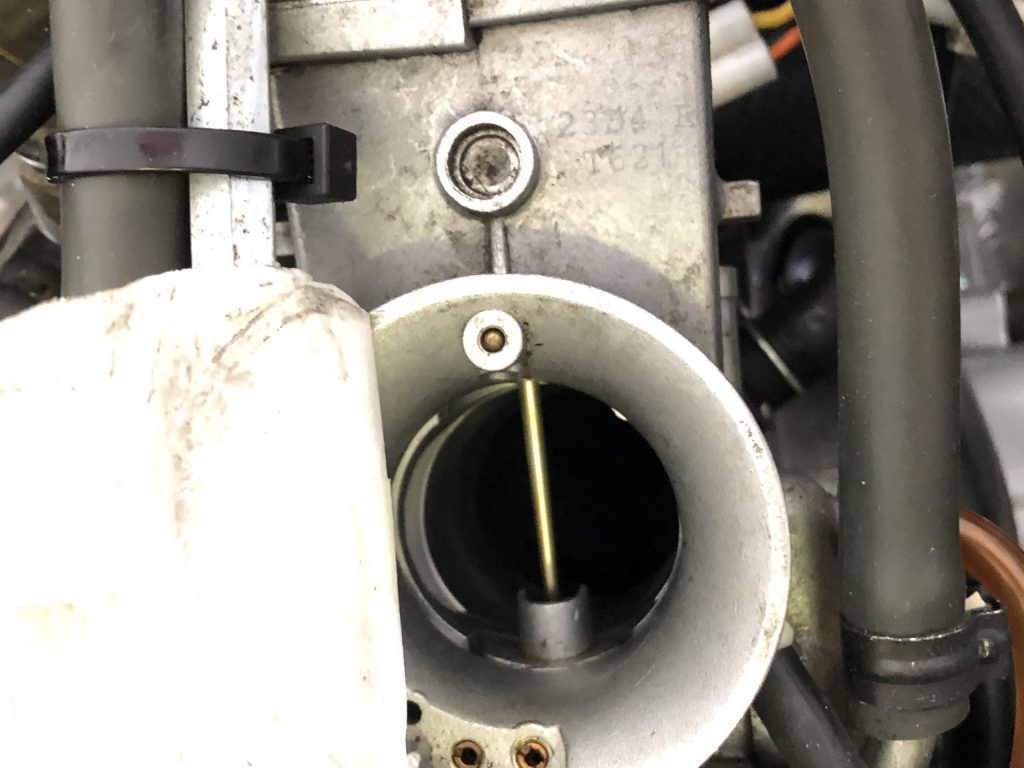
The left hand carb on the other hand, has had the feed pipe removed, evidence by it being secured with a zip tie and not a factory connector. The fuel filters are within this pipe at this point, which looks like the other carb fuel filter hasn’t been checked, perhaps the left carb was the worst of the two and the filter was clear which negated removing the hose. Either way, I won’t be taking chances and have ordered two new fuel filters.
I don’t believe the carbs have been removed or rebuilt and I’m rather hoping that they haven’t. I plan to ultrasonically clean them and would far prefer them to have the oe parts. With the fuel hose not removed from one of the carbs, I can’t see how the carb could have been rebuilt in situ with float bowls removed etc. The £580 invoice to recommission also states that the bike was running on one cylinder which was traced to a bad connector with a new one invoiced. All the ignition connectors are still original, so again it appears work has been invoiced which may not have been carried out and was little more than plugging in a bad connection or spark plug cap.
The gearbox oil is as clean as a whistle. In the last 400 miles it has been serviced twice, the first of which was 22 years ago when the gearbox oil was changed! The last service was for the plugs and a carb overhaul and ‘light’ service whatever that means on a two stroke. I’m sceptical about how thorough the work by the bike shop was carried out. I figure the only way to have true confidence is to start fresh with the servicing in my ownership, which means new Silkolene ‘light’ gearbox oil in and new sump washer going on.
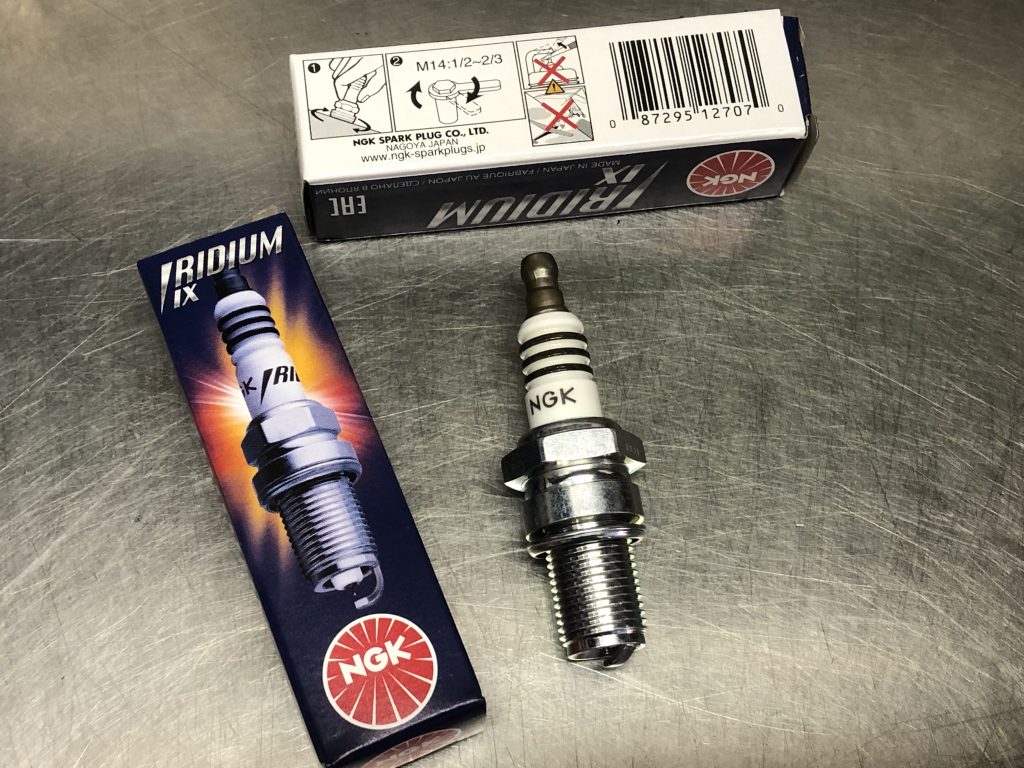
These regular NGK plugs were fitted 8 miles ago, or were they?
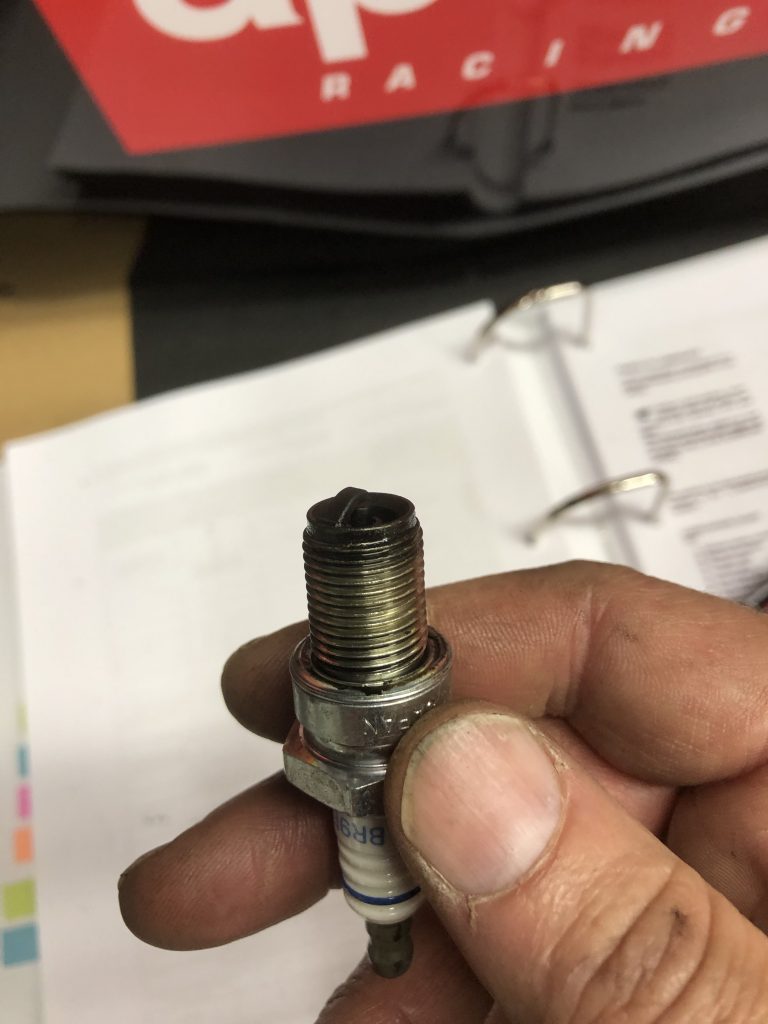
New Iridium replacements spark plugs for a cleaner burn, greater longevity and to help against plug fouling, also twice the cost.
A Pipercross ‘road’ air filter has been ordered, which doesn’t flow more air so as to alter fuelling requirements but is made from far higher quality materials, than the stock which just falls apart.
The two stroke oil will be drained and the recently added Silkolene comp2 replaced with a fully synthetic Silkolene Comp2 ‘Plus’ along with a new oil tank filter to give the engine its best chance of survival.
On this same theme, it is apparent from research that power valves can be problematic, they can stick, seize or disintegrate causing catastrophic engine failure as they can contact the piston. I don’t want to take any chances, this means removal and clean of the power valves and investigating the condition of the pin, which when worn causes the valve to fall apart and drop into the piston!! Many owners fit aftermarket Cougar Red valves which are an improved design making this failure impossible. A sticking valve can also cause the solenoid to fail prematurely, as powerful as the solenoid is, it can apparently still move a very sticky valve so this can go unnoticed. Due to the low mileage of this bike, I don’t plan to replace the valves just yet, I’ll defer any decision making until I can assess the condition of them first however. The relevant gaskets and seals have been ordered for this, as well as some valve retainer hex bolts as the oe philips screws can round of very easily making it a poor design. This will facilitate future valve removal.
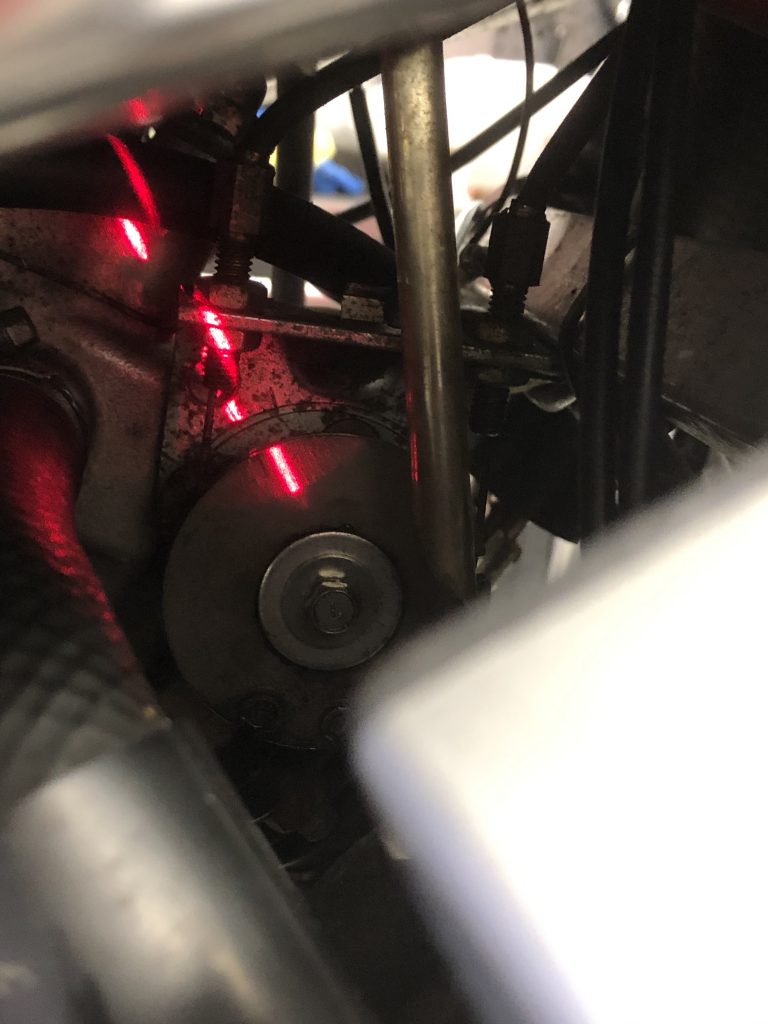
A first check on the valves means everything looks good and appears to be moving and alignment appears pretty much there. Grounding the grey ignition wire puts the valves in calibration mode and it’s a case of checking the alignment against the markings. Apparently the markings aren’t all that accurate, nevertheless…the lower cylinder markings/valve adjustment looks spot on.
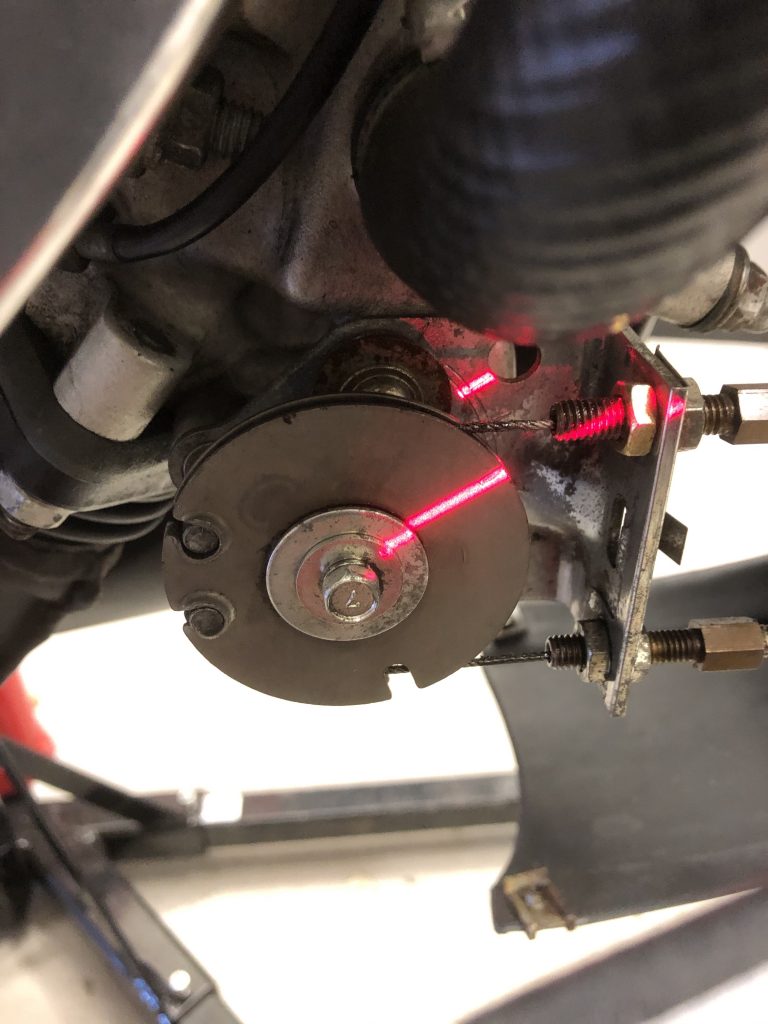
The lower cylinder looks a little out with the photo below showing the laser demonstrating where the pulley marking should be aligned to.
This has left me ordering a Zeeltronic ignition checker, this will allow me to set the valves up far more accurately by effectively setting them to the third wide open position which is the most accurate way to set these up, it means removing the exhaust and looking up the port to ensure the valve fully clears the port when fully open, but not that it hits its stop which may cause the servo to strain itself as the potentiometer in the circuit will keep the pressure on all the time there is resistance. By default the valve will then be in the correct position at its middle opening which is where the grey wire test puts it.
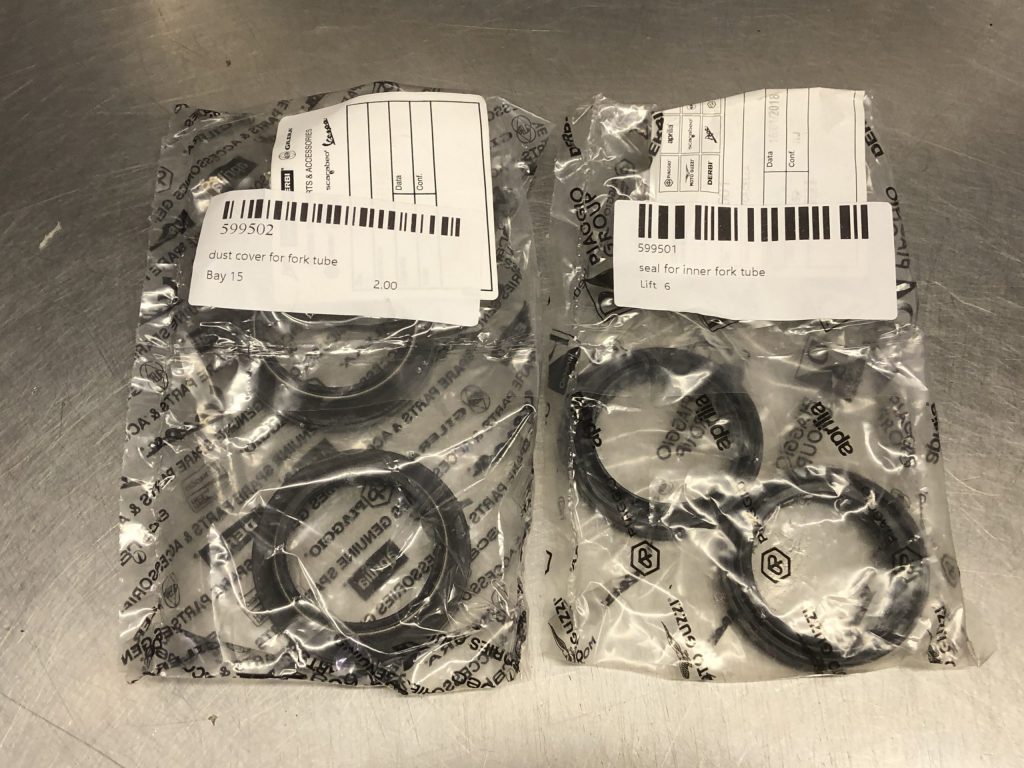
Finally, there is misting on the one of the front forks, a bike of this age is highly likely to require fork seals, these have arrived. I’m hoping to get through the season on these leaving a fork overhaul for the winter.
By now I have spent a small fortune on mainly mundane parts, no glossy shiny tuning parts or any of that ilk. I have sought some advice from Sean at the Tuning Works who has been dealing with RGV250 and RS’s for over 20 years and supplies many of the OE engine parts. He has a a tasty catalogue of proven tuning parts offering real benefits to performance, power and efficiency without compromising reliability which means there may be more spend yet down the line. For now I intend to get everything running as it should for the correct baseline.