Homecoming…

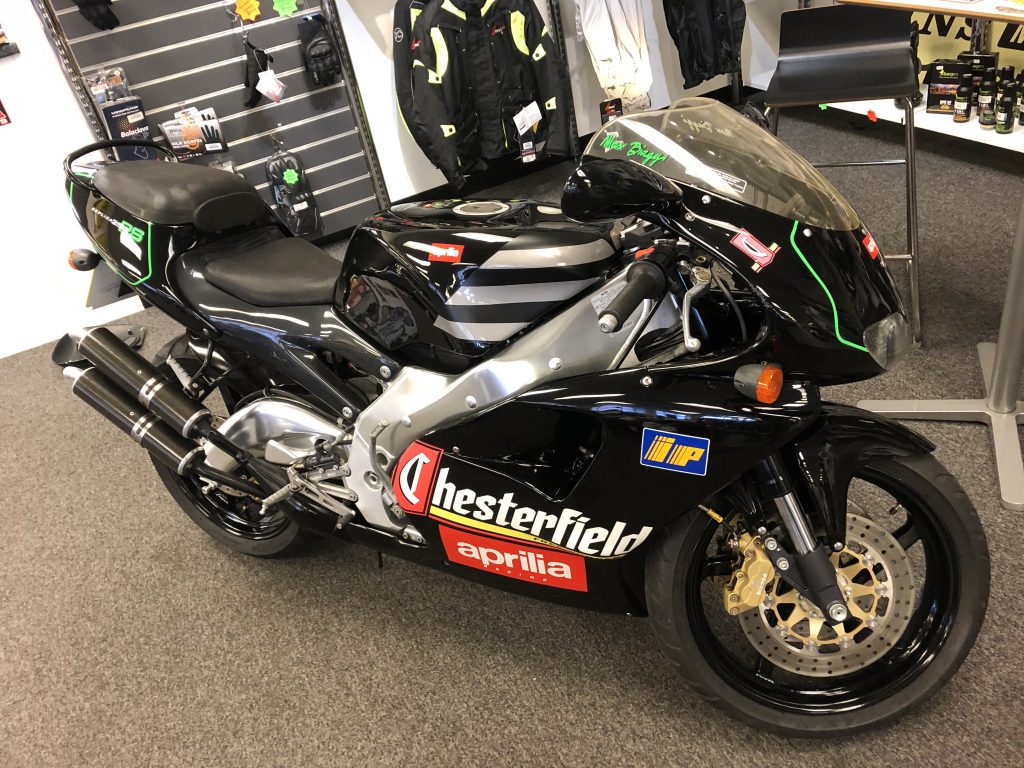
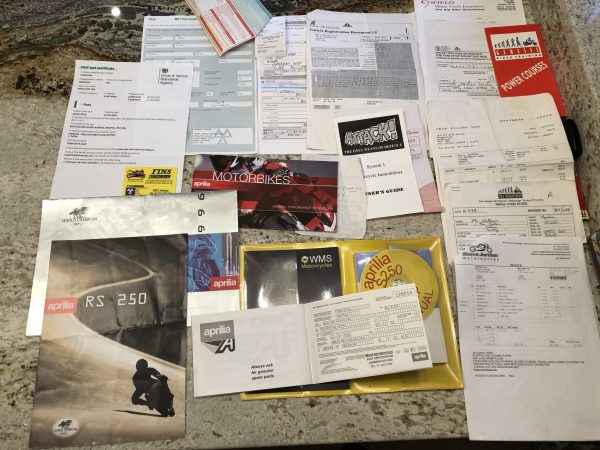
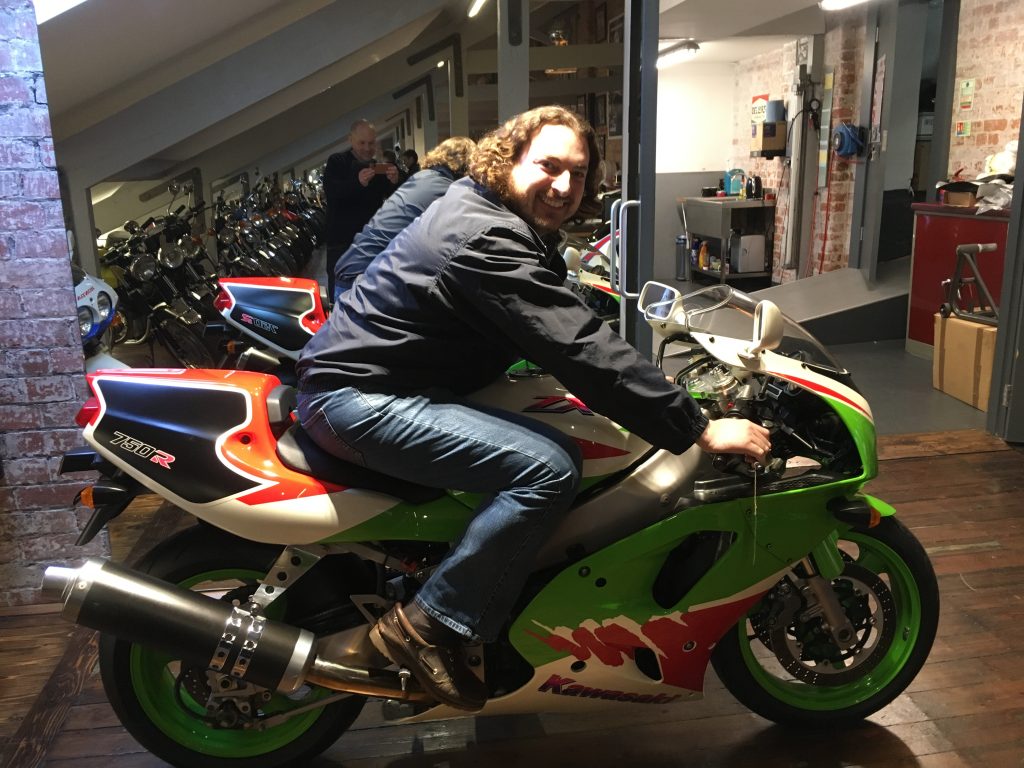
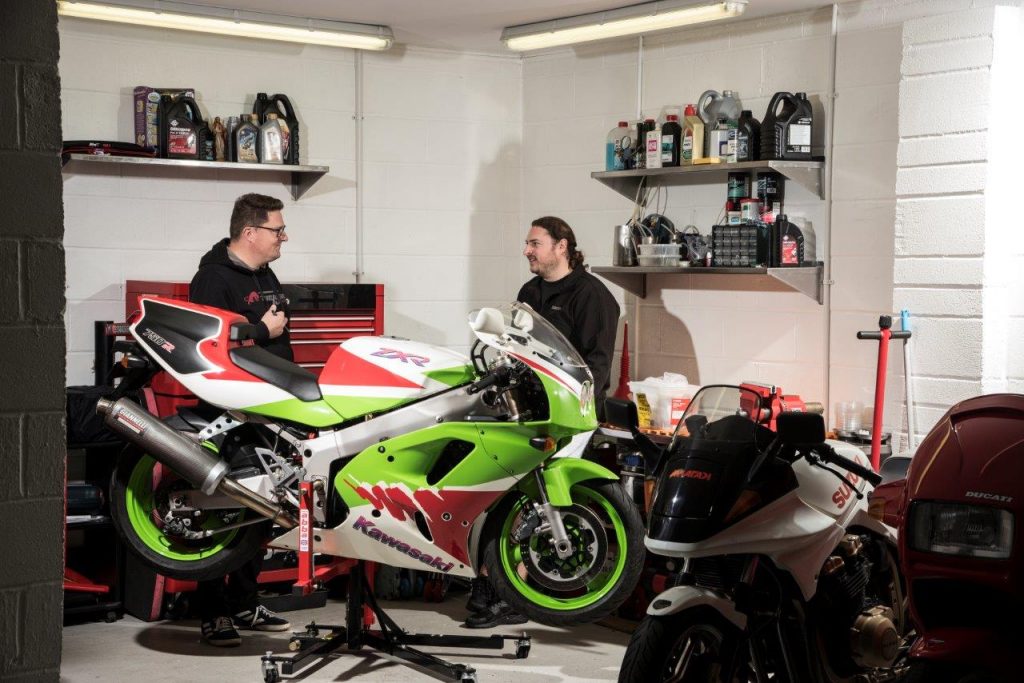
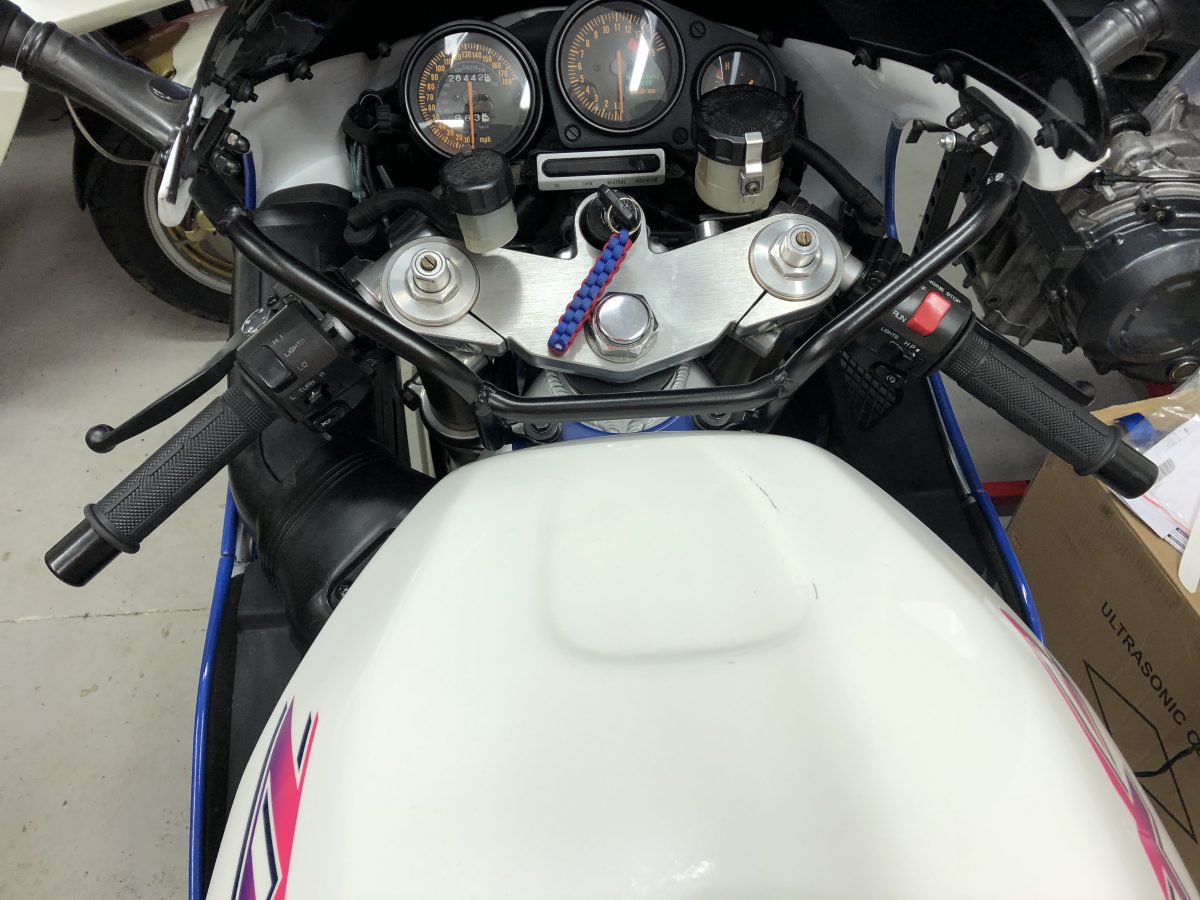
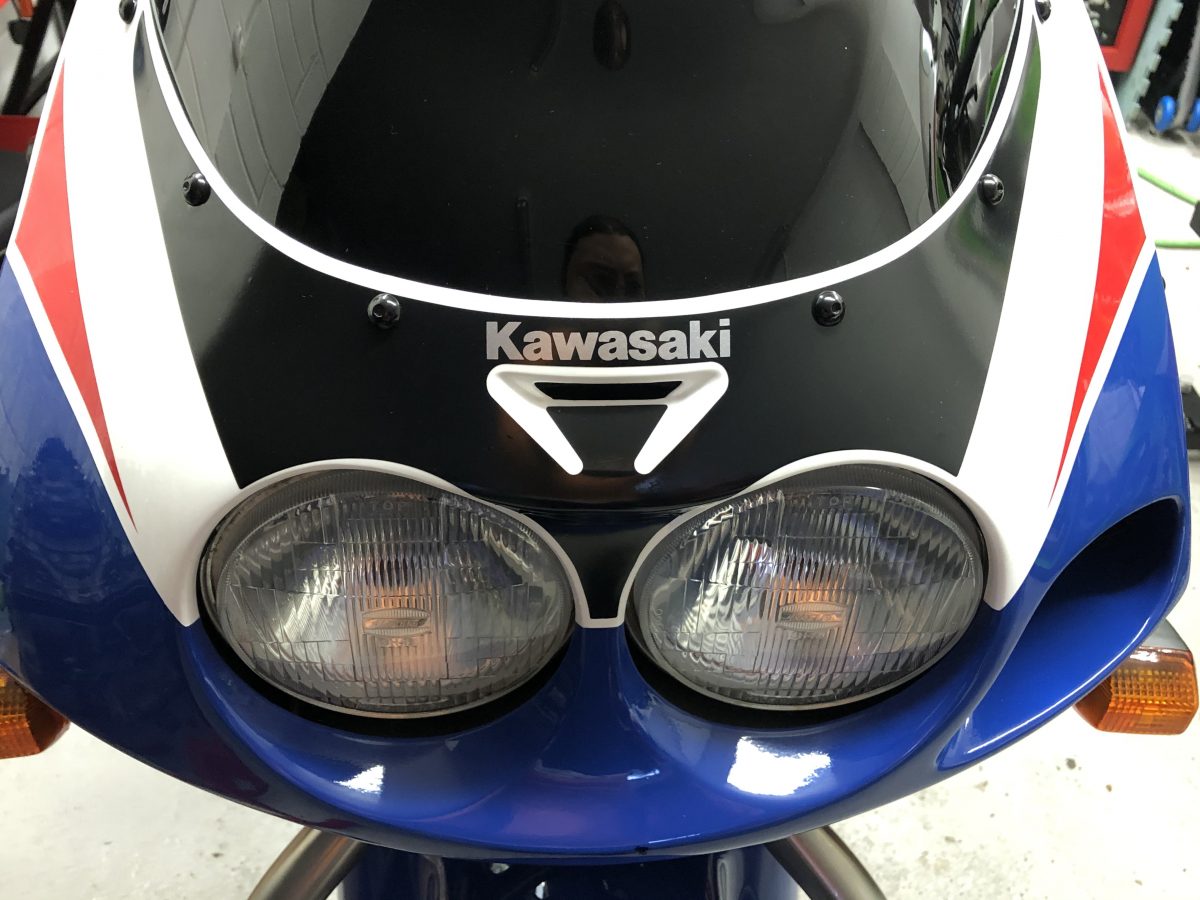
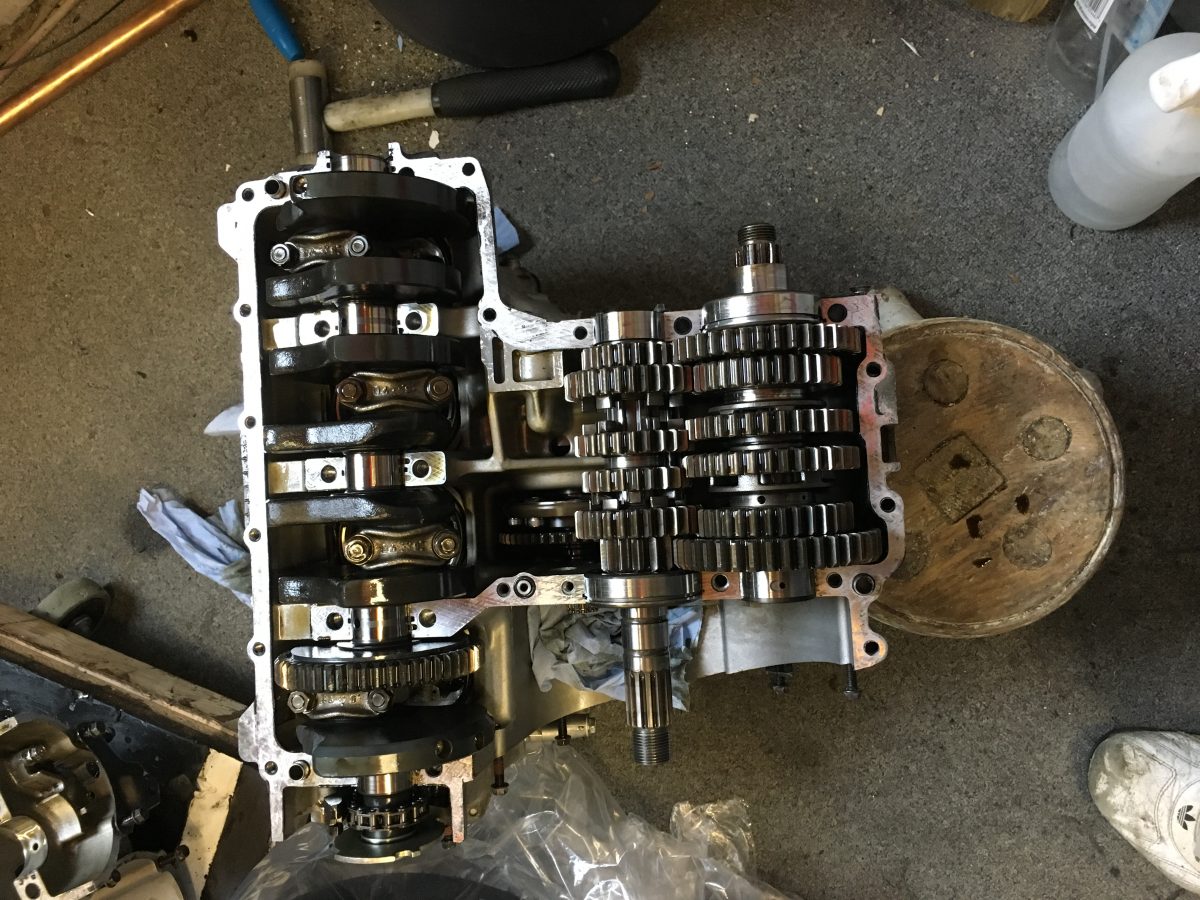
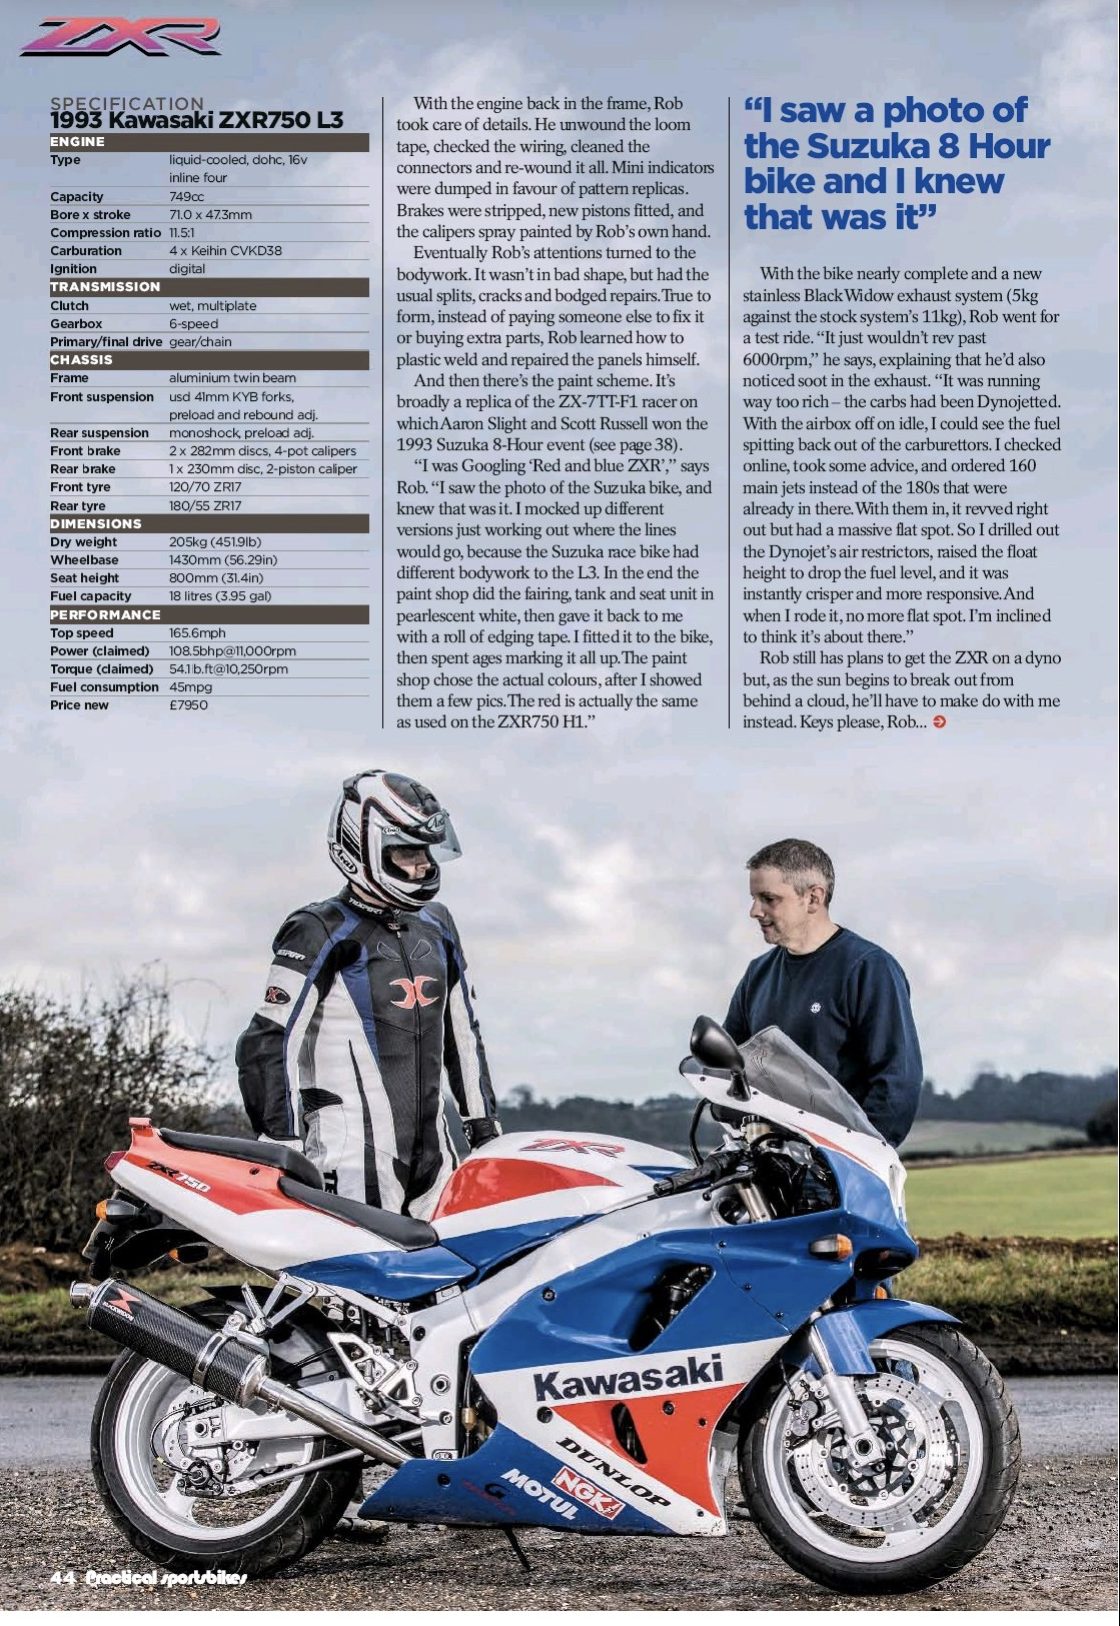
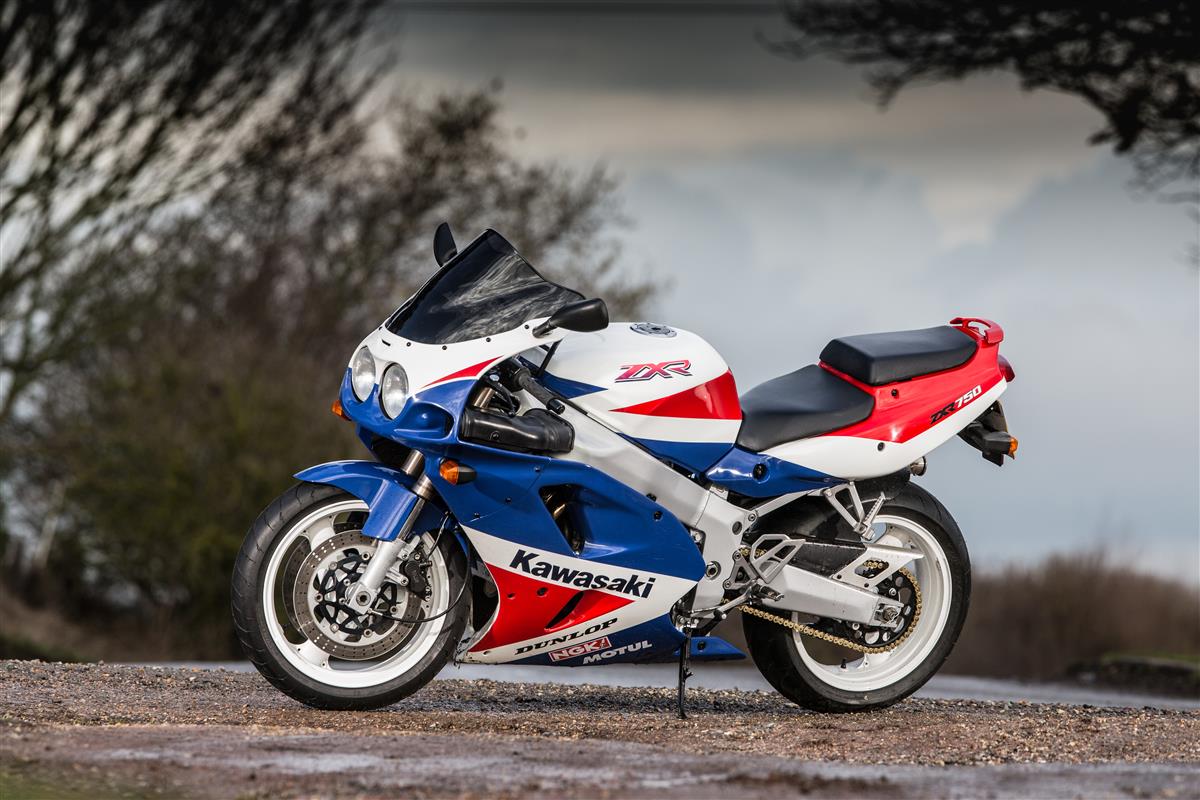
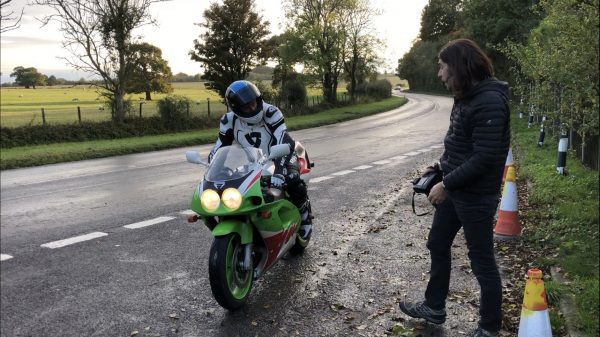
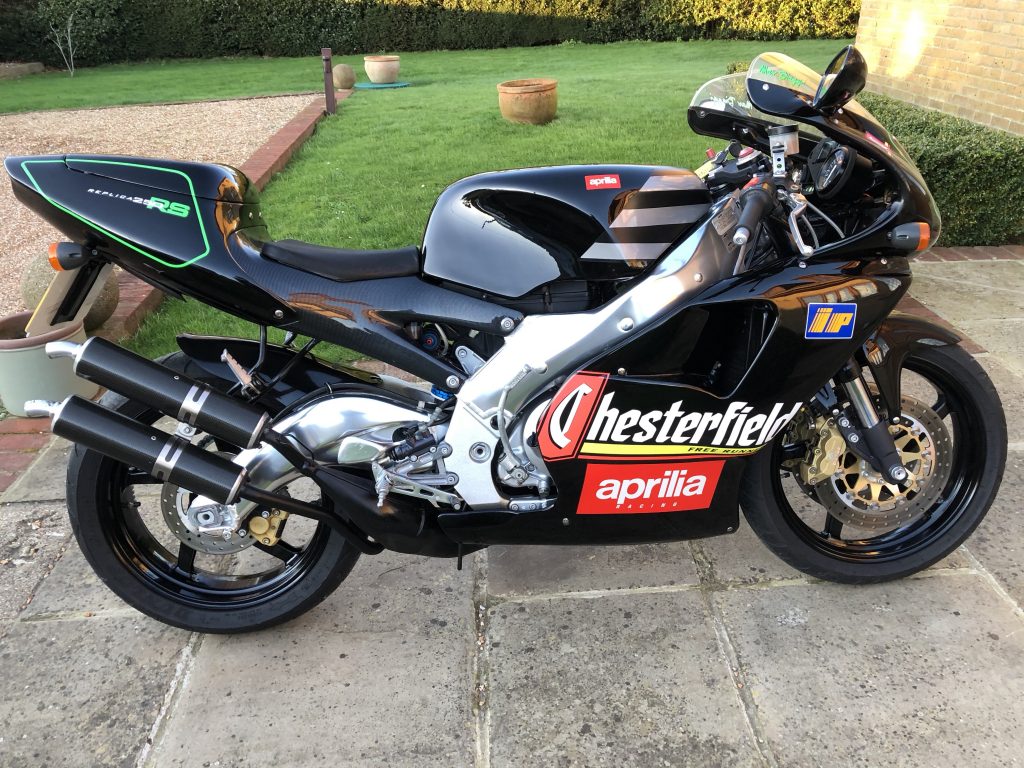
So now that it’s home safe and sound, it is time to address any issues…

First up, this is what the decal was hiding beneath it. The good news is, it obviously didn’t go down too hard. I track the Lady owner down from all the paperwork in the file. She confirms it was a sub 20mph drop and that she was on tippy toes. It was her first bike after passing her test and her baby.

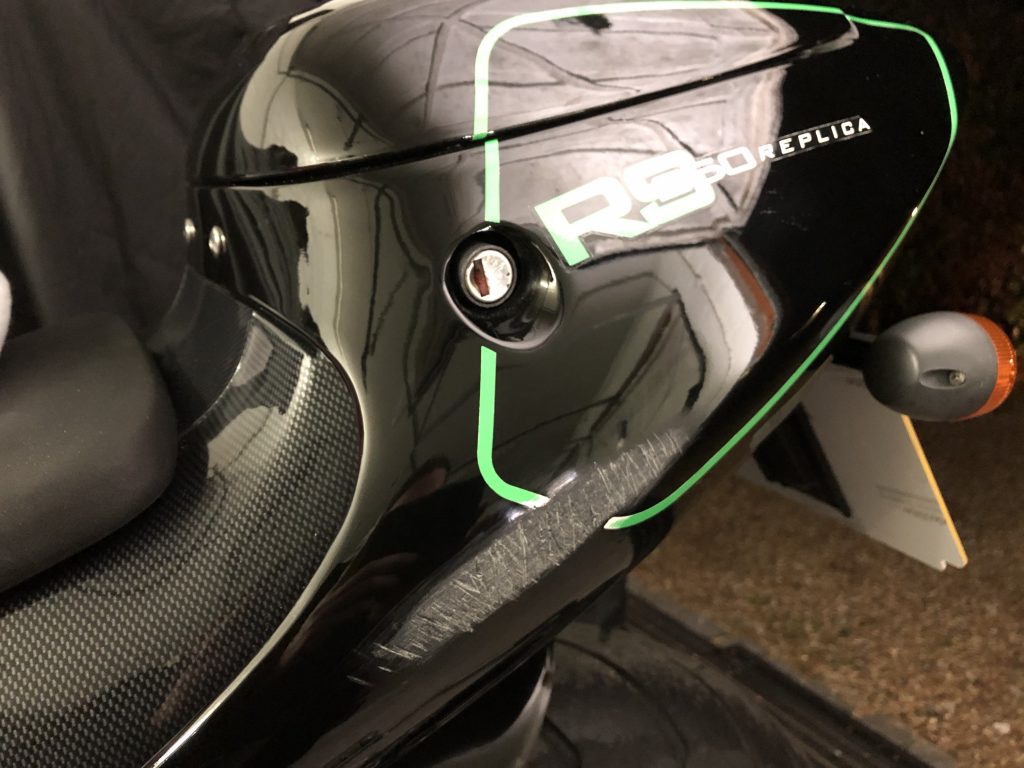
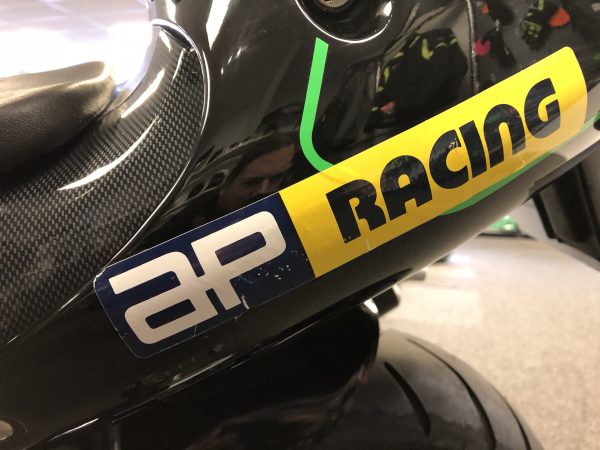
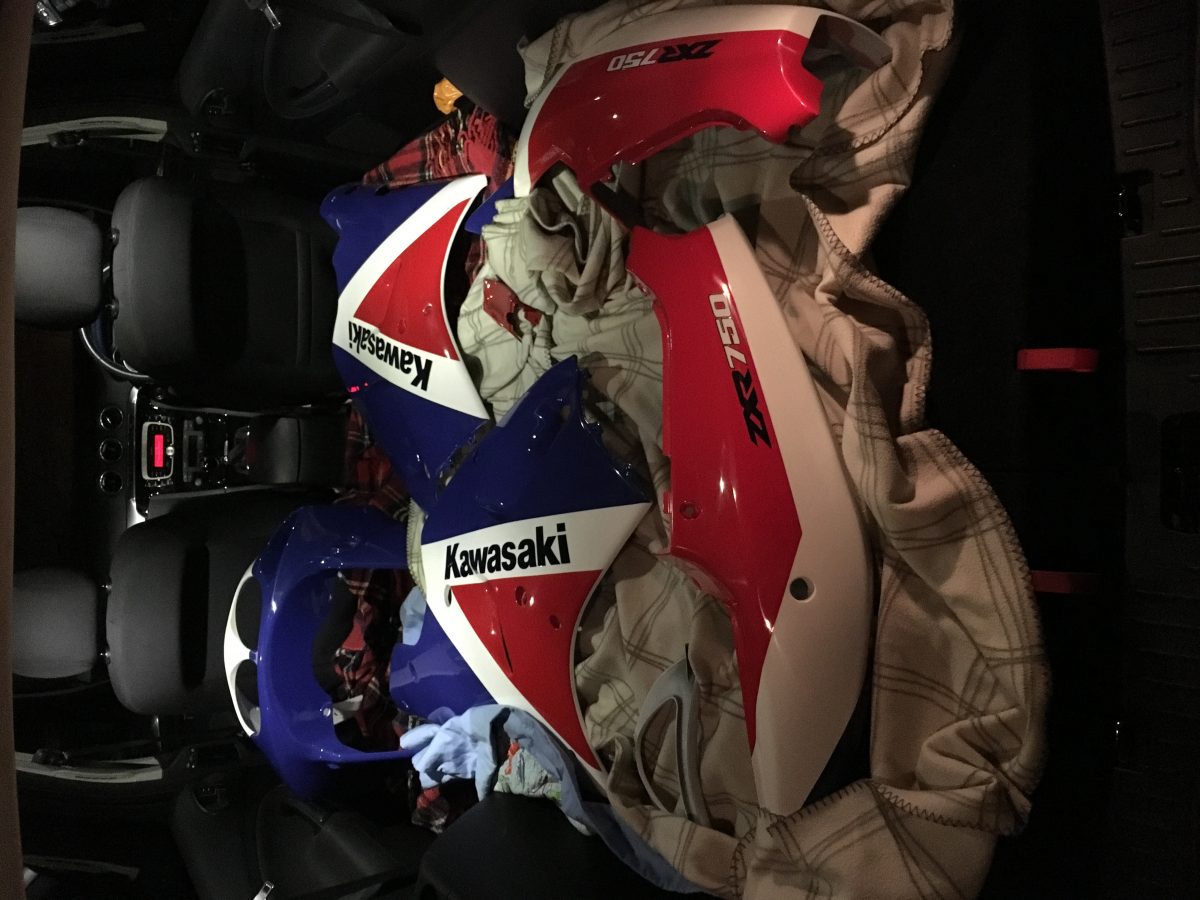
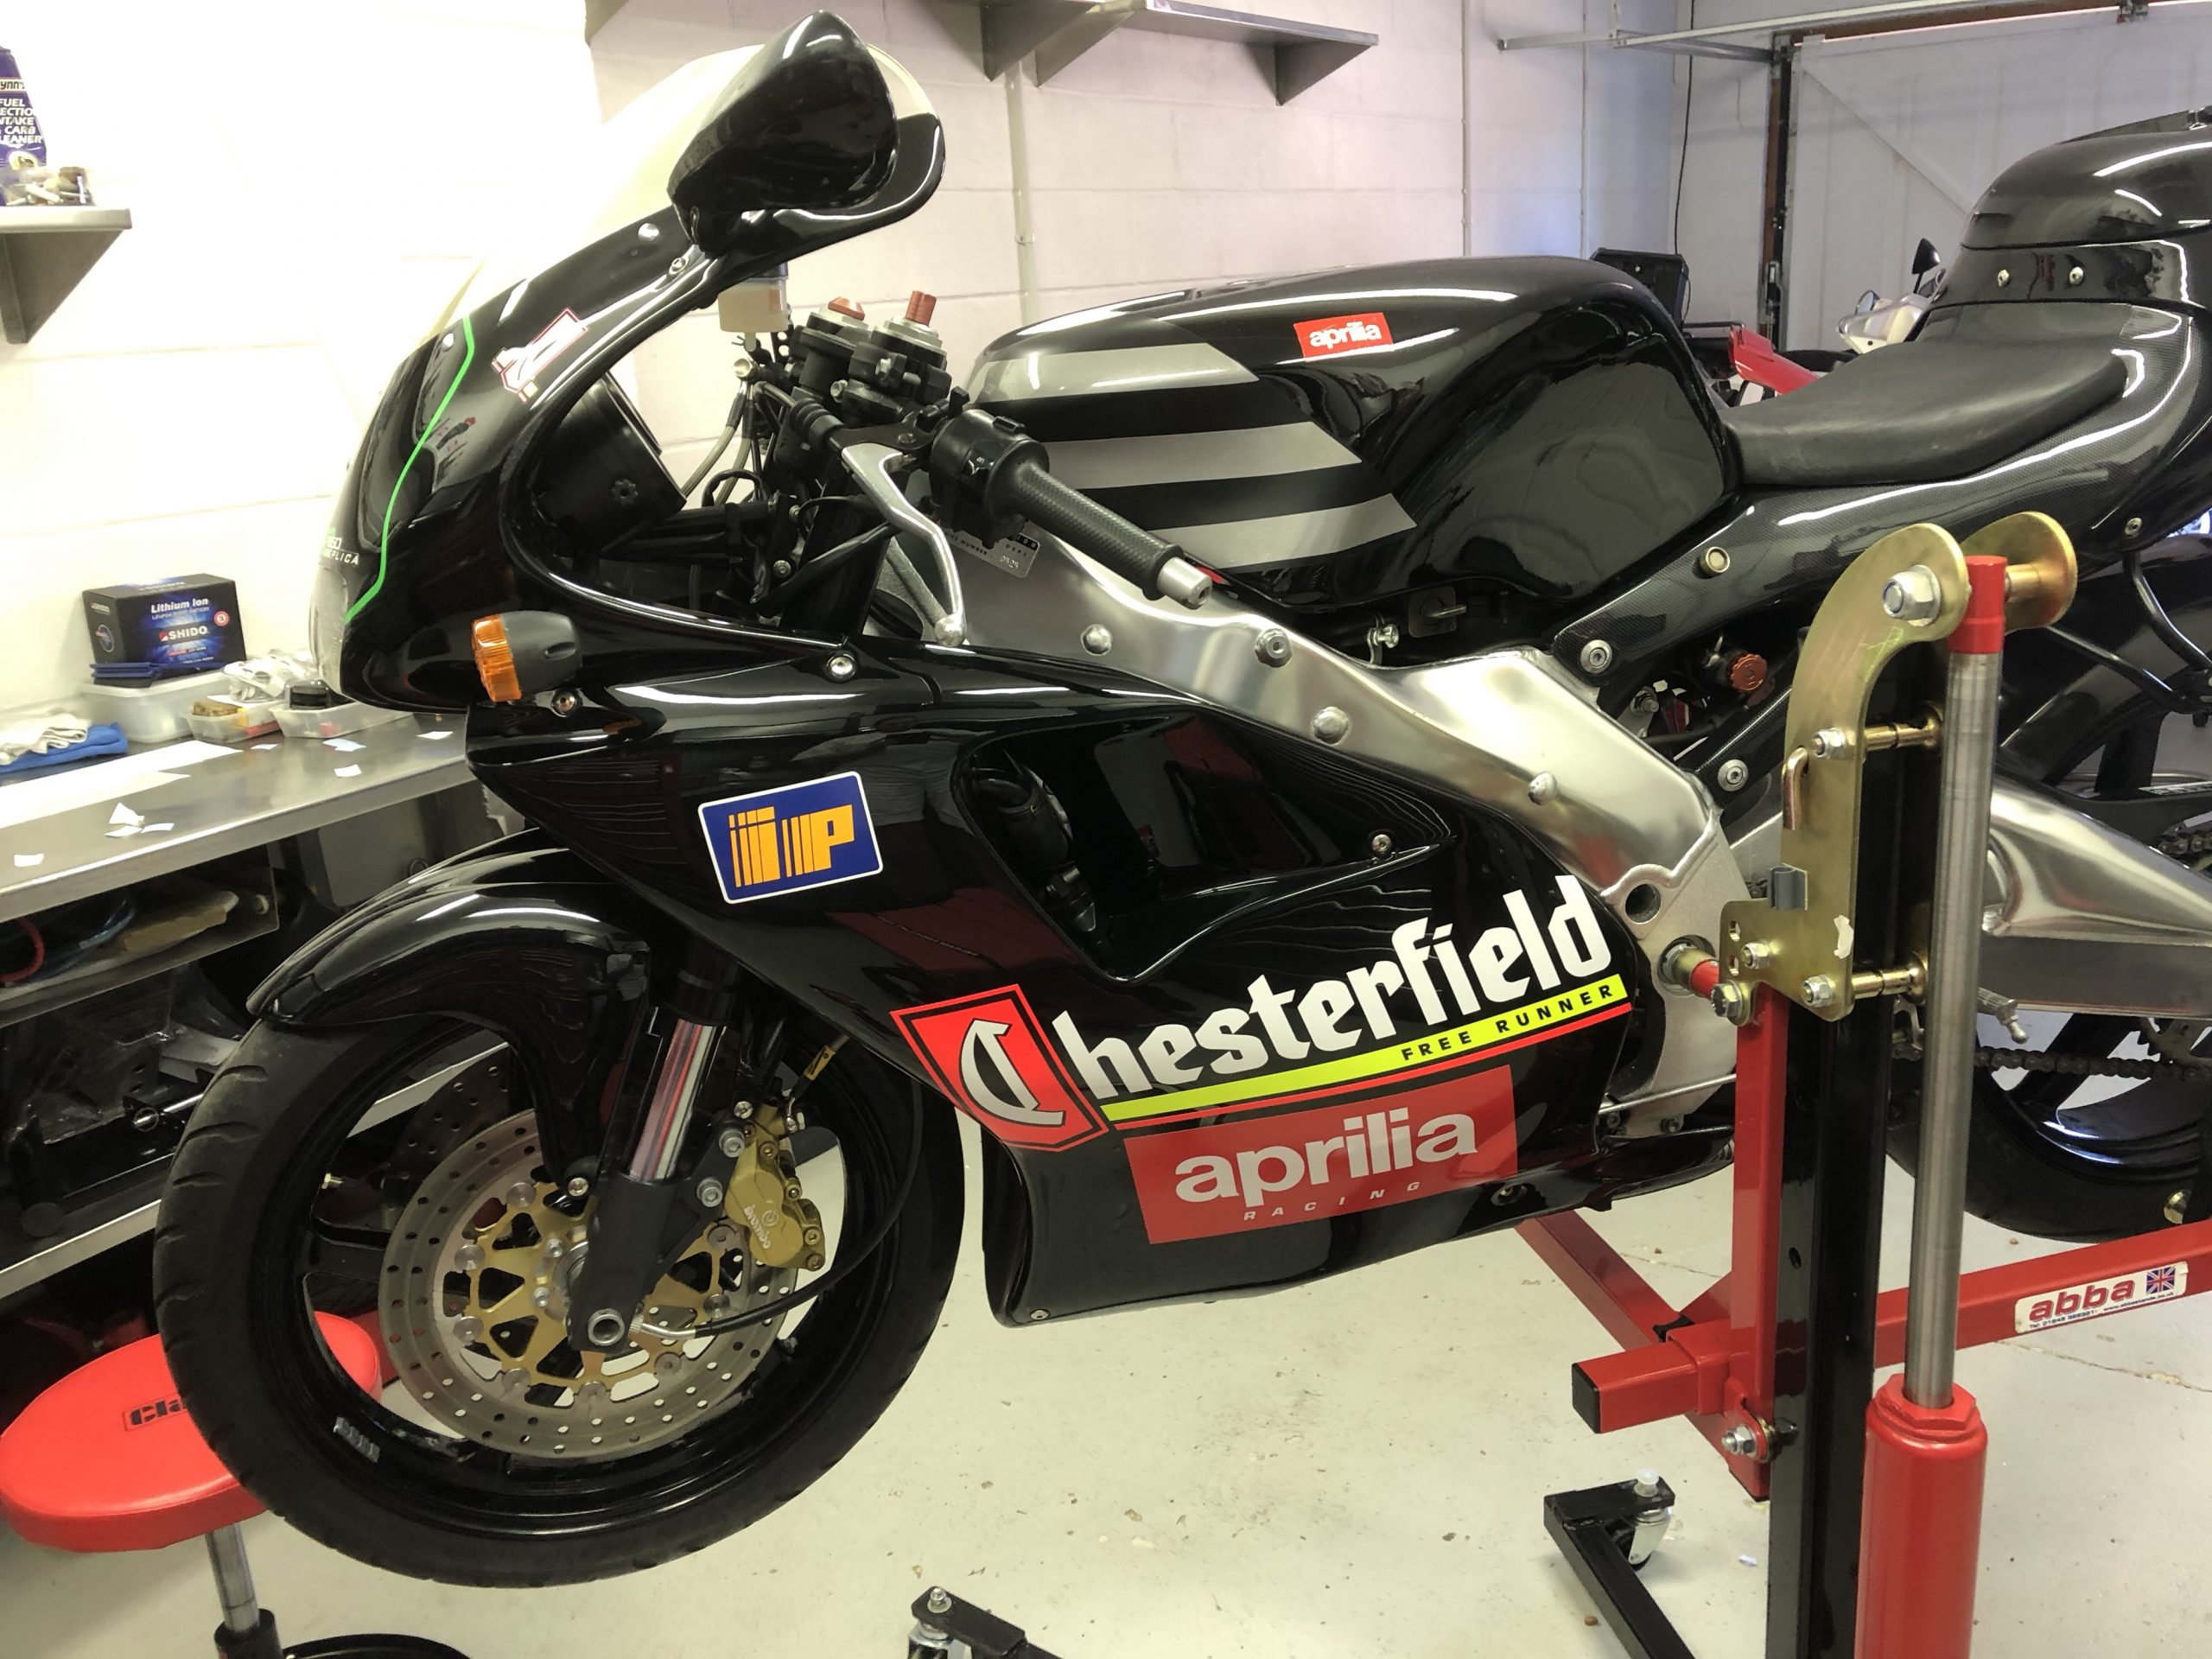
A part of the same tumble seemingly resulted in a new fairing panel however the decal is of dubious quality since the OEM ones have been unavailable for some time. This sticker simply won’t do, it’s not even close to the original in size, details or anything and has been poorly applied. The remainder of this poor quality decal kit is with the parts that came with the bike, along with the rear cowl to replace the pillion seat for that racier look.

This image has an empty alt attribute; its file name is 3MLzzCYPRjU2QNMHKIqZg-600x450.jpg

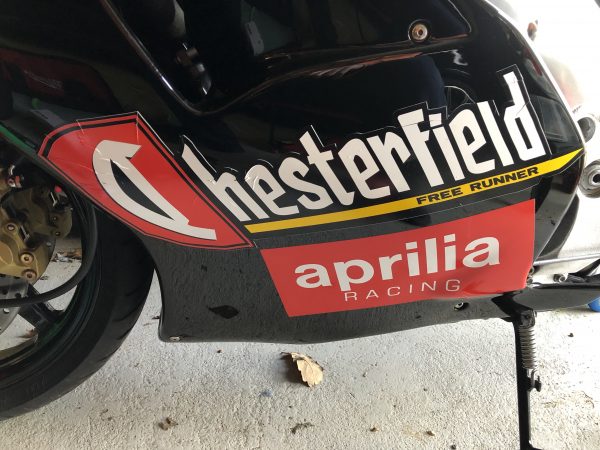
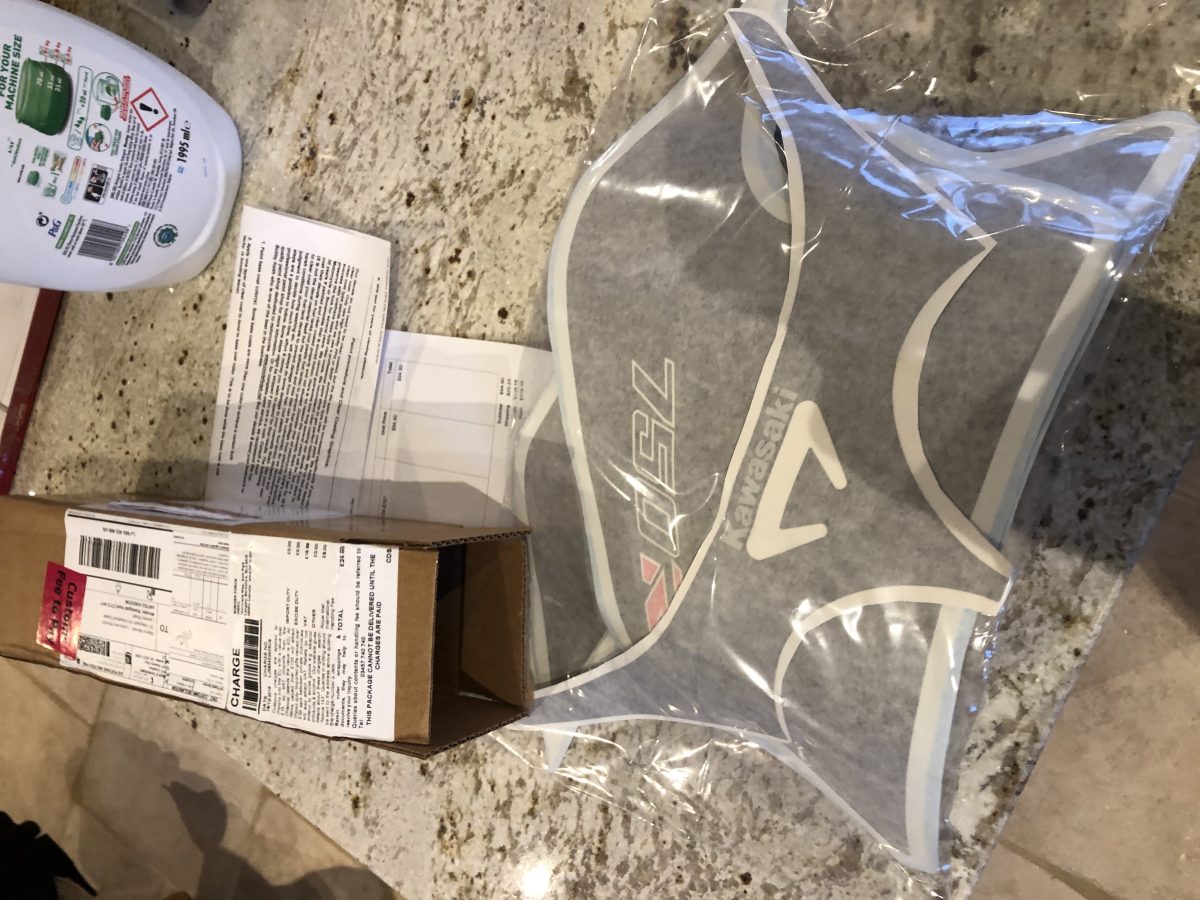
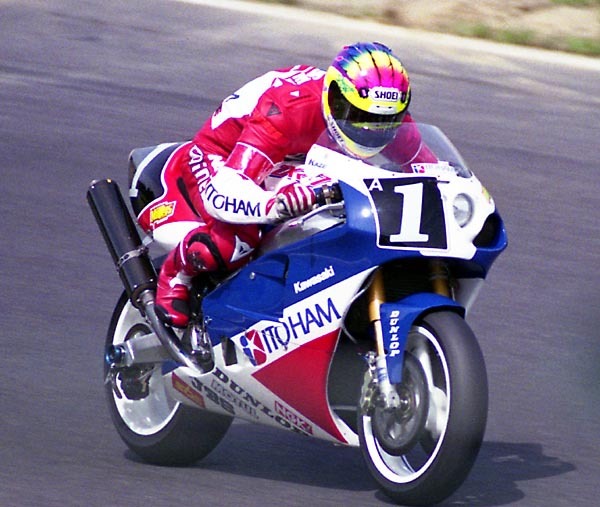
The Chesterfield decals are notorious for UV fading. There’s a little of this in evidence around the rest of the bike. Most of the owners group swear by ‘image works’ for their RS250 decal kit as the oe ones are no longer available. A call to Graham there and a new decal kit is on it’s way.

This image has an empty alt attribute; its file name is fullsizeoutput_246f-600x381.jpeg
A lovely image works replica decal kit…

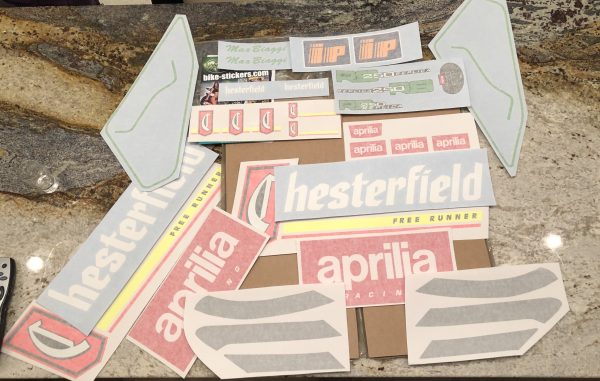
It’s not the easiest of decals to apply, the side fairing one which is one piece on the original, is in three pieces as separate decals.

This image has an empty alt attribute; its file name is N6Ty62SuQ6eEckUhW2urqQ-1024x768.jpg

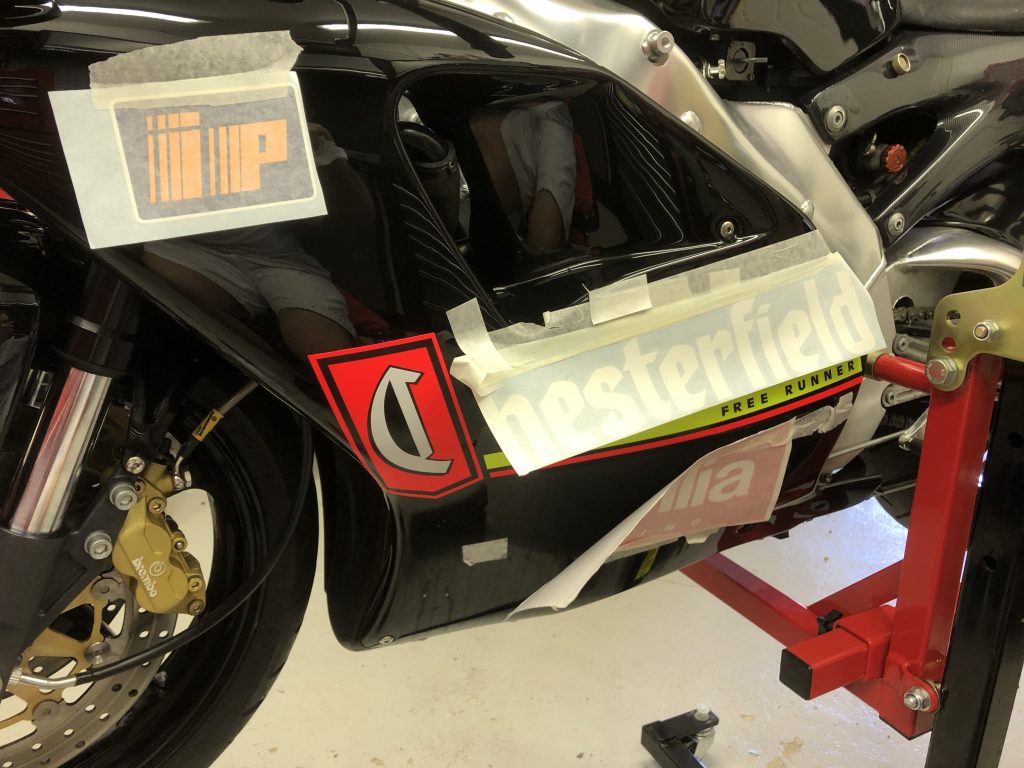
I carefully measure off from the original side to ensure that the spacings are all correct and symmetrical , and lo and behold a few hours later…

This image has an empty alt attribute; its file name is mXWc0fpQeCGMoJYSpIig-scaled.jpg

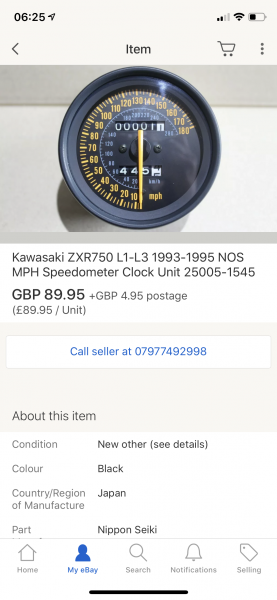
I’m very pleased with the result! The rear fairing needs attention also and will be next for some treatment…I manage to source a NOS one on Ebay to replace the grazed original;

This image has an empty alt attribute; its file name is wzMADzNRGKLJmIeO6kA-600x450.jpg

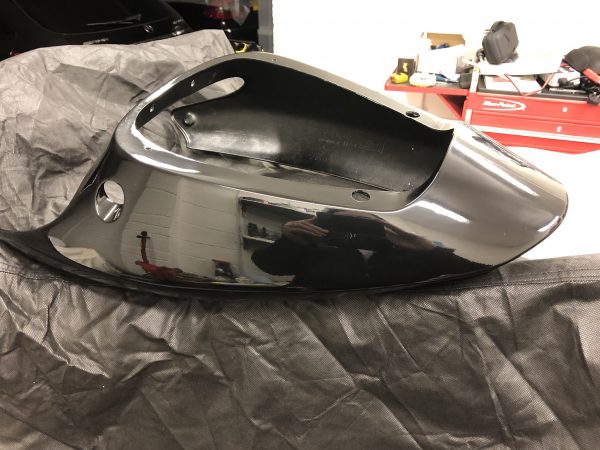
The image works decals are duly applied to the new rear fairing.

This image has an empty alt attribute; its file name is 69F13C0A-42D4-4C75-BBE4-B589E7B89A29-1024x768.jpeg

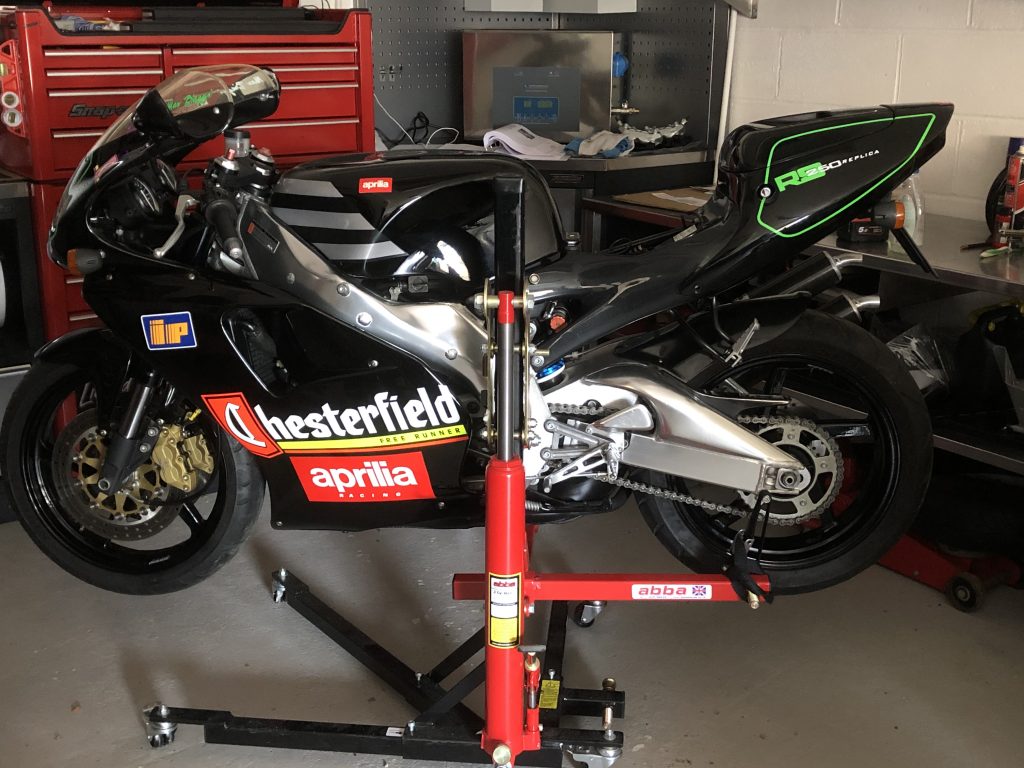
I’m in two minds whether to replace the decals on the good side, I like the fact they are the originals, however they have some light scuffing on the red Chesterfield ‘C’ no doubt from being kickstarted and the yellow is a little faded so it’s likely that I’ll replace this side also in due course.

This image has an empty alt attribute; its file name is o8o2c9lbRLyBRzNUhHr0zw-1024x768.jpg

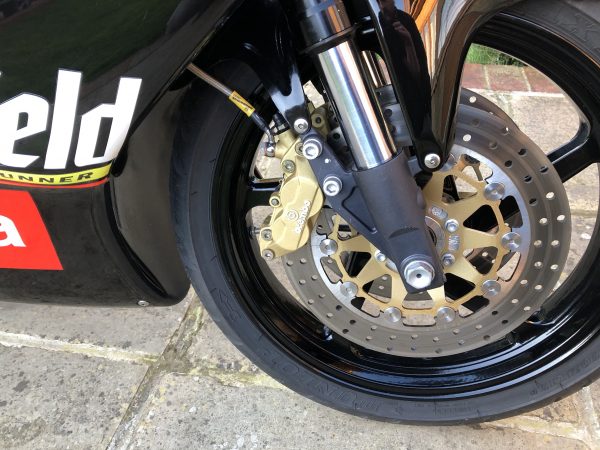
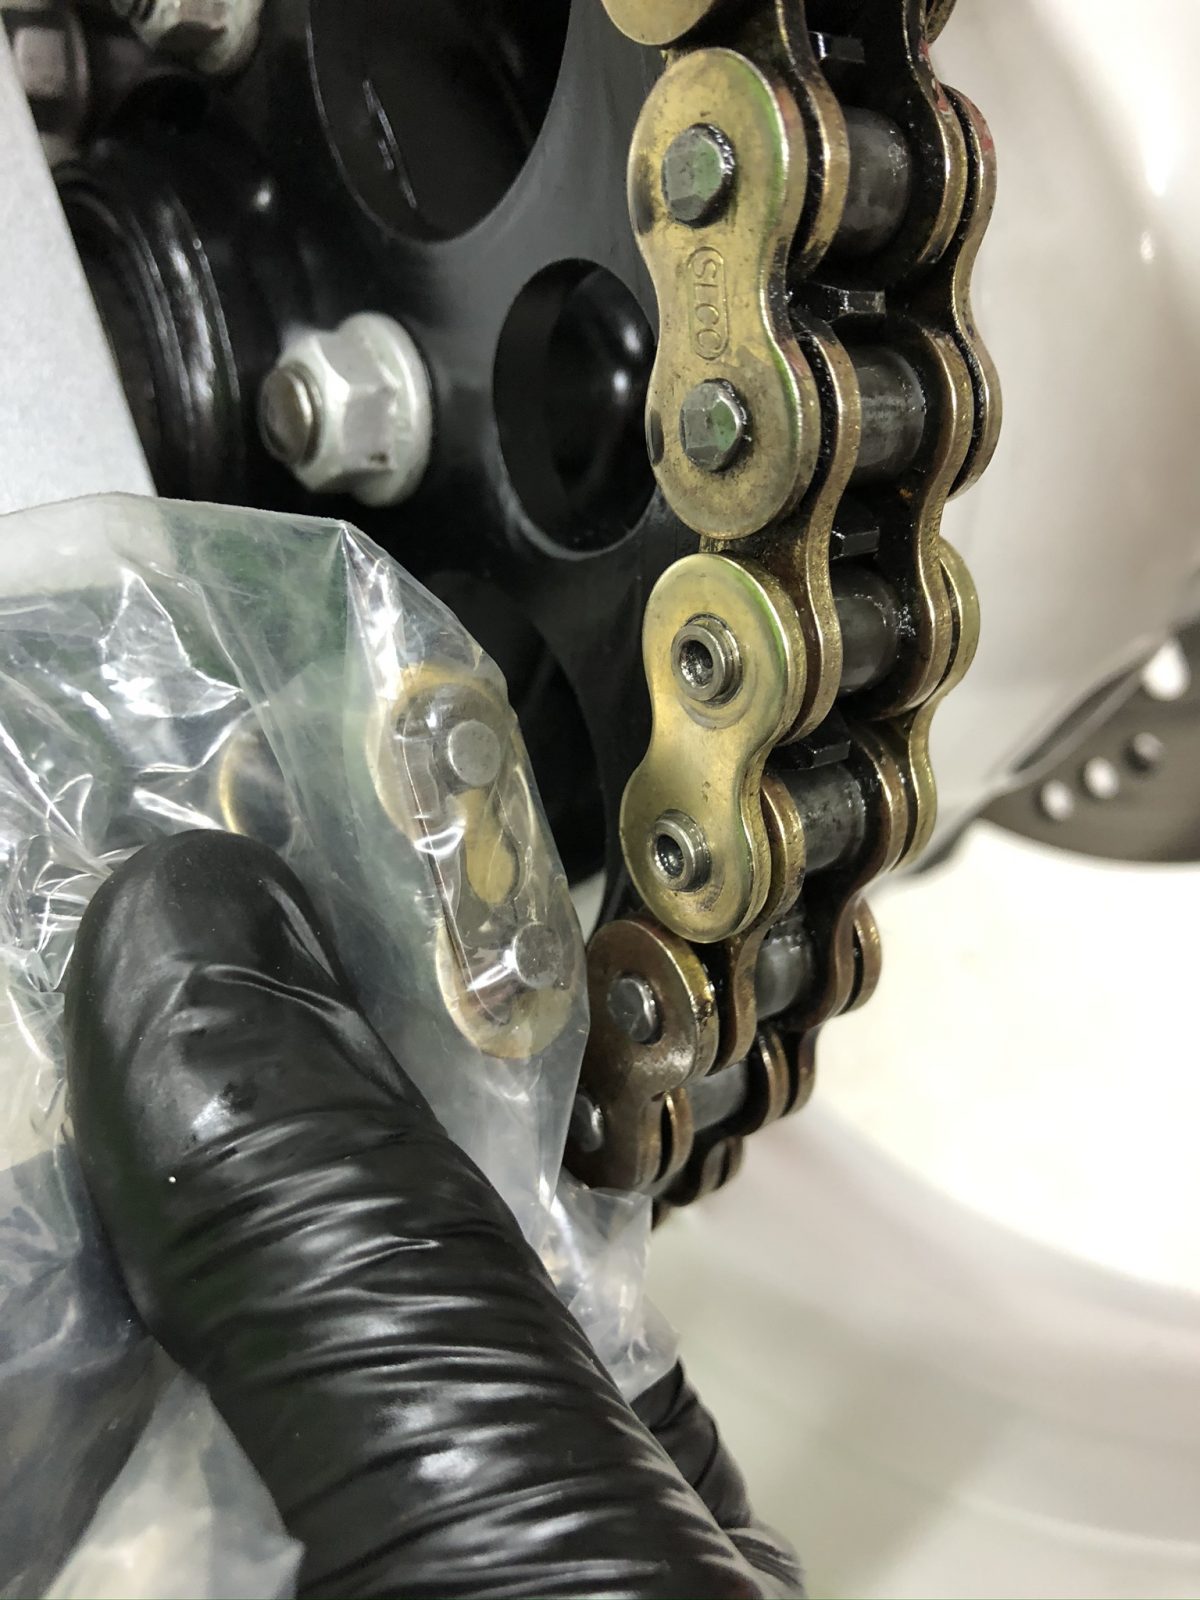
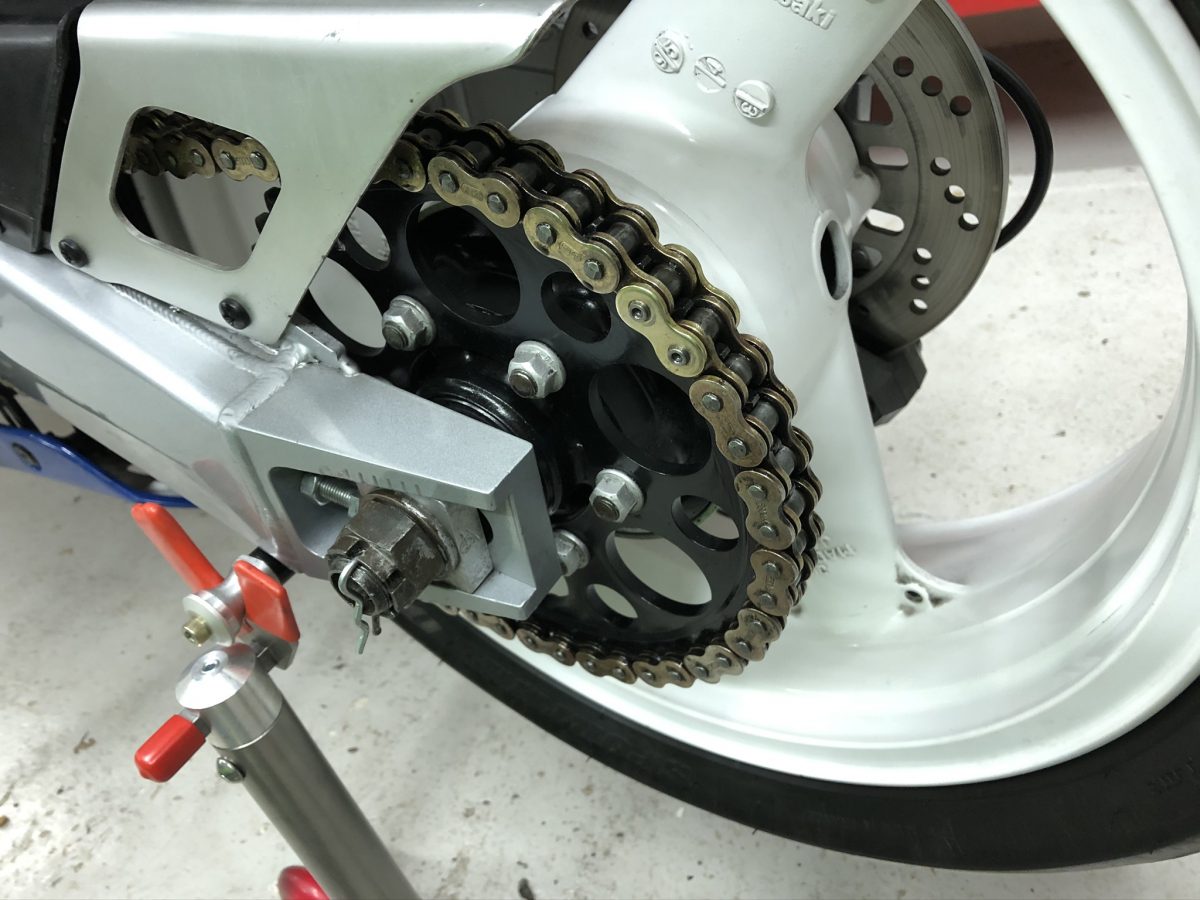
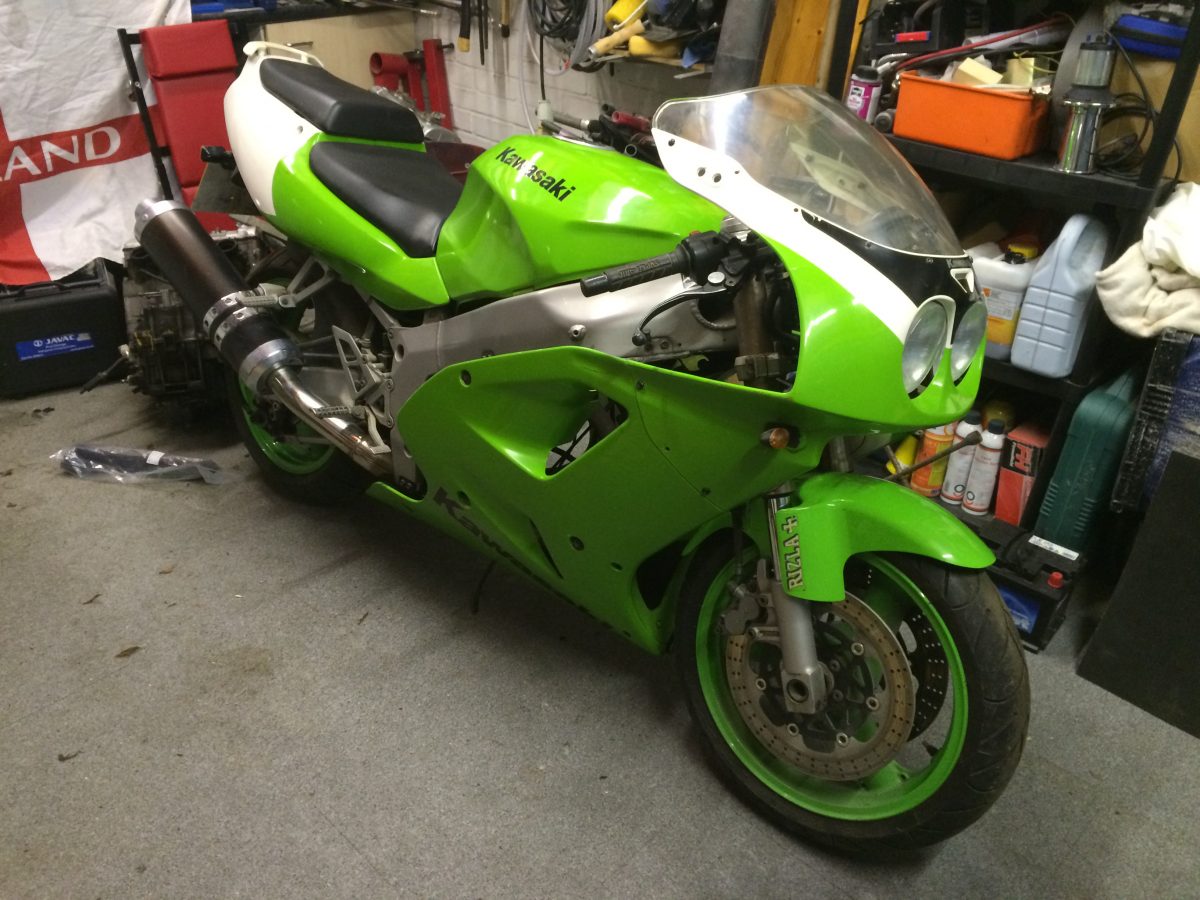
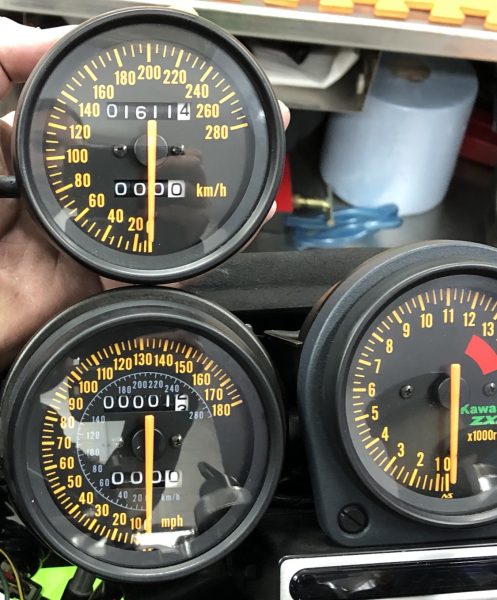
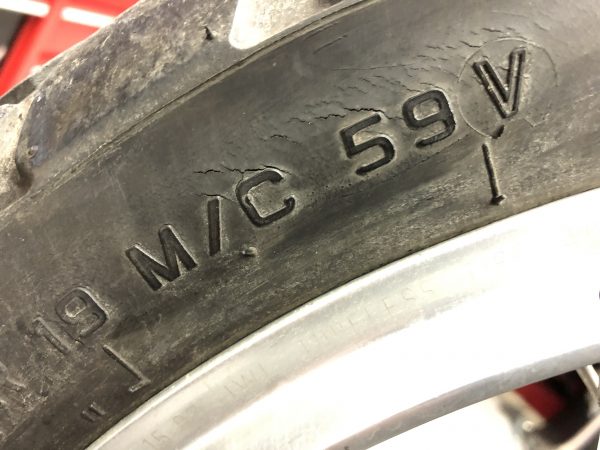
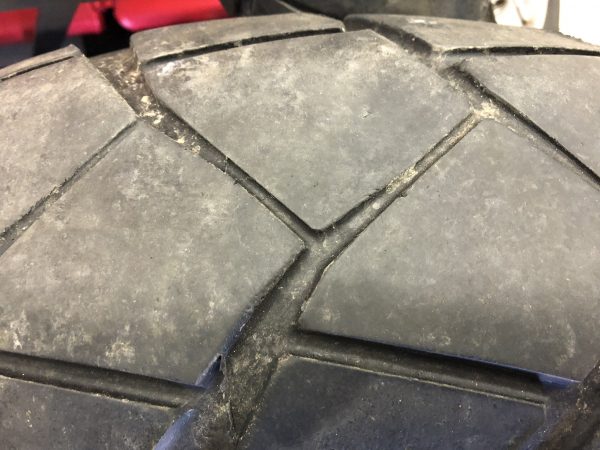
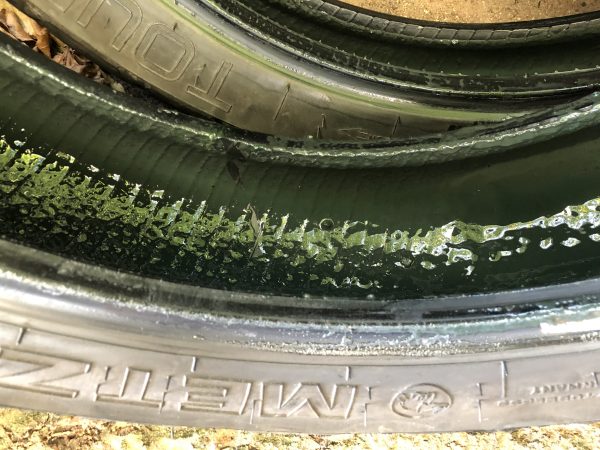
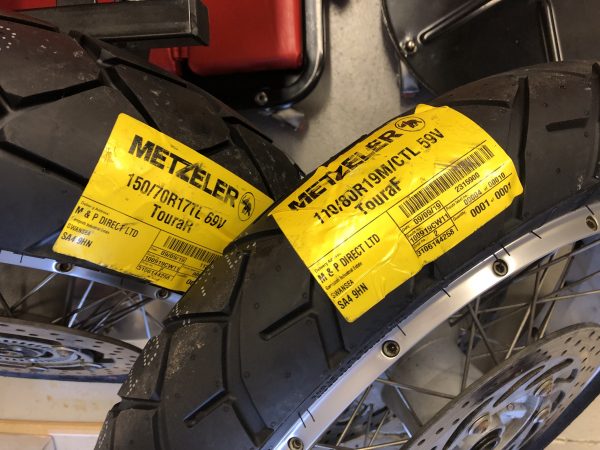
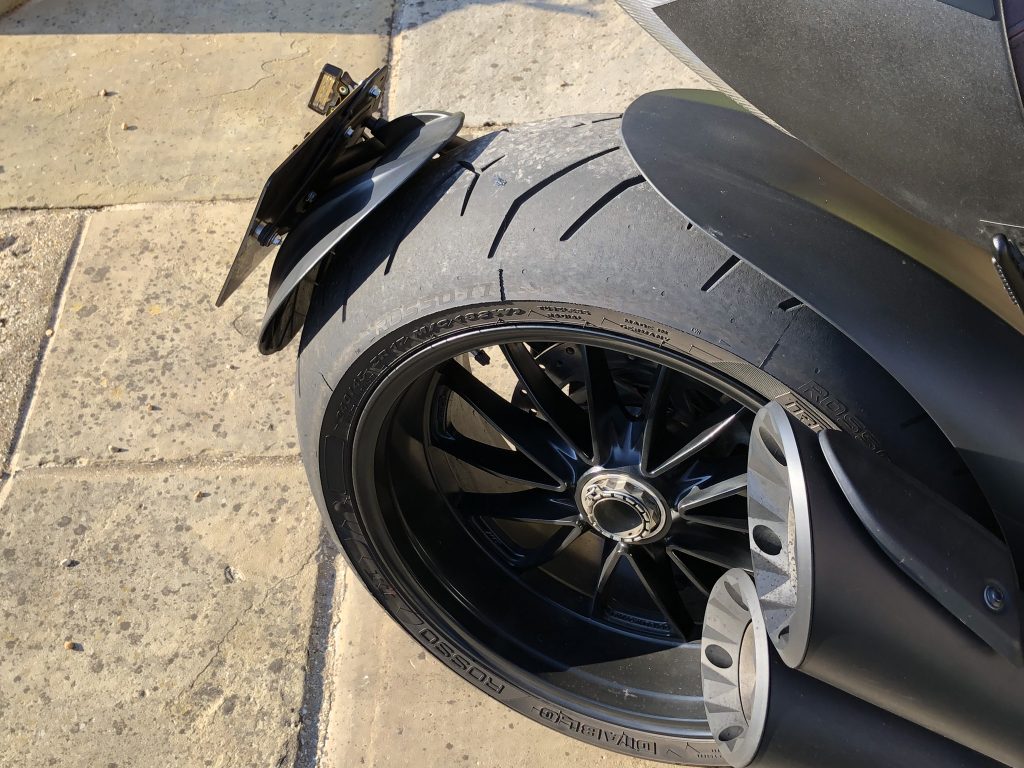
The tyres are the originals from 1996!! These will be requiring replacement before it’s used in anger however surprisingly they still feel soft and have no cracking evident.

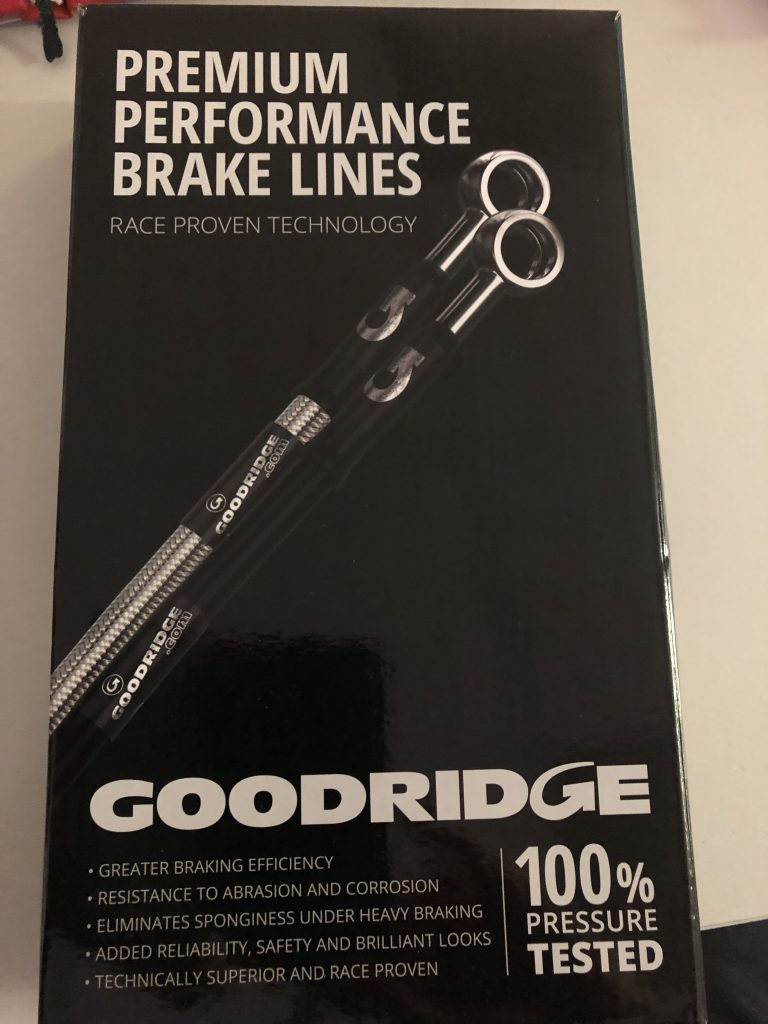
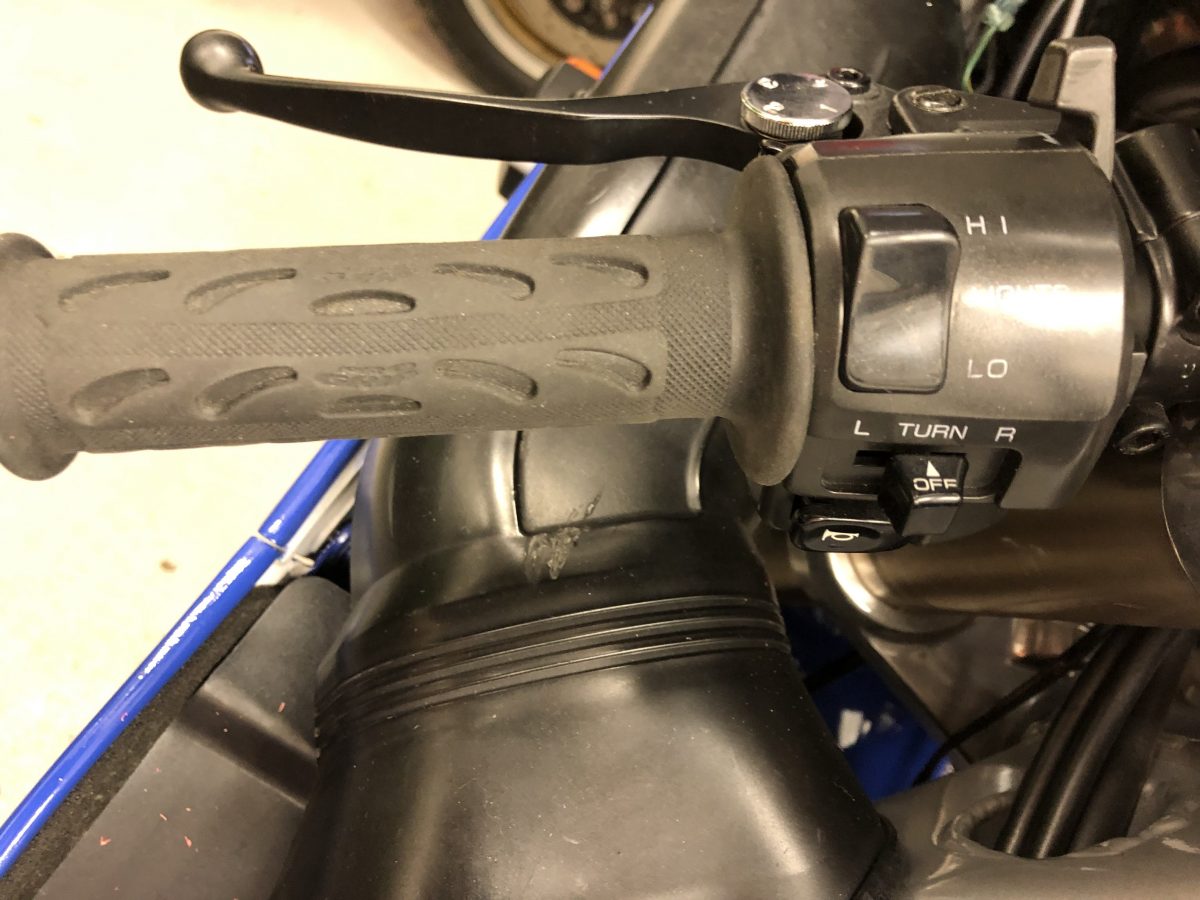
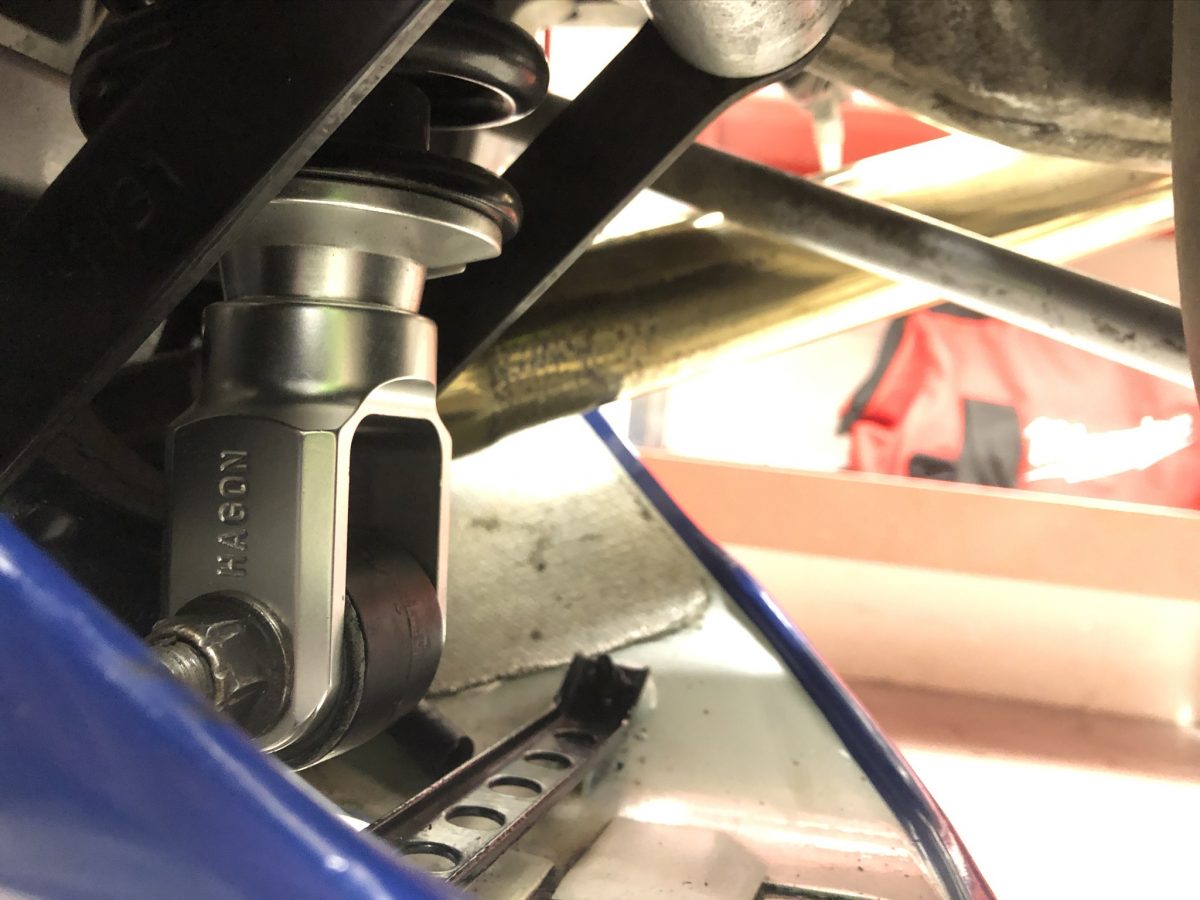
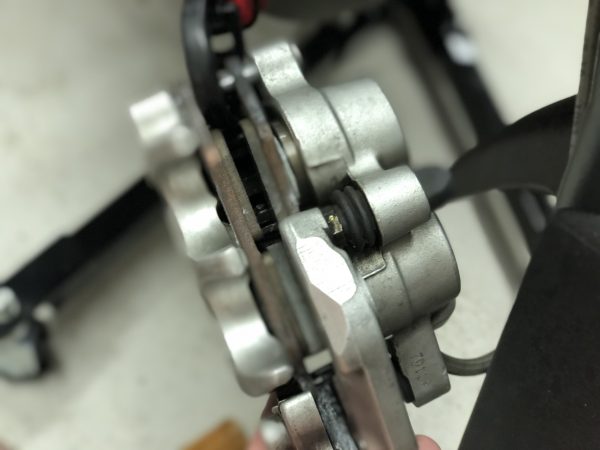
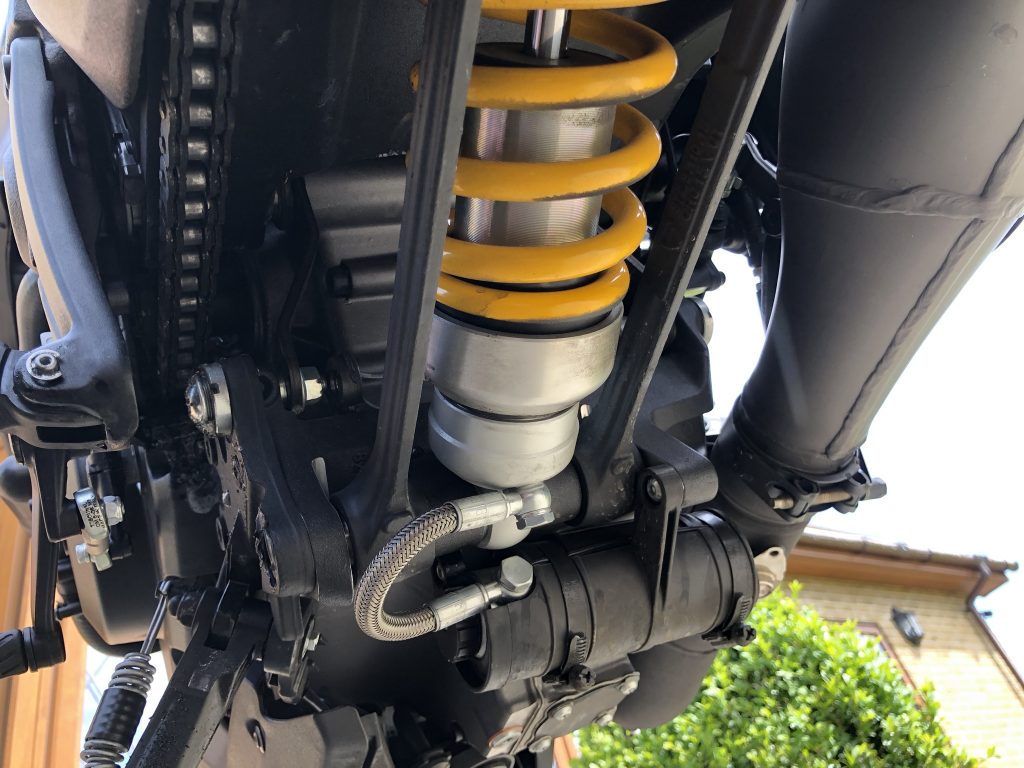
I look over the rest of the bike and discover that the rear brake hose has an old piece of black gaffer tape covering a part of it. I peel it off to discover a nick in the rubber brake hose.

This image has an empty alt attribute; its file name is RYroUJIRKKpRMerk8mbDg-450x600.jpg

I called the supplying dealer up who MOT’d the bike and mentioned that they MOT’d the bike and this should be an MOT failure and I felt that it would only be correct on principle for them to at least cover the cost of a Goodrich rear hose which I would gladly fit. They apologised and kindly ordered one up straight away for me. A shiny new Goodridge hose duly arrives to match the braided front lines which will be the next job on the list…

Aprilia RS250 Chesterfield

Back in those rose tinted days of the ultimate 2 stroke 250cc GP racer replicas, Aprilia dominated the 1990’s and the ’00’s. A road going Aprilia race replica was every young riders dream bike. I worked holidays from the age of 13 so I could save enough for an Aprilia 50cc AF1 Reggiani replica, which was replaced by an Extrema 125 RS. The next step would have been the RS250, however life (University) intervened and it was not to be, but the desire to one day own one never diminished. I sold my RS175 (yes it seized and was replaced with a Malossi 175cc engine kit) in 1996, the same year as the ‘green pin stripe’ Chesterfield was released.

The 1996 Aprilia RS250 Chesterfield Mk1 was the racing replica tribute to the 250GP Aprilia racer that took Max Biaggi to three consecutive World Championships from 1994-1996.

Fast forward 24 years (and many RS250 enquiries over that time), it’s fitting that finally, a 1996 Mk1 RS250 Chesterfield becomes available with a mere 2,647 miles, this dealer pre registered +1 lady owner example is meant to be.

It’s for sale at a motorcycle dealer advertising on Ebay. I call, and by the end of the day the deed is done. When I go to collect two days later, I am shown a long list of prospective buyers who have left their numbers should the sale fall through. A scrutineering walk around the bike reveals that at some point in it’s low mileage life it has been down on its left side, this is evidence by a randomly placed sticker on the tail fairing and a non genuine decal on the front side fairing which by the looks of it must have received a new panel back in the day for which I’m grateful. Otherwise, the running gear looks as new, brakes, callipers, suspension look to have been nurtured and the right hand side of the bike is unmarked. The ultra low mileage engine should still be good for some time still along with all the running components.

Goodrich hoses another bonus when the bike was recommissioned and MOT’d by the previous owner in 2007 after sitting in the garage unused for a few years…where it subsequently went back to being unused.
Hello! What’s this hiding?

I have to wait until I get home to find out what that sticker may be hiding…

A full history with no gaps is always wonderful to find. The original sales brochure a bonus!

I can’t wait to check over the rest of the bike and enjoy taking her for a trip down memory lane. The current Covid 19 lockdown means that for now she remains on SORN. Meanwhile the 3 month warranty that came with the bike is slowly counting down to nothing!!!

Hot off the press…

The February 2020 edition of Practical Sportsbikes has landed. Alas, the ZXR didn’t make the front cover picture, but it is mentioned on the front cover at least!! (Bottom right hand corner!)

Better yet though, “My blood runs cold, my memory has just been sold, my Angel is the Centrefold, Angel is the Centrefold!!”

You’ll have to buy the magazine to read it in full so I don’t get lynched for reprinting without permission!

The issue comes out exactly three years after first clapping eyes on her. In fact, here we are on the 4th of Feb 2017…resplendent with a sold tag on the handlebar!

Jim Moore kindly followed up the article with some Hi-res photos, taken by photographer Stuart Collins. Some of these didn’t feature in the article so I’m thrilled to have some proper hi res pics and also some behind the scenes shots.


Jim hamming it up for the camera…
Nice screensaver!
Getting ready to ‘gas it up’
Just gassing…
The conversation didn’t stop all day! I think Jim gave up with the pad and pen!

An extract of Jim’s concluding words;

“We all know how ZXR’s howl at high rpm like creatures of the night, and their road presence is every bit as aggressive and seductive as it ever was….Despite its vintage, the ZXR has lost none if its class. Getting to sample exactly how Kawasaki intended it to feel is a real privilege.”

🙂

Let the work commence…

Still teeming with excitement from the new purchase, there were a couple of bits I’d noticed prior to purchase that I wanted to sort out. First off, the paintwork was rough, like it had been poorly lacquered, when I mentioned to the seller that I wouldn’t have been happy with that finish, he looked taken aback, then he felt the surface, “ahh”, he said, “it’s just overspray where I’ve been spraying in the garage”. His recent RG125F project had been painted in the background and fine dust had settled all over the bike. A good clay barring later and it was as smooth as the proverbial with a perfect paint finish 🙂

The rear cotton reels that came with the bike didn’t fit correctly on one side as the ZXR has a recess on one side. Fortunately I had a spare R&G kit from my other ZXR and managed to combine the parts to get these installed.

His paddock stand was an under swingarm version, this conversion meant that I could use my Harris rear paddock stand which I’ve modified using brick tie debonding sleeves to prevent any scratches to the swingarm. Fortunately, having the under yoke stand already from my M1 ZXR meant I had everything needed to get the wheels off the ground!

The bike had after market hand grips fitted, the throttle side grip was a bit baggy so thankfully I was able to still source these parts new.

Aah, so much better!!

Freshens the controls up nicely 🙂

The bike came with a replica nose cone decal as the original is now unobtanium. Unfortunately, it’s not an easy decal to apply, so I messed it up. The previous owner hadn’t fitted it as it didn’t line up properly anyway. So with a ruined decal anyway, I ordered some replica decals from RDdecals in the USA. They cost a small fortune, £120 landed with taxes paid for the nosecone and the rear tail number flanks.

I think the nosecone decal completes the look and ties the bike in nicely with its homologation sibling. It wasn’t easy to apply and the quality isn’t quite up to oem standards (it’s not matt finish or as thick/durable) but it’s probably the best of the repro decals on the market and it does the job nicely.

The battery appears to be well past its best, I’ve put it on the tender but it seems to deplete very quickly, I expect it’ll need a new one next season and tempted to go with the much lighter Shido lithium one. A Noco charge lead has been fitted in preparation;

The previous owner had fitted a new chain and sprockets, but due to not having a chain rivet tool had only fitted the clip on type master link. Fortunately he gave me the rivet link also. The clip type link has now made way for the rivet link.

With the chain now cleaned and re-oiled ready for its maiden voyage with me…

The shiny new Hagon rear shock, front forks were also refreshed with Hagon fork springs;

In other news, the spare engine has been strapped to a chair for a few weeks;

This has since been remedied with this new Sealey MES02 engine stand. I’m thinking maybe I should have used a traditional engine stand with motorbike adaptors which would grip the engine from one side only because while this stand holds the engine well, when I come to remove the heads I have nowhere else to bolt the front of the engine to!!

I’ve decided to get organised with some of these “really useful boxes”. They stack perfectly onto one another. I also have the bigger versions for larger items for each bike that are stored in the loft!

The bike is now insured but currently SORN’d. In the highly unlikely event that the weather looks good and the roads are clean at the beginning of Jan I might tax it because I’m itching to take it out now!!

Hidden past…not really…Hidden treasure…more like :)

So to the lovely new purchase. Poring over the 400 odd photos on the USB stick gives a good insight into what a lovely project this turned out to be, the amount of effort, time and general dedication invested by the previous owner is just fantastic. Having done my fair share of spannering, I can well appreciate and empathise with the work put in. I did a similar full nut and bolt restoration on an old Suzuki TS50X when I was 16, which was my first proper foray into the world of bike mechanics.

So this restoration came to be, when the gentleman I purchased from was on the hunt for a project. Somewhere in St.Helens, there was a ZXR looking a bit sorry for itself sitting in a lean to. The story goes, the chap in St Helens had bought this off a mate with a gearbox problem. He sourced a spare engine, put it in, couldn’t get it to run right, removed it, whereupon the project stalled and eventually the bike was offered for sale in bits and with 2 engines, neither of which apparently worked properly. The bike as it was bought.

Looking a bit sorry for itself…

So the new owner set about trying to get her running again. Using the spare engine that the previous owner couldn’t get to run right (misfire) it turned out to be an easy fix. The plug caps were corroded, hence the misfiring. Cleaning those up cured the misfire, the project could have stopped there and then, a fully running ZXR bought for a song, looked decent, ran well.

Rob however had bigger dreams, he didn’t like green and he bought this as a project, a project it was to be!! And so the project was on!!

The inspiration was the Itoham Suzuka 8hr Endurance winning racer from 1993…

The bike was stripped and the bare frame, sub frames, forks, swingarm etc despatched off to the body shop for spray painting…

In the meantime, Rob wanted to keep the bike original, so he looked into the gearbox fault on the original engine (literally)…

A selector rod retaining bolt had come loose resulting in the selector gears not selecting second and third. A gearset was previously sourced from ebay, although as it transpired, the original set still looks ok to me, nevertheless the lower mileage gear kit was fitted. This engine was subsequently re-fitted to the bike, along with the carbs from the replacement engine since they were previously tuned with a Factory Pro Ti needle and carb set along with a 4 degree ignition advancer.

With the frame back and the wheels now painted white, the rebuild commences in earnest…

The bodywork was also sent away for paintwork…

The build culminates in a Practical Sportsbikes Magazine feature…

In addition to everything covered by the magazine article, the bike was subsequently fitted with the 4 degree ignition advancer, the spare engine carb set as referred above, new front EBC discs and a Hagon rear shock…

What’s in store for her next?…stay tuned, hopefully she’ll get to see a race track!!

Kawasaki ZXR 750 L3 Itoham Suzuka Replica

A new ZXR joins the fold…

By now you’ll know I’m an avid ZXR fan! With a lovely M1 750R in the garage already, it’s not that one isn’t enough, rather; I’d love to have a go at track days and I can’t think of a better bike for me, the R is too special and valuable to chance on track for a bike track day novice…but a lower value version of what is essentially the same bike, with familiarity and a transferable skill set as well as an inherent passion for it in the first place, will surely make lavishing time and money on it so much easier…. thus began the hunt for a suitable track steed.

Good old ebay turned up a 1995 L3 ZXR750. These were the last of the ZXR’s although this one is a little different; The colour scheme was not a factory offered colour however it should have been since these were the colours of the Suzuka FIM 8 hour Endurance race winner of the Team Muzzy Itoham sponsored bike from 1993 ridden by Scott Russell and Aaron Slight, a vintage year for Kawasaki given Scott Russell’s efforts in the FIM Superbike championship.

This particular one had also been featured in Practical Sportsbikes’ March 2017 issue and had been subject to a total restoration to its current condition by the seller, who happens to be an engineer by trade.

The advert listed many new parts including; new front discs and pads all around, Goodrich brake hoses all around, new Dunlop Qualifier tyres, fresh paint to bodywork and frame, full exhaust, chain etc, there was also a new Hagon rear shock and fork springs.

It was on sale with a 28 day advert and was also being sold with a spare engine. While putting this on watch, I ordered the issue of the magazine where it appeared, unfortunately I bought one from Northern Ireland so it was going to take some time to come as it transpired.

I worried that someone else might snap this up so contacted the owner after a few days who kindly sent me photos of the magazine issue. In the intervening time, someone was after the spare motor and so this was going to be excluded from the sale, but given its intended use, I was keen for this to come with it, he kindly agreed to let me have first refusal of the motor, all the MOT history online checked out and so I quickly arranged to view it at the weekend, enlisting the help of a friend who conveniently also owns a van and is a fellow motorcycle enthusiast.

2 cups of tea and a few hours later…the bike is in the van and we’re homebound!!

I’m really pleased with this purchase, I have a huge folder of invoices and history and over 400 images on a USB as well as 2 issues of the bike mag, a spare engine complete with carbs and gearbox, a spare gear set and many other spare parts, including the original exhaust system. The seller was clearly a competent engineer, he had another couple of bike projects on the go and these were clearly a labour of love as opposed to money spinners. The reason for the sale was that the riding position exacerbated a hip injury when ridden any distance. I’m surprised this didn’t sell quicker, with it having been rebuilt it probably put some people off as the standard of any restoration can be questionable. Being a fellow owner who works on my own bikes, I had confidence that if the owner checked out, the bike would be a good one. I’m pleased to say, my faith was rewarded and I’m a proud owner of this individual ZXR 750 🙂

Finally, safely home and tucked up next to its homologation sibling…

Practical Sportsbike magazine shoot…

Following a couple of email exchanges with Practical Sportsbike editor Chris Newbigging, who was searching for a ZXR for an upcoming feature, it transpires he was after a regular ZXR and not a homologation. His interest is piqued however with the idea that this is a NOS bike and a plan hatches to cover what it’s like to be running a NOS bike after so many years dormant. This bike had effectively covered 24 miles in 24 years, now 26 years old, what horrors (or not) may await!

He informs me a month or so later, that he would like to send motorcycle journalist Jim Moore down to cover the bike who he assures me is a”safe pair of hands”.

After a phonecall with fellow Katana owner Jim, a date is therefore set for a visit, accompanying Jim is photographer Stuart. We’ve also managed to arrange with Lydden Hill to borrow their circuit as a backdrop for some photos to which they very generously agreed.

After a morning in the garage, where my beautifully clean R  enjoys being papped by a professional, Jim and myself go through much of the ownership experience and how it came to be. It’s raining outside so we decide to scope out Lydden and see if it will be suitable. It is. Fortunately on our return the rain has stopped and Jim rides my bike to the circuit. Stuart snaps away and banks some decent shots for the feature. The ZXR is in its home environment here, an apt setting for this race homologation special.

Moving on from Lydden, we take an extended ride to seek out some corners for some road shots. Jim covers 50 miles on the ZXR and we’ll have to await the publish of the magazine to read his thoughts…in the meantime…a couple more unprofessional cameraphone photos of the day…

It’s the first time Jim has ridden a homologation ZXR so it will be intriguing to learn how he feels and what memories he has of it once he’s had a chance to gather his thoughts after a day that involved many hours of a round trip as well as what was nearly 7 hours worth of talking and riding that seemed to pass far too quickly!!

It’s always a pleasure to chat away with fellow bike owners and the day was made all the better by some genuinely great company!

Speedo replacement…

For 2 years, I have been on the hunt for a NOS UK spec speedometer that reads in MPH. The KMH speedo is lovely and clear, but living in the UK, I can’t tell quite how fast I’m going at a glance as I have to work kmh back to mph. I did buy a sticker to go over the speedo but it would always looks a bit naff and wouldn’t be at all clear at night.

I’m pleasantly surprised one evening, after getting home late from dinner with friends my ebay flashes up with a item alert. I’d all but given up on this hunt, when lo and behold, staring at me is a NOS speedo in mph. I waste no time hitting the buy it now button. Literally moments after it went on sale.

It’s reading 1.1 test miles. I don’t normally like the idea of the bike not displaying its true mileage, it doesn’t sit well with me, however this is the final piece of the jigsaw to convert the bike to full UK spec. Seeing as I wasn’t quite at the 1000 miles break in point, I hatch a plan to run the kmh clock to exactly 1611km’s which equates to 1001 miles. This way, the kmh clock accounts for the running in period (1000 miles) plus the 1 test mile showing on the mph clock already, and the new speedo will therefore show the bike as having exactly 1000 miles less than indicated.

Speedo swap fully documented for the bikes provenance below. The KMH clock at the end of the break in period.

Front nosecone comes off…

Off with the speedo head!!

New speedo cog greased up…

Speedo installed…

The new display shows mph and kmh on a dual scale. It’s a bit of a rebirth for the bike, this coincides with the completion of the break in period. The fun can now begin in earnest 🙂

Capo’s new boots

Following the last outing in Wales where I noticed before leaving that my tyres really were due replacing but it was too short notice to change them, the time has come to finally swap them out. Front tyre was made week 26 in 2009, some 10 years old and was showing cracking around the sidewall and in between the tread blocks despite the tread still being good.

The rear tyre wasn’t cracked, but the tread was wearing, motorway jaunts to better riding roads had flattened the centre a little;

Ergo, she’d earned a new pair of boots…so up she goes on the ever so useful and versatile stand…

Wheels off…

Previous owner had installed green sludge as a premptive tyre seal. Apparently these help seal punctures as the happen.

Glad I took them to the Motorcycle dealer to remove, they kindly cleaned all the gunk off before reinstalling the new tyres without scratching the rims…

That’s more like it…

While off, I took the opportunity to clean the brake calipers and pistons and check them all over.

All cleaned up and ready to go…

Pads probably still have a few thousand miles left on them. I have a spare set ready to go on when the time comes. These are at 2.5mm-3mm. New is around 4mm.

All re-assembled and ready to hit the trail…

A run to Yorkshire this time…

The bike clocked up the 20k milestone somewhere in Yorkshire…

First Service…first thoughts!!

So the first service was carried out at the exact mileage required, rolling up to Laguna Performance just as the service light illuminated. £195 isn’t cheap for an oil change and some torque value checks/chain adjustment but it’s in warranty so to the dealer it goes. I have been sticking mostly to the 6k rpm break in limit with the odd excursion up to 7k. It’s not really a hardship since 6k equates to around 100mph anyway with mountains of torque below this. The tyres have bedded in nicely as have the brakes.

Post service I am now allowed to access 7k for what will seem like an eternity. The first 1,000km is no more than 6k rpm, then no more than 7k rpm for a further 1,500km! Total break in should be complete by 2,500km or 1,553 miles.

The first service is always a good time to reflect on the motorcycle. Contrary to many, I actually enjoy the running in process, it’s a time for discovery, a time to get acquainted with and learn the finer nuances of the bike, something that can be easily overlooked when travelling at warp speed!

My first impressions were, wow this thing has some torque, the first phrase that came to mind after experiencing it was  something about this bike ‘will tear your arms out of their sockets’, so it’s affectionately my Wookie bike! Even limited to 6k, the low down grunt is there to be appreciated.

What seemed supremely comfortable in the shop was now a source of discomfort. The lovely leather saddle was a bit of a nut crusher as the hammock style seat rakes up to the tank, 20 miles and you start feeling it. Thankfully, either the saddle broke in or I did, either way, after the first 300 miles 50+ mile trips of a couple of hours or more are now quite bearable and dare I say comfortable.

What hasn’t improved is the suspension. I spent some time getting it set up right for me which has improved things, and improved the handling, which is very impressive for any bike, let alone a power cruiser! It goes about its business like a naked street fighter and has sufficient pace to trouble sports bikes. For the final iteration of the second Gen Ducati, I’m genuinely surprised that they have sold so many units without feeling the need to improve on the suspension. Frankly the setup is terrible.

Not the handling as such, rather the ride quality which interferes with the handling when the road gets choppy but it’s more about what it does to the rider. Your kidneys get pumelled by the ride, you are bucked out of your seat on bumps, the whole thing is most disappointing because the bike has so much pent up potential crying out to be released but it is constrained by such an appalling setup.

The front is rock hard, even on minimum preload, I can’t use up sufficient travel at the front end telling me the springs are too hard, at the rear, the  preload is wound up telling me the rear spring is too soft, this requires more compression damping to compensate which in turn leaves the ride too hard. I’m not sure what weight rider this bike could have been setup to, the answer is even more boggling because the rear is setup to a featherweight and the front to a sumo wrestler. It’s setup poorly for any rider. On billiard smooth tarmac the ride wouldn’t be an issue perhaps, but this is a road bike, not a track hack. This is the one department where improvement will be mandatory. I see Ducati have released the latest 1260S Diavel with full Ohlins suspension. If you’re in the market for the new 1260, I would definitely suggest one pays the premium and opts for the S model!!

While we’re on the negatives, there is one more gripe, this is more of an annoyance but it is so out of keeping for such a beastly looking bike; the engine has the most limp wristed fire up noise on the planet. Rather than roaring into life, this, more engine than bike contraption, coughs and splutters to a start with an emasculated effeminate fake cough type of feigned effort. Apparently the after market offer some heavy duty battery to starter cabling which can help this…I’m looking into it and will report back. My other V-twins ROARRR into life, I’d quite like this to do the same!

The latter is a small complaint in comparison to the suspension, in spite of these gripes however, the Diavel is a monstrous bike, the brakes, the handling, the torque, the riding position, quite simply this is now my go to bike.

So much so, that one almost yearns for a touch more practicality in terms of being able to carry something!! Well it’s my birthday and I received the Diavel tail bag.

This is a great bit of kit, offering two velcro side pouches or the full on tail bag.

Just enough practicality for me. It looks good enough that the little velcro saddle bags can remain as a permanent feature with the added bonus that fitting meant unfortunately removing the cool zombie apocalypse rear seat cover but with the benefit of now leaving the saddle able to carry a pillion at any time!