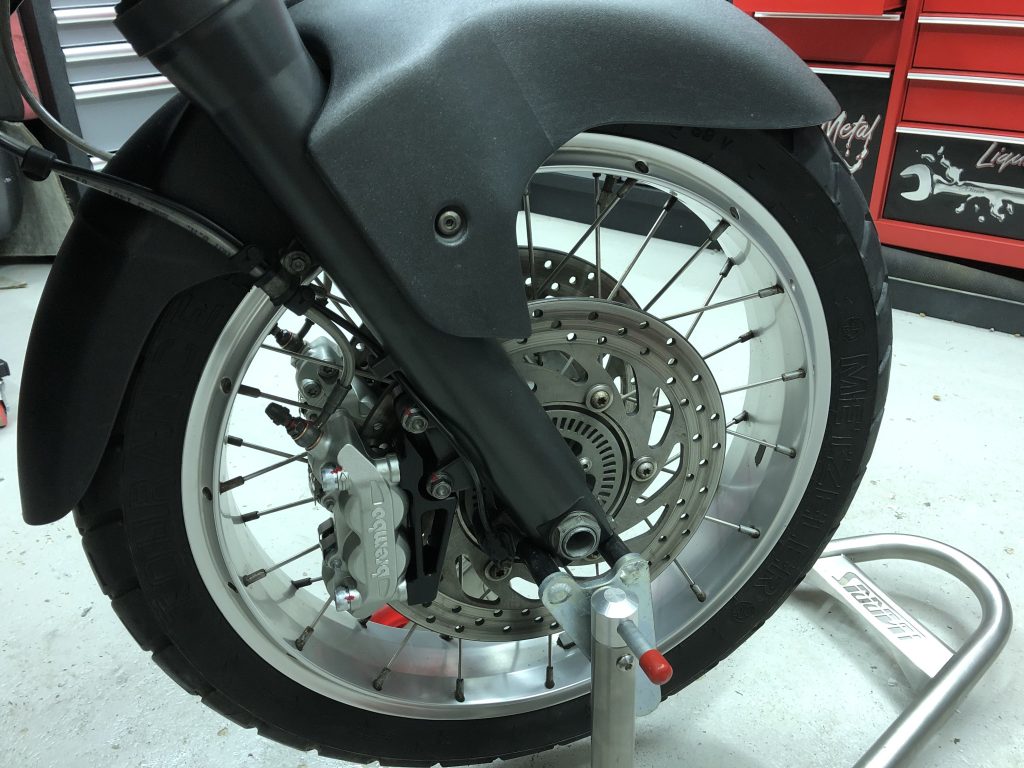
After 7 years of faithful service with me and on it’s 12th Birthday (18th April), it’s time to treat the Capo to some upgraded calipers.
On fitting the new tyres last year I took the opportunity to check the brake pads and give the calipers a clean. I had never really paid too much attention to them, it was when working on them that it came back to me how much I dislike the design of sliding calipers.
To be fair, they have always done their job, offered good brake feel and although its a heavy beast I can’t say I’ve recalled the sensation of them not being able to stop me ever, however they have always felt somewhat duller than most of my other bikes.
A chap called Ziskar was offering a group buy on custom caliper brackets on the AF1 forum, these were based on a previous design initiated by the AOTR club, which would allow the use of radial calipers in lieu of the axial stock ones. This opens up the choices to all sorts of lovely radial offerings.
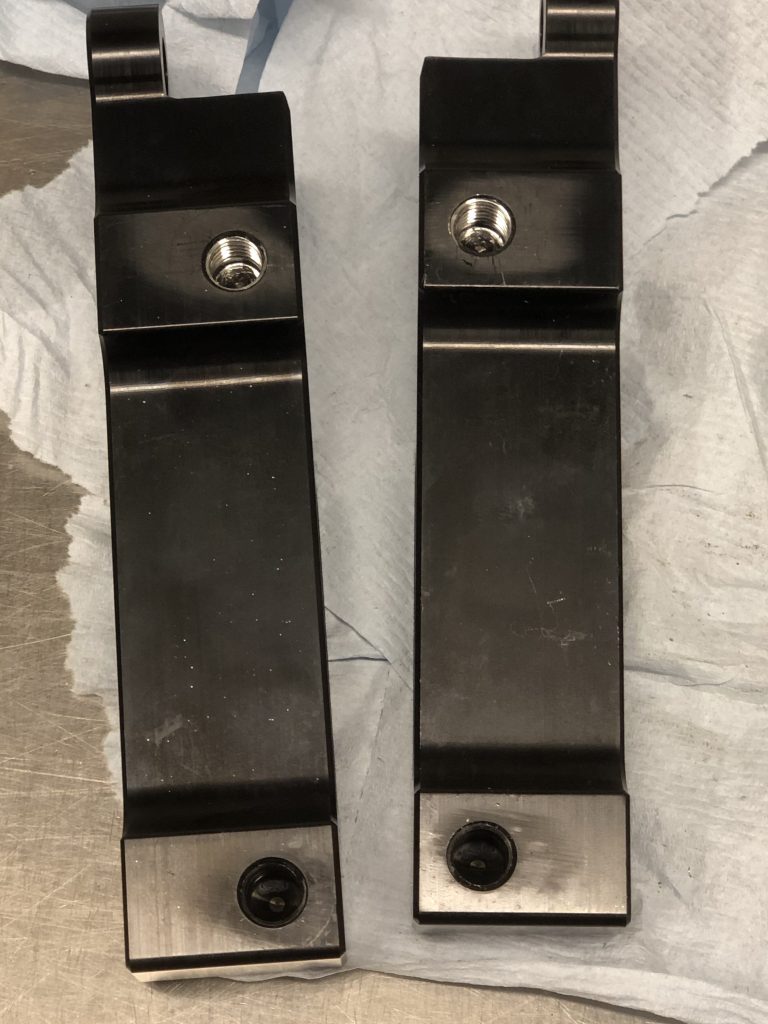
I have to offer a huge thanks out to Ziskar who did an amazing job of organising, informing, updating and driving this effort. A couple of months later these lovely brackets arrived, made from T6 7075 aluminium in black anodised finish. The original mounting bolts for the axial calipers use an M10x1.5mm pitch bolt, this has been replicated on this bracket so that it can be bolted to the forks using the original caliper mounting bolts with the same thread for the caliper mounting points. I managed to locate some M10 x 1.5mm pitch bolts from work, they are 8.8 strength BZP finish so should not give any issues with bi-metallic corrosion. The bolts pictured below are 50mm.
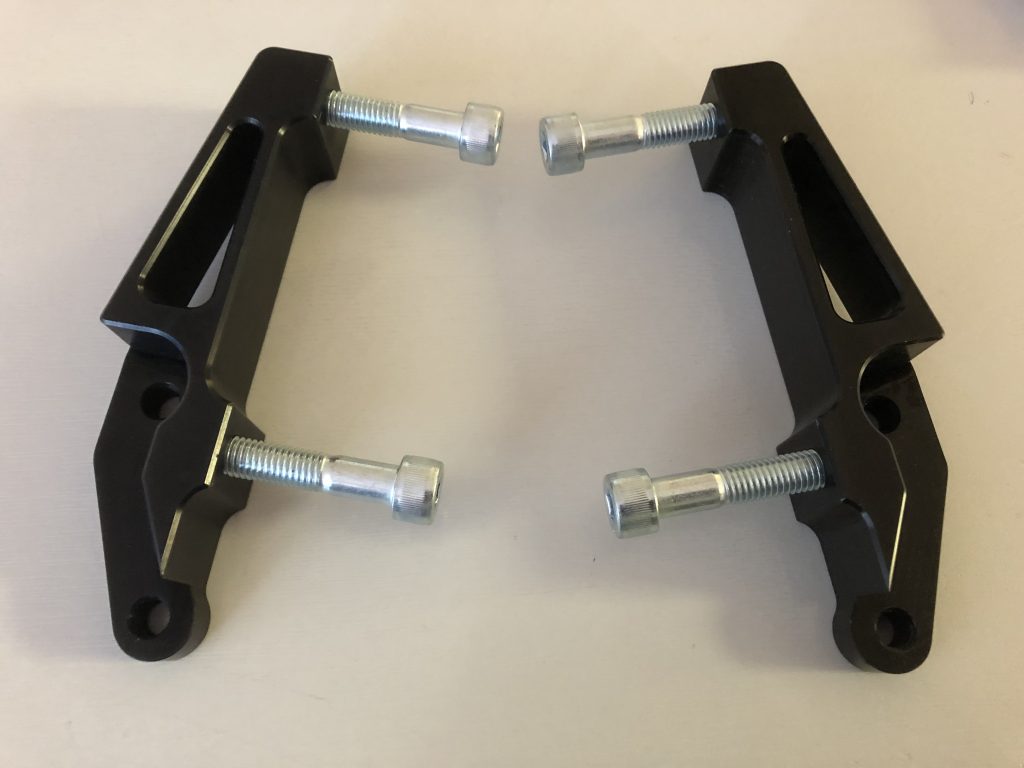
It became apparent on looking for bolts, that most Radial calipers use a 1.25mm pitch. This would have been better as not only would there have been a greater bolt offering but also the finer pitch would be stronger and more resistant to self loosening. It also transpires that the top caliper bolt would need to be shortened as there is less material on the bracket therefore it has not been drilled as deep. The upshot is that a 50mm bolt is fine for the lower fitting which will be under more stress anyway, which would have 11mm of engagement. The upper bolt needed trimming to just under 46.5mm offering just under 7.5mm of engagement. To get this also required me to run a tap down the thread as the original machining did not go all the way.
When it comes to caliper choice, there are many Brembo offerings. There are however a couple of considerations to take into account before purchasing a suitable caliper. Bolt centres on the radial caliper need to be 100mm for this kit. It is a common size so fortunately there are many to choose from. Piston size, pad cost, swept area, body width etc all play a factor in choosing the right caliper.
I looked at the master cylinder to piston ratios. The stock ratio is 26.7:1 . The Capo uses a 12mm master cylinder and the stock 2 piston sliding calliper runs one 32mm and one 30mm piston. The shortlist of calipers for me were;
- Brembo P4.32 (32mmx piston) 28.44:1 ratio.
- Brembo M50 (30mmx4 piston) 25:1 ratio.
The latter is a fancy mono block offering. The M50 in particular was the preferred choice but I worry that it may be too much for the Capo. The lower ratio would mean a sharper more powerful brake feel. The P4 would offer a slightly softer feel. Both ratio options were the same difference apart in ratio from the stock setup, 1.7 (M50) vs 1.74 only one jumps one way (sharper) and one the other (softer) from stock.
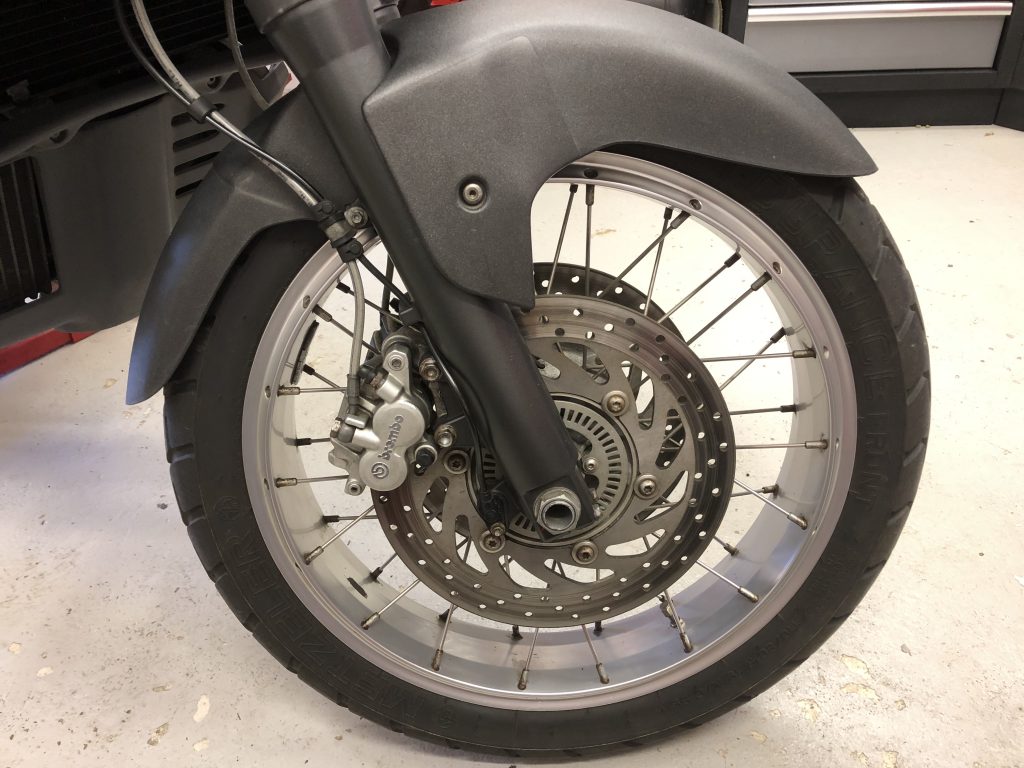
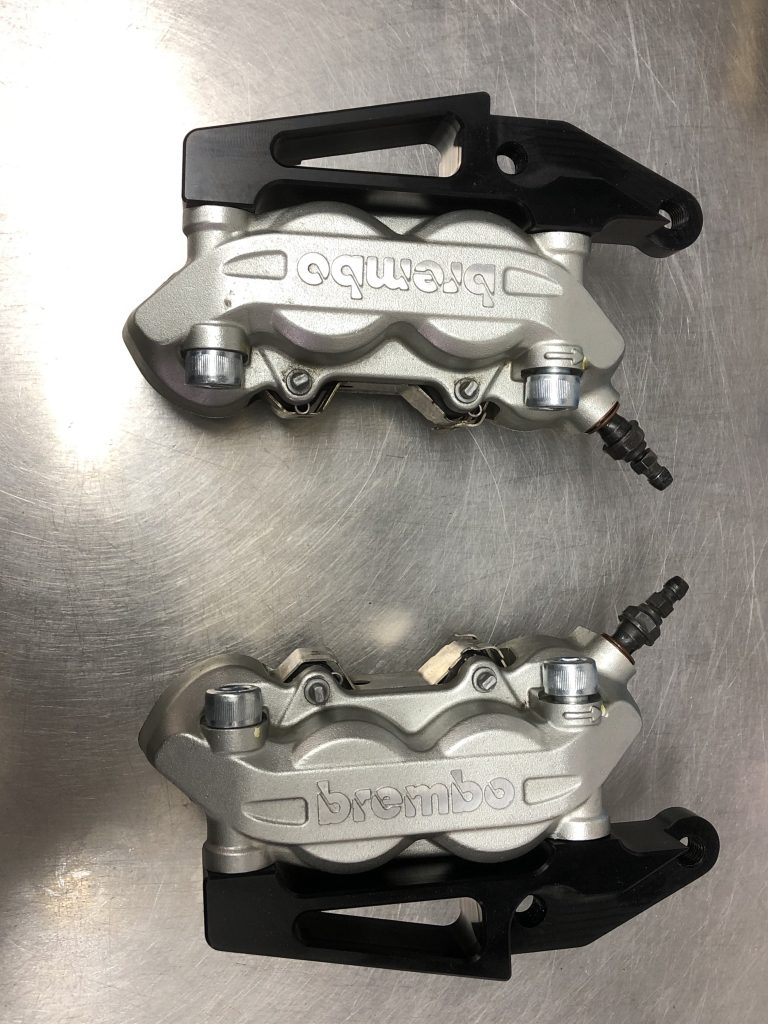
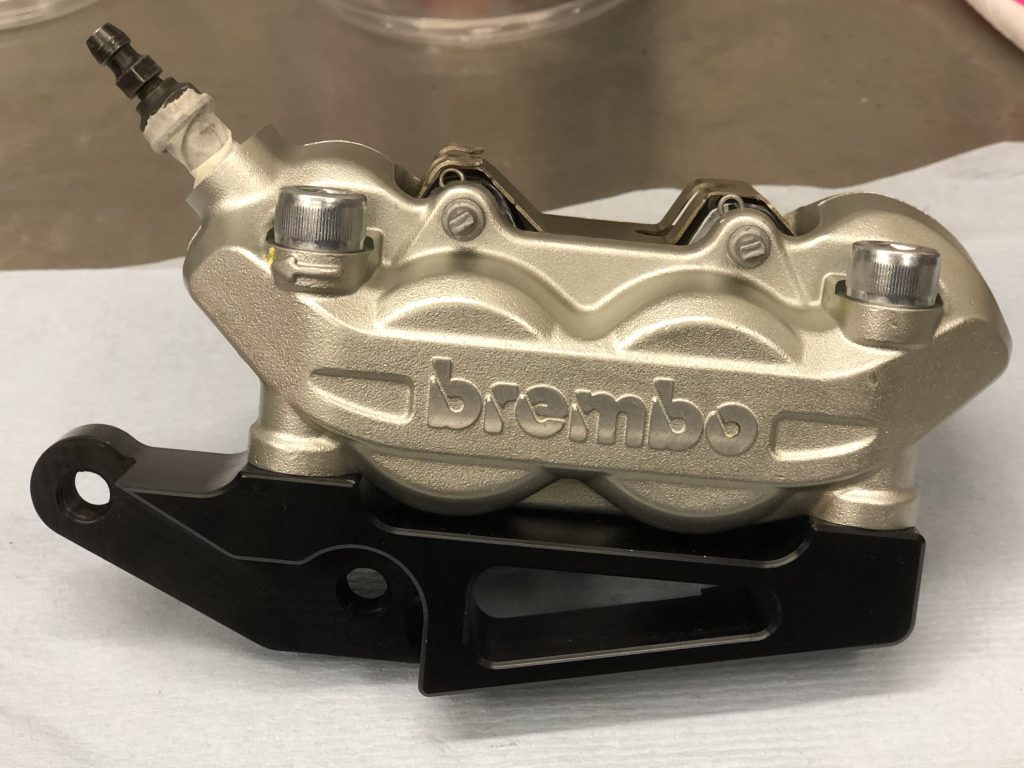
The M50 is an expensive caliper, and I did not have the body dimensions to compare. The mono block rigidity would also probably add further feel to the braking. All of these calipers are wider than the skinny sliding calipers fitted as standard. I opted in the end to go with a caliper that I new would offer decent spoke clearance and also match the stock look of the rear caliper and indeed the original ones. It would be a subtle upgrade and look very much factory. That would be the P4.32 as fitted to many Ducati’s including the Hypermotard which is what mine came from. Ebay turned up a nice example of 3,500 mile old calipers.
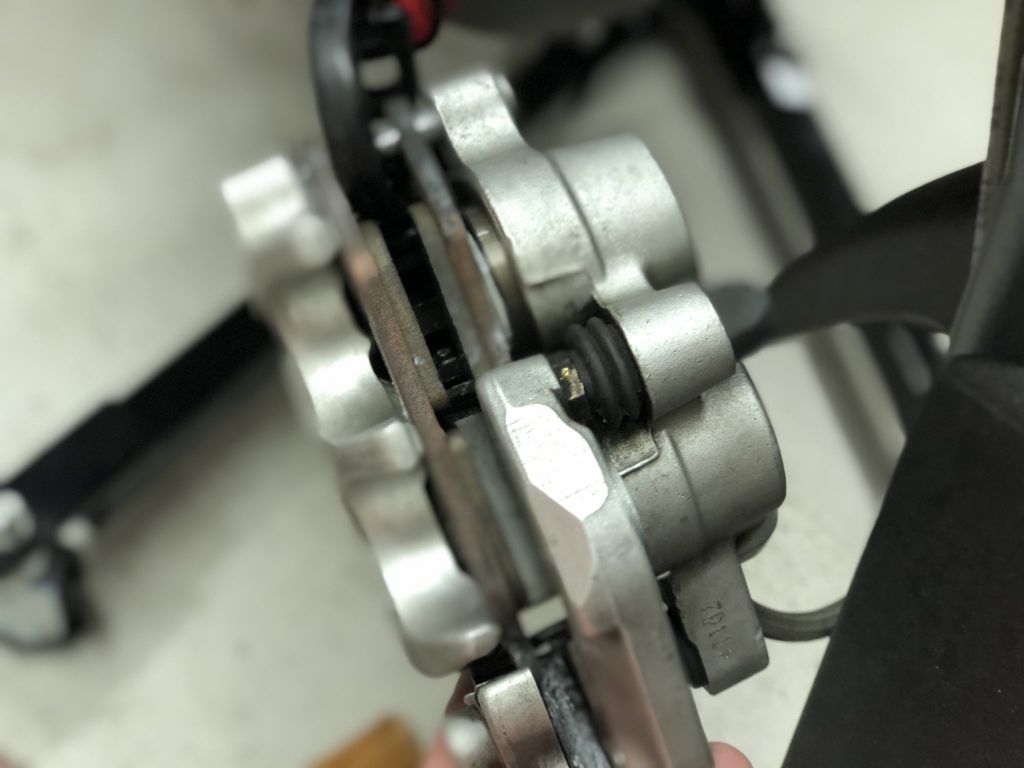
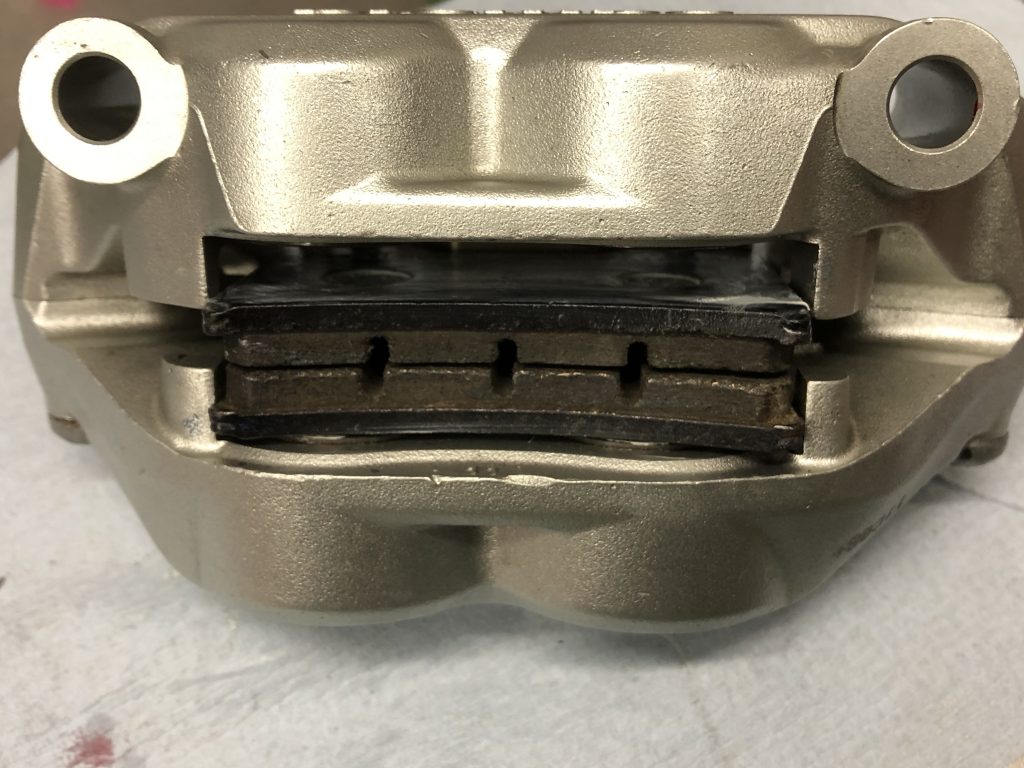
Upon arrival, the first thing I did was offer them to the brackets to see how the 50mm bolts would fare. As can be seen below, there is a gap on the top bolt of each bracket near the bleeder. This required the tap being run in deeper but also some length taken off the bolt. To tighten down correctly I had to take approx 2-2.5 threads off the bolt leaving me with a 46.5mm bolt.
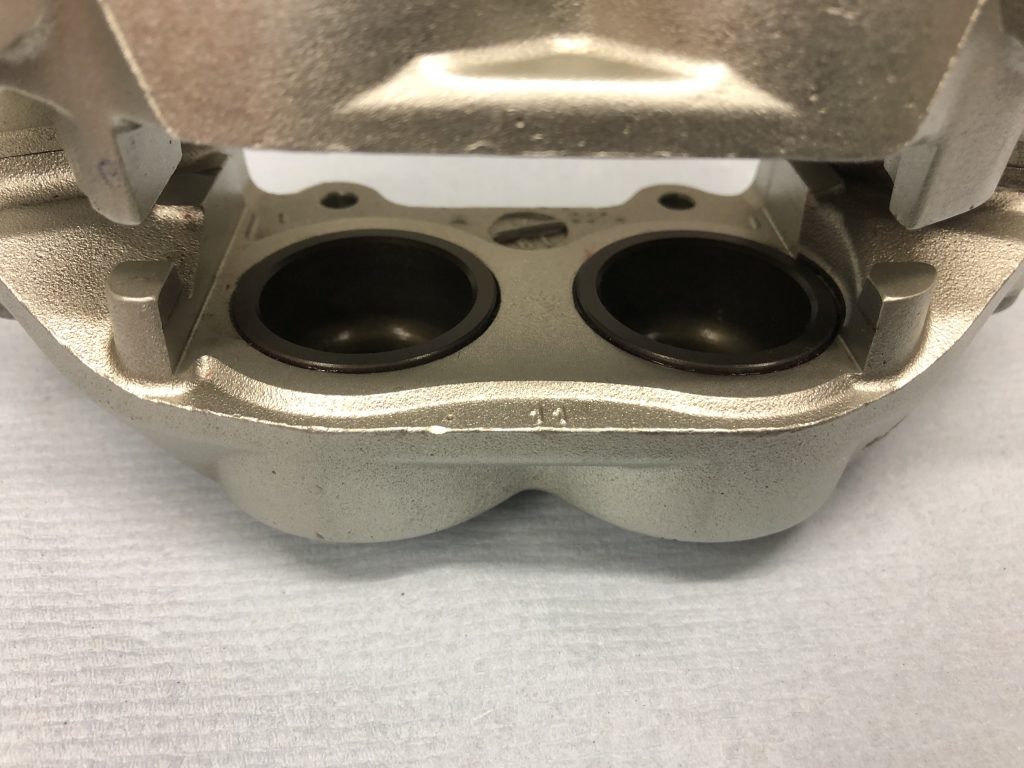
I then set about deep cleaning them. re-greasing the pistons, cleaning up the pads and retaining pins ready for service.
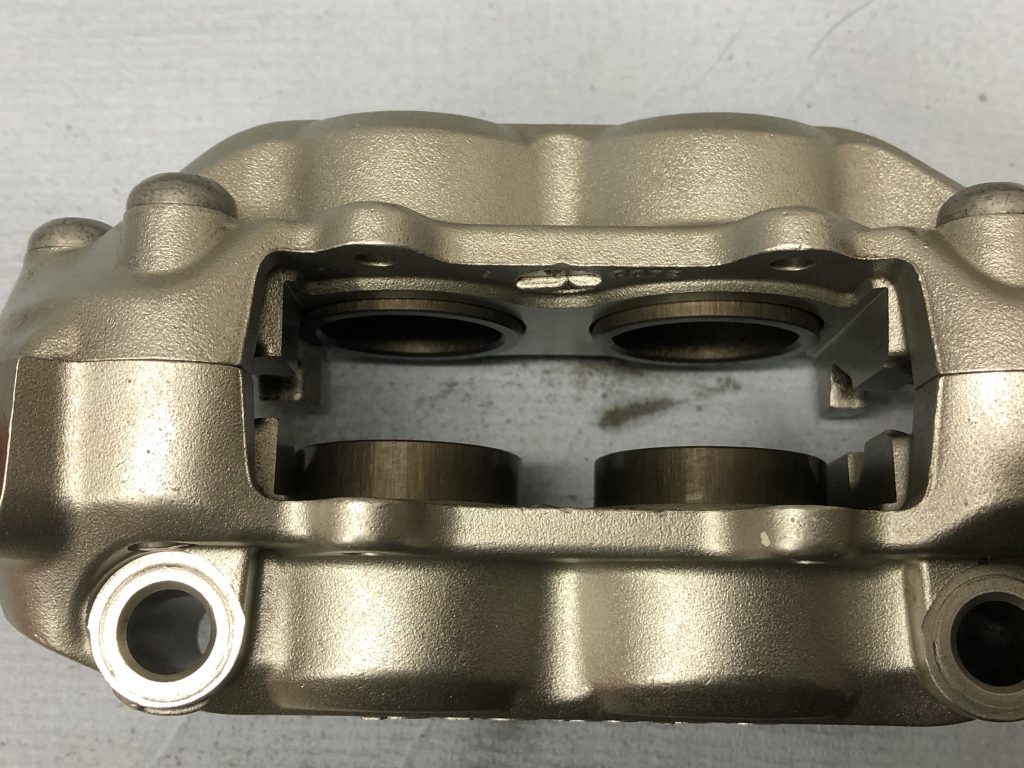
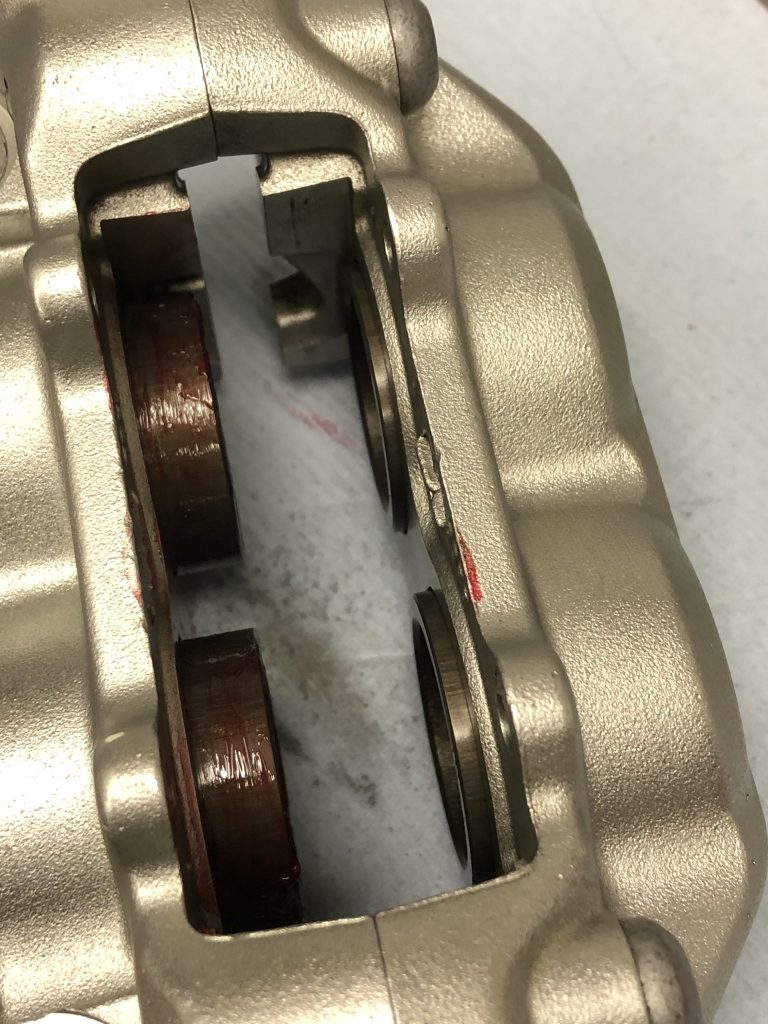
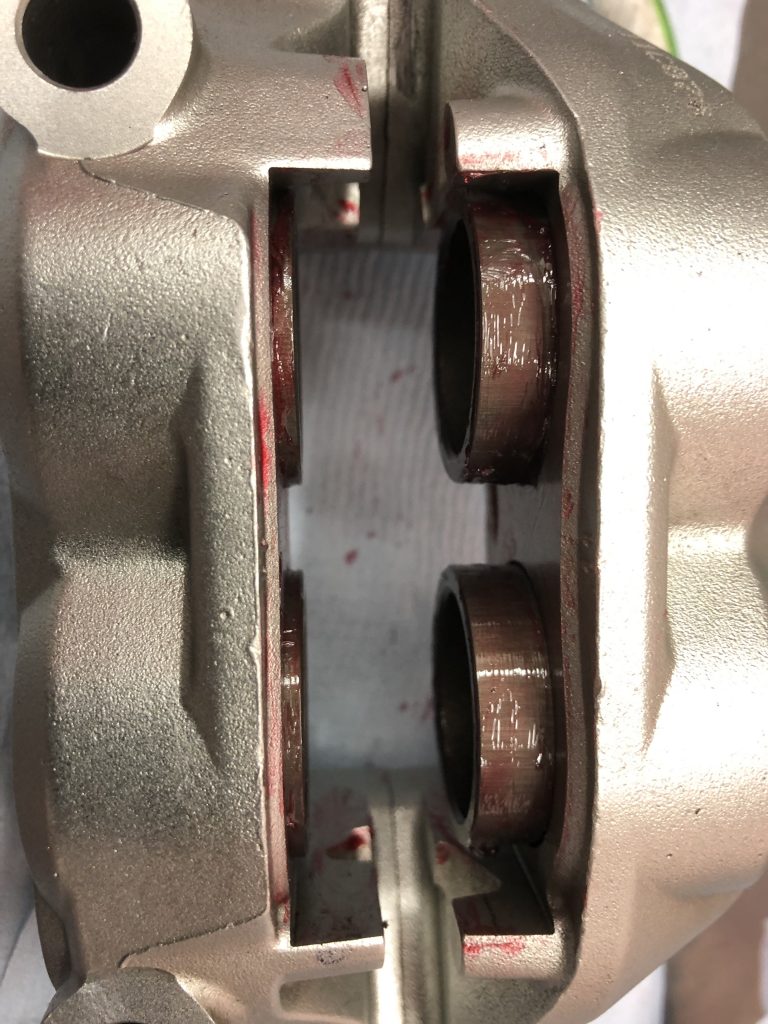
The pistons were extended using an air compressor blow line, they were in great order commensurate with the mileage so just needed a wipe clean.
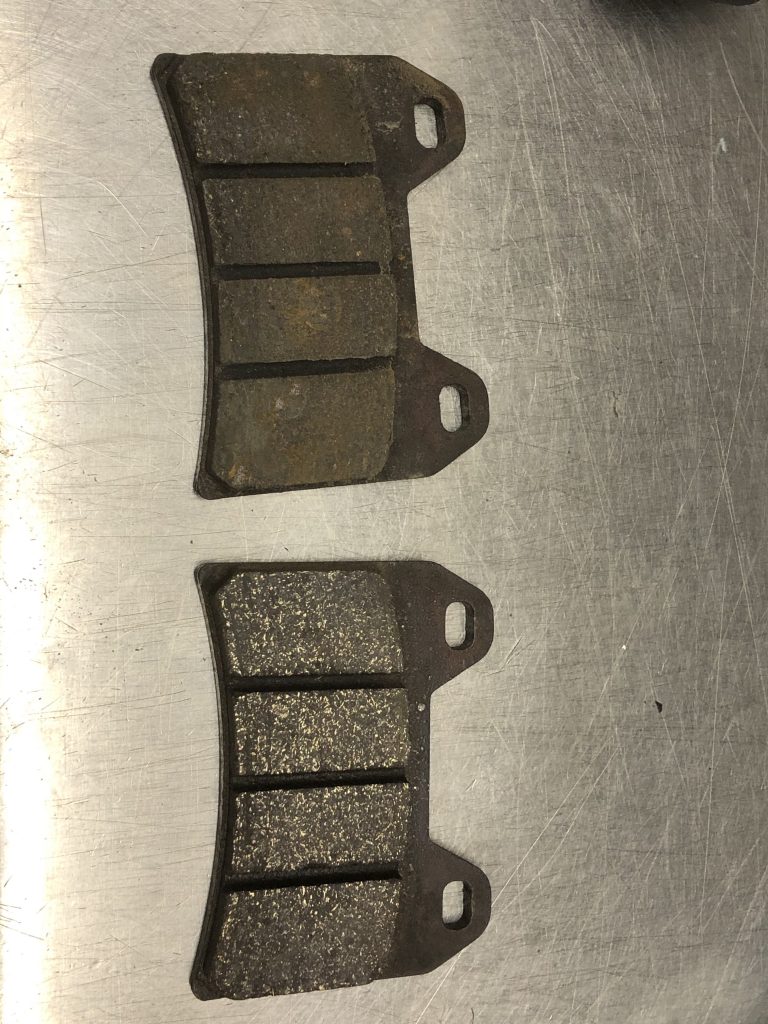
The pads were sandpapered with 600 wet and dry and cleaned with some water/detergent spray and then a final wipe with some break cleaner.
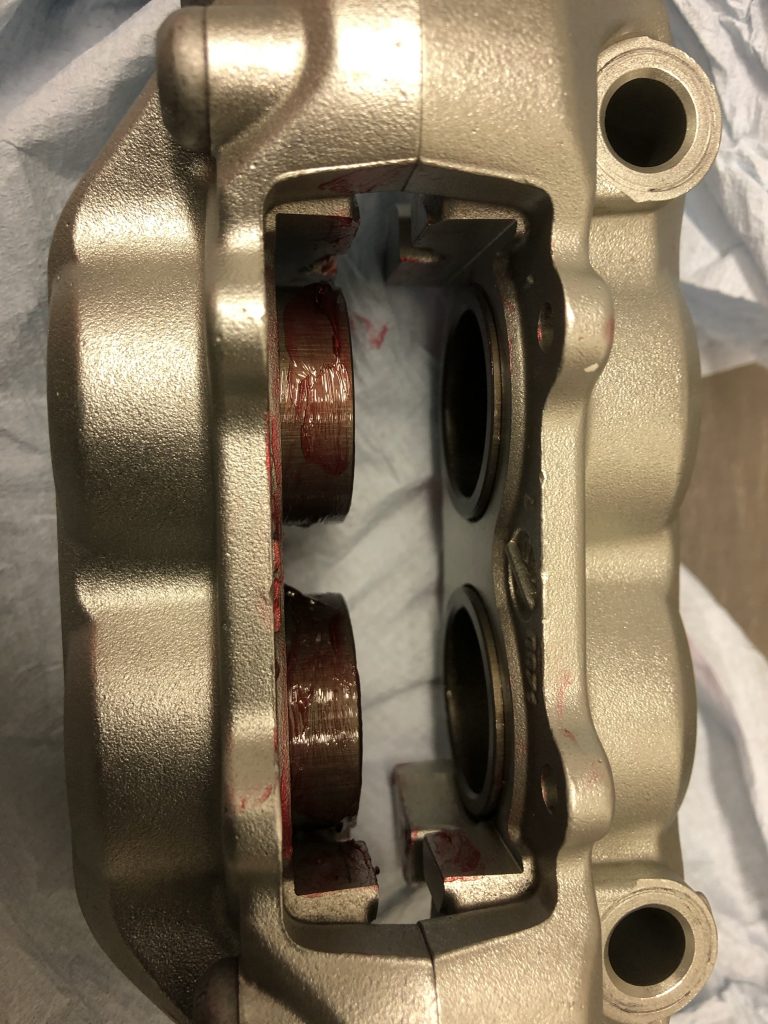
The pistons were re-greased with some red rubber grease so that they would coat/protect the seals.
Then the pistons were reset, ready to take the freshly cleaned up pads.
The back of the brake pads, perimeter and retaining pins were cleaned and lightly coated with some ceramic grease.
All ready for bolting up…
The caliper bolts will have some molybdenum disulphide grease applied to them and torqued to 38Nm. The brackets will be torqued to a slightly lower 44Nm with the same grease (50Nm and oil in manual seems a bit high for this aluminium bracket). Banjo torque 20Nm, Bleed nipple 9Nm.
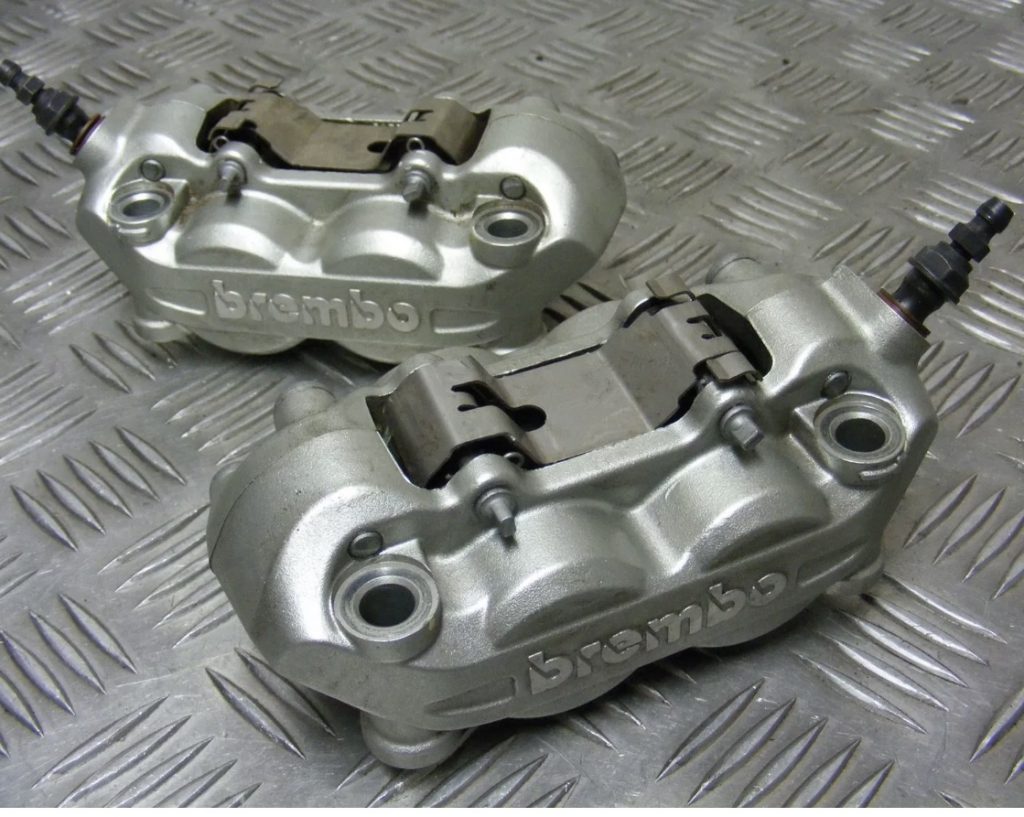
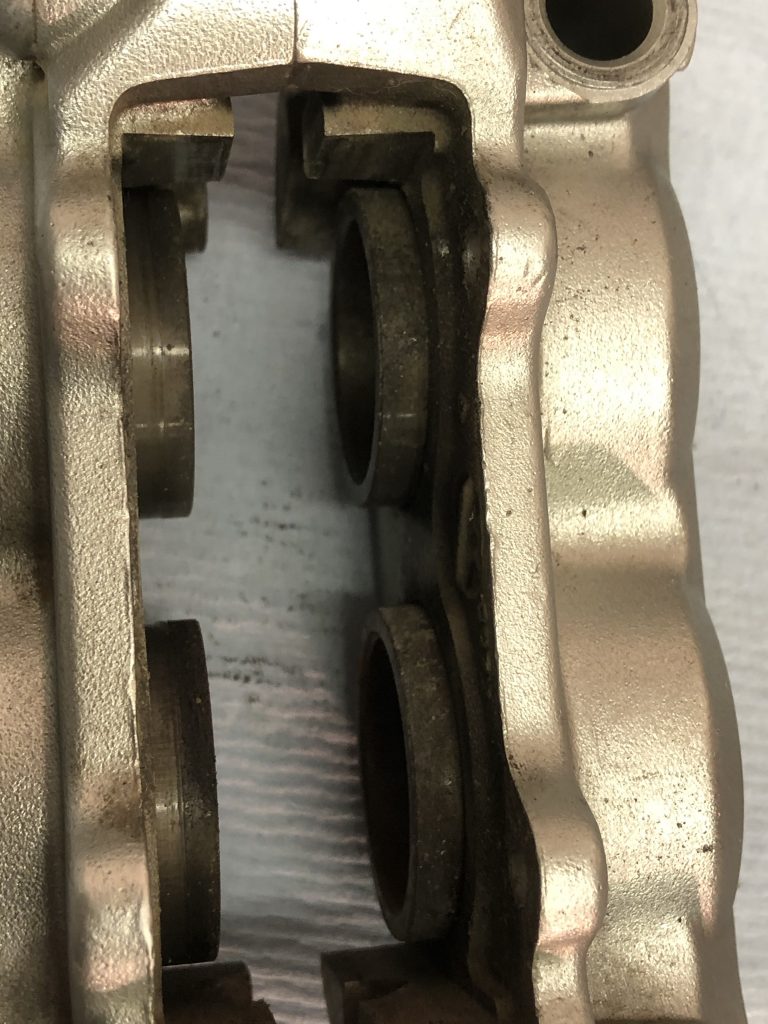
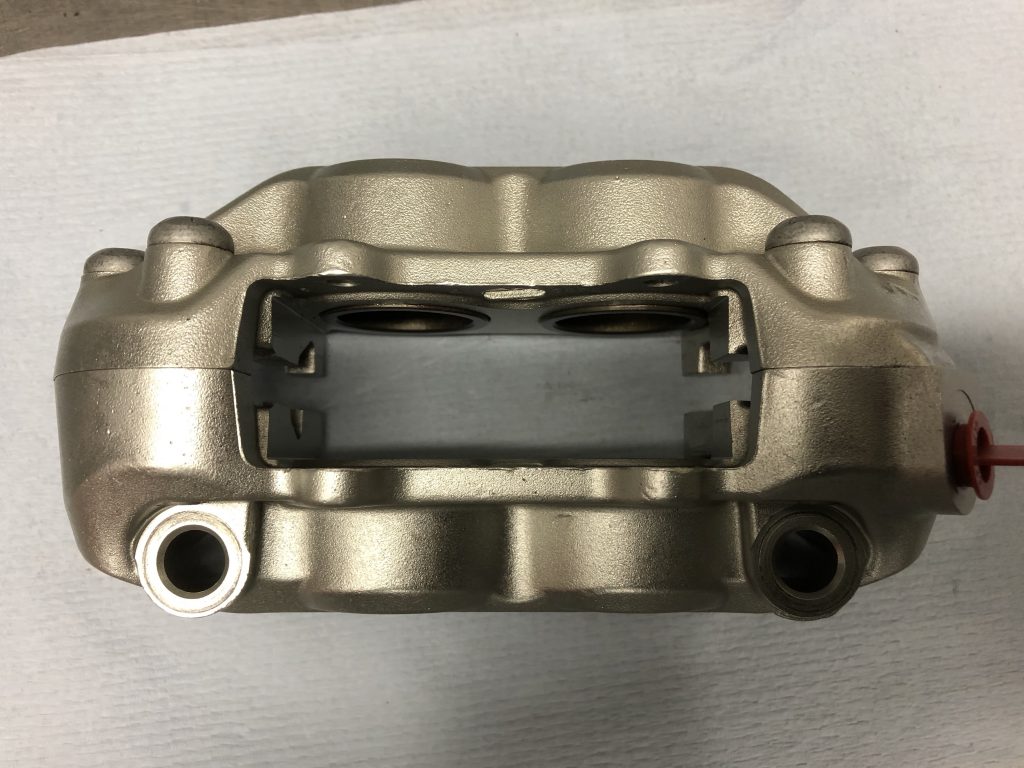
On to the second caliper. This is how the calipers arrived as they came off the bike, a little bit dirty but with a little time spent cleaning they come up as new.
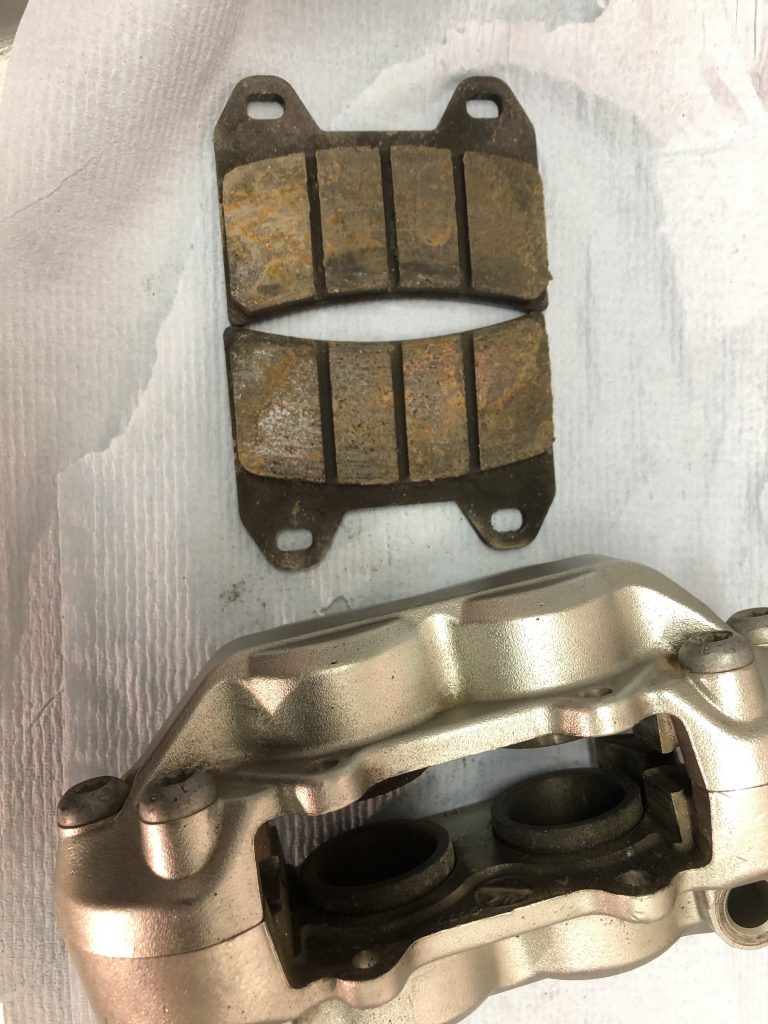
First off the pads…
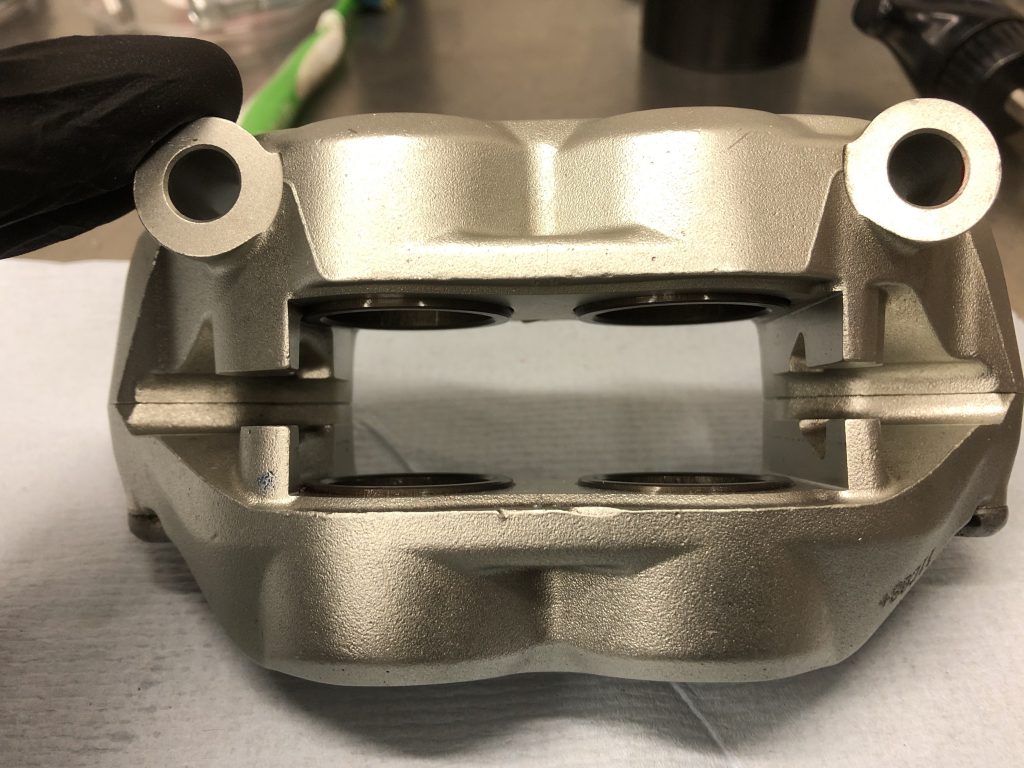
Next up, the body and pistons. The body is cleaned using some diesel and a toothbrush and wiped off with blue roll, finished off with compressed air to blow out all the hard to reach areas.
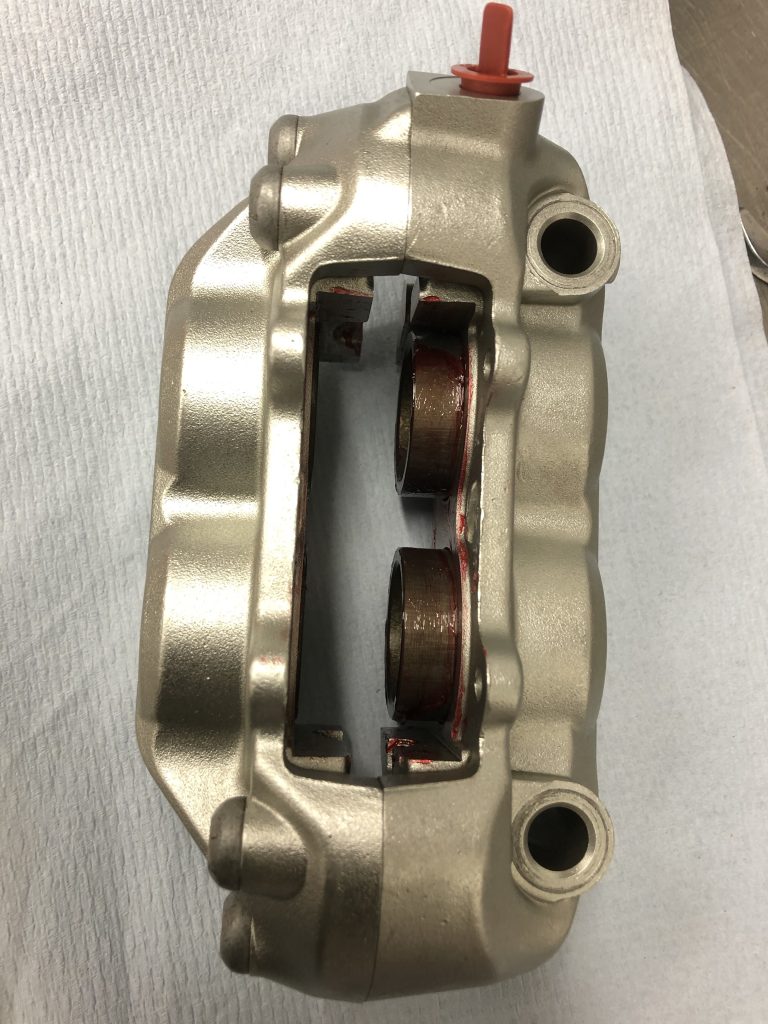
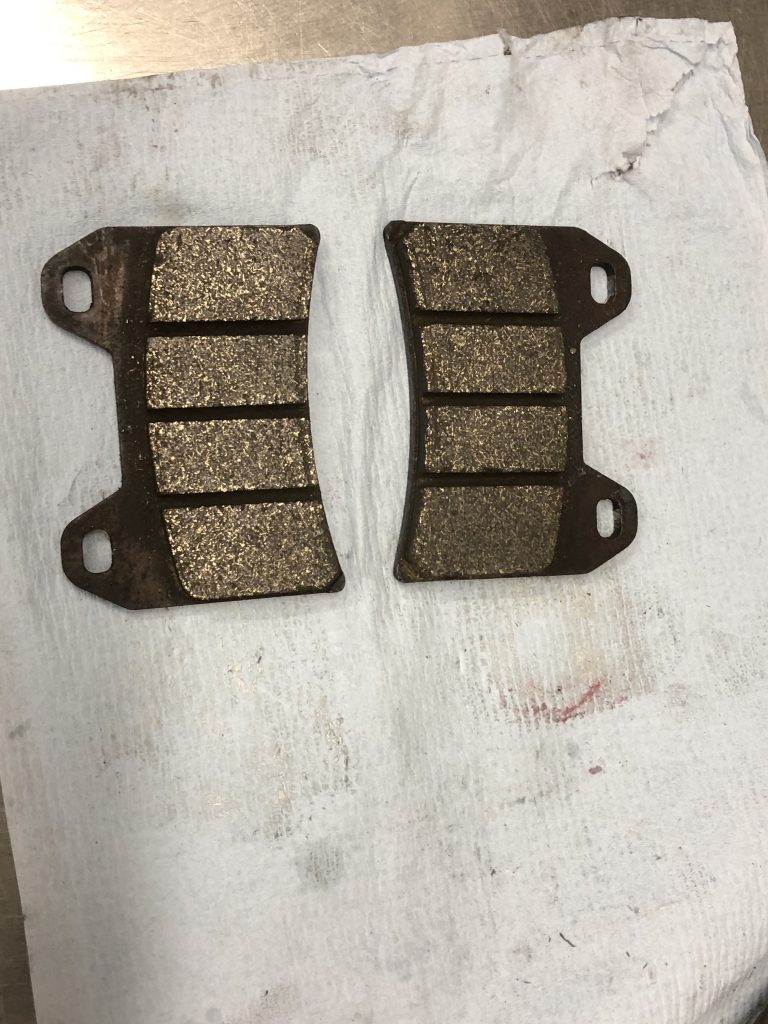
It’s very satisfying to see these come back like new with a relatively small amount of TLC…
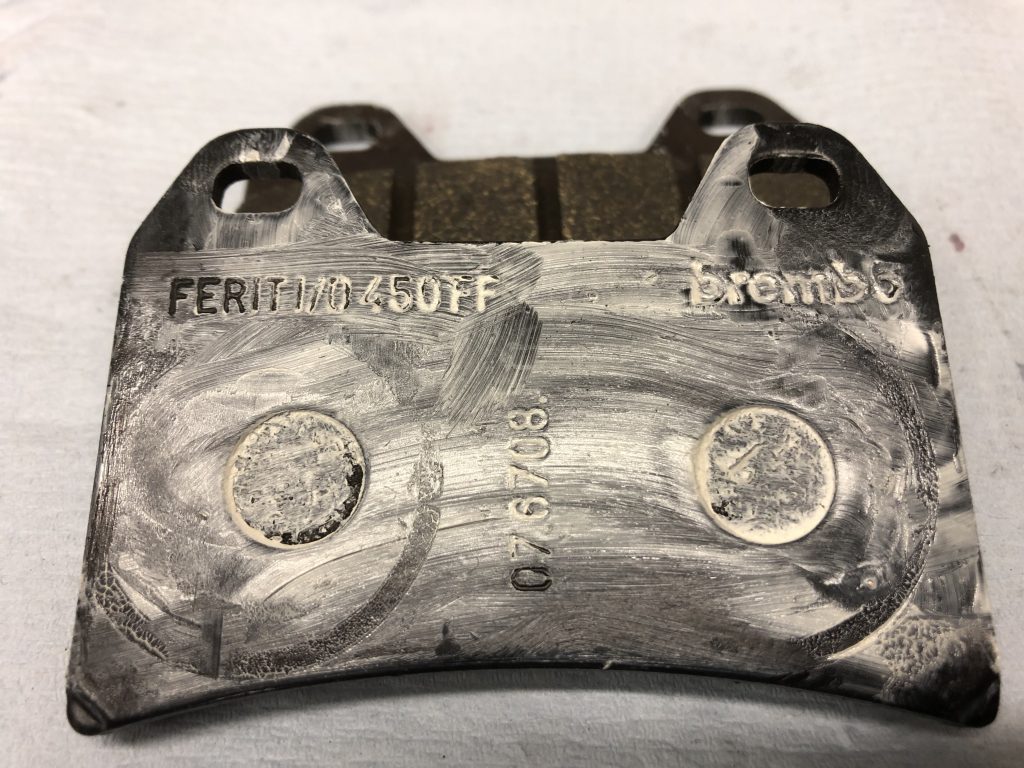
Original Brembo pads are installed with plenty of life left. Part number below for future reference.
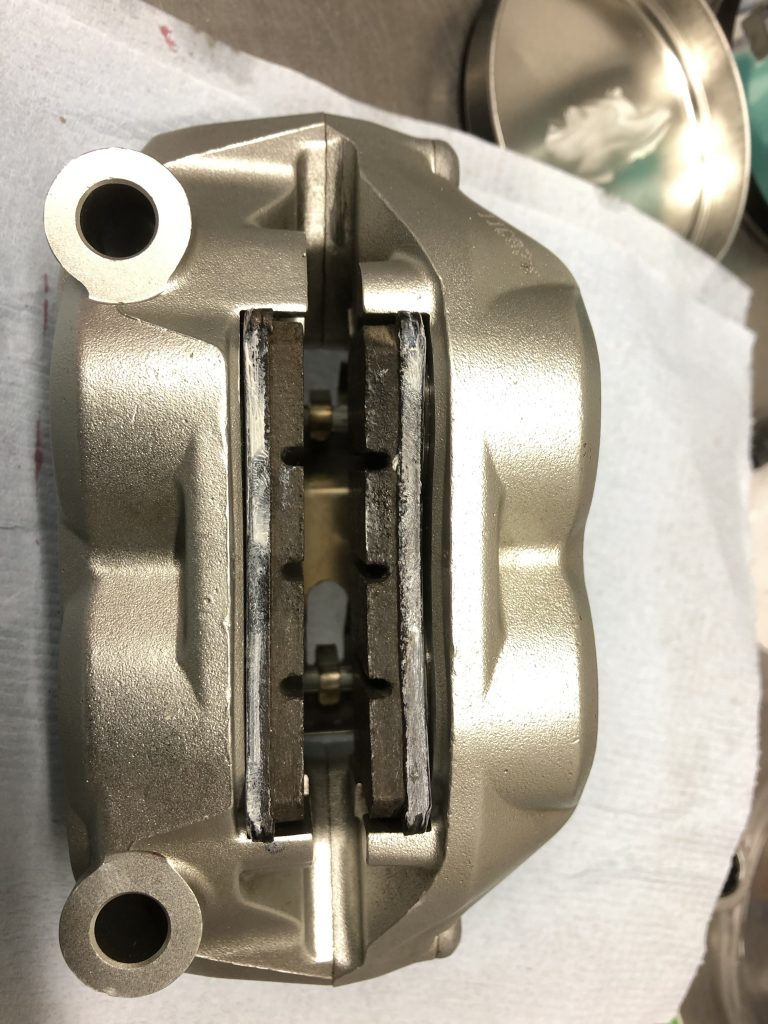
Both calipers are now cleaned and ready to bolt on to the bike once the new copper crush washers arrive for the banjos.

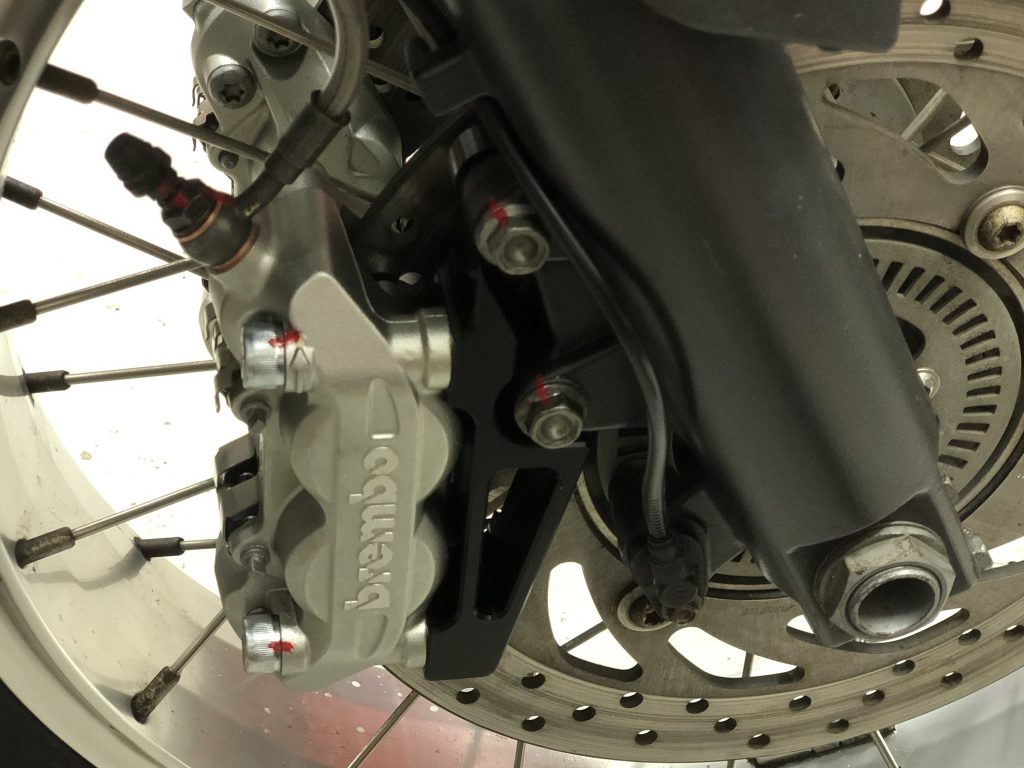
Fitting the brackets to the bike. The good news is it all bolts up and it appears that it will serve its function. There are some issues however. The caliper should clear the disc by a minimum of 2mm according to Brembo.
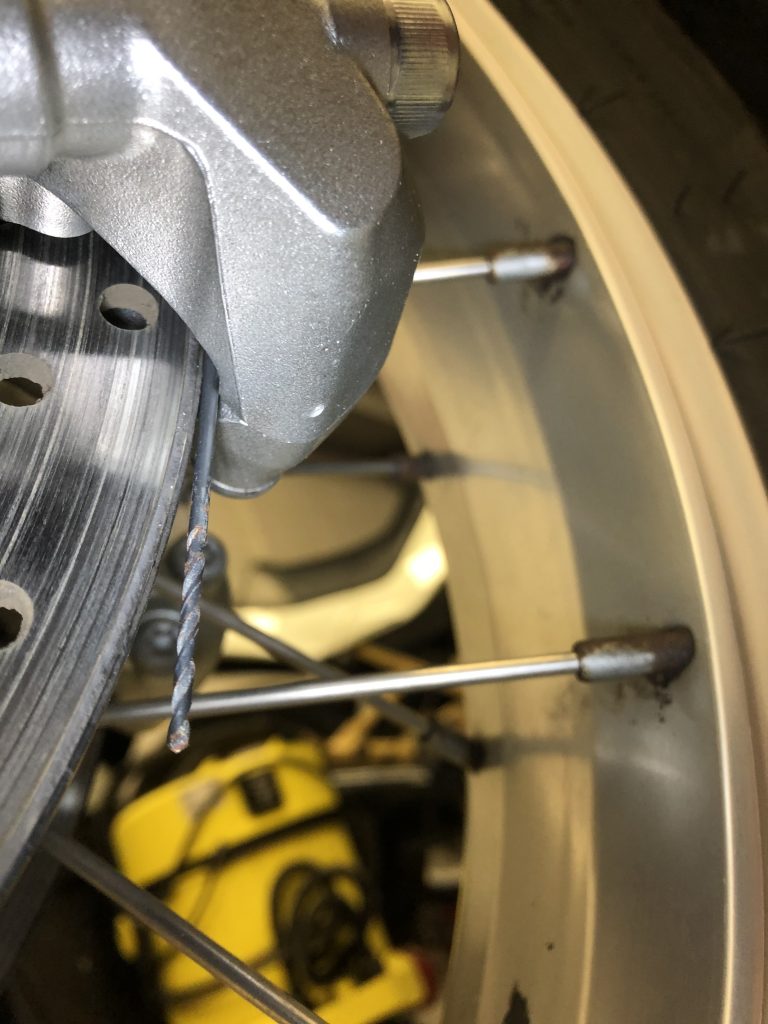
This 2mm drill bit shows that the minimum clearance has been achieved. This is at the base of the caliper, the clearance is higher at the top pf the caliper. This variance should not be more than 0.4mm however it is 4mm more, less the 0.4 allowance makes the variance 3.6mm out of tolerance.
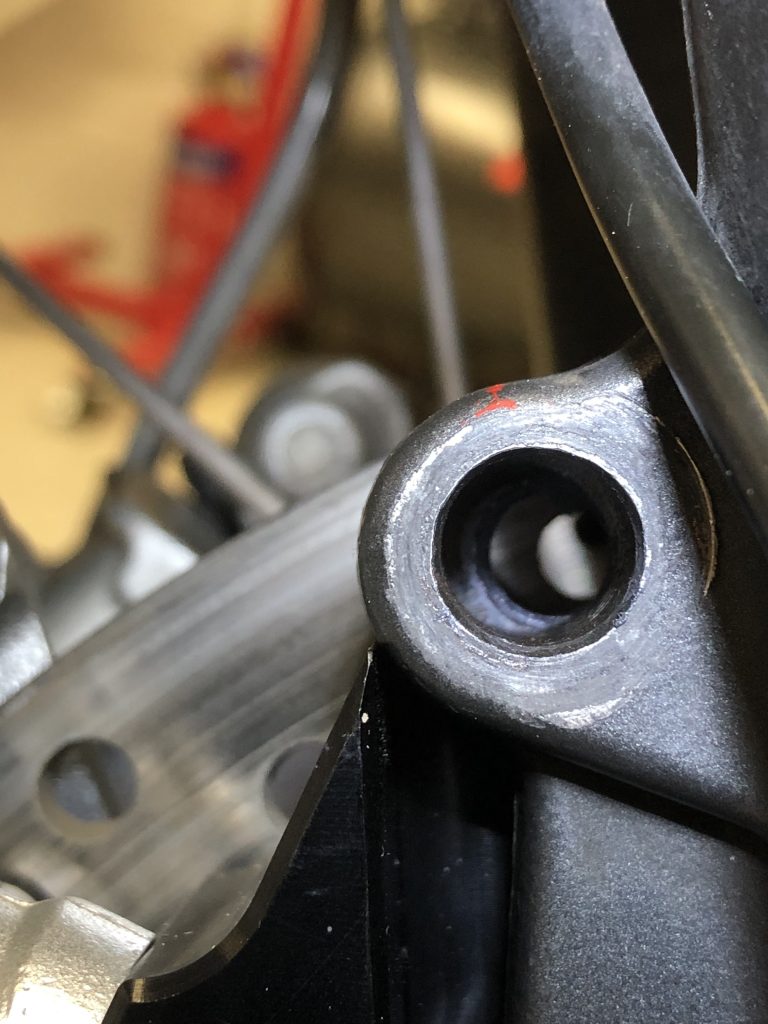
Above shows a 6mm drill bit inserted to demonstrate the 6mm of clearance. If the bracket hole where drilled in a slightly different position as shown below, this potentially could have been corrected and the variance equalised;
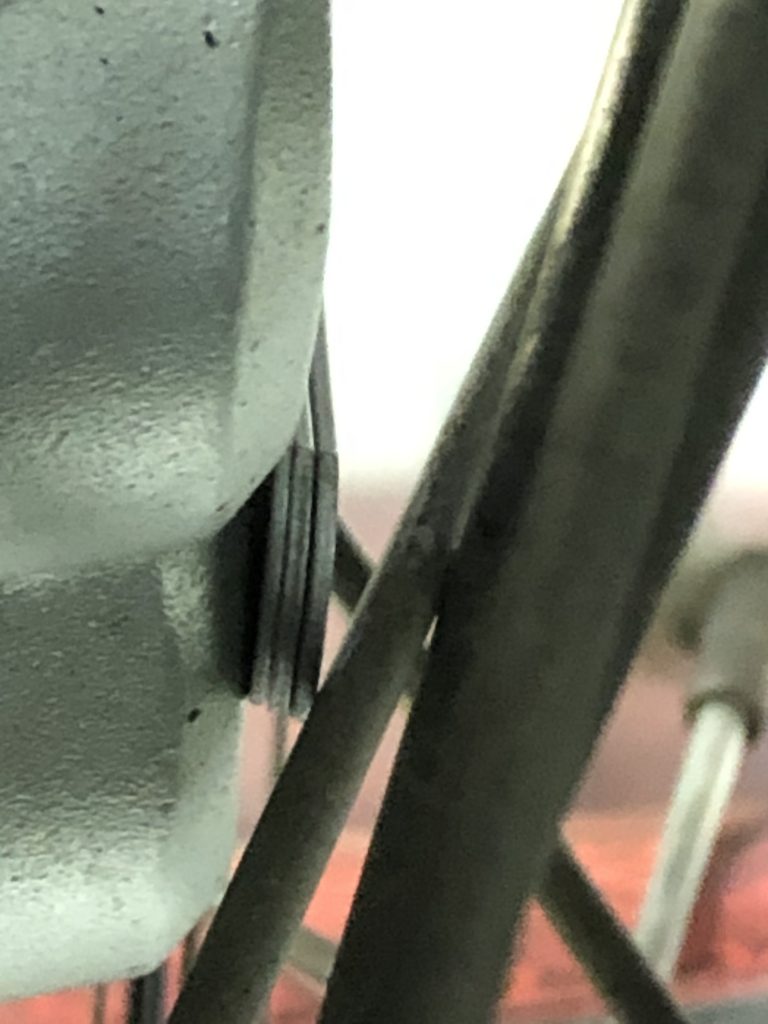
Measured using a feeler gauge, spoke clearance with these calipers at its tightest point is 2.8mm which is acceptable to me.
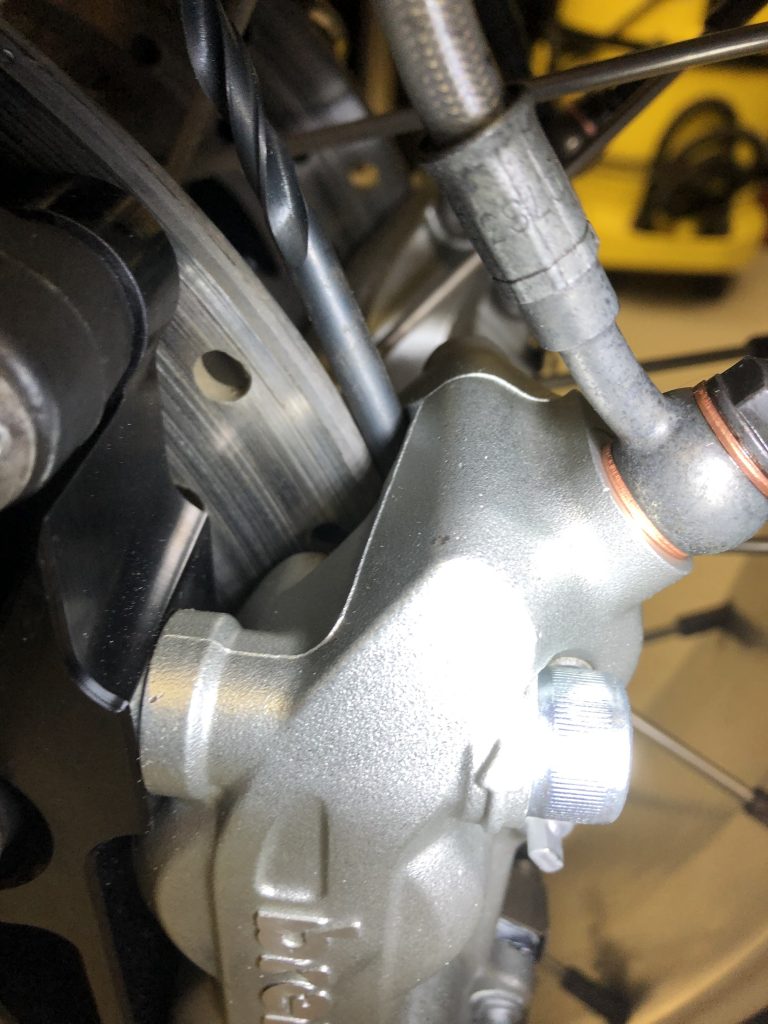
Finally the original brake hose angle is at quite a tight angle. I may consider replacing these in due course with a 30 degree angled head hose but for now these will stop. In the meantime, here is the finished article 🙂