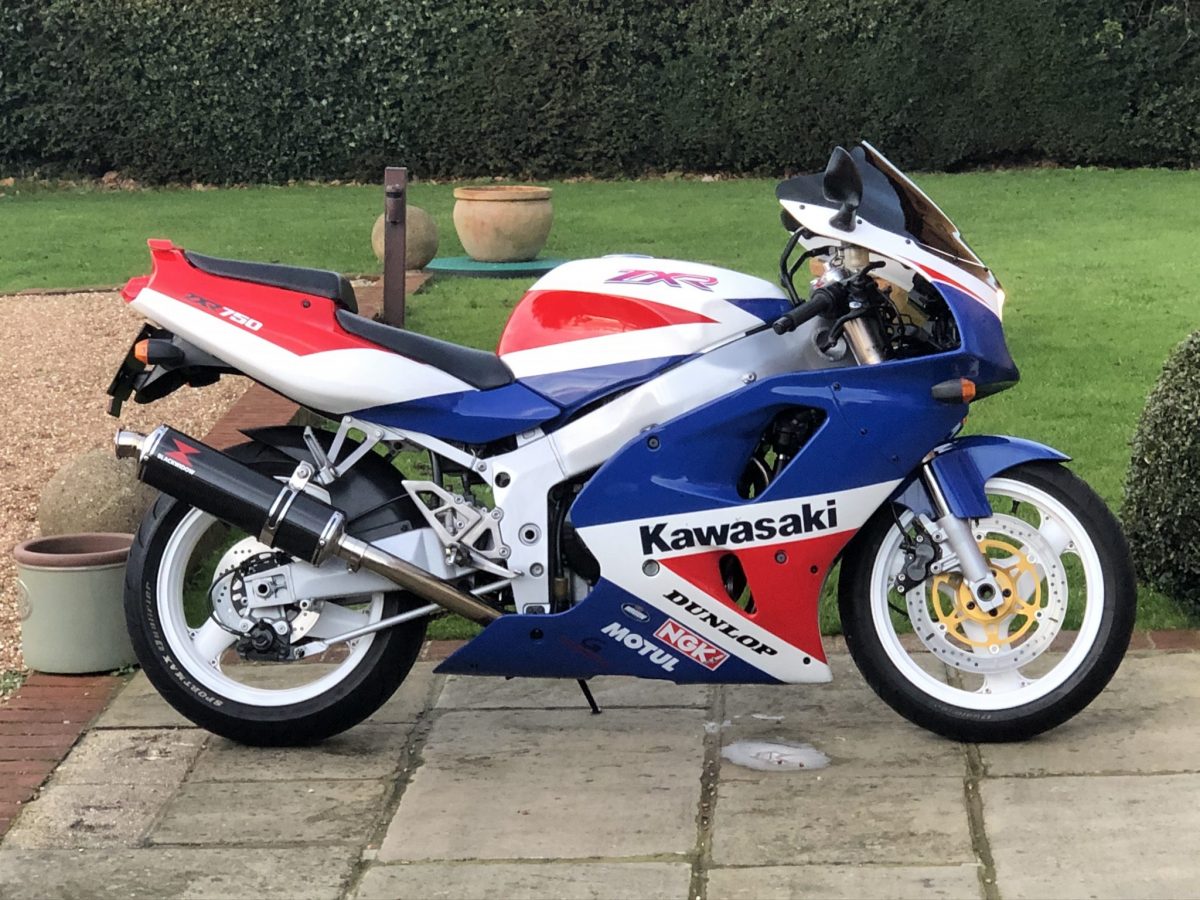
Still teeming with excitement from the new purchase, there were a couple of bits I’d noticed prior to purchase that I wanted to sort out. First off, the paintwork was rough, like it had been poorly lacquered, when I mentioned to the seller that I wouldn’t have been happy with that finish, he looked taken aback, then he felt the surface, “ahh”, he said, “it’s just overspray where I’ve been spraying in the garage”. His recent RG125F project had been painted in the background and fine dust had settled all over the bike. A good clay barring later and it was as smooth as the proverbial with a perfect paint finish 🙂
The rear cotton reels that came with the bike didn’t fit correctly on one side as the ZXR has a recess on one side. Fortunately I had a spare R&G kit from my other ZXR and managed to combine the parts to get these installed.
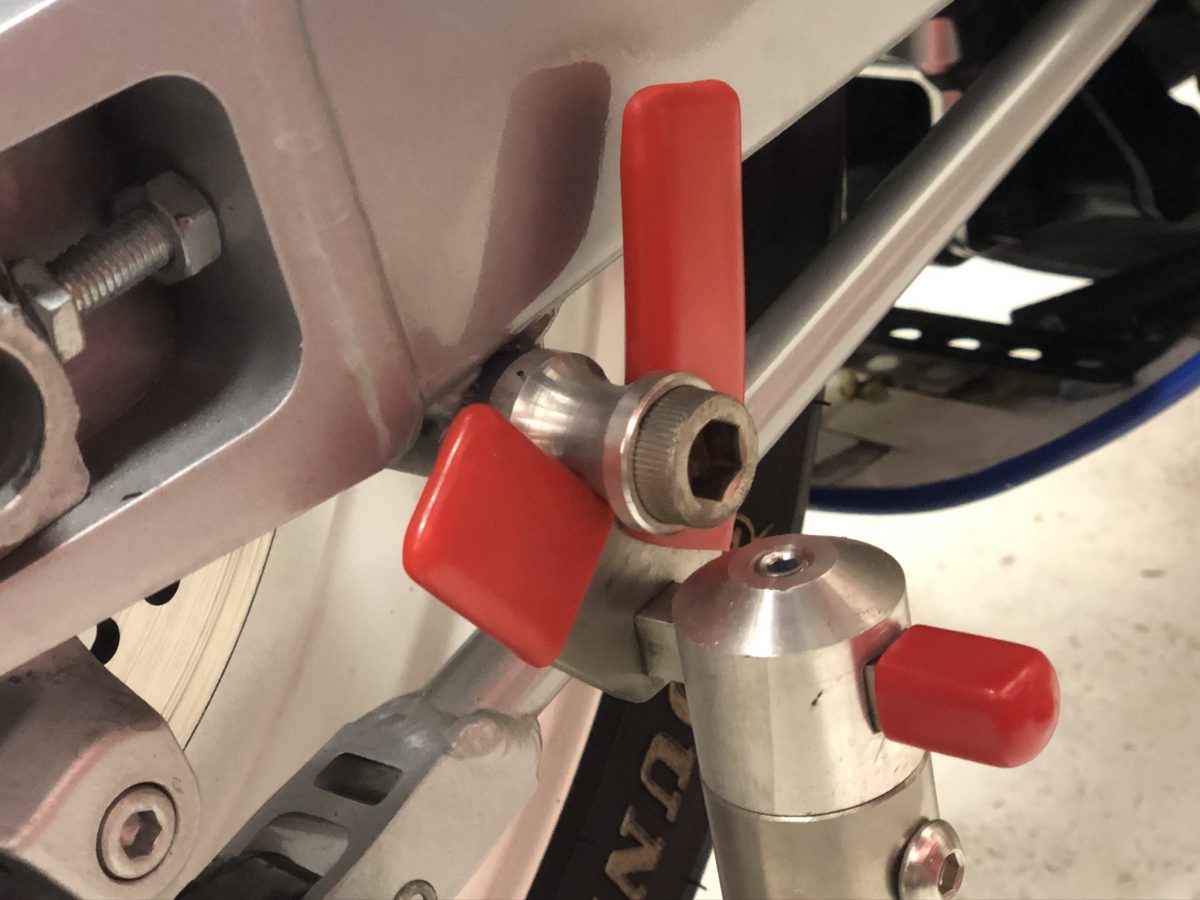
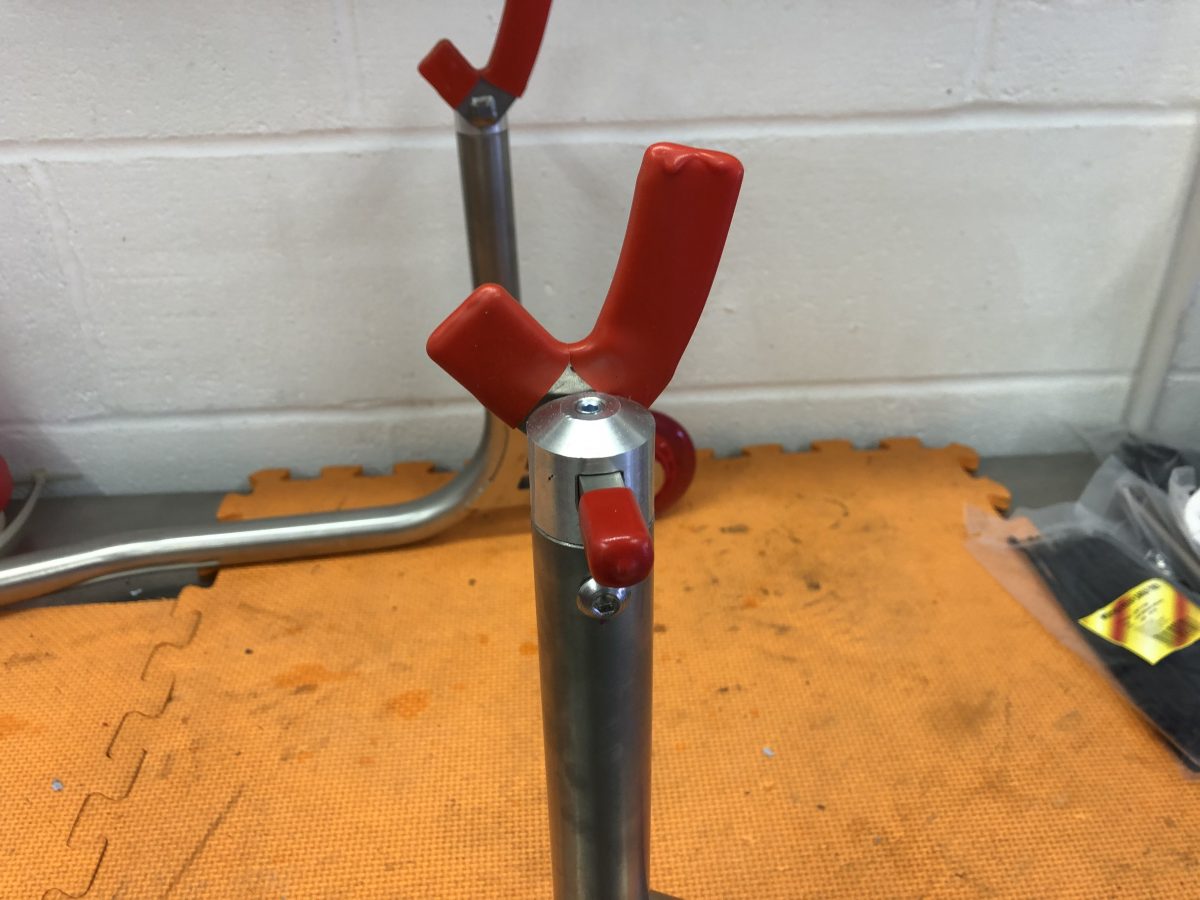
His paddock stand was an under swingarm version, this conversion meant that I could use my Harris rear paddock stand which I’ve modified using brick tie debonding sleeves to prevent any scratches to the swingarm. Fortunately, having the under yoke stand already from my M1 ZXR meant I had everything needed to get the wheels off the ground!
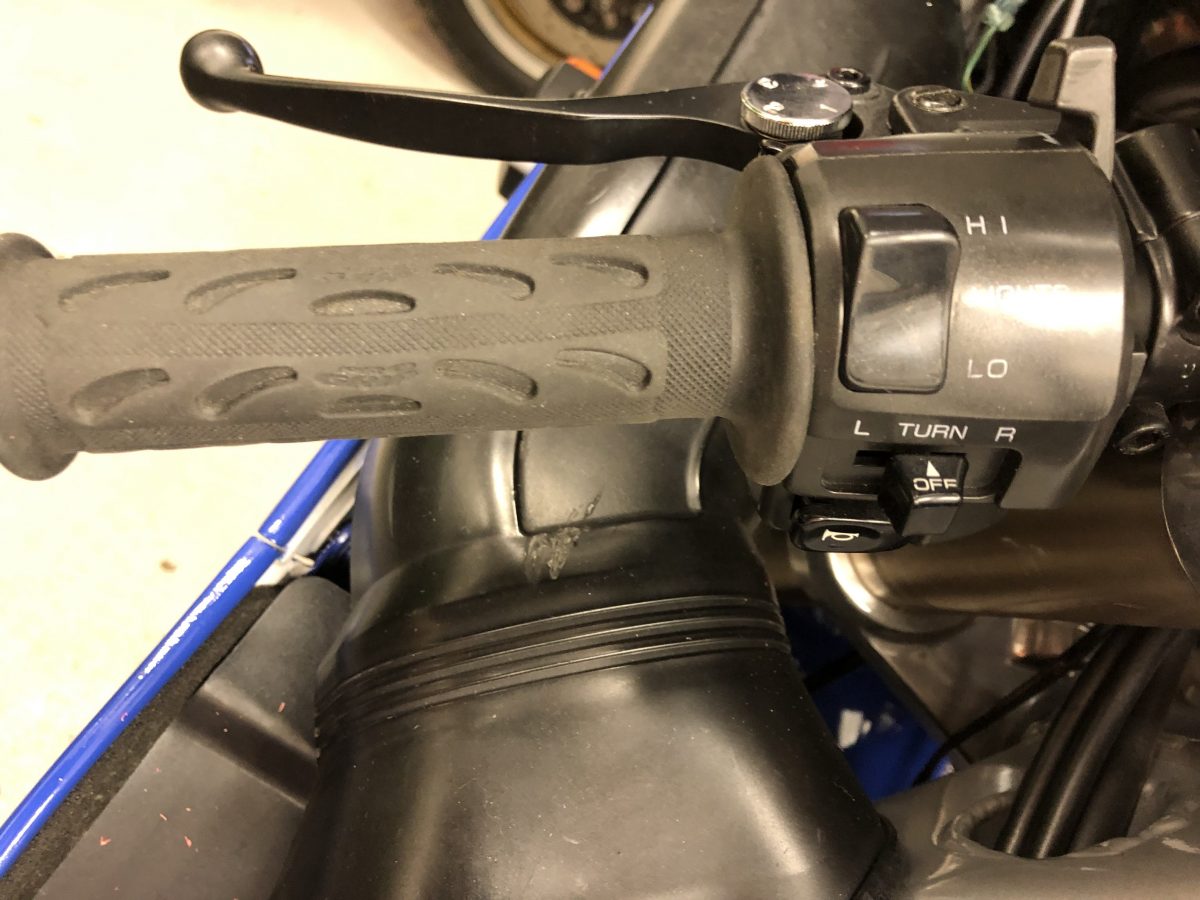
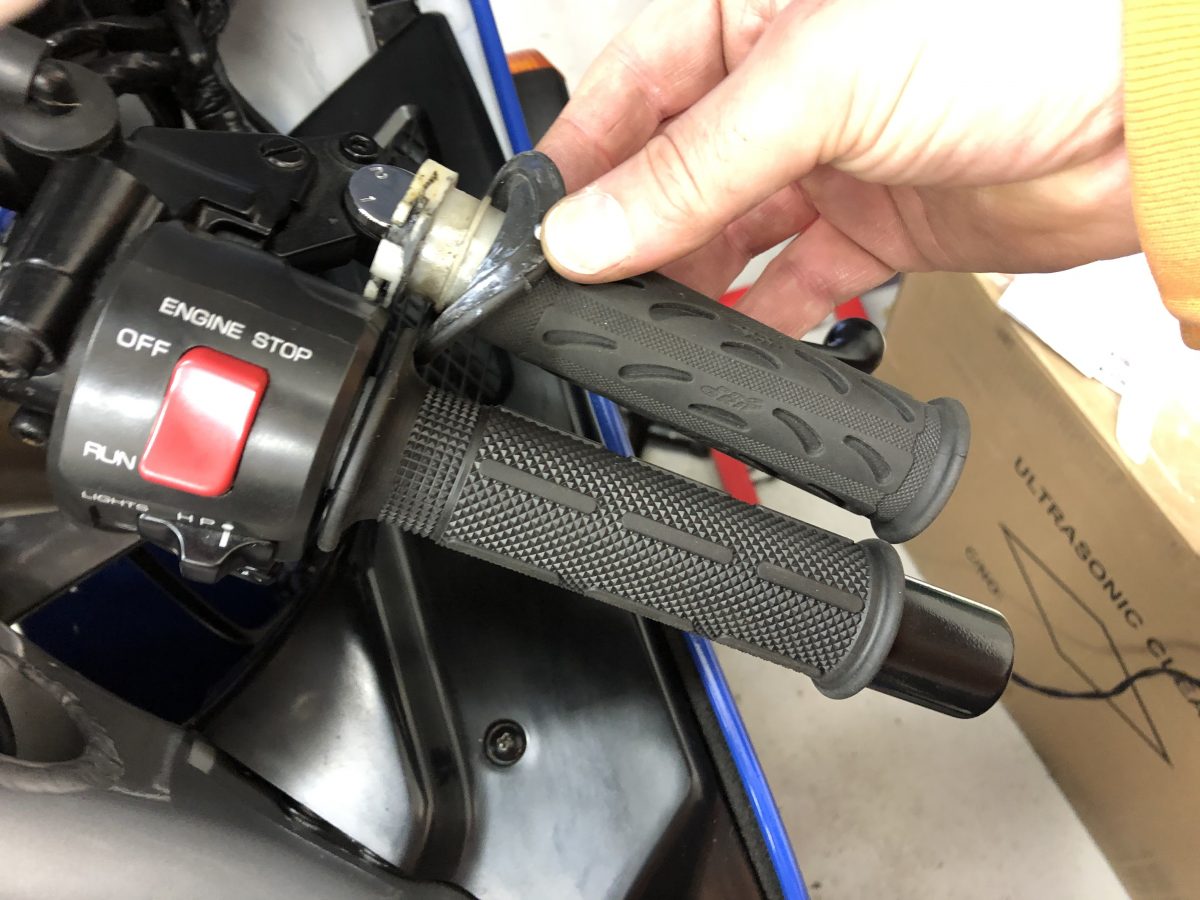
The bike had after market hand grips fitted, the throttle side grip was a bit baggy so thankfully I was able to still source these parts new.
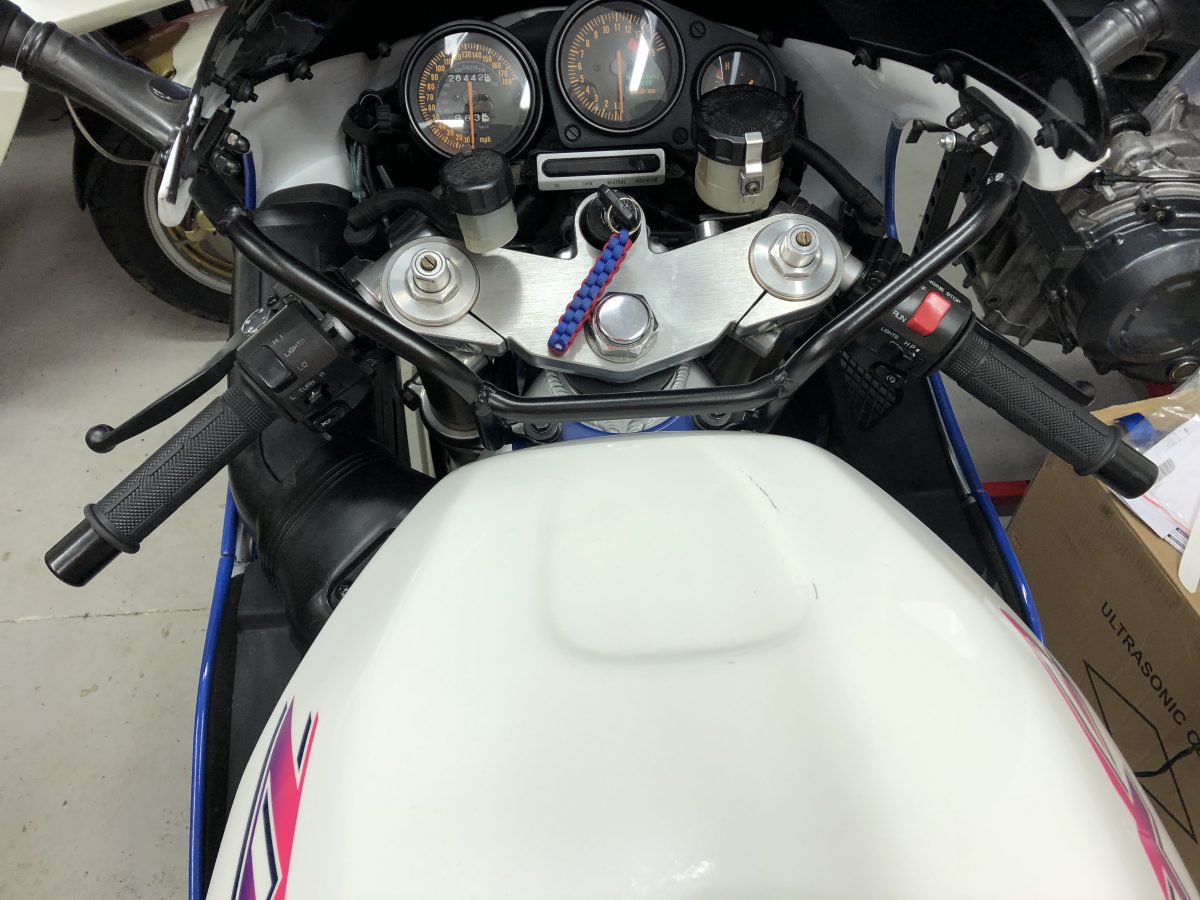
Aah, so much better!!
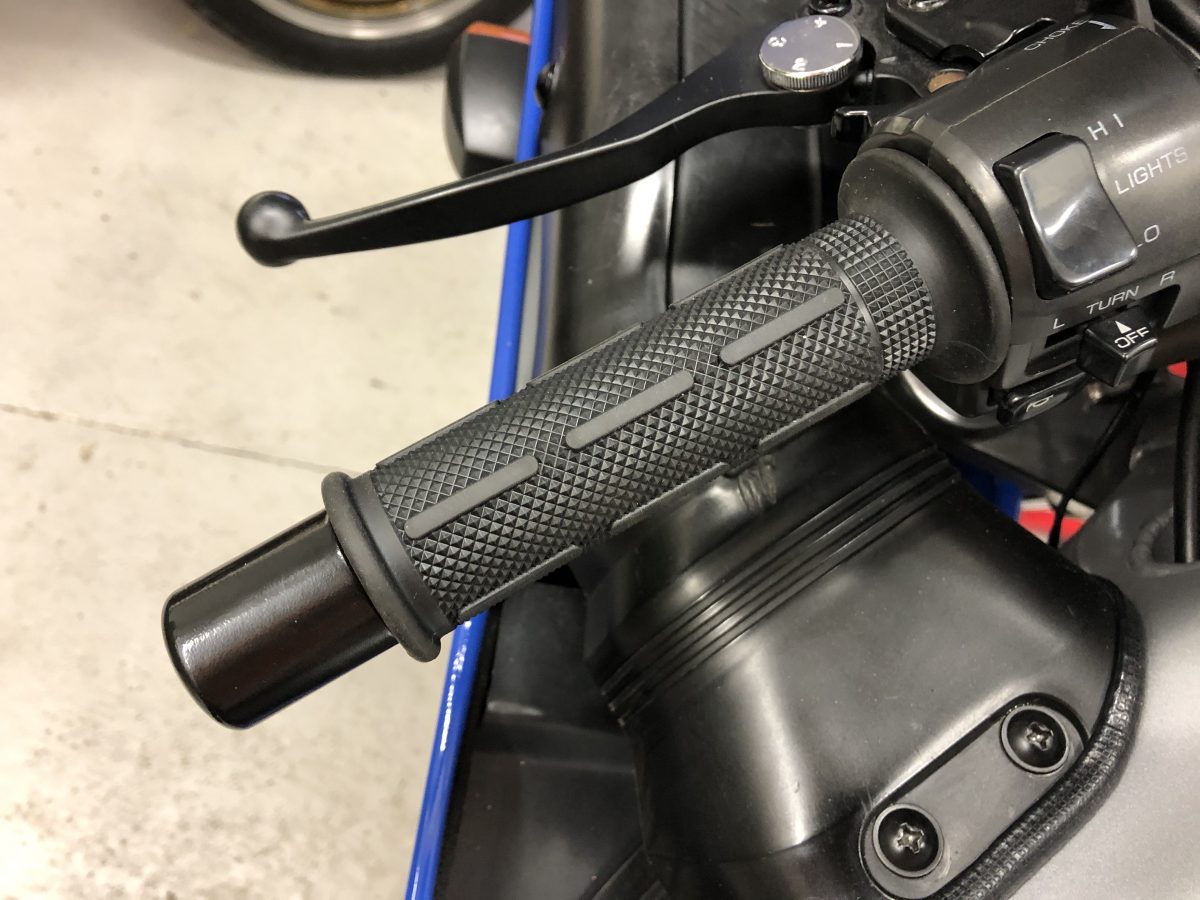
Freshens the controls up nicely 🙂
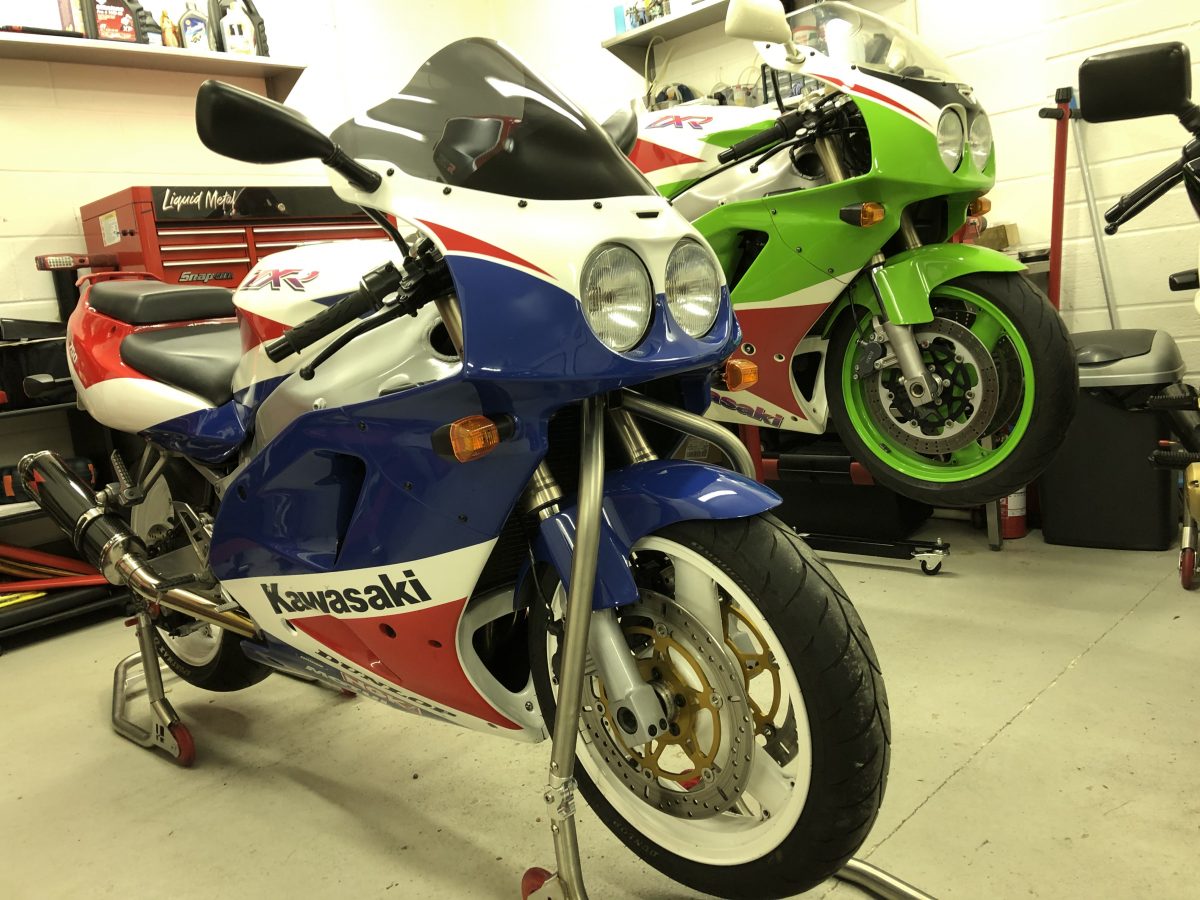
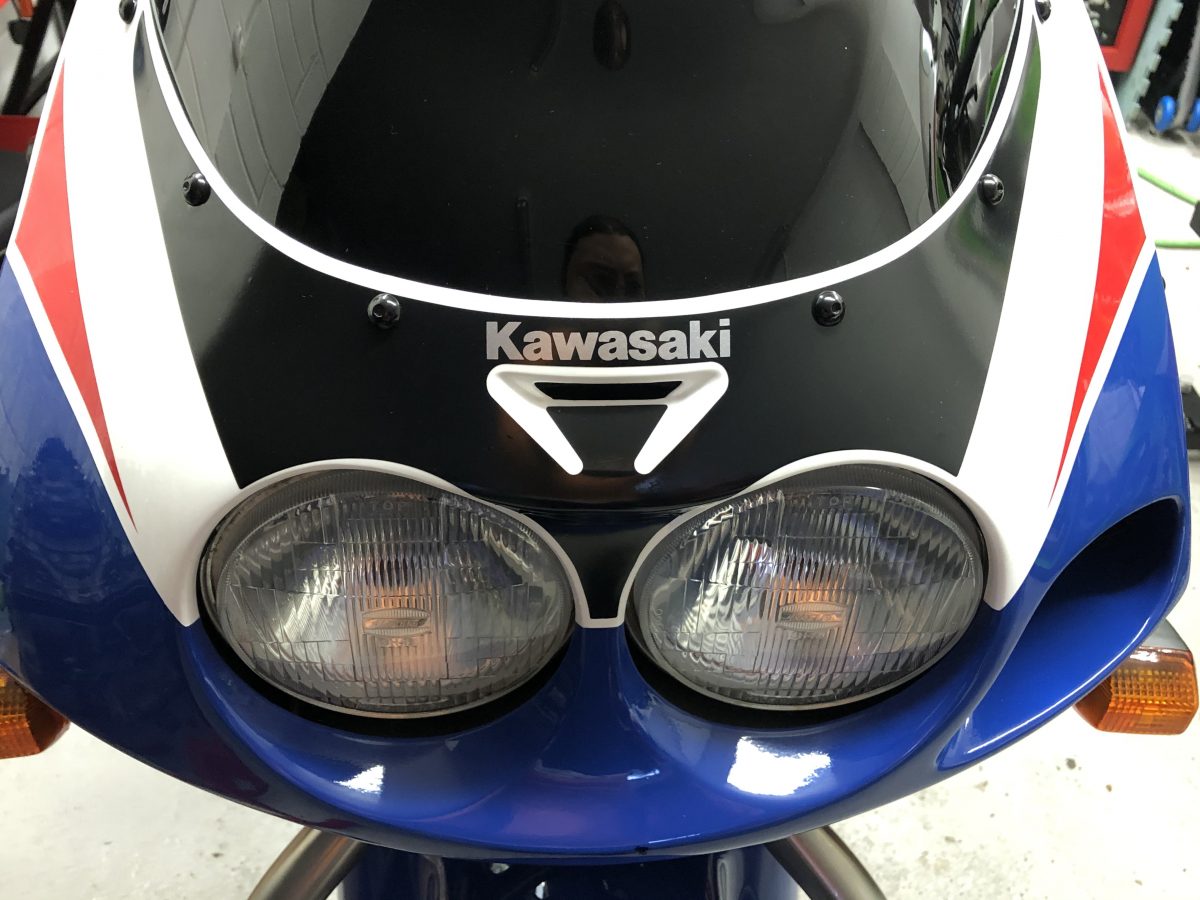
The bike came with a replica nose cone decal as the original is now unobtanium. Unfortunately, it’s not an easy decal to apply, so I messed it up. The previous owner hadn’t fitted it as it didn’t line up properly anyway. So with a ruined decal anyway, I ordered some replica decals from RDdecals in the USA. They cost a small fortune, £120 landed with taxes paid for the nosecone and the rear tail number flanks.
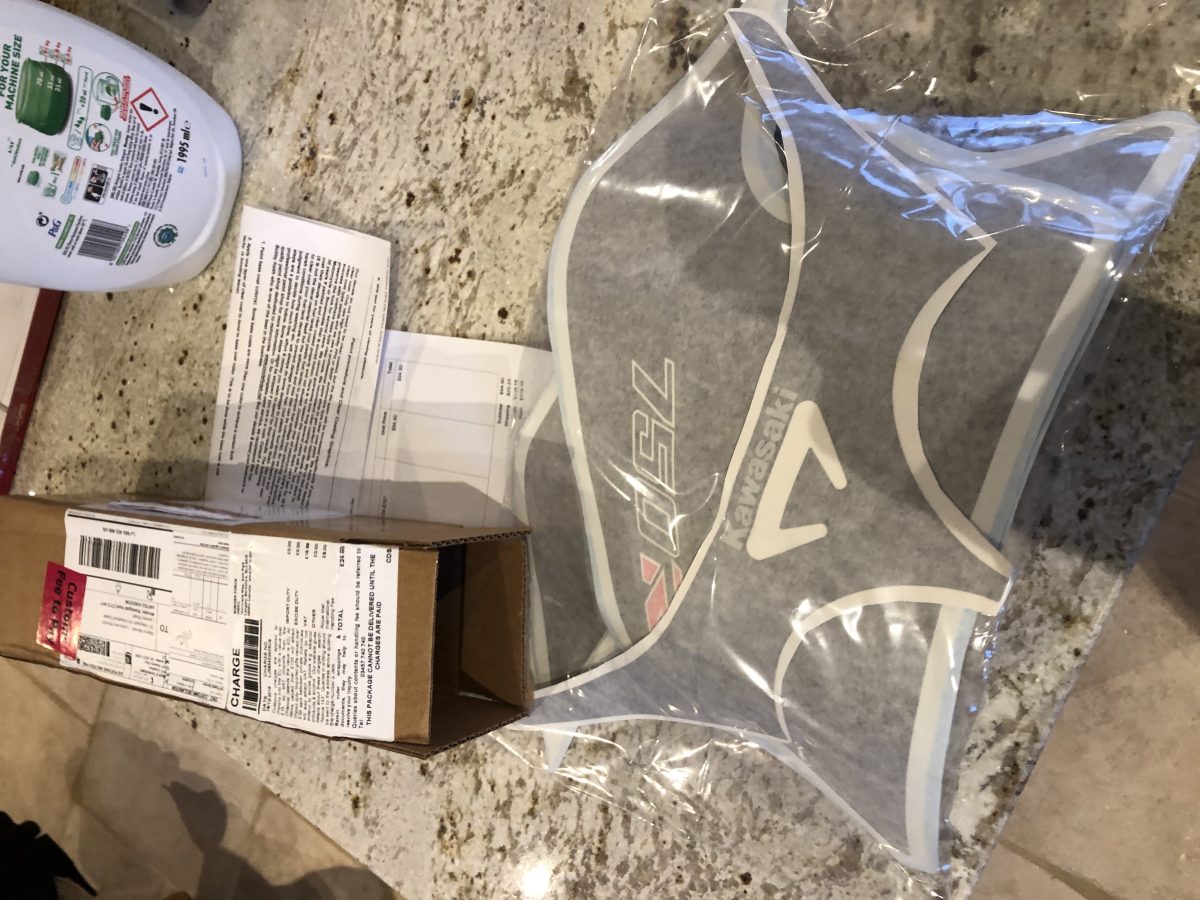
I think the nosecone decal completes the look and ties the bike in nicely with its homologation sibling. It wasn’t easy to apply and the quality isn’t quite up to oem standards (it’s not matt finish or as thick/durable) but it’s probably the best of the repro decals on the market and it does the job nicely.
The battery appears to be well past its best, I’ve put it on the tender but it seems to deplete very quickly, I expect it’ll need a new one next season and tempted to go with the much lighter Shido lithium one. A Noco charge lead has been fitted in preparation;

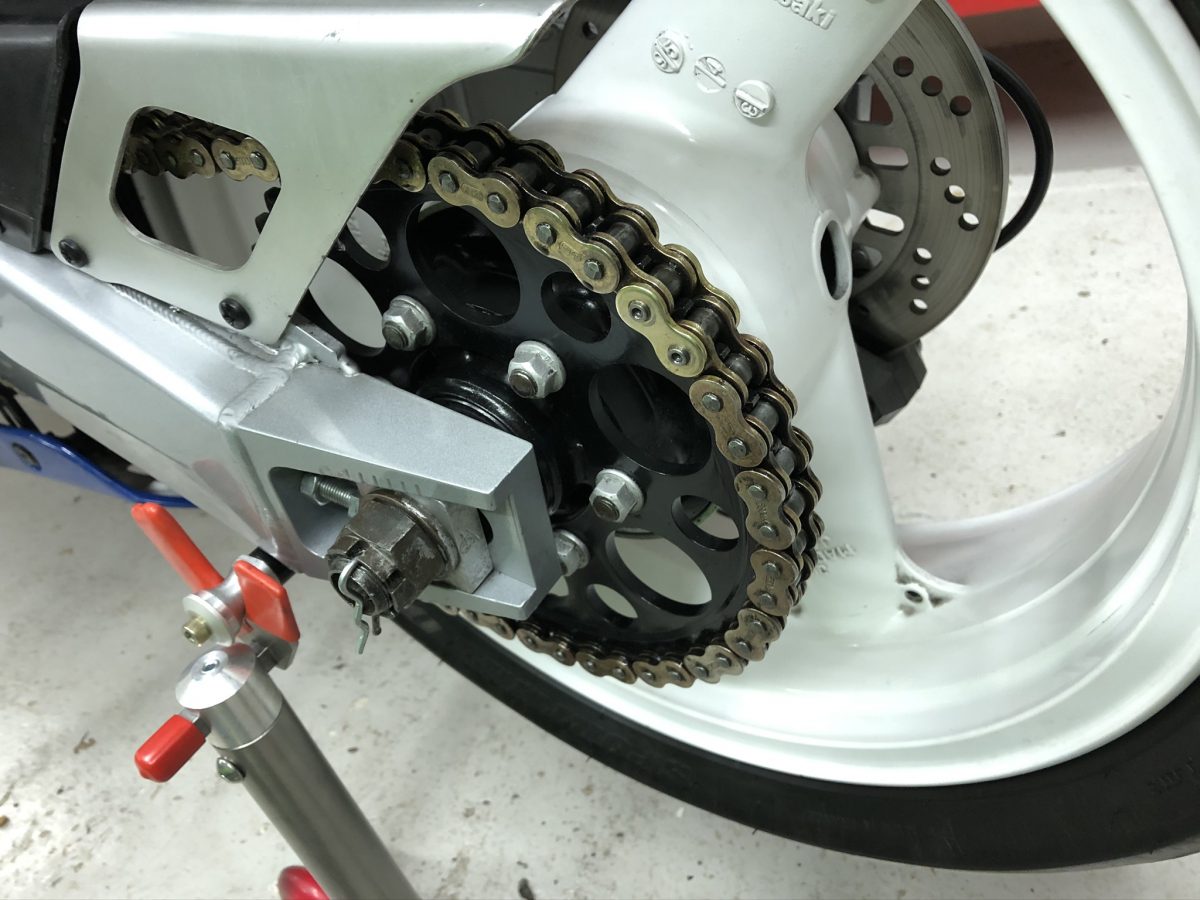
The previous owner had fitted a new chain and sprockets, but due to not having a chain rivet tool had only fitted the clip on type master link. Fortunately he gave me the rivet link also. The clip type link has now made way for the rivet link.
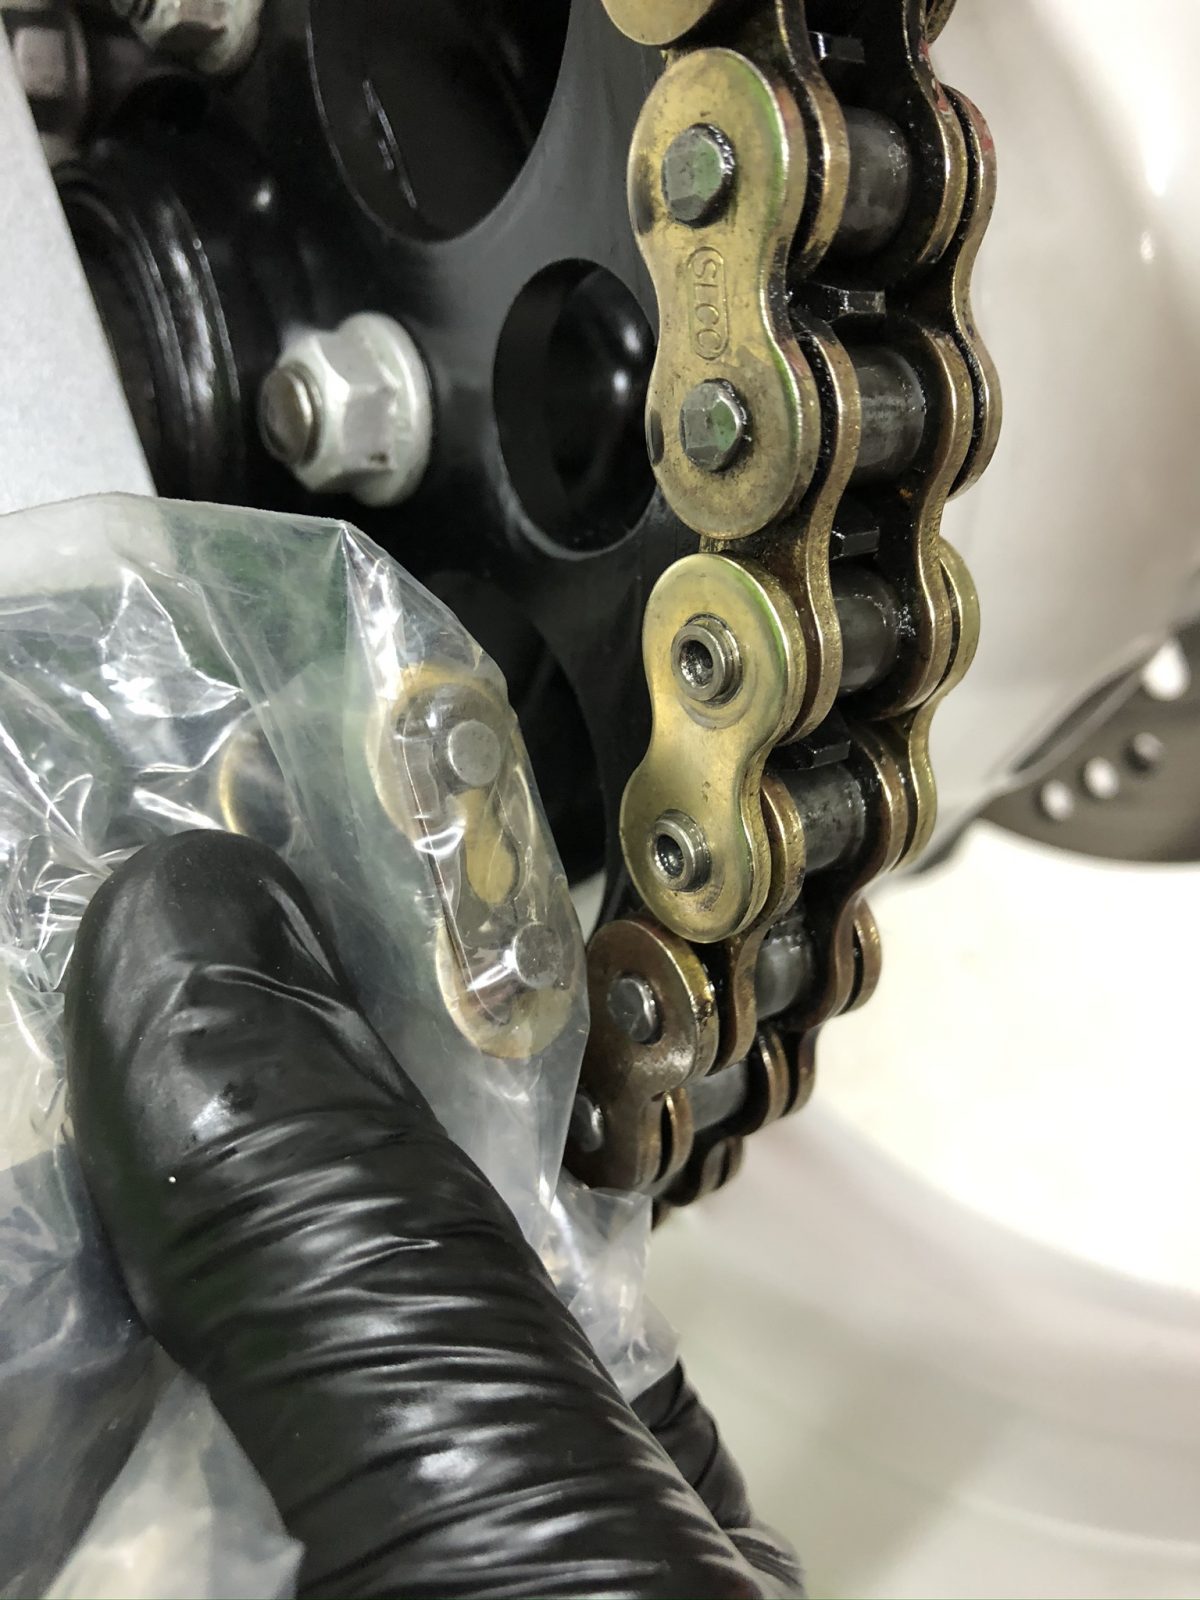
With the chain now cleaned and re-oiled ready for its maiden voyage with me…
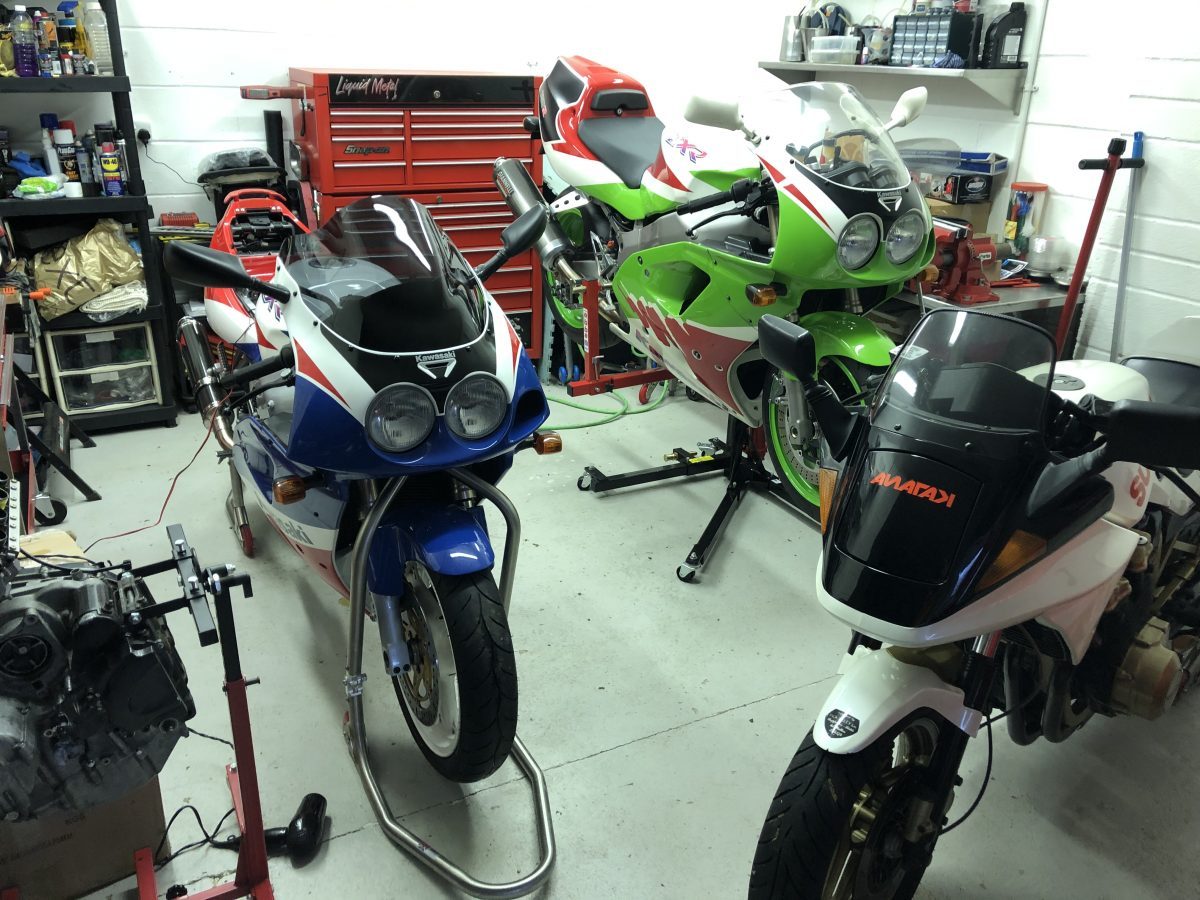
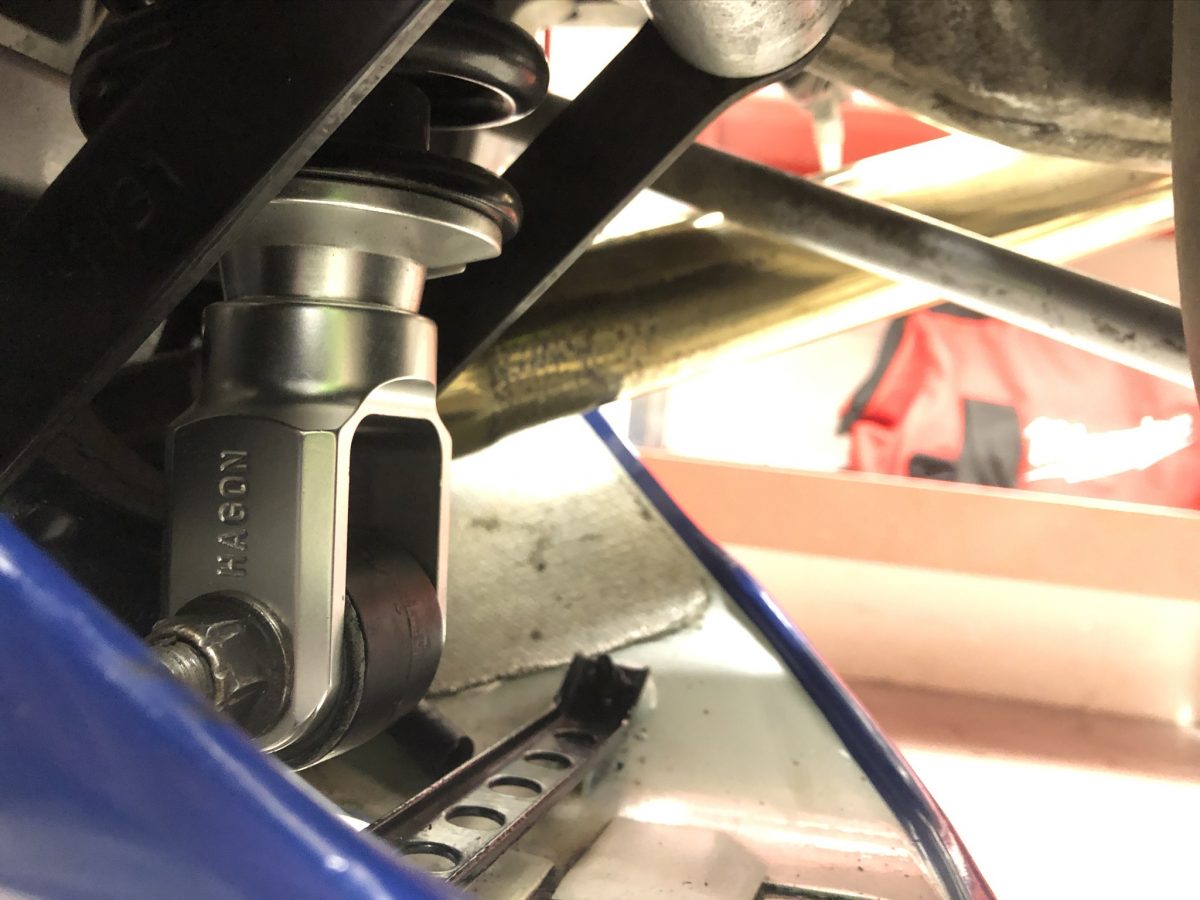
The shiny new Hagon rear shock, front forks were also refreshed with Hagon fork springs;
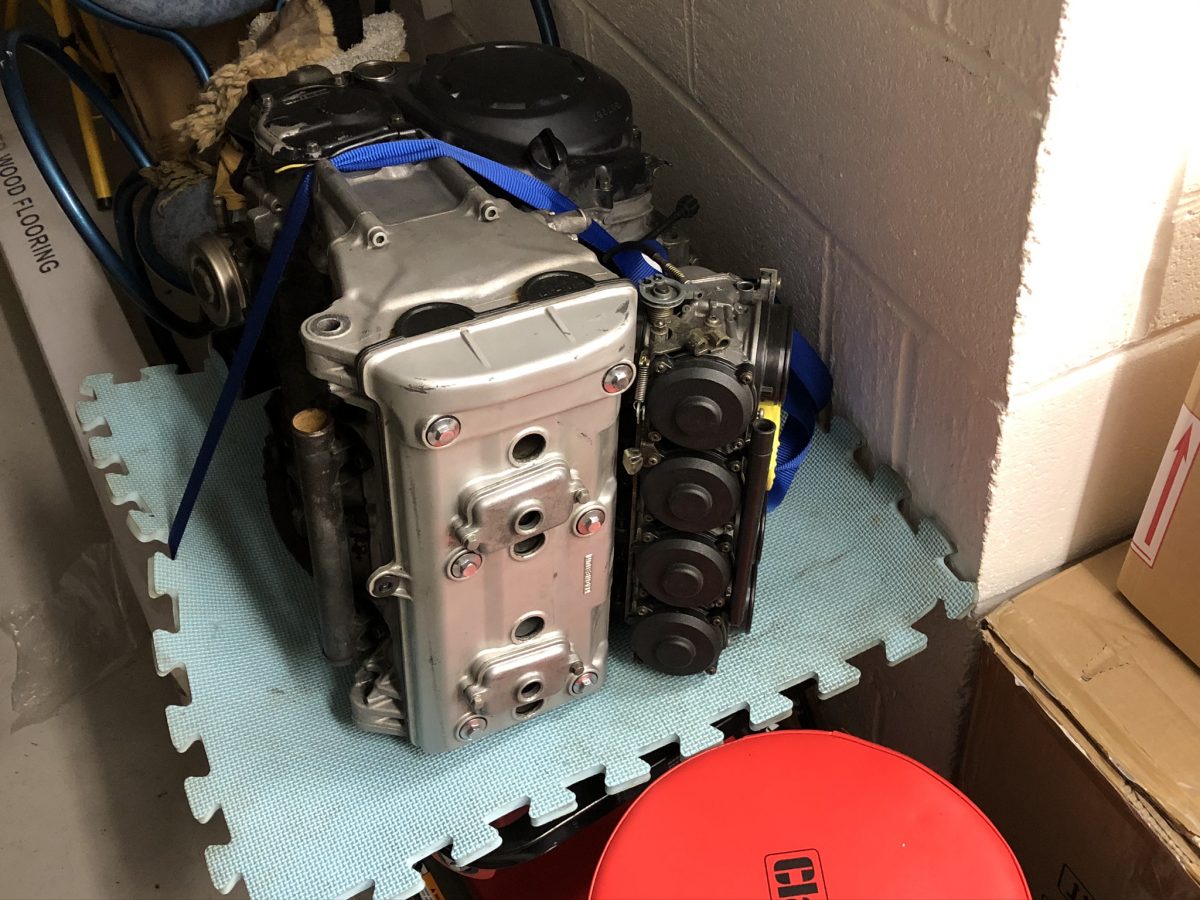
In other news, the spare engine has been strapped to a chair for a few weeks;
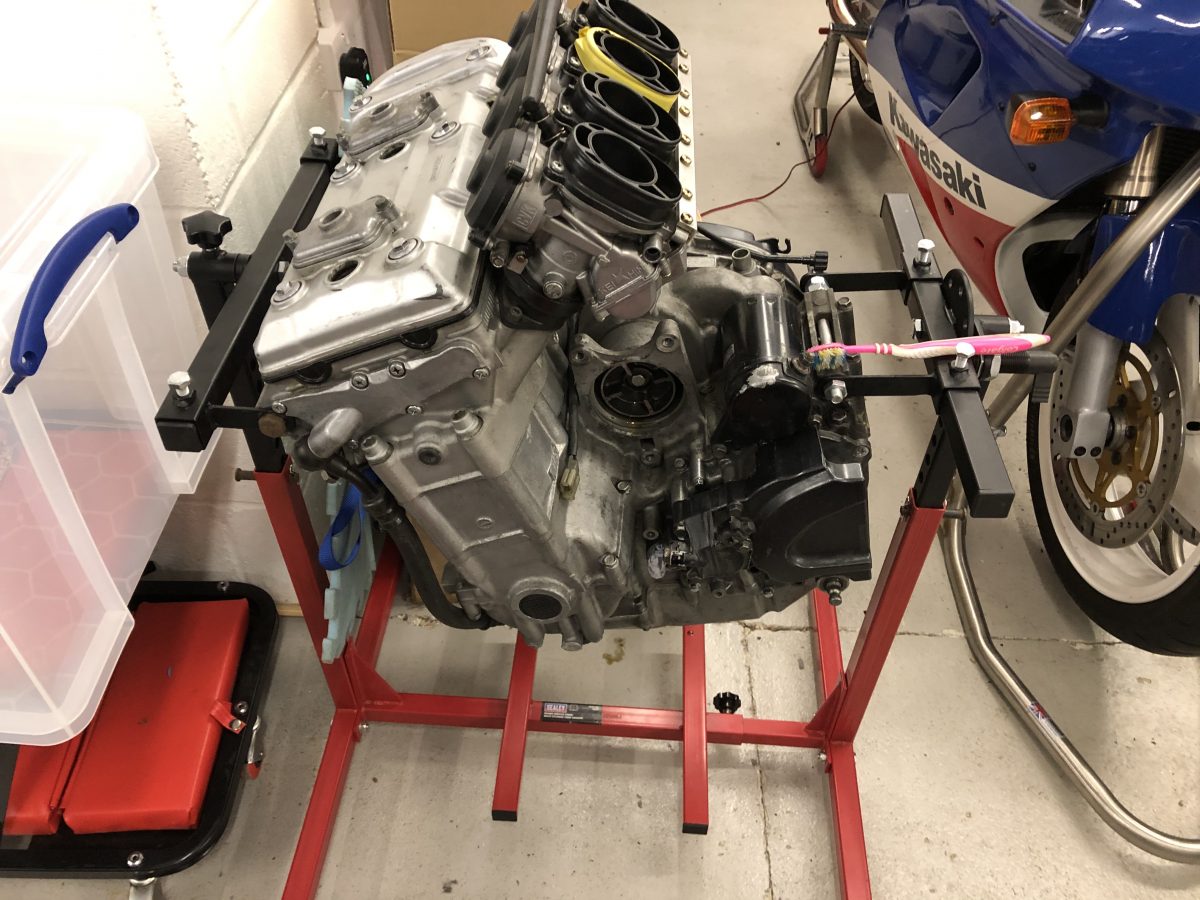
This has since been remedied with this new Sealey MES02 engine stand. I’m thinking maybe I should have used a traditional engine stand with motorbike adaptors which would grip the engine from one side only because while this stand holds the engine well, when I come to remove the heads I have nowhere else to bolt the front of the engine to!!
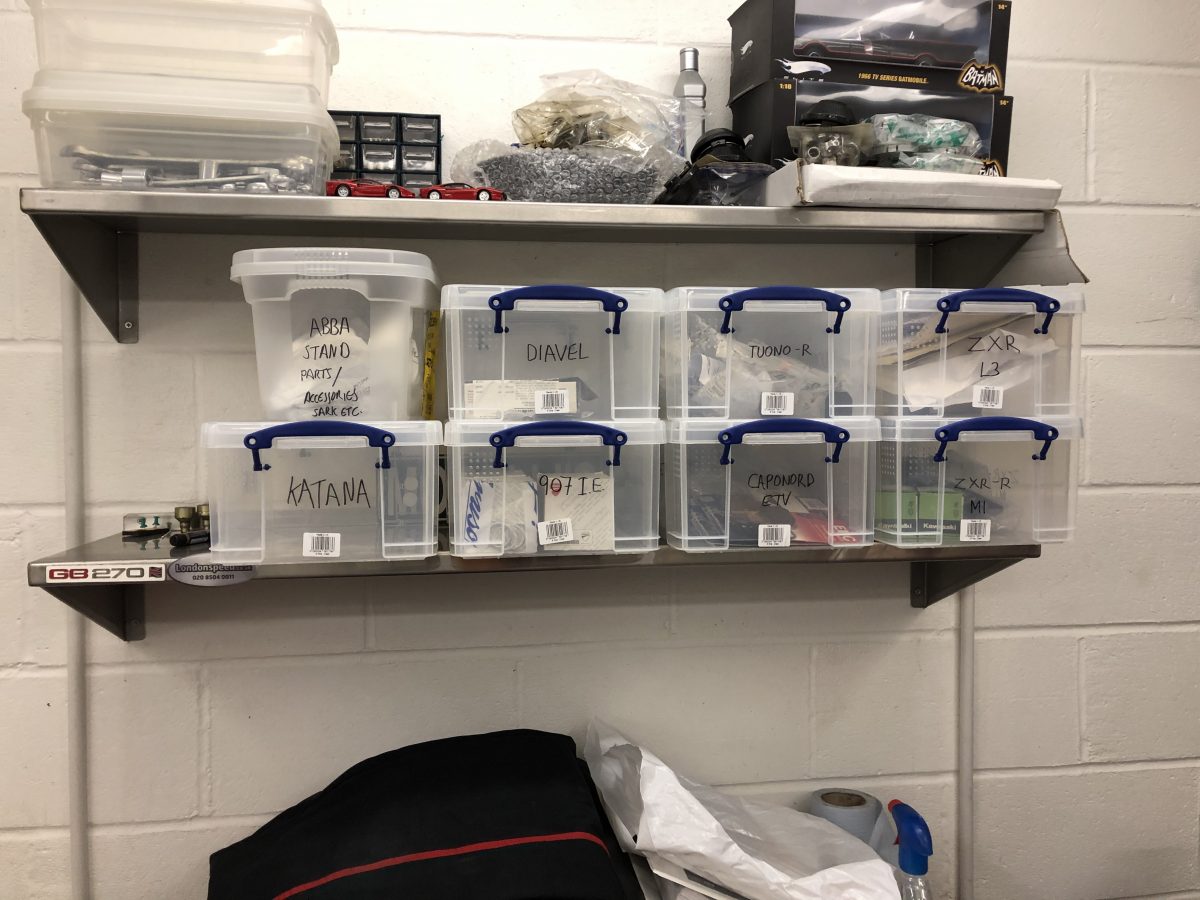
I’ve decided to get organised with some of these “really useful boxes”. They stack perfectly onto one another. I also have the bigger versions for larger items for each bike that are stored in the loft!
The bike is now insured but currently SORN’d. In the highly unlikely event that the weather looks good and the roads are clean at the beginning of Jan I might tax it because I’m itching to take it out now!!